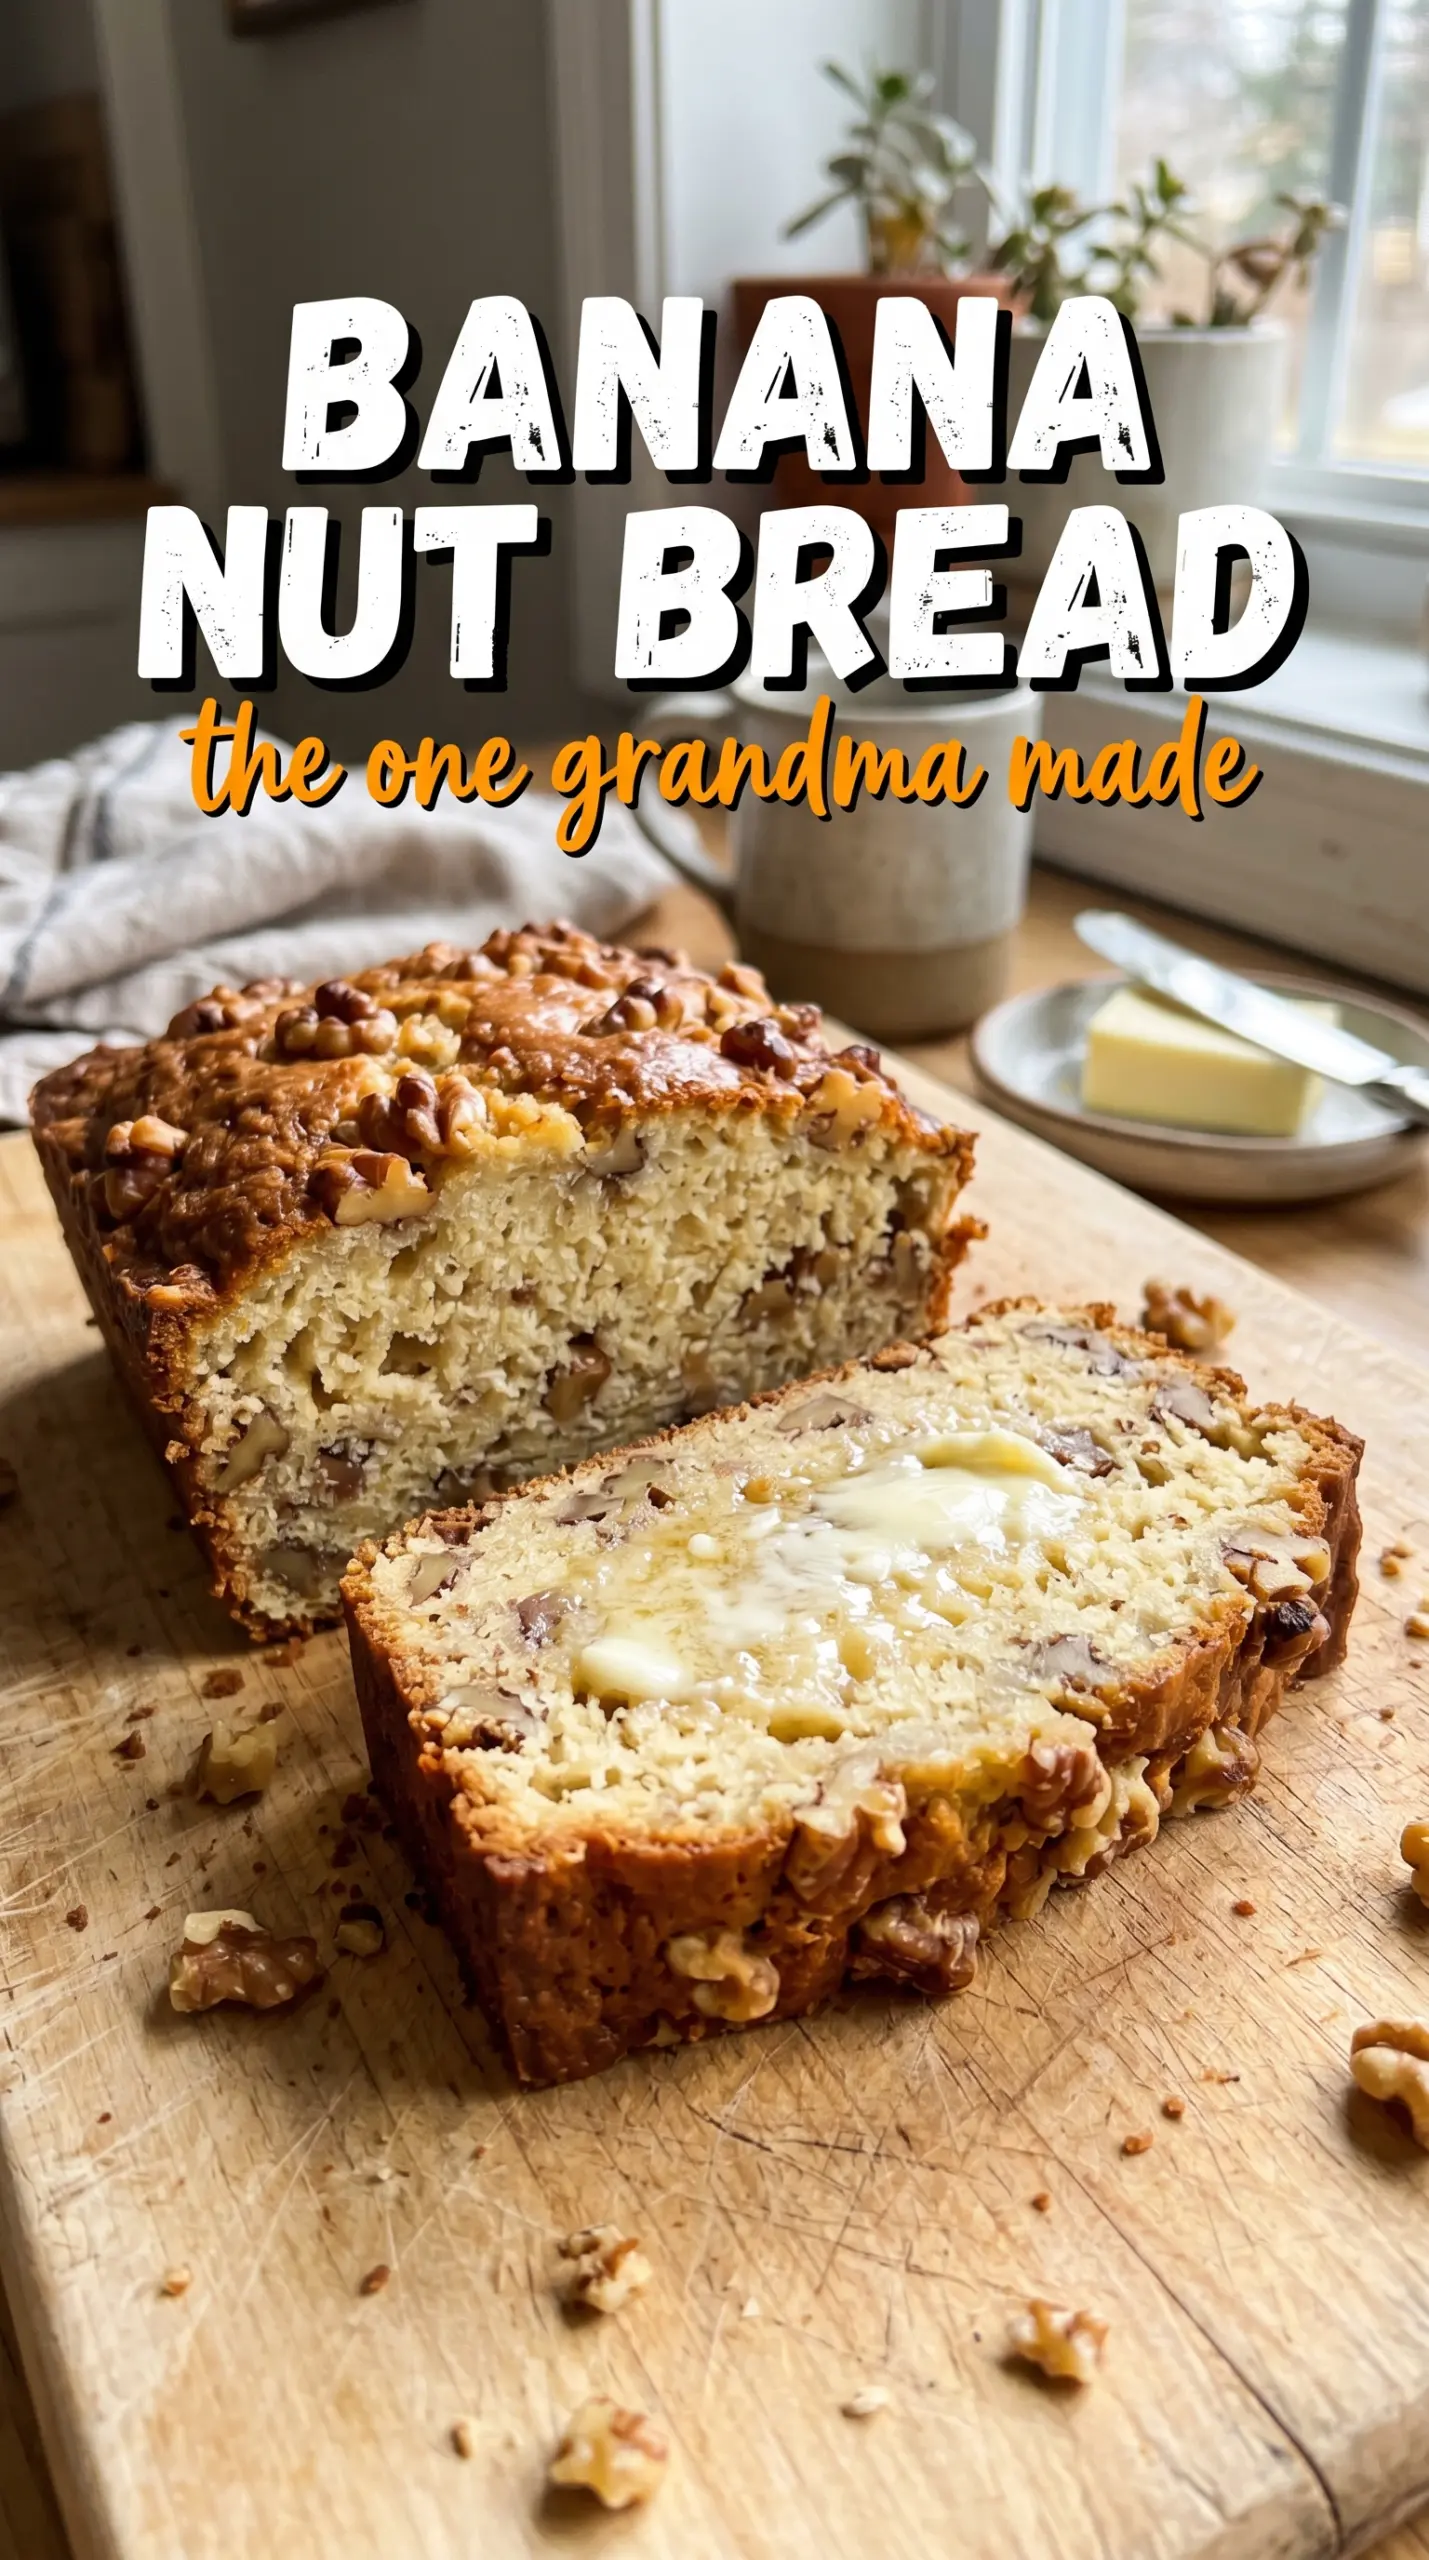
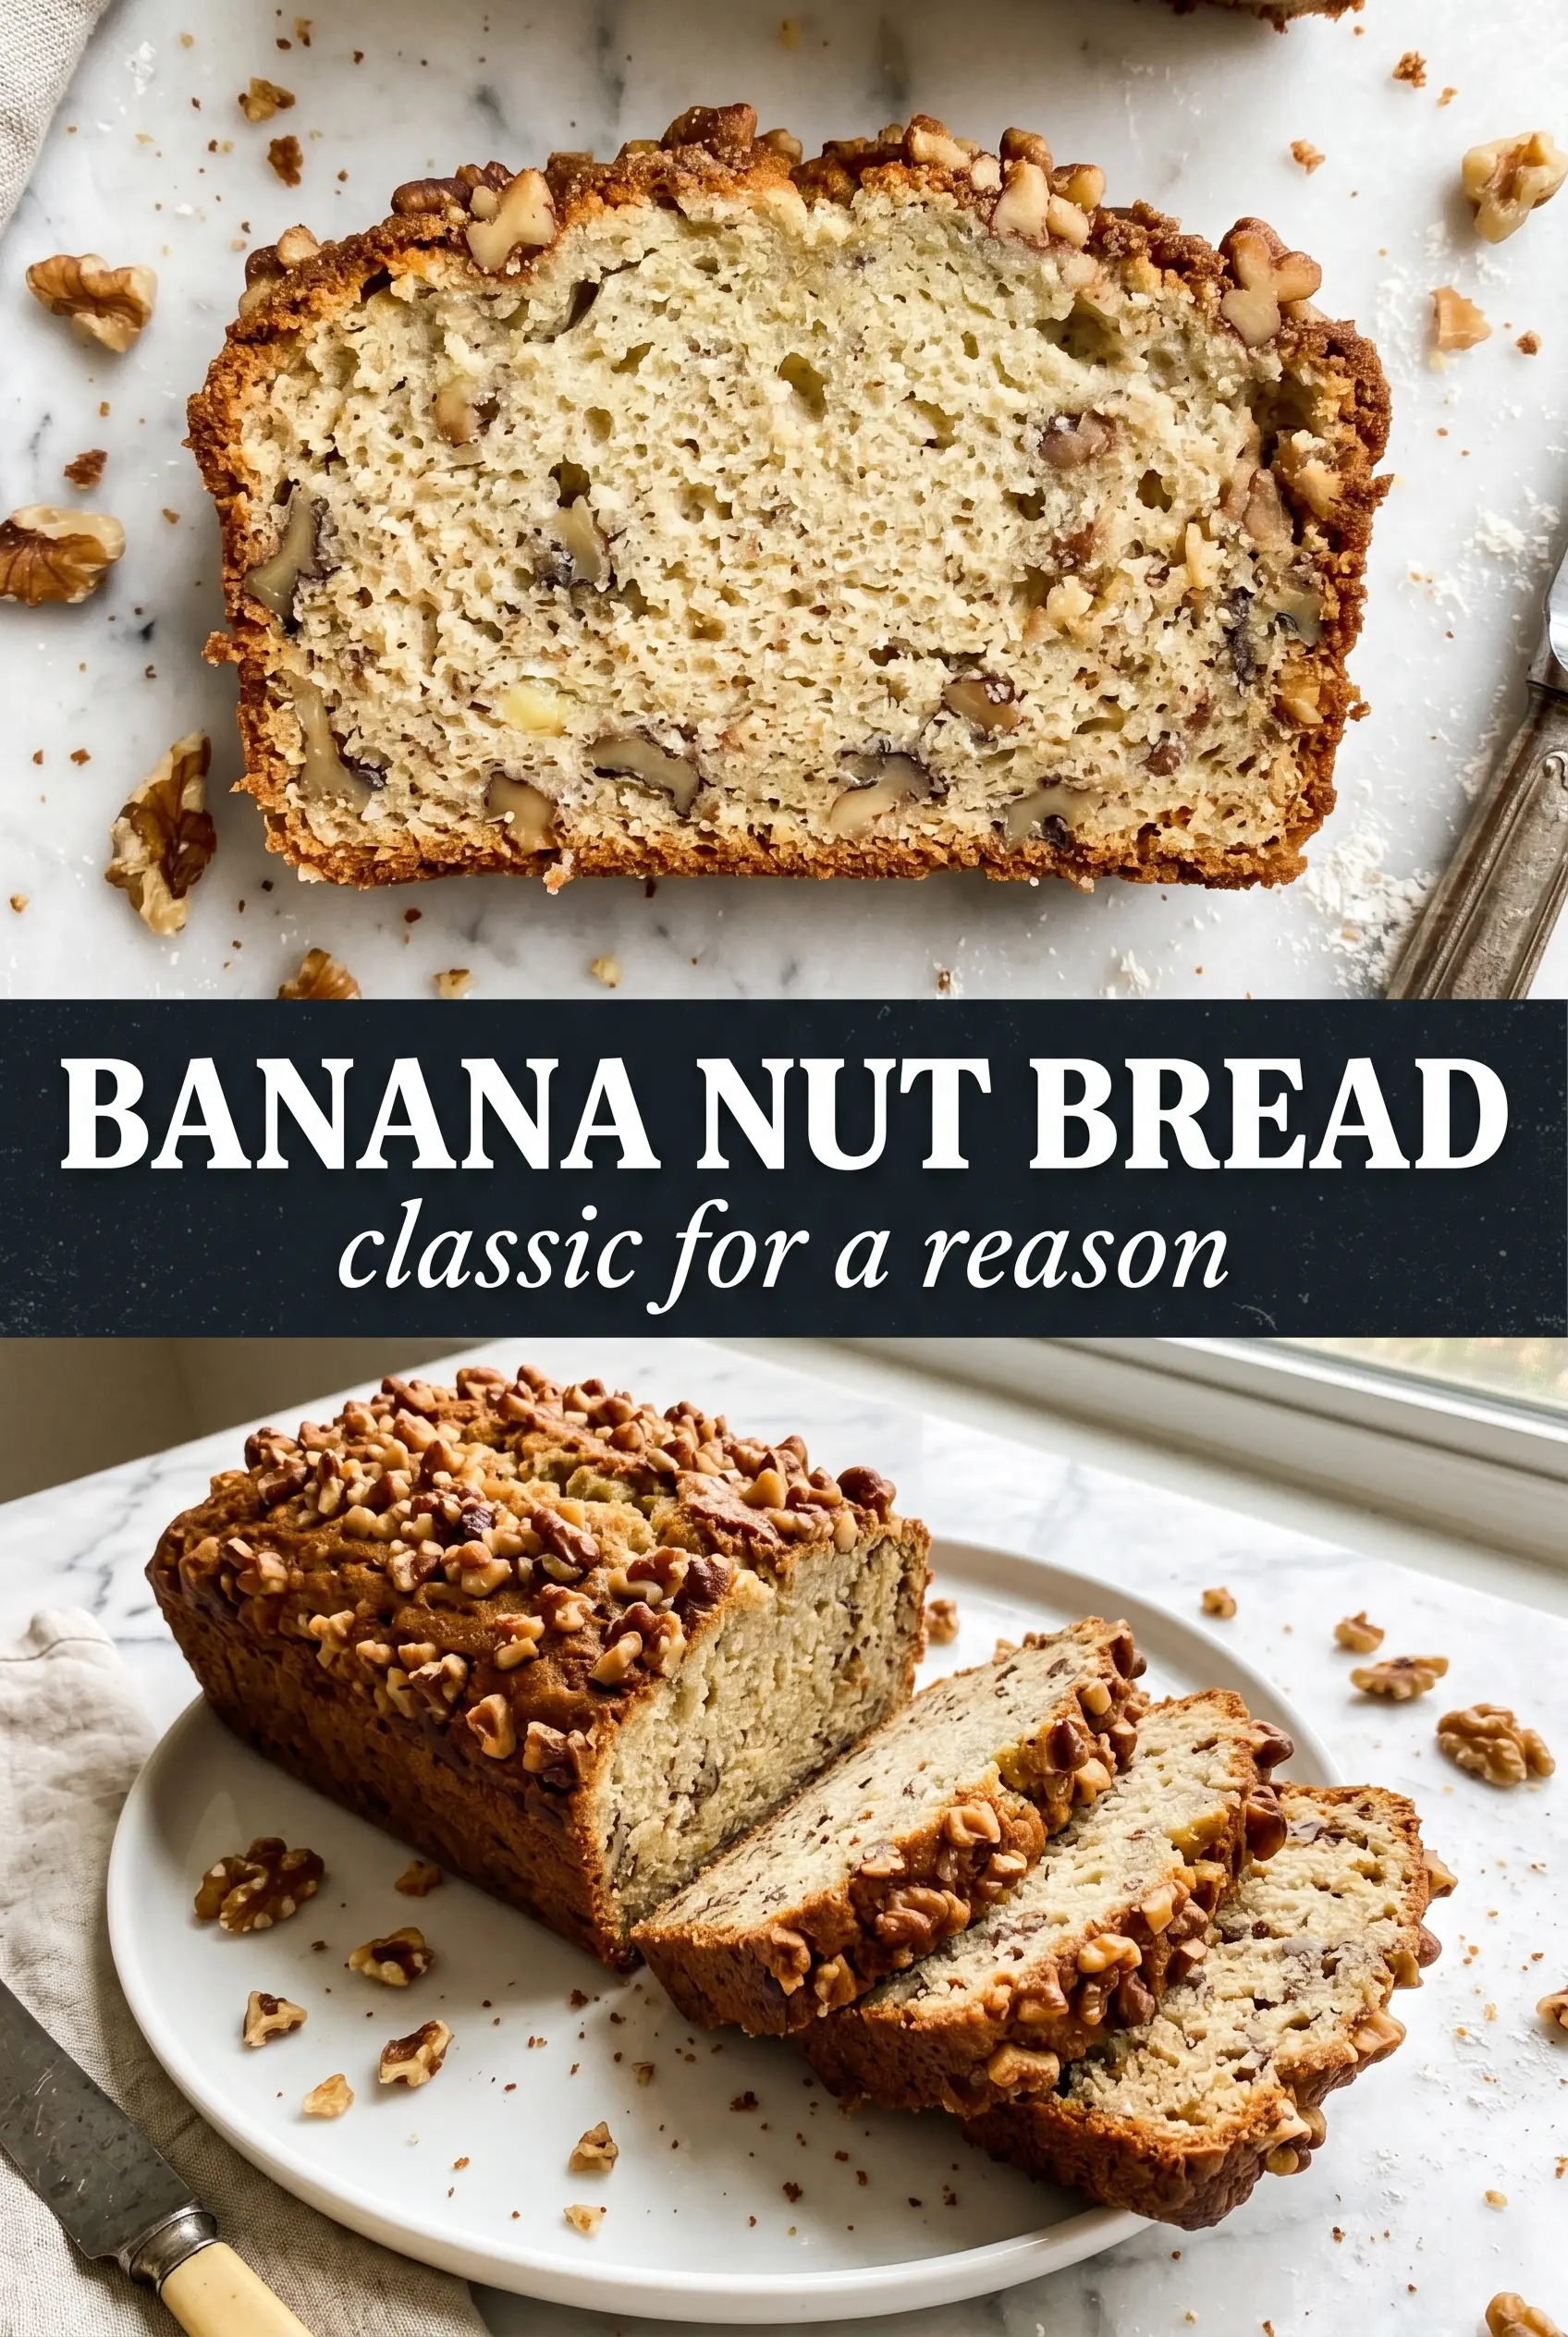
Banana nut bread earns its place because it stays moist for days, slices cleanly, and tastes even better once the banana and walnut flavors settle together. The top bakes into a caramelized crust while the crumb stays tender and dense without turning gummy, which is exactly what you want when a loaf is headed for breakfast or an afternoon snack.
The trick is treating the bananas like the main source of moisture and keeping the batter just barely mixed. Overworking the flour turns quick bread tight, and overbaking is what steals that soft center. Walnuts do more than add crunch here; they give the loaf structure and a little bitterness that keeps the sweetness from running away.
Below, I’ve included the small details that matter most: how ripe the bananas should be, when to stop mixing, and how to keep the walnuts from sinking. If your banana bread has ever come out dry, pale, or oddly dense, this version will show you where the trouble usually starts.
The loaf came out super moist with that crackly walnut top, and the center set perfectly at 65 minutes. I loved that the cinnamon stayed subtle instead of taking over the banana flavor.
Save this banana nut bread for the days when you want a moist loaf with a golden walnut crust and no fancy ingredients.
The Bananas Need to Be Spotty, Soft, and Past Their Prime
Banana bread fails most often because the bananas aren’t ripe enough. Pale bananas add starch, not sweetness or moisture, and that leaves the loaf bland and dry no matter how long it bakes. You want bananas with deep brown freckles and soft flesh that mashes almost into a puree.
The other place people go wrong is baking until the center looks fully firm in the oven. Quick bread keeps cooking after it comes out, and if you wait for a bone-dry skewer, the loaf will be overdone by the time it cools. Pull it when a tester comes out with a few moist crumbs, not wet batter.
- Ripe bananas — These drive the moisture and the flavor. If yours are only yellow, roast them in their peels at 300°F until the skins blacken and the fruit softens.
- Melted butter — Melted butter gives a richer, more tender crumb than oil here and helps the loaf brown on top. Let it cool slightly so it doesn’t scramble the eggs.
- Walnuts — Rough-chopped walnuts add crunch and keep each slice from tasting flat. A handful on top gives you the best texture contrast, so don’t hide every nut inside the batter.
What Each Ingredient Is Actually Doing in This Loaf
- Mashed bananas — They bring the moisture, sweetness, and the unmistakable banana flavor. Use three medium to large ripe bananas; if yours are especially small, mash enough to reach about 1 1/2 cups.
- Melted butter — Butter gives the loaf a fuller, rounder flavor than oil. You can swap in neutral oil in a pinch, but the crumb will taste a little less rich.
- Sugar — This helps the crust brown and keeps the interior tender. Granulated sugar works well; brown sugar adds a deeper molasses note if you want a warmer flavor.
- Eggs — They bind the batter and help the loaf rise without becoming cakey. Add them one at a time if you’re whisking by hand so the mixture stays smooth.
- All-purpose flour — Standard all-purpose flour gives the right balance of structure and tenderness. Too much flour is what makes quick bread dry, so spoon and level if you measure by cups.
- Baking soda — This reacts with the bananas and sugar to help the loaf rise. Don’t replace it with baking powder; the loaf won’t brown or lift the same way.
- Cinnamon — Just enough to warm the bread without making it taste like spice cake. You can leave it out, but the loaf loses a little depth.
- Walnuts — The chopped nuts inside the batter give texture throughout, and the scattered nuts on top add a crackly finish. Toast them first if you want a deeper, nuttier flavor.
The Gentle Mix and Slow Bake That Keep the Crumb Tender
Build the Wet Base First
Start by mashing the bananas until they’re mostly smooth with a few small bits left for texture. Whisk in the melted butter, sugar, eggs, and vanilla until the mixture looks glossy and evenly combined. If the butter is too hot, it can make the eggs look grainy, so let it cool for a few minutes before it goes in.
Fold the Dry Ingredients Just Until They Disappear
Add the flour, baking soda, salt, and cinnamon all at once, then stir only until you stop seeing dry flour. A few streaks are fine because they’ll disappear as you fold in the walnuts. If you beat the batter until it’s perfectly smooth, the loaf will bake up tight instead of soft.
Top With Walnuts for a Better Crust
Fold in most of the walnuts, then scatter the rest over the top before baking. That top layer turns deeply toasted and gives the loaf a more finished look without any extra work. Press the nuts lightly into the batter so they don’t fall off after slicing.
Bake Until the Center Springs Back
Use a greased 9×5 loaf pan and bake at 350°F until the top is deeply golden and a toothpick comes out clean or with a few moist crumbs, usually around 60 to 70 minutes. If the top browns too fast, tent it loosely with foil for the last stretch. Let the loaf rest in the pan for 10 minutes before lifting it out; that short pause helps it set so it doesn’t tear.
Three Ways to Adjust Banana Nut Bread Without Losing the Good Part
Make It Dairy-Free With Oil
Swap the melted butter for the same amount of neutral oil. The loaf will stay moist, but it loses a little of the buttery flavor and the top won’t brown quite as richly. This is the cleanest dairy-free move if you want the same soft crumb.
Make It Nut-Free
Leave out the walnuts and add an extra 1/4 cup flour so the batter doesn’t turn too loose. You’ll lose the crunch, but the loaf still bakes up tender and sweet. A sprinkle of coarse sugar on top can replace some of the texture the nuts would have given you.
Use Pecans or a Mixed Nut Blend
Pecans work exactly like walnuts but taste a little sweeter and softer. A mixed nut blend adds more crunch, though very hard nuts should be chopped smaller so the slices hold together cleanly. Toasting the nuts first deepens the flavor either way.
Storage and Reheating
- Refrigerator: Store wrapped or in an airtight container for up to 5 days. The crumb firms up a little when chilled, but the flavor gets even better by day two.
- Freezer: Banana nut bread freezes well. Wrap the cooled loaf or individual slices tightly in plastic, then foil, and freeze for up to 3 months.
- Reheating: Warm slices in the microwave for 10 to 15 seconds or toast them lightly. Don’t blast the whole loaf in the oven too long or the edges dry out before the center heats through.
Answers to the Questions Worth Asking
Banana Nut Bread
Ingredients
Equipment
Method
- Preheat the oven to 350°F and grease a 9x5 loaf pan.
- Mash the ripe bananas and set aside.
- Whisk the melted butter, sugar, eggs, and vanilla into the mashed bananas until well combined, with no streaks remaining.
- Fold in the all-purpose flour, baking soda, salt, and cinnamon until just combined; stop when no dry flour pockets are visible.
- Fold in 3/4 cup of the chopped walnuts so they’re evenly distributed throughout the batter.
- Pour the batter into the loaf pan and scatter the remaining walnuts across the top so they’re visible.
- Bake for 60–70 minutes at 350°F until deeply golden and a toothpick inserted in the center comes out clean.
- Cool in the pan for 10 minutes, then turn out onto a wire rack to finish cooling.