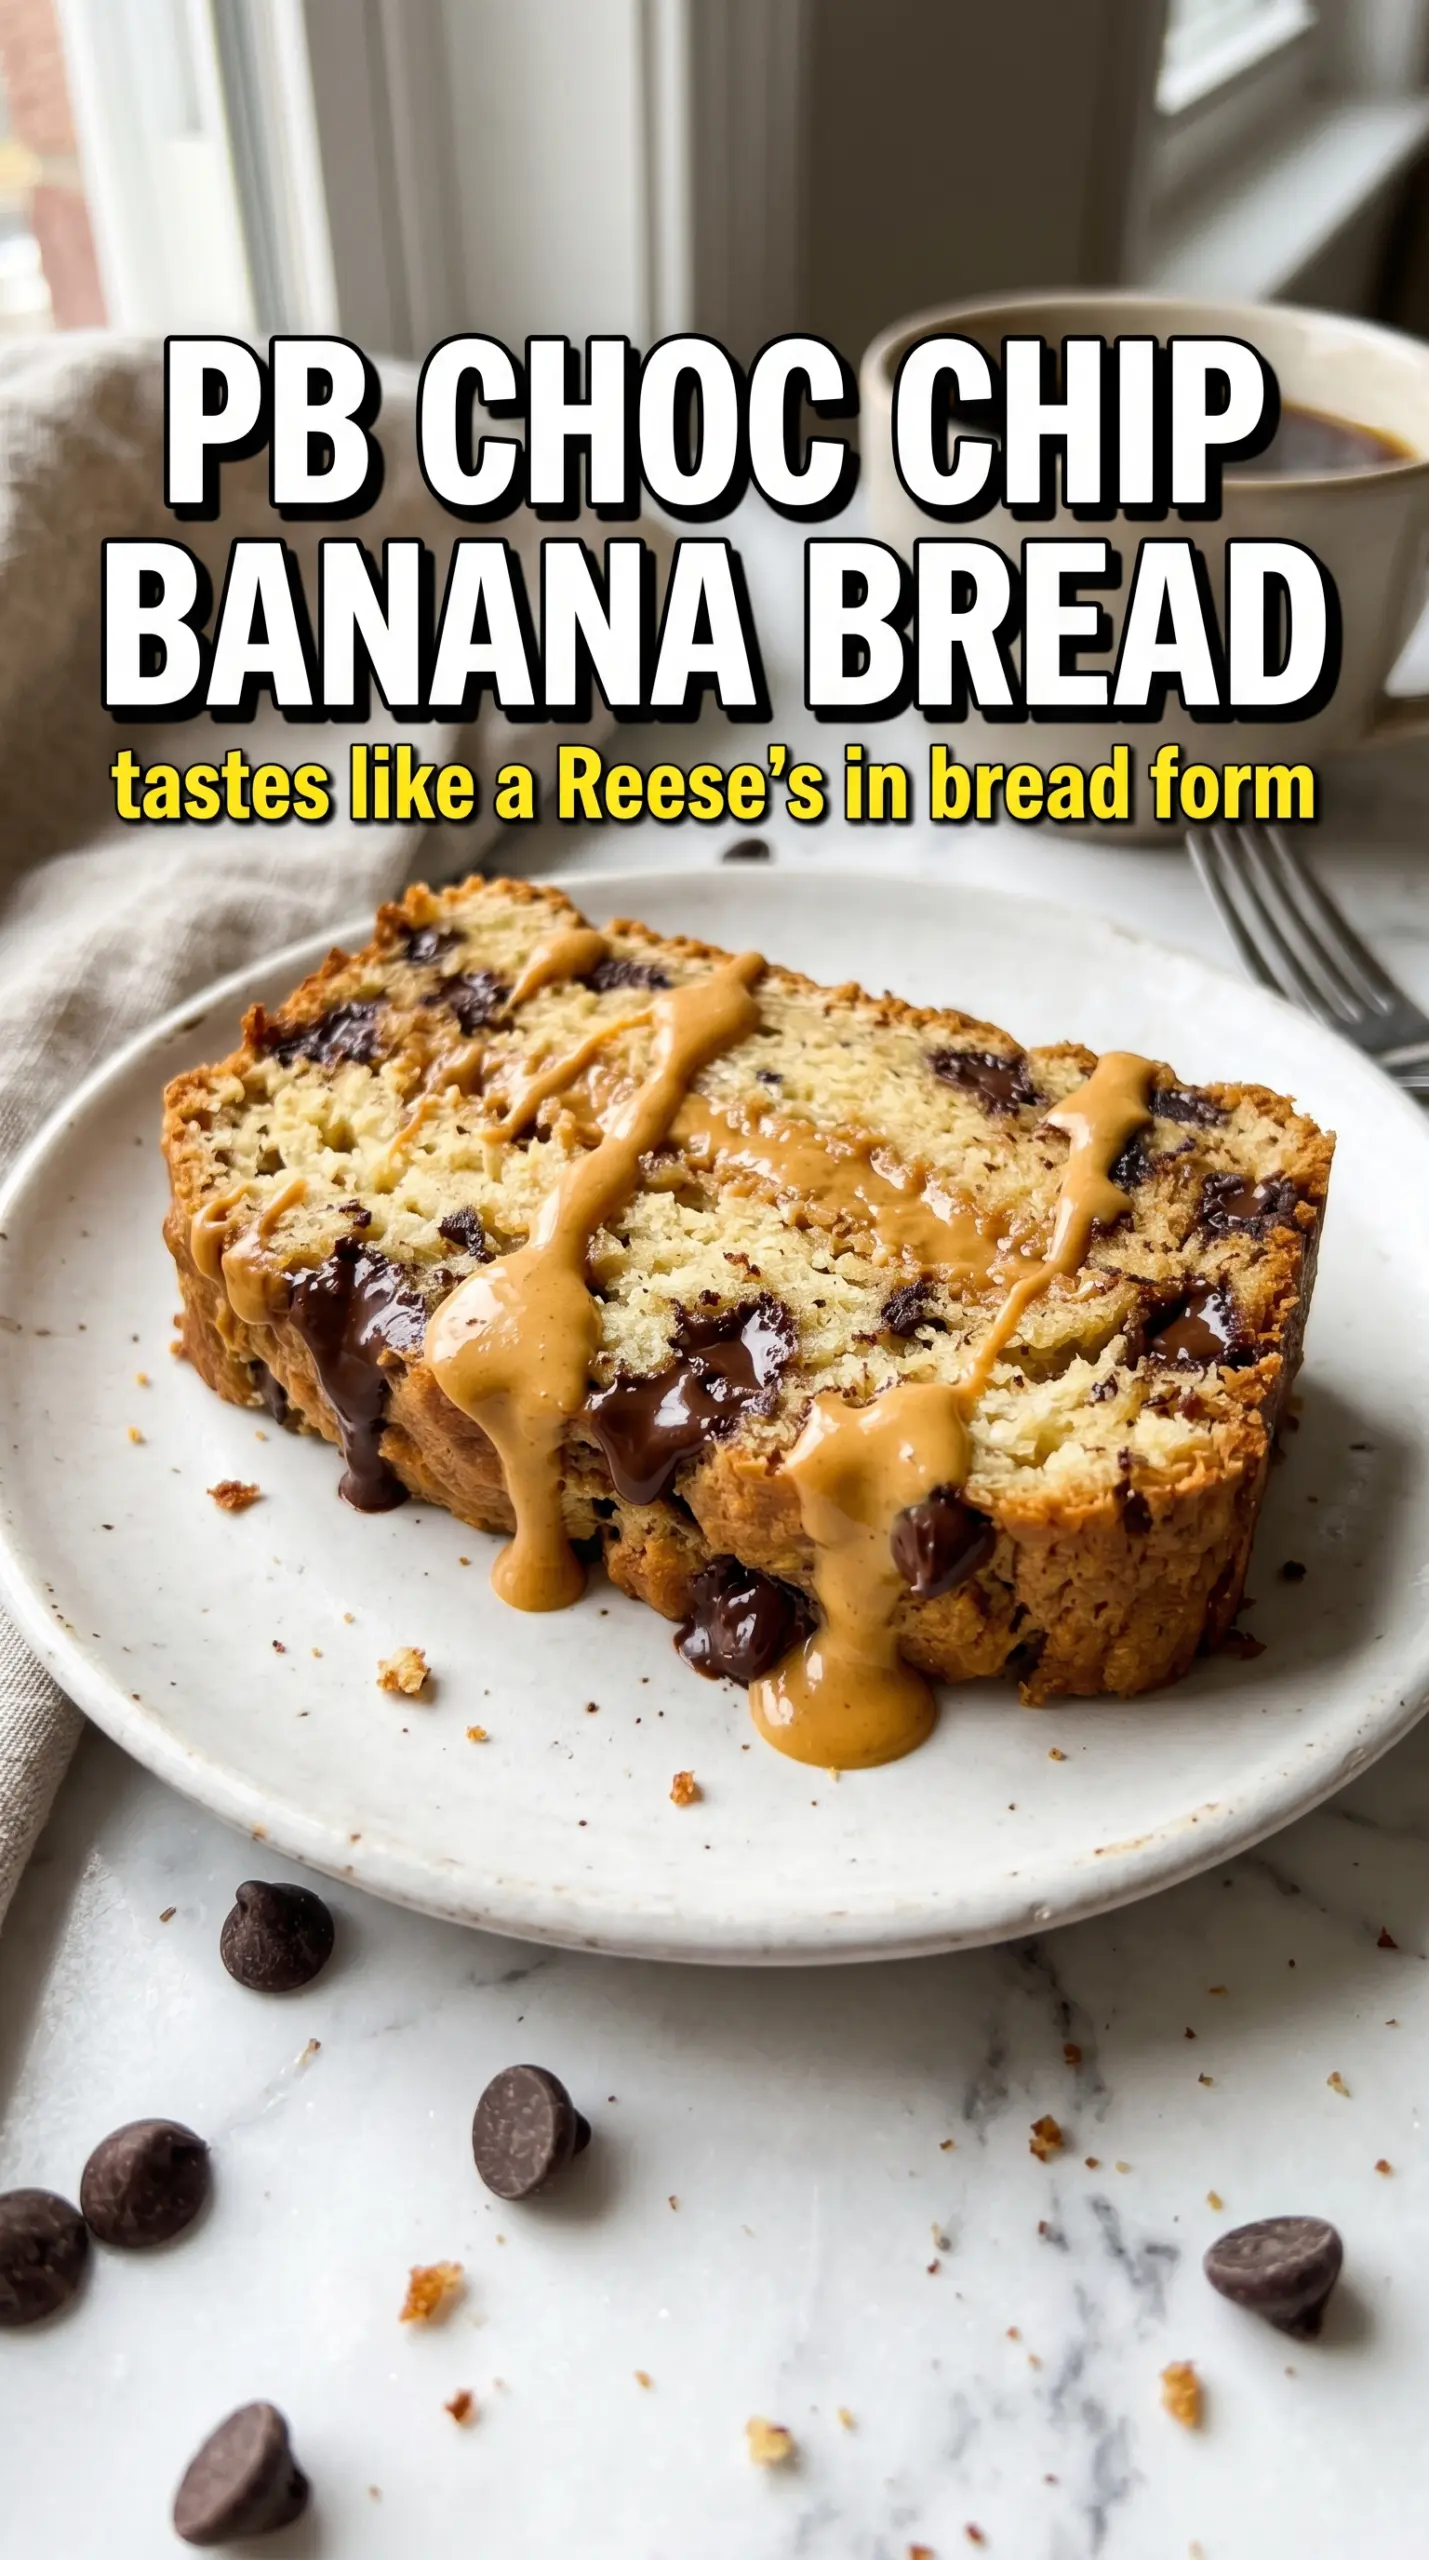
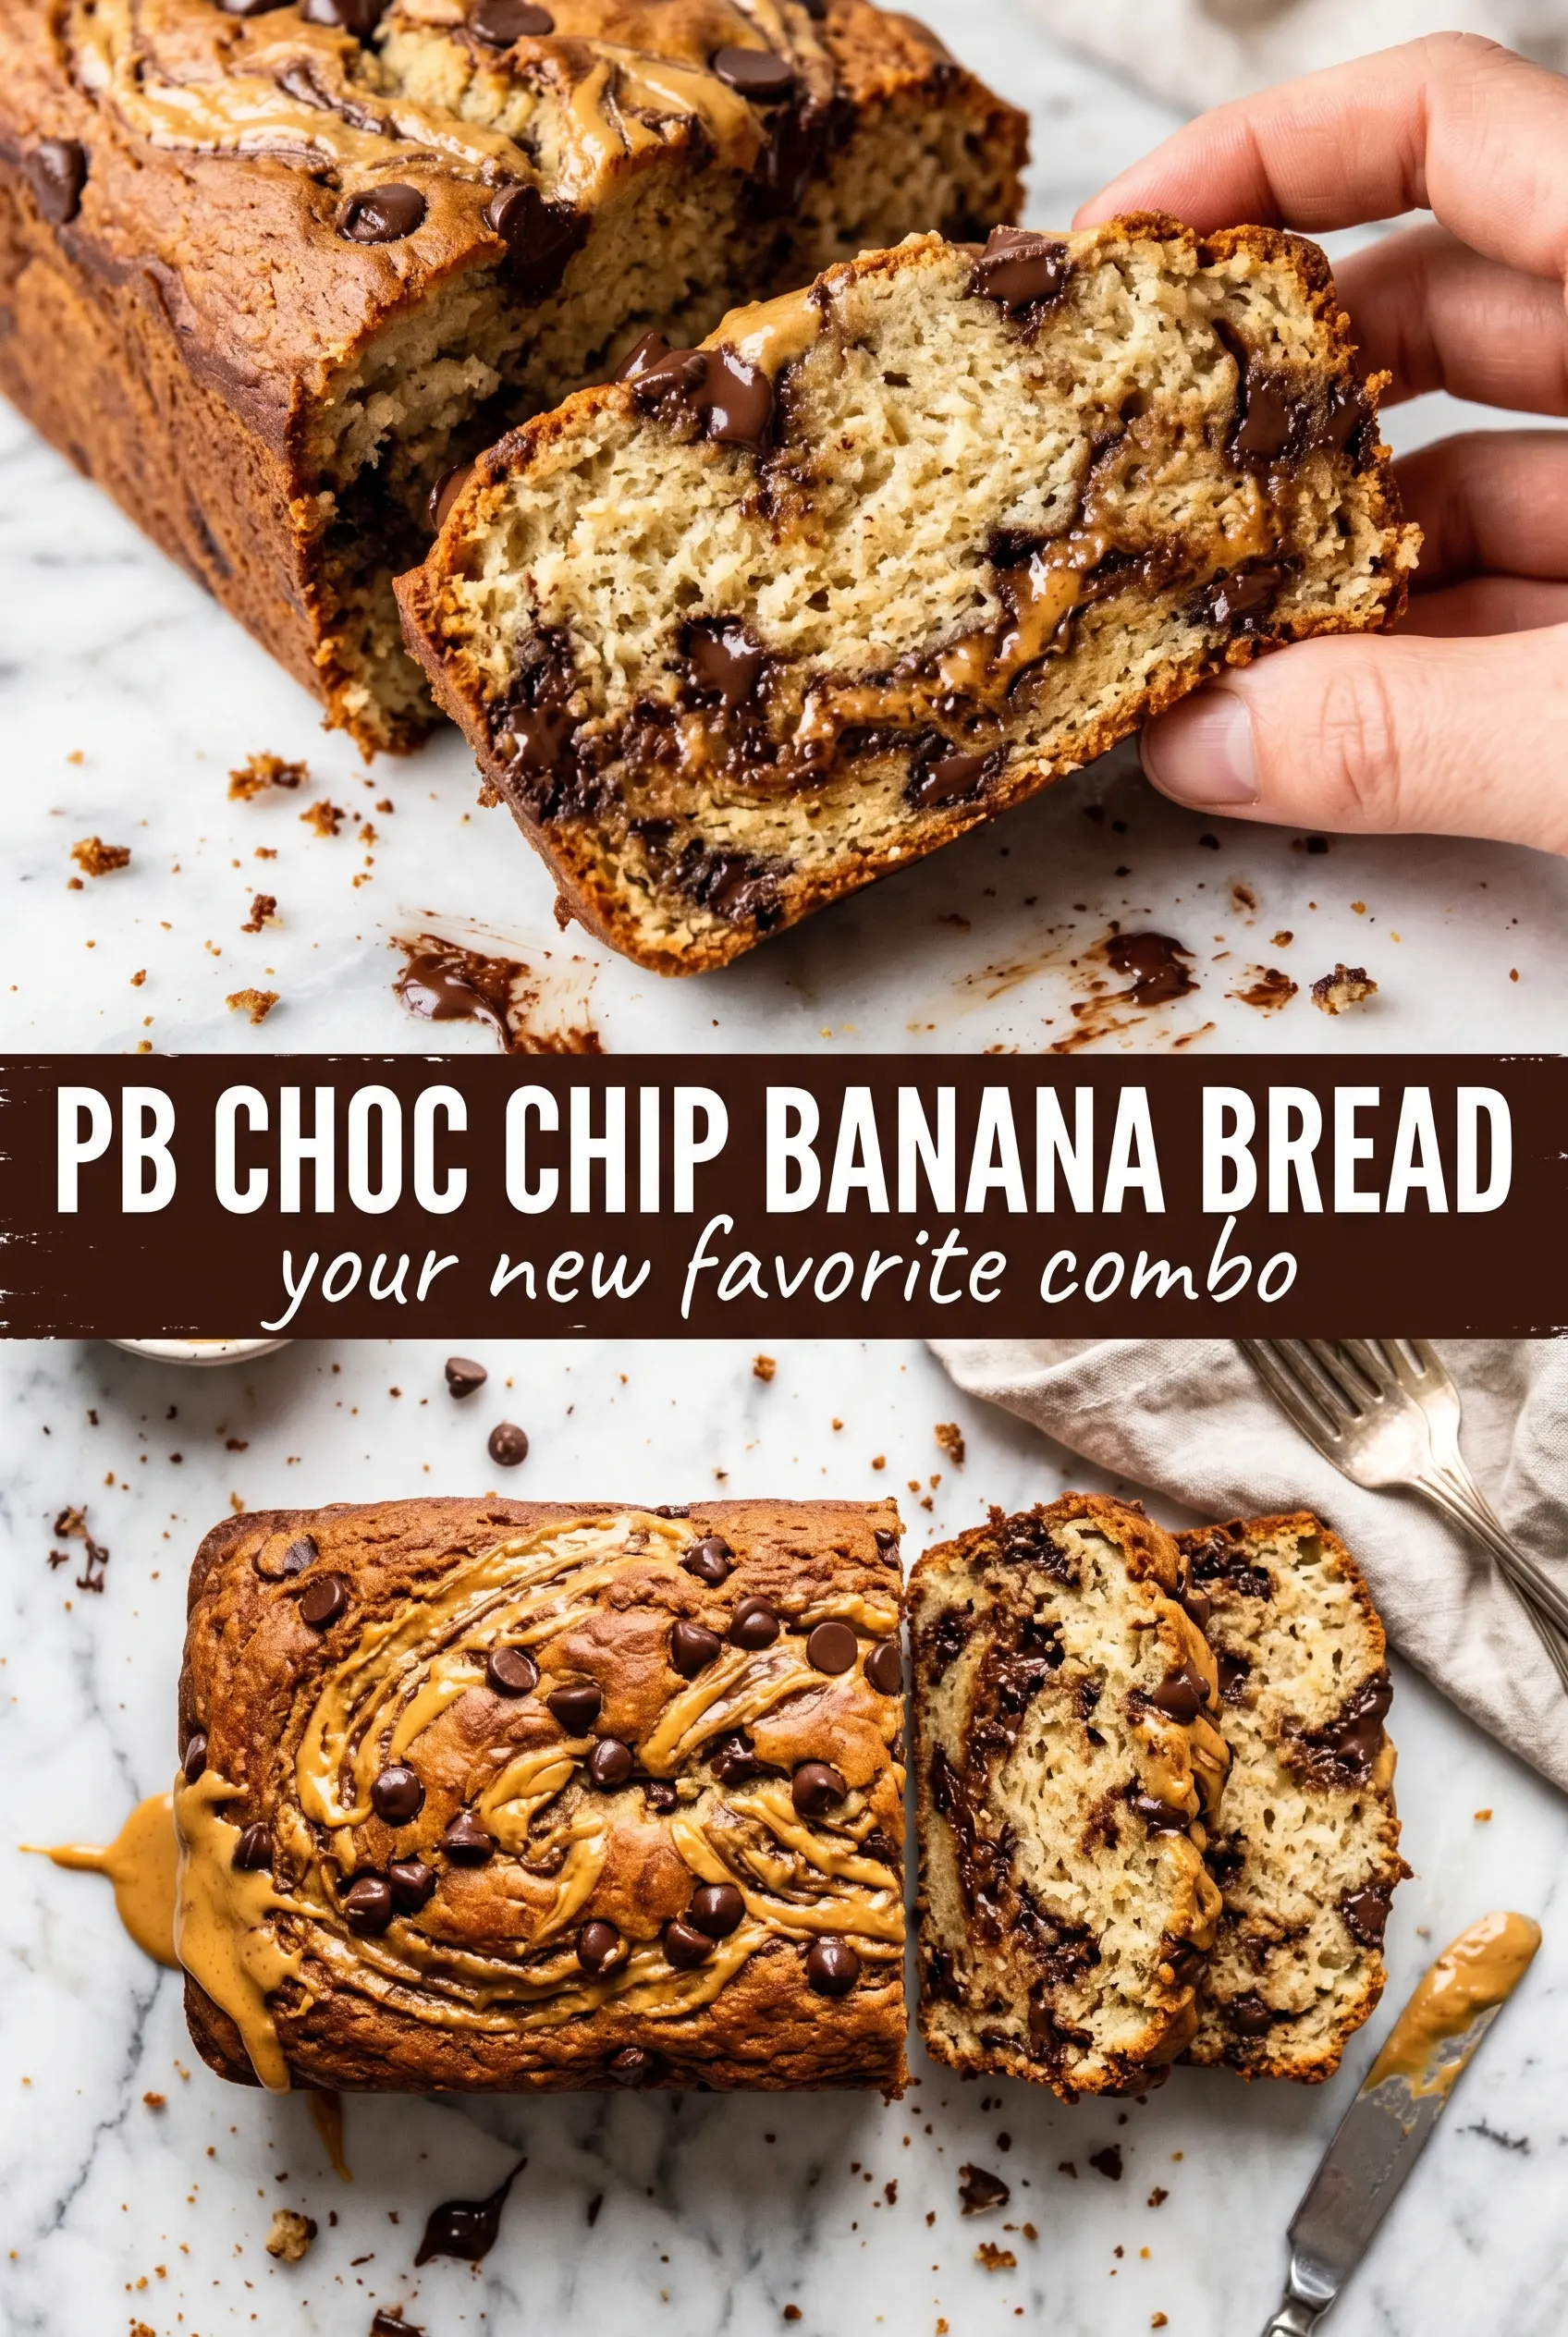
Peanut butter chocolate chip banana bread lands in that sweet spot between bakery-style loaf and weeknight baking project. The crumb stays tender and moist from the bananas, the peanut butter gives it a deeper, nuttier finish, and the melted chocolate chips turn every slice into something that feels a little extra without being fussy. The top bakes up golden and slightly craggy, with peanut butter ribbons running through it so each cut reveals a little swirl work, not just a plain banana loaf with add-ins.
The key here is balancing the wet ingredients so the loaf stays dense in a good way, not heavy. Creamy peanut butter goes into the batter for flavor and richness, then a little more gets swirled on top right before baking. That top layer gives you those dramatic pockets of peanut butter without weighing down the center, and using ripe bananas with plenty of brown spots keeps the bread sweet enough that the chocolate chips don’t need much help.
Below, I’ve included the one detail that keeps the loaf from turning gummy, plus a few smart swaps if you want to nudge it toward dairy-free or a little less sweet. The process is straightforward, but the order matters more than people think.
The peanut butter swirl on top stayed distinct instead of disappearing, and the chocolate chips were still gooey in the middle after cooling. I also liked that the loaf sliced cleanly once it was fully cool, which never seems to happen with banana bread at my house.
Save this peanut butter chocolate chip banana bread for the days when you want a soft loaf with a real peanut butter swirl and melted chocolate in every slice.
The Trick to Keeping Banana Bread Moist Without Making It Gummy
The biggest mistake with banana bread is treating it like a cake batter and overworking it. Once the flour goes in, the batter should look streaky and a little rough, not glossy and smooth. Stirring too long tightens the crumb and pushes the loaf into that dense, rubbery zone no one wants.
The second trap is baking by color alone. This loaf should come out deeply golden on top, but the center needs time to set all the way through because peanut butter adds richness that slows the bake a little. If the toothpick comes out with wet batter, it needs more time; if it comes out with a few moist crumbs, you’re there.
- Bananas — Use bananas with lots of brown spots. Under-ripe bananas won’t bring enough sweetness or moisture, and that matters here because the peanut butter and chocolate add weight.
- Creamy peanut butter — Creamy works best because it blends smoothly into the batter and swirls cleanly on top. Natural peanut butter can work if it’s well stirred, but very oily jars can make the loaf a little greasy.
- Butter — Melted butter gives the loaf a richer, more bakery-style crumb than oil. If you need a dairy-free version, use neutral oil in the same amount; the texture stays soft, though the flavor is less rounded.
- Chocolate chips — Dark or semi-sweet chips hold their shape better than milk chocolate, which keeps the loaf from getting overly sweet. Tossing them into the flour mixture at the end helps keep them from sinking to the bottom.
- Extra peanut butter for swirling — Warm it slightly if it’s stiff. A thin, spoonable peanut butter makes better ribbons on top and bakes into those visible pockets instead of clumping.
What Each Ingredient Is Actually Doing in This Banana Bread or Baked Good
- Bananas (the moisture and sweetness) — Use very ripe bananas for maximum sweetness. Overripe is actually better here.
- Flour (the structure base) — Don’t overmix or the baked good becomes tough. Mix just until dry ingredients are incorporated.
- Sugar (the sweetness) — Ripe bananas are already sweet, so adjust sugar slightly if desired. Don’t reduce too much or it becomes dry.
- Butter or oil (the richness) — This creates tender crumb. Oil makes moister baked goods; butter adds richness.
- Eggs (the binder and lift) — These hold everything together and help the baked good rise. Use room temperature eggs.
- Leavening (baking soda or powder) — This creates rise and light texture. Too much makes it taste bitter.
- Vanilla extract (the flavor enhancer) — This brings out banana flavor. Use quality vanilla extract.
- Optional mix-ins (nuts, chocolate, or dried fruit) — These add texture and prevent one-dimensional flavor.
Building the Loaf So the Swirl Stays Distinct
Start with the wet ingredients
Whisk the mashed bananas, peanut butter, melted butter, sugar, eggs, and vanilla until the mixture looks smooth and unified. You want the peanut butter fully dispersed before the flour goes in, because once the batter thickens, it’s much harder to break up streaks. If your peanut butter is cold and resistant, warm it for a few seconds so it loosens and blends without fighting the rest of the batter.
Fold in the dry ingredients lightly
Add the flour, baking soda, and salt, then fold just until the dry streaks disappear. Stop as soon as the batter comes together; a few small lumps are better than an overmixed loaf. Stir in the chocolate chips at the end so they stay evenly distributed, and don’t beat the batter once the flour is in or the bread turns chewy instead of tender.
Swirl the peanut butter on top
Pour the batter into the loaf pan, then dollop the extra peanut butter over the surface and run a knife through it a few times. The goal is visible swirls, not complete blending. If you drag the knife too much, the peanut butter disappears into the batter and you lose that marbled top layer that makes this loaf look and taste special.
Bake until the center is set
Bake at 350°F until the top is deeply golden and a toothpick comes out with just a few moist crumbs, usually 60 to 70 minutes. If the top is browning too quickly before the center is done, lay a piece of foil loosely over the loaf for the last 15 minutes. Let it cool in the pan for 15 minutes, then turn it out and wait until fully cool before slicing so the crumb sets cleanly.
Three Ways to Adjust the Loaf Without Losing What Makes It Good
Dairy-Free Swap That Still Tastes Rich
Replace the butter with the same amount of neutral oil. You’ll lose a little of the buttery aroma, but the loaf stays soft and moist, which is what matters most in banana bread. Use a creamy peanut butter that doesn’t separate too much so the batter still mixes evenly.
Lower-Sugar Version
Cut the sugar to 1/2 cup if your bananas are very ripe. The loaf will be a little less tender and less bakery-sweet, but the chocolate chips still carry plenty of richness. Don’t reduce it much further unless you want a more breakfast-style loaf with a drier crumb.
Make It Nutty in a Different Way
Swap the peanut butter for almond butter if that’s what you have. The flavor gets milder and a little less nostalgic, but the texture stays close as long as the almond butter is smooth and well stirred. The swirl on top won’t be quite as bold, so expect a subtler finish.
Storage and Reheating
- Refrigerator: Store tightly wrapped for up to 5 days. The crumb firms up a little in the fridge, but the flavor stays good.
- Freezer: This loaf freezes well. Wrap slices individually and freeze for up to 3 months so you can thaw only what you need.
- Reheating: Warm slices in the microwave for 10 to 15 seconds or toast them lightly. Don’t overheat them or the chocolate dries out and the bread loses that soft, just-baked texture.
Questions I Get Asked About This Recipe
Peanut Butter Chocolate Chip Banana Bread
Ingredients
Equipment
Method
- Preheat the oven to 350°F and grease a 9x5 loaf pan so the loaf releases cleanly after baking.
- Whisk mashed bananas, peanut butter, melted butter, sugar, eggs, and vanilla together until smooth and combined, with no visible egg streaks.
- Fold in all-purpose flour, baking soda, and salt until just combined, stopping as soon as you no longer see dry flour.
- Fold in the chocolate chips until evenly distributed through the batter, then pour immediately into the prepared pan.
- Pour batter into the loaf pan and dollop the extra peanut butter across the top, then swirl with a knife to create ribbons.
- Bake at 350°F for 60–70 minutes until deeply golden and a toothpick comes out with just a few moist crumbs.
- Cool in the pan for 15 minutes, then turn out and slice only when fully cooled for clean cross-sections.