Golden banana bread with a tender, cakey crumb is one of those things that disappears fast, especially when it takes almost no effort to get it into the oven. This 3-ingredient version leans into what banana bread does best: soft banana flavor, a lightly sweet crumb, and a loaf that tastes like you spent more time on it than you actually did. The short ingredient list keeps it simple, but the texture still lands in that sweet spot between breakfast bread and snack cake.
The trick is using bananas that are deeply ripe and mashing them until nearly smooth. That gives the bread moisture and sweetness without needing eggs, butter, or milk. Self-rising flour does the quiet heavy lifting here, which is why the batter comes together fast and bakes up with a lighter, more cake-like crumb than a denser classic loaf. If you only have all-purpose flour, the substitution works, but the baking powder and salt need to be measured correctly or the bread will taste flat.
Below, I’ve included the pan size difference that changes the bake time, plus the one mixing rule that keeps this loaf from turning gummy in the center. It’s a small recipe, but those details matter.
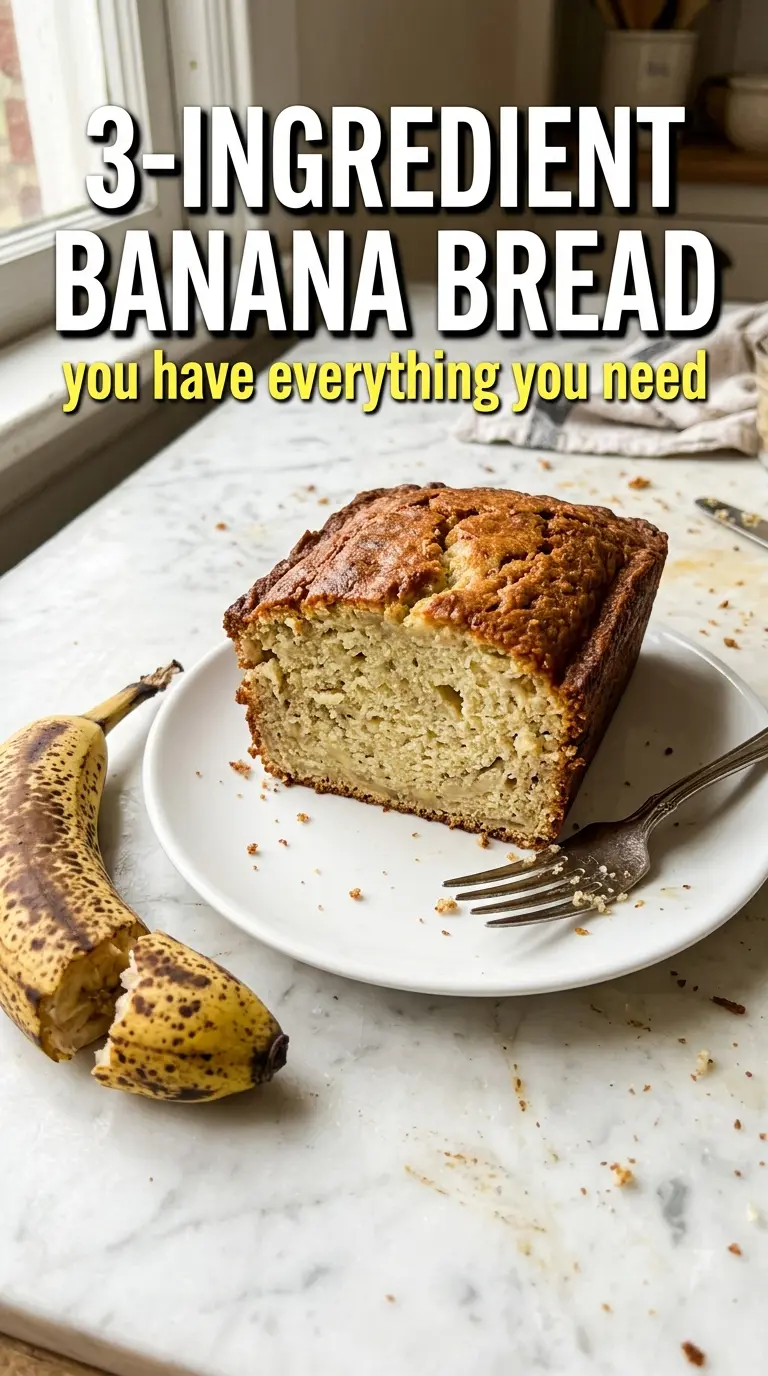
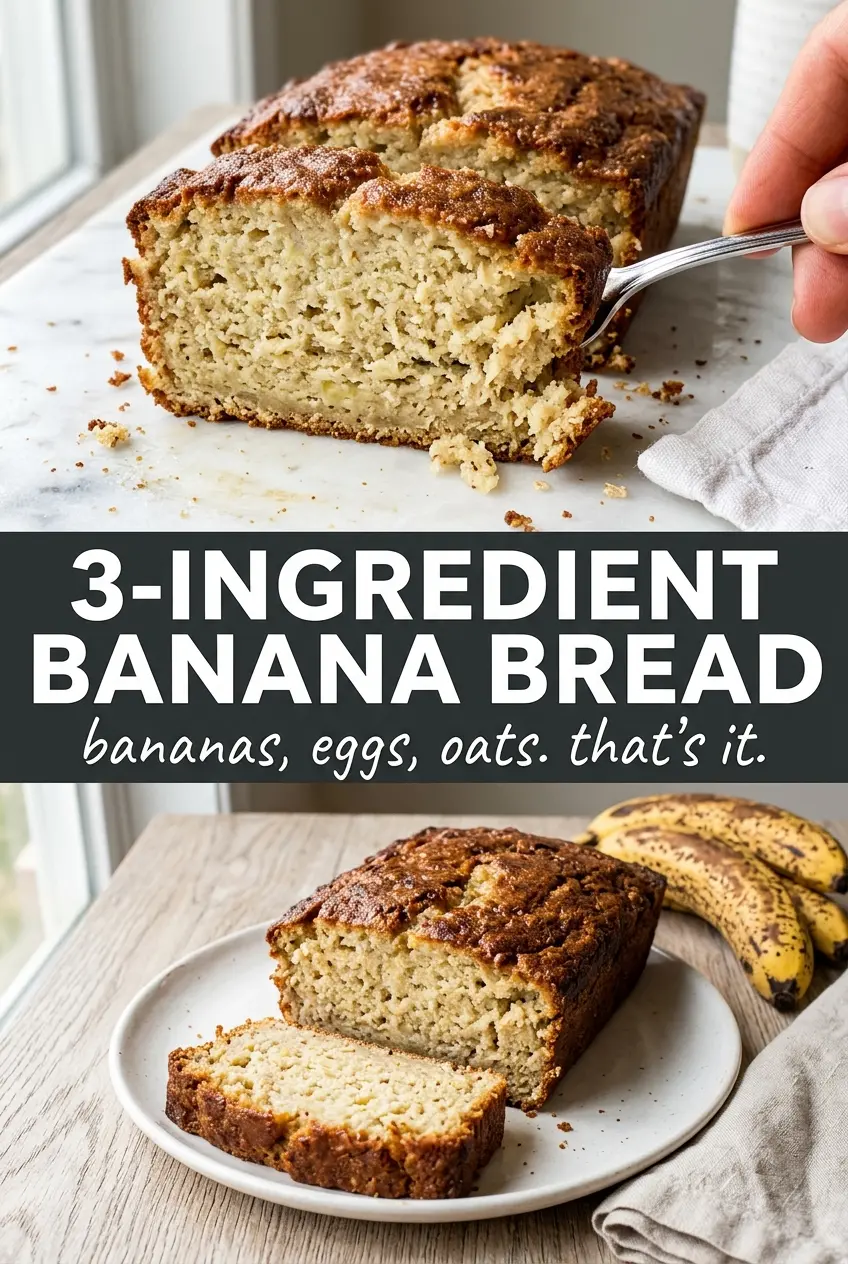
I used the loaf pan and the center set up beautifully at 55 minutes. The crumb was soft and almost cake-like, and mashing the bananas really smooth made the texture come out even all the way through.
Pin this 3-ingredient banana bread for a quick loaf with a soft, golden crumb and almost no cleanup.
The Banana Ripeness That Decides Whether This Loaf Tastes Flat or Rich
With only three ingredients, the bananas aren’t just a flavor here — they’re the moisture, the sweetness, and most of the structure. If they’re only lightly spotted, the bread bakes up pale and a little bland. When they’re deeply speckled and soft enough to mash almost into a puree, the loaf gets that round banana flavor and the tender, cakey texture this recipe is after.
The other place this recipe can go sideways is the mixing. Once the flour goes in, stir only until the dry streaks disappear. Overmixing builds too much strength in the flour, and with a small batter like this, that’s how you end up with a tight, rubbery loaf instead of a soft one.
- Bananas — Three ripe bananas is the right amount for a 9×5 loaf or an 8×8 pan. If yours are large, you may need just under 3 cups mashed; if they’re small, mash and measure so the batter doesn’t get too loose.
- Self-rising flour — This brings the lift and the seasoning in one ingredient. If you swap in all-purpose flour, add the baking powder and salt listed in the recipe card exactly; too little and the bread bakes dense, too much and it tastes sharp.
- Honey or sugar — Honey gives a softer sweetness and a slightly warmer flavor, while sugar keeps the banana flavor cleaner. Both work, but honey adds a touch more moisture, so the loaf may brown a little faster.
What Each Ingredient Is Actually Doing in This Banana Bread or Baked Good
- Bananas (the moisture and sweetness) — Use very ripe bananas for maximum sweetness. Overripe is actually better here.
- Flour (the structure base) — Don’t overmix or the baked good becomes tough. Mix just until dry ingredients are incorporated.
- Sugar (the sweetness) — Ripe bananas are already sweet, so adjust sugar slightly if desired. Don’t reduce too much or it becomes dry.
- Butter or oil (the richness) — This creates tender crumb. Oil makes moister baked goods; butter adds richness.
- Eggs (the binder and lift) — These hold everything together and help the baked good rise. Use room temperature eggs.
- Leavening (baking soda or powder) — This creates rise and light texture. Too much makes it taste bitter.
- Vanilla extract (the flavor enhancer) — This brings out banana flavor. Use quality vanilla extract.
- Optional mix-ins (nuts, chocolate, or dried fruit) — These add texture and prevent one-dimensional flavor.
Getting the Batter Into the Pan Before the Leavening Fades
Mashing the Bananas Smooth
Mash the bananas until there are no big chunks left. A few tiny flecks are fine, but large pieces leave wet pockets in the crumb and can make the center bake unevenly. The riper the bananas, the easier this goes and the sweeter the finished loaf will taste.
Stirring Just Until Combined
Add the honey or sugar first, then the flour, and stir only until the batter looks uniform and no dry flour remains. The batter will be thick and a little lumpy, which is exactly what you want. If you beat it smooth, the loaf will turn tougher and lose that soft, tender bite.
Baking to the Right Center
Spread the batter evenly in the prepared pan and bake until the top is golden and a toothpick inserted in the center comes out clean or with only a few moist crumbs. An 8×8 pan finishes faster than a loaf pan because the batter is shallower, so start checking early if you’re using the square pan. If the top is browning before the center is set, tent it loosely with foil for the last stretch of baking.
Cooling Enough to Slice Cleanly
Let the bread sit in the pan for 10 minutes before lifting it out or slicing it. If you cut it while it’s piping hot, the crumb will smear and seem underbaked even when it’s done. A short rest lets the starches settle so the slices hold together and the texture stays soft instead of gummy.
Three Ways to Adjust This Banana Bread Without Breaking the Texture
Using All-Purpose Flour Instead of Self-Rising
Mix 1.5 cups all-purpose flour with 2.25 teaspoons baking powder and 3/4 teaspoon salt. That combination replaces the lift and seasoning built into self-rising flour, so the loaf still rises properly and doesn’t taste flat. Don’t skip the salt here — without it, the banana flavor tastes dull.
Making It Dairy-Free
This recipe is naturally dairy-free as written, so there’s nothing to change. That’s part of why it works so well as a minimal-ingredient loaf — you get a soft crumb without needing butter, milk, or yogurt.
Swapping Honey for Sugar
Use the same 3 tablespoons either way. Honey gives a slightly moister crumb and a deeper sweetness, while sugar keeps the flavor lighter and a little more classic. If your bananas are very ripe, sugar is the better choice because the loaf won’t need any extra richness.
Making Mini Loaves or Muffins
This batter works well in smaller pans, but the bake time drops fast. Start checking mini loaves around 20 minutes and muffins around 15 minutes. Smaller portions brown sooner, so judge by the center, not just the color on top.
Storage and Reheating
- Refrigerator: Store tightly wrapped for up to 4 days. The crumb gets a little firmer in the fridge, but the flavor stays good.
- Freezer: This banana bread freezes well. Wrap slices or the whole loaf tightly, then freeze for up to 3 months.
- Reheating: Warm slices in the microwave for 10 to 15 seconds or in a low oven until just heated through. Don’t blast it on high heat or it dries out fast.
Questions I Get Asked About This Recipe
3-Ingredient Banana Bread
Ingredients
Equipment
Method
- Preheat the oven to 350°F and grease a 9x5 loaf pan or an 8x8 square pan.
- Mash the bananas as completely smooth as possible, using riper bananas for extra sweetness.
- Stir in the honey and self-rising flour until just combined and no dry flour remains.
- Pour the batter into the prepared pan and smooth the top.
- Bake for 30–35 minutes for an 8x8 square pan, or 50–60 minutes for a 9x5 loaf pan, until the crust is golden and a toothpick comes out clean.
- Cool for 10 minutes before slicing and serve.
- Slice the banana bread and serve warm, optionally with butter.