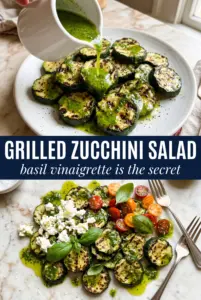
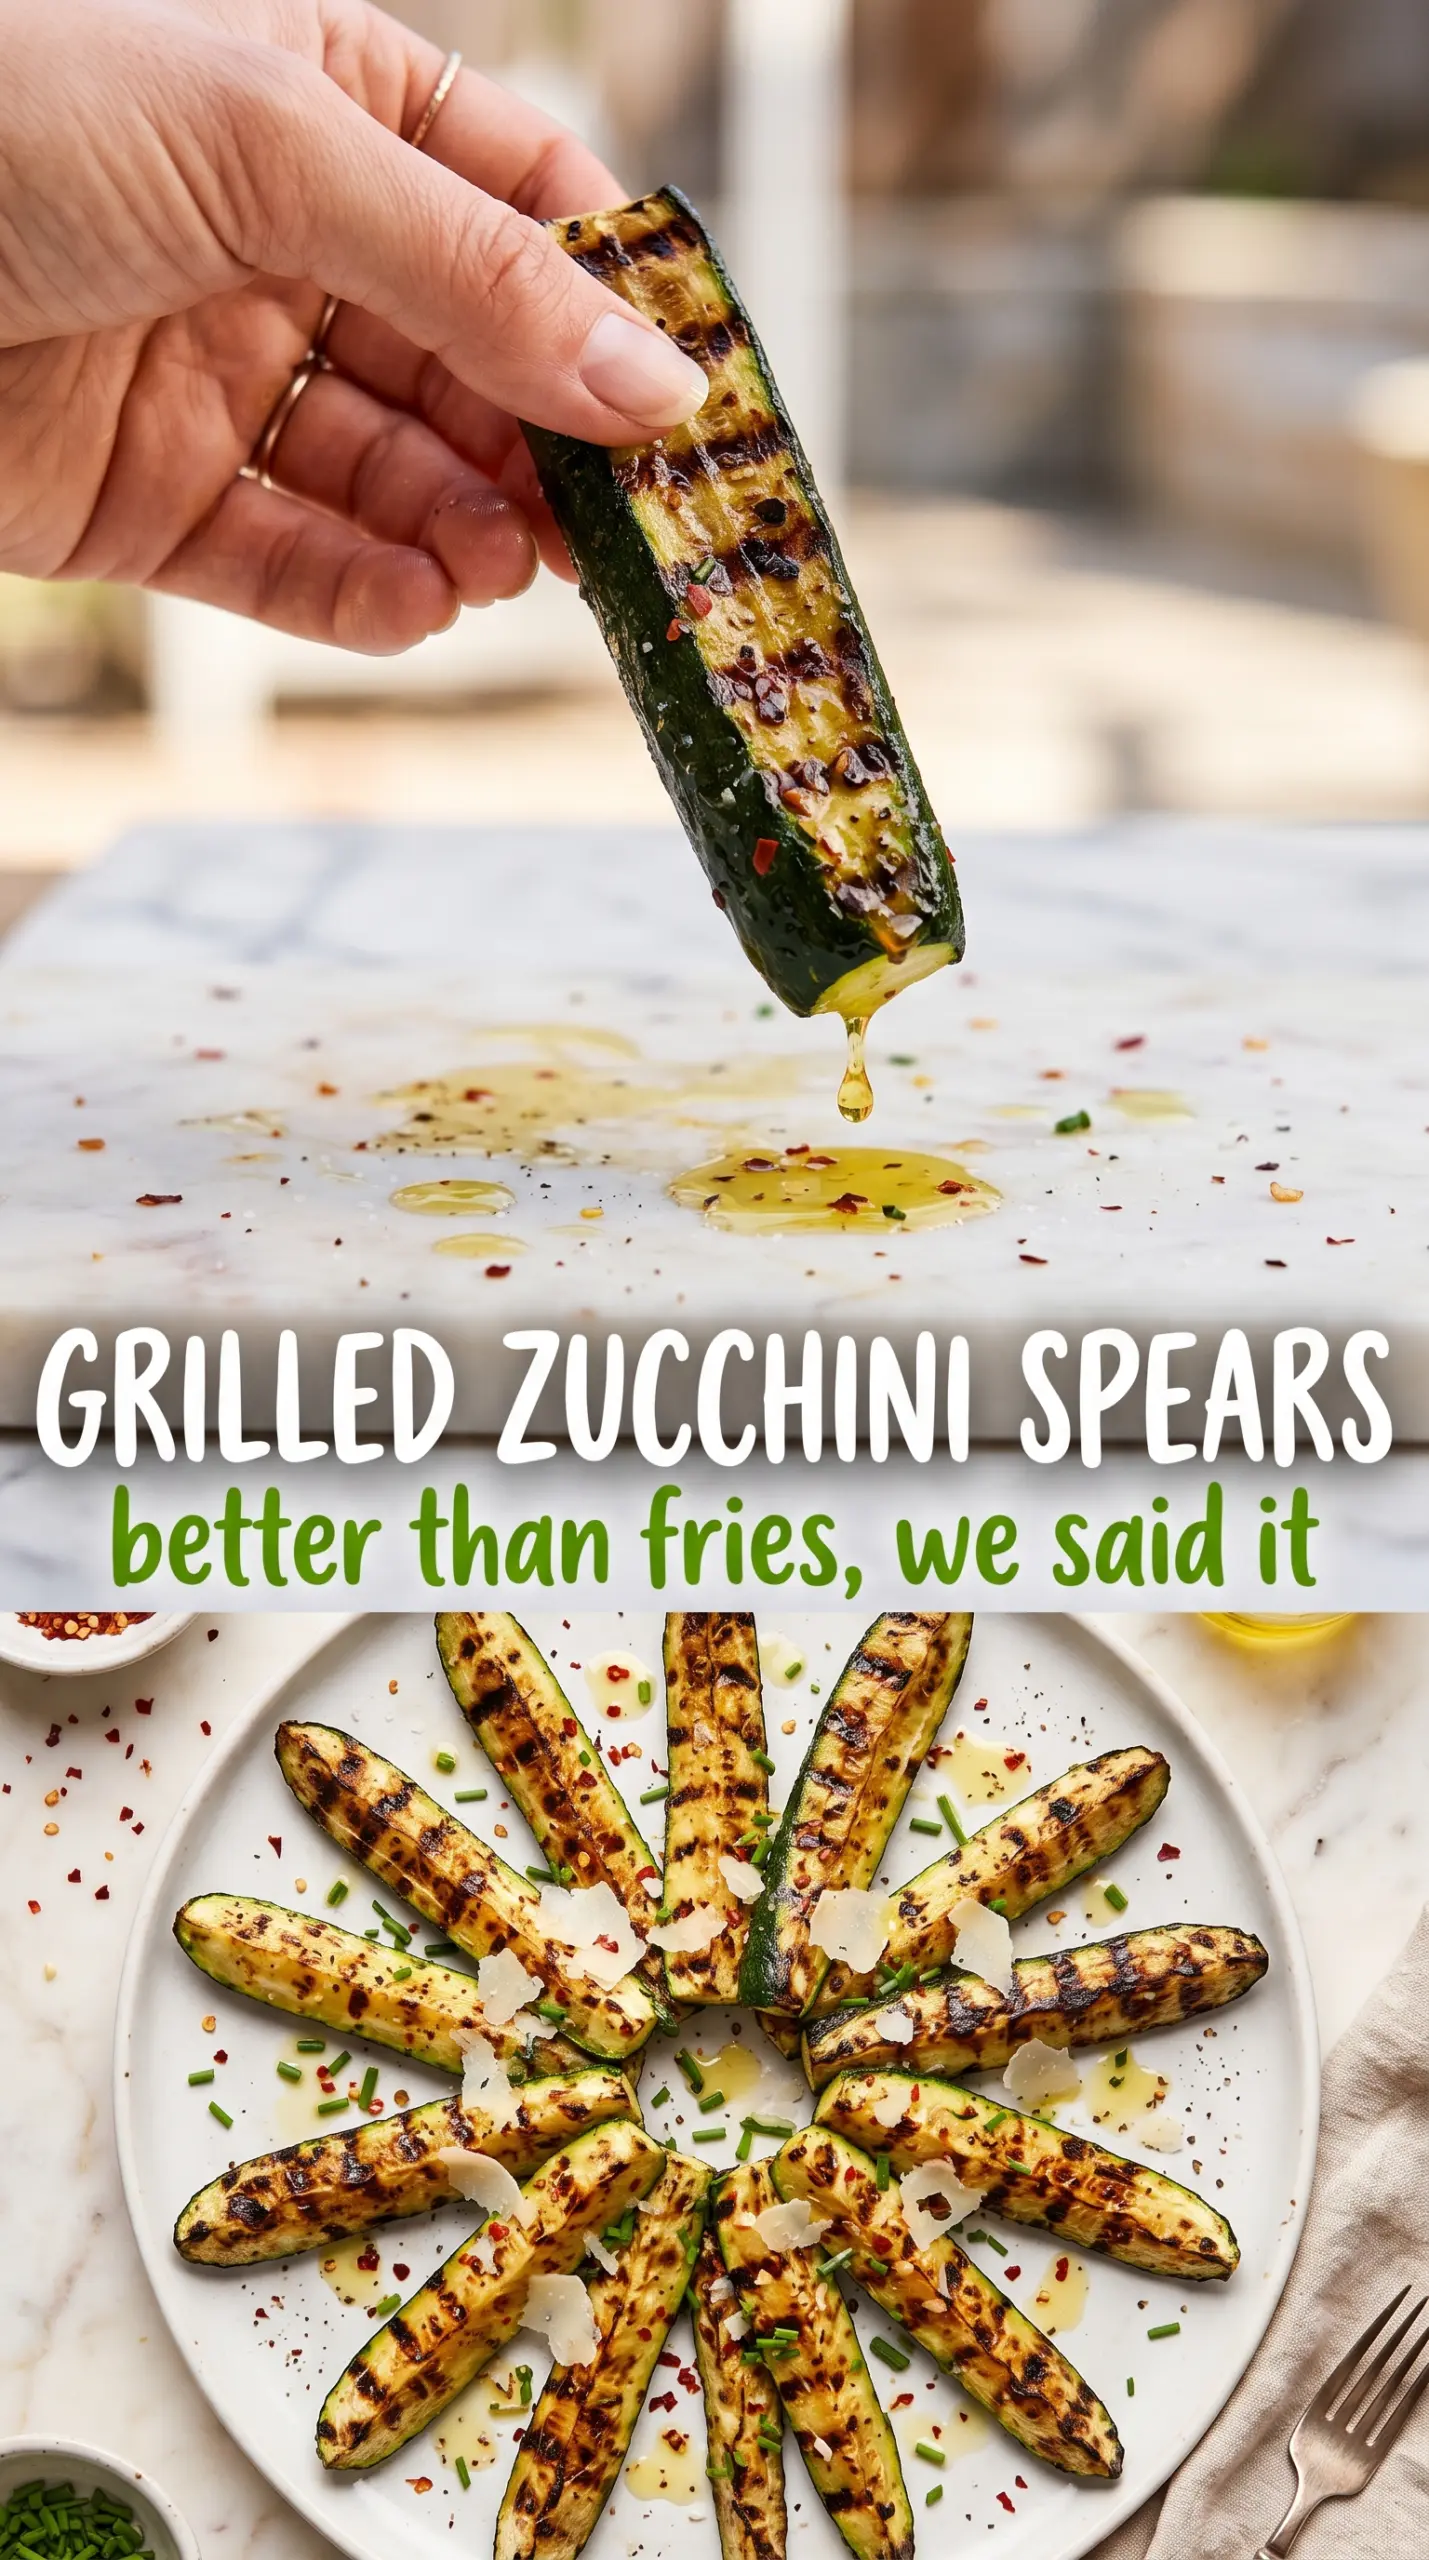
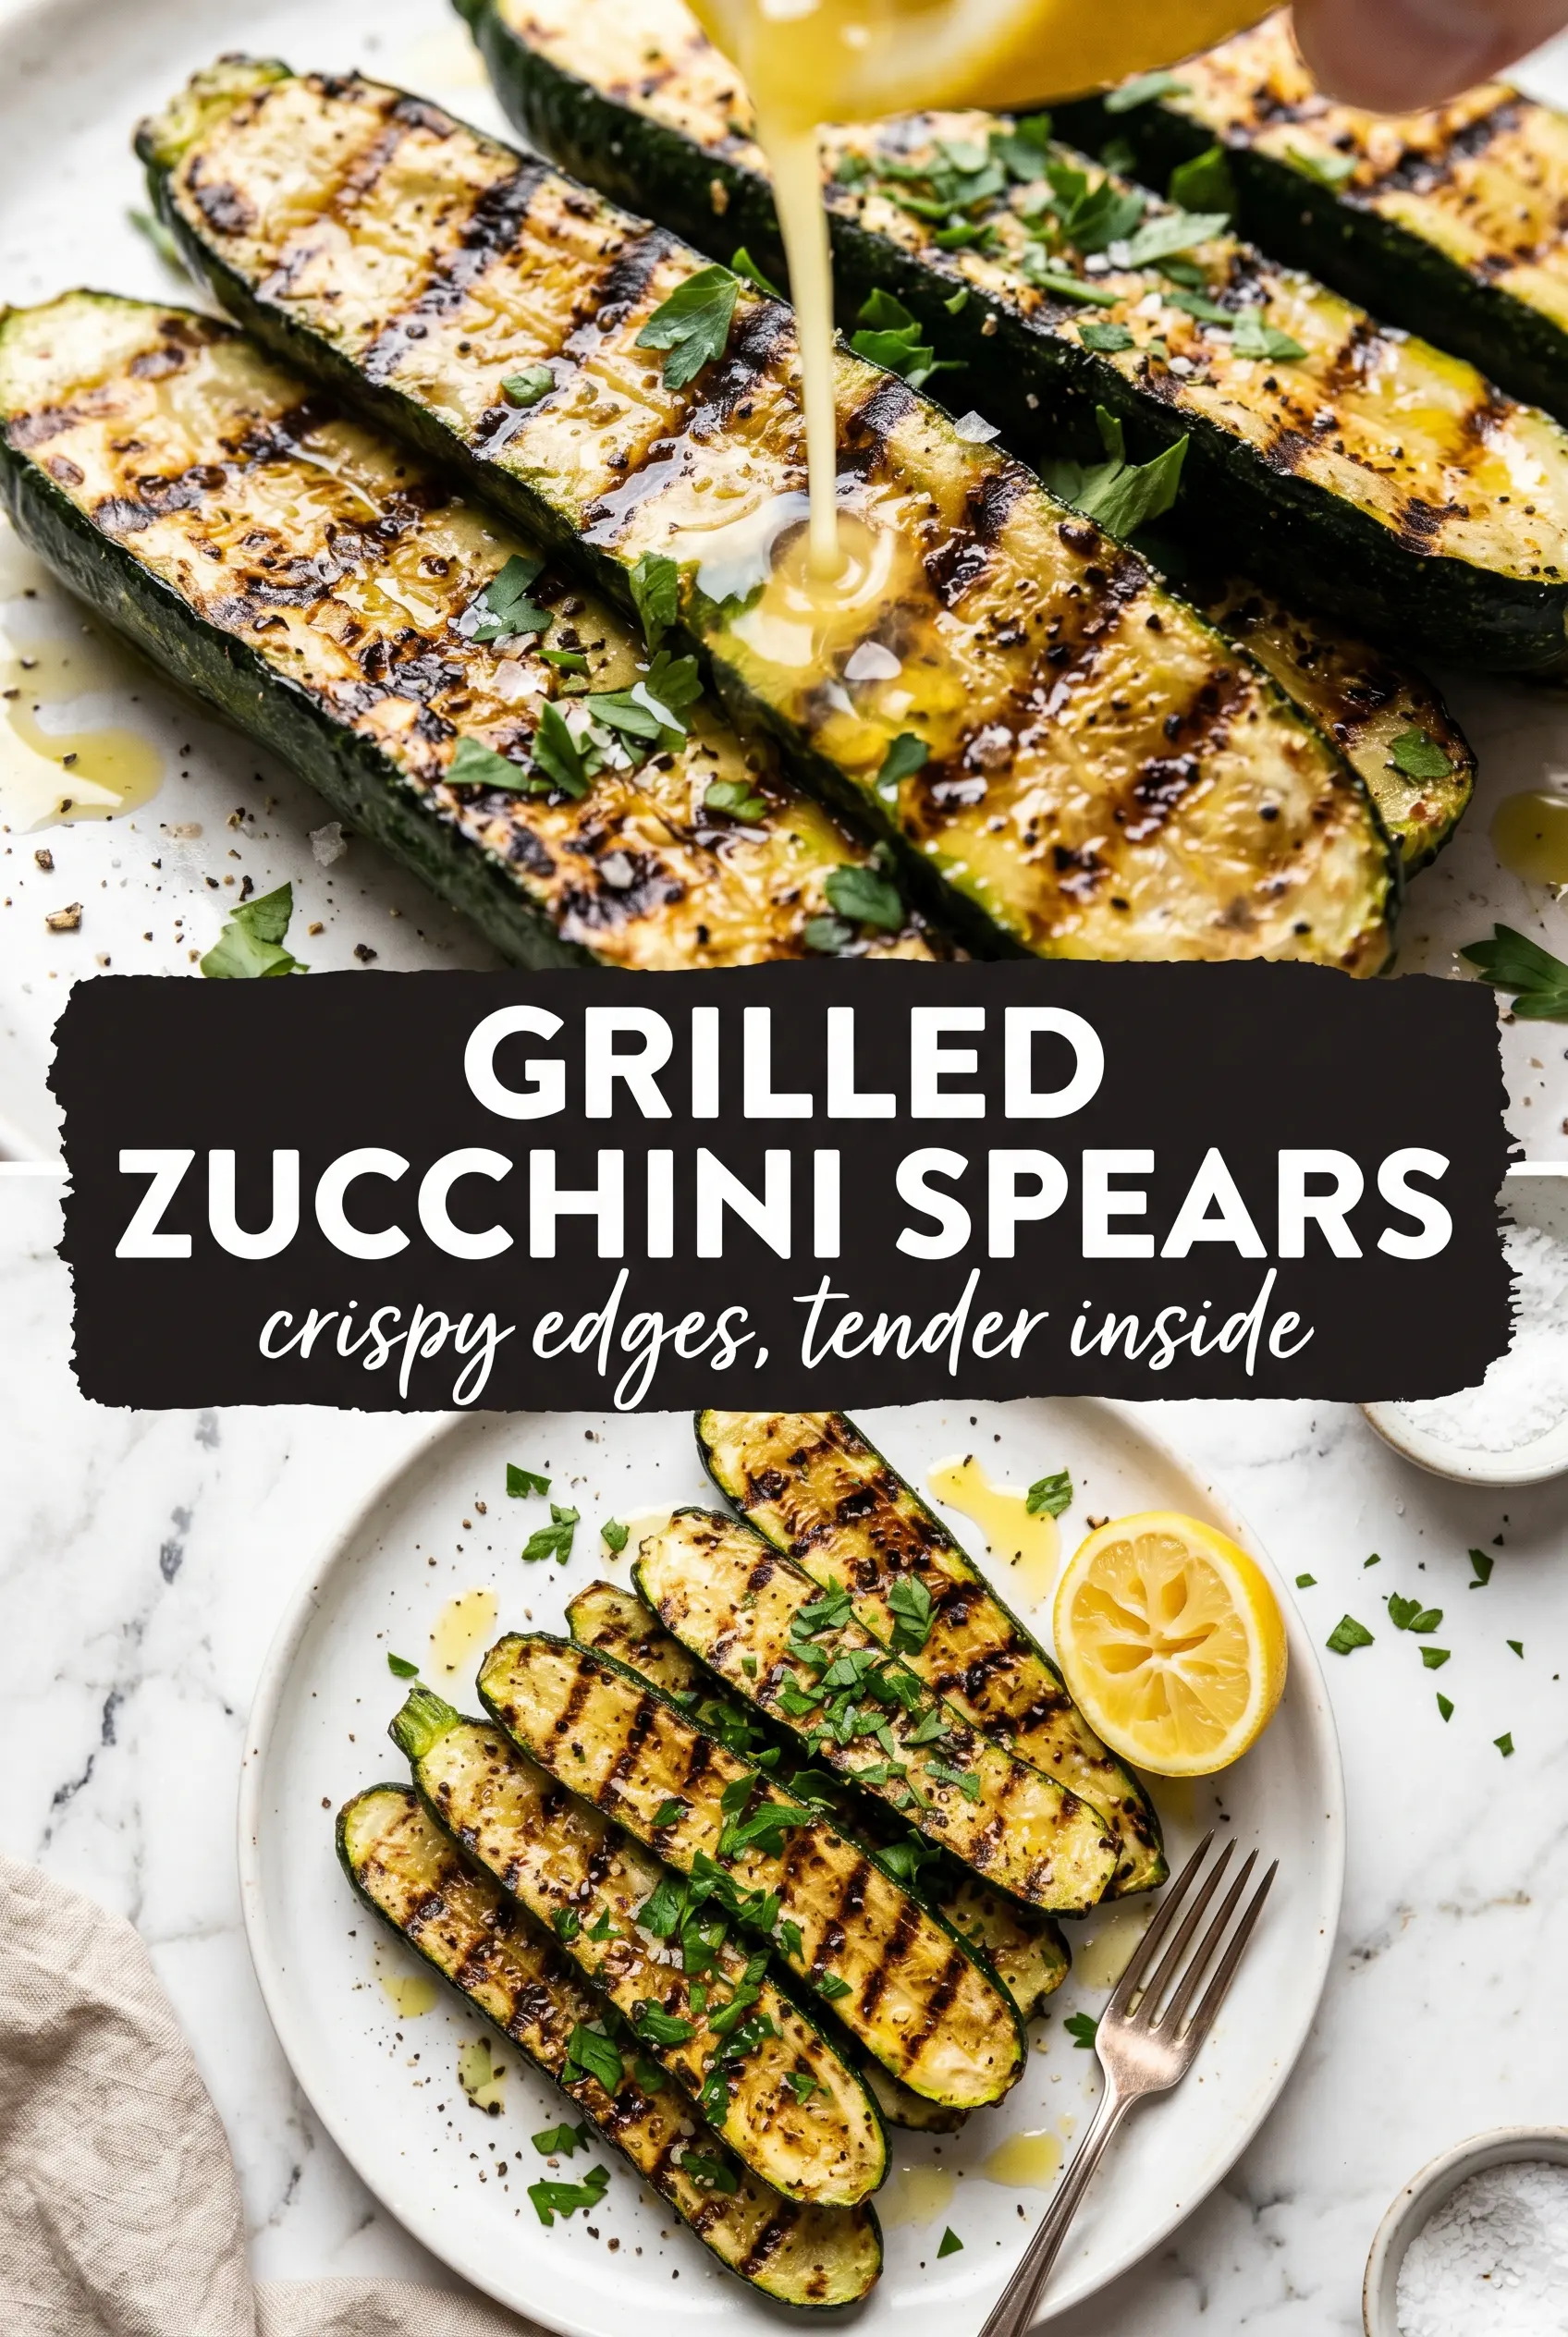
Grilled zucchini spears earn a permanent spot on the table because they stay tender inside while picking up those dark, savory grill marks that make vegetables taste like they were meant to be cooked over fire. The cut-side sear gives you a little sweetness and a little smoke, and the garlic-herb finish keeps the flavor bright instead of bland and watery. They’re quick enough for a weeknight, but they still look like you put in real effort.
The trick is to keep the spears thick enough to hold their shape and to preheat the grill properly before the zucchini ever hits the grates. Zucchini is full of water, so if the grill isn’t hot, it steams and softens before it can caramelize. A light coating of oil, a short marinade, and a fast finish are all it takes to get crisp-edged, fork-tender spears that taste clean and smoky, not soggy.
Below, I’ll walk through the timing that keeps zucchini from going limp, the seasoning combo that actually sticks, and a few smart ways to serve these with whatever else is on the grill.
The zucchini stayed firm enough to pick up off the grill without falling apart, and the garlic and smoked paprika made it taste like a real side dish instead of just vegetables tossed on the grate.
These grilled zucchini spears are at their best when the edges are charred and the center still has a little bite.
The Difference Between Charred Zucchini and Sad, Limp Zucchini
Zucchini fails on the grill in two predictable ways: it either turns soft and watery, or it sticks long enough to tear when you try to flip it. Both problems come from the same thing — too much moisture meeting not enough heat. When you cut the zucchini into spears instead of thin slices, you give it a little structure, which helps it hold up to direct heat and makes it easier to get those clean grill marks.
The other detail that matters is when you season it. The oil and spices need to cling to the surface, not pool in the bottom of a bowl. A light coating is enough here. If the zucchini looks glossy but not dripping, you’re in the right place. On a properly heated grill, the cut sides blister quickly, and that short blast of heat keeps the inside tender instead of collapsing.
- Quartered zucchini spears — Cutting lengthwise gives you a sturdier shape that grills evenly and stays easy to flip. Smaller zucchini work best because they have fewer seeds and less water.
- Olive oil — This helps the seasoning stick and keeps the zucchini from welding itself to the grates. Use a good everyday oil here; extra-virgin is fine, but it doesn’t need to be your most expensive bottle.
- Garlic — Fresh minced garlic brings the savory punch, but it can burn if it’s left in thick clumps. Toss it well with the oil so it coats the spears instead of sitting on the grill surface.
- Smoked paprika and Italian seasoning — This combination gives the zucchini a grilled, herb-forward backbone without needing a long marinade. If you don’t have Italian seasoning, use a mix of dried oregano, basil, and thyme.
- Lemon wedges and parsley — These aren’t decoration. The lemon wakes everything up at the end, and the parsley keeps the finished dish from tasting heavy after the grill.
What Each Ingredient Is Actually Doing in This Grilled Zucchini
- Zucchini (the vegetable base) — Slice lengthwise or into spears. Pat completely dry so it grills instead of steams.
- Oil (the grilling medium) — High-heat oil essential for grill marks and caramelization. Brush on zucchini directly.
- Salt and pepper (the base seasoning) — Apply generously before grilling. Builds flavor foundation.
- Garlic (the aromatics) — Mince fine or use powder so it sticks. Creates flavor depth.
- Acid (lemon, balsamic, or vinegar) — This brightens and prevents flatness. Drizzle after grilling.
- Optional cheese (feta or parmesan) — Adds richness and umami. Crumble or grate over warm zucchini.
- Fresh herbs (basil, oregano, or mint) — These add freshness and aroma. Add after cooking so they stay bright.
- High grill heat (medium-high to high) — Creates grill marks and caramelization. Don’t move too much.
How to Grill the Spears So They Keep Their Shape
Coating the Zucchini Evenly
Toss the spears with oil, garlic, seasoning, paprika, salt, and pepper until every cut surface looks lightly coated. Don’t drown them in oil or the garlic will slide off and burn on the grates. A bowl with enough room to toss helps here, because crowded zucchini usually ends up seasoned on one side and bare on the other.
Heating the Grill Until It’s Ready
Preheat the grill to medium-high and oil the grates before the zucchini goes on. If the grates aren’t hot enough, the spears stick and go soft before they get color. You want an immediate sizzle when the cut side hits the metal, not a slow hiss.
Getting the First Cut-Side Sear
Lay the spears cut-side down and leave them alone for 3 to 4 minutes. That first contact is where the char marks happen, and moving them too soon tears the surface before it has time to release. When they’re ready, they’ll lift cleanly and show dark grill lines with lightly softened edges.
Finishing on the Skin Side
Flip to the second cut side for about 2 minutes, then finish skin-side down for another 2 minutes. The goal is tender zucchini with a little structure left in the center, not a collapsed spear. Pull them as soon as the skin side is just softened and the cut edges look browned, because they keep cooking after they come off the grill.
Make It Spicier
Add a pinch of red pepper flakes or a little cayenne to the oil mixture. That gives the zucchini a sharper finish without overpowering the grill flavor, and it pairs especially well with cool dipping sauces like ranch or tzatziki.
Dairy-Free and Naturally Gluten-Free
The spears themselves already fit both needs, so the only thing to watch is the dip. Choose a dairy-free aioli or serve them with lemon and herbs alone if you want the cleanest result. The flavor stays bright and grilled, and nothing about the texture suffers.
Swap the Seasoning for a Different Profile
Use chili powder and cumin instead of Italian seasoning if you want a warmer, smokier side dish for burgers or tacos. You’ll lose the herb finish, but you’ll gain a deeper grilled flavor that works well with creamy sauces and lime.
Storage and Reheating
- Refrigerator: Store leftovers in an airtight container for up to 3 days. The texture softens a bit, but the flavor holds up well.
- Freezer: I don’t recommend freezing grilled zucchini. It turns watery and mushy after thawing.
- Reheating: Reheat in a hot skillet or a 400°F oven for a few minutes until warmed through. The biggest mistake is microwaving it, which pushes the last bit of moisture out and leaves the spears limp.
Answers to the Questions Worth Asking
Grilled Zucchini Spears
Ingredients
Equipment
Method
- Toss the zucchini spears with olive oil, minced garlic, dried Italian seasoning, smoked paprika, salt, and black pepper until evenly coated and glossy.
- Preheat the grill to medium-high and lightly oil the grates so the spears release cleanly.
- Place the spears cut-side down and grill 3–4 minutes until char marks form and the surface looks lightly browned.
- Rotate and grill the other cut side for 2 more minutes, watching for developing grill marks and gentle browning.
- Finish skin-side down for 2 minutes until the spears are tender-crisp and the edges look charred.
- Remove the spears and arrange them on a serving plate in a fanned pattern if desired.
- Garnish with chopped fresh parsley, add lemon wedges for squeezing, and serve with your dipping sauce of choice.