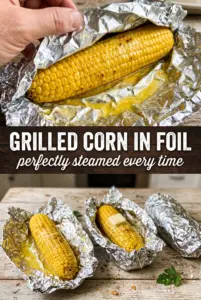
Grilled corn in foil comes off the grill tender, juicy, and packed with buttery garlic flavor right down to the last kernel. The foil does the work of a little steam chamber, which means the corn cooks evenly without drying out or getting scorched while the butter melts into every crease on the cob.
What makes this version worth keeping around is the balance: enough heat from the grill to give the corn that fresh-off-the-fire taste, but enough protection from the foil to keep the butter and herbs where they belong. Softened butter is the key here. It spreads cleanly, carries the garlic and herbs across the whole cob, and turns into the sauce while the corn cooks instead of sliding off into the coals.
Below you’ll find the small details that matter most, from how tightly to seal the foil to the best way to unwrap the corn without losing that hot, herb-scented butter. If you’ve ever ended up with dry corn or butter that never made it past the wrapper, this method fixes both.
The corn came out so juicy and the garlic-herb butter soaked into every bite. I liked that the foil kept it tender without burning, and the kids actually ate a whole ear each.
Grilled corn in foil with garlic herb butter is the kind of side dish that disappears before the burgers do.
The Foil Is Doing More Than Protecting the Corn
The biggest mistake with grilled corn is treating the foil like a cover instead of a cooking method. If the packet is loosely wrapped, steam leaks out and the corn can dry before it turns tender. If it is wrapped too tightly with no room for the butter to circulate, you end up with flavor sitting in one spot instead of coating the whole cob.
Heavy-duty foil matters here because it holds a better seal and stands up to the grill without tearing. The goal is a tight packet with enough space inside for heat and butter to move around. That trapped steam softens the kernels while the butter and herbs perfume every bite.
- Heavy-duty aluminum foil — Thin foil tears too easily once you start turning the packets on the grill. Heavy-duty foil gives you a cleaner seal and less chance of losing steam.
- Softened butter — Cold butter won’t spread evenly, and melted butter runs off before the grill can help it soak in. Softened butter clings to the corn and carries the garlic and herbs across the whole surface.
- Fresh garlic — Garlic powder won’t give the same sharp, savory bite here. Minced fresh garlic softens as it cooks and blends into the butter instead of tasting dusty.
- Fresh thyme and parsley — Dried herbs can work in a pinch, but fresh herbs stay brighter and better under the heat. If you swap in dried, use about one-third the amount and rub the thyme lightly between your fingers before mixing it in.
What Each Ingredient Is Actually Doing in This Corn Dish
- Fresh corn (the star vegetable) — Use the freshest corn available. Peak season (summer) tastes best.
- Butter (the flavor carrier) — This clings to corn and carries seasonings. Room temperature spreads easier.
- Seasonings (salt, pepper, spices) — Apply generously. Build flavor boldly so it stands out.
- Optional cheese (cotija, parmesan, or cheddar) — This adds umami depth. Crumble for even distribution.
- Acid (lime juice or vinegar) — This prevents the dish from tasting one-dimensional. Essential for fresh flavor.
- Herbs and aromatics (cilantro, garlic, or chili powder) — These add personality. Balance so nothing overpowers.
- Proper cooking (gentle heat, don’t overboil) — Overcooked corn becomes mushy. Stop while still tender-crisp.
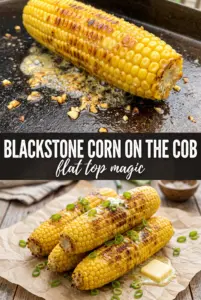
- Grilling or foil method (if using) — This adds flavor through caramelization. Creates smokiness and depth.
Getting the Corn Tender Without Burning the Butter
Building the Herb Butter
Mix the softened butter with the garlic, thyme, parsley, salt, and pepper until the herbs are evenly spread through it. The butter should be soft enough to smear like frosting, not melted into a pool. If it is too firm, it will clump on the corn and leave bare spots; if it is melted, it will run to the bottom of the foil before cooking starts.
Wrapping for Steam
Lay each ear of corn on its own sheet of foil and coat it generously with the butter mixture. Wrap the foil tightly and crimp the ends so the packet stays sealed when you turn it on the grill. The packet should look snug, not crushed flat, because the little pocket of air and steam inside is what cooks the corn all the way through.
Grilling to the Right Tenderness
Place the packets over medium heat and turn them every 5 to 7 minutes so the corn cooks evenly from all sides. After about 20 minutes, start checking one packet by carefully opening the seam a little; the kernels should be plump and tender when pierced, but still have a little spring. If the corn is still starchy or stiff, reseal it and give it a few more minutes rather than blasting it with higher heat, which can make the butter separate and scorch the foil.
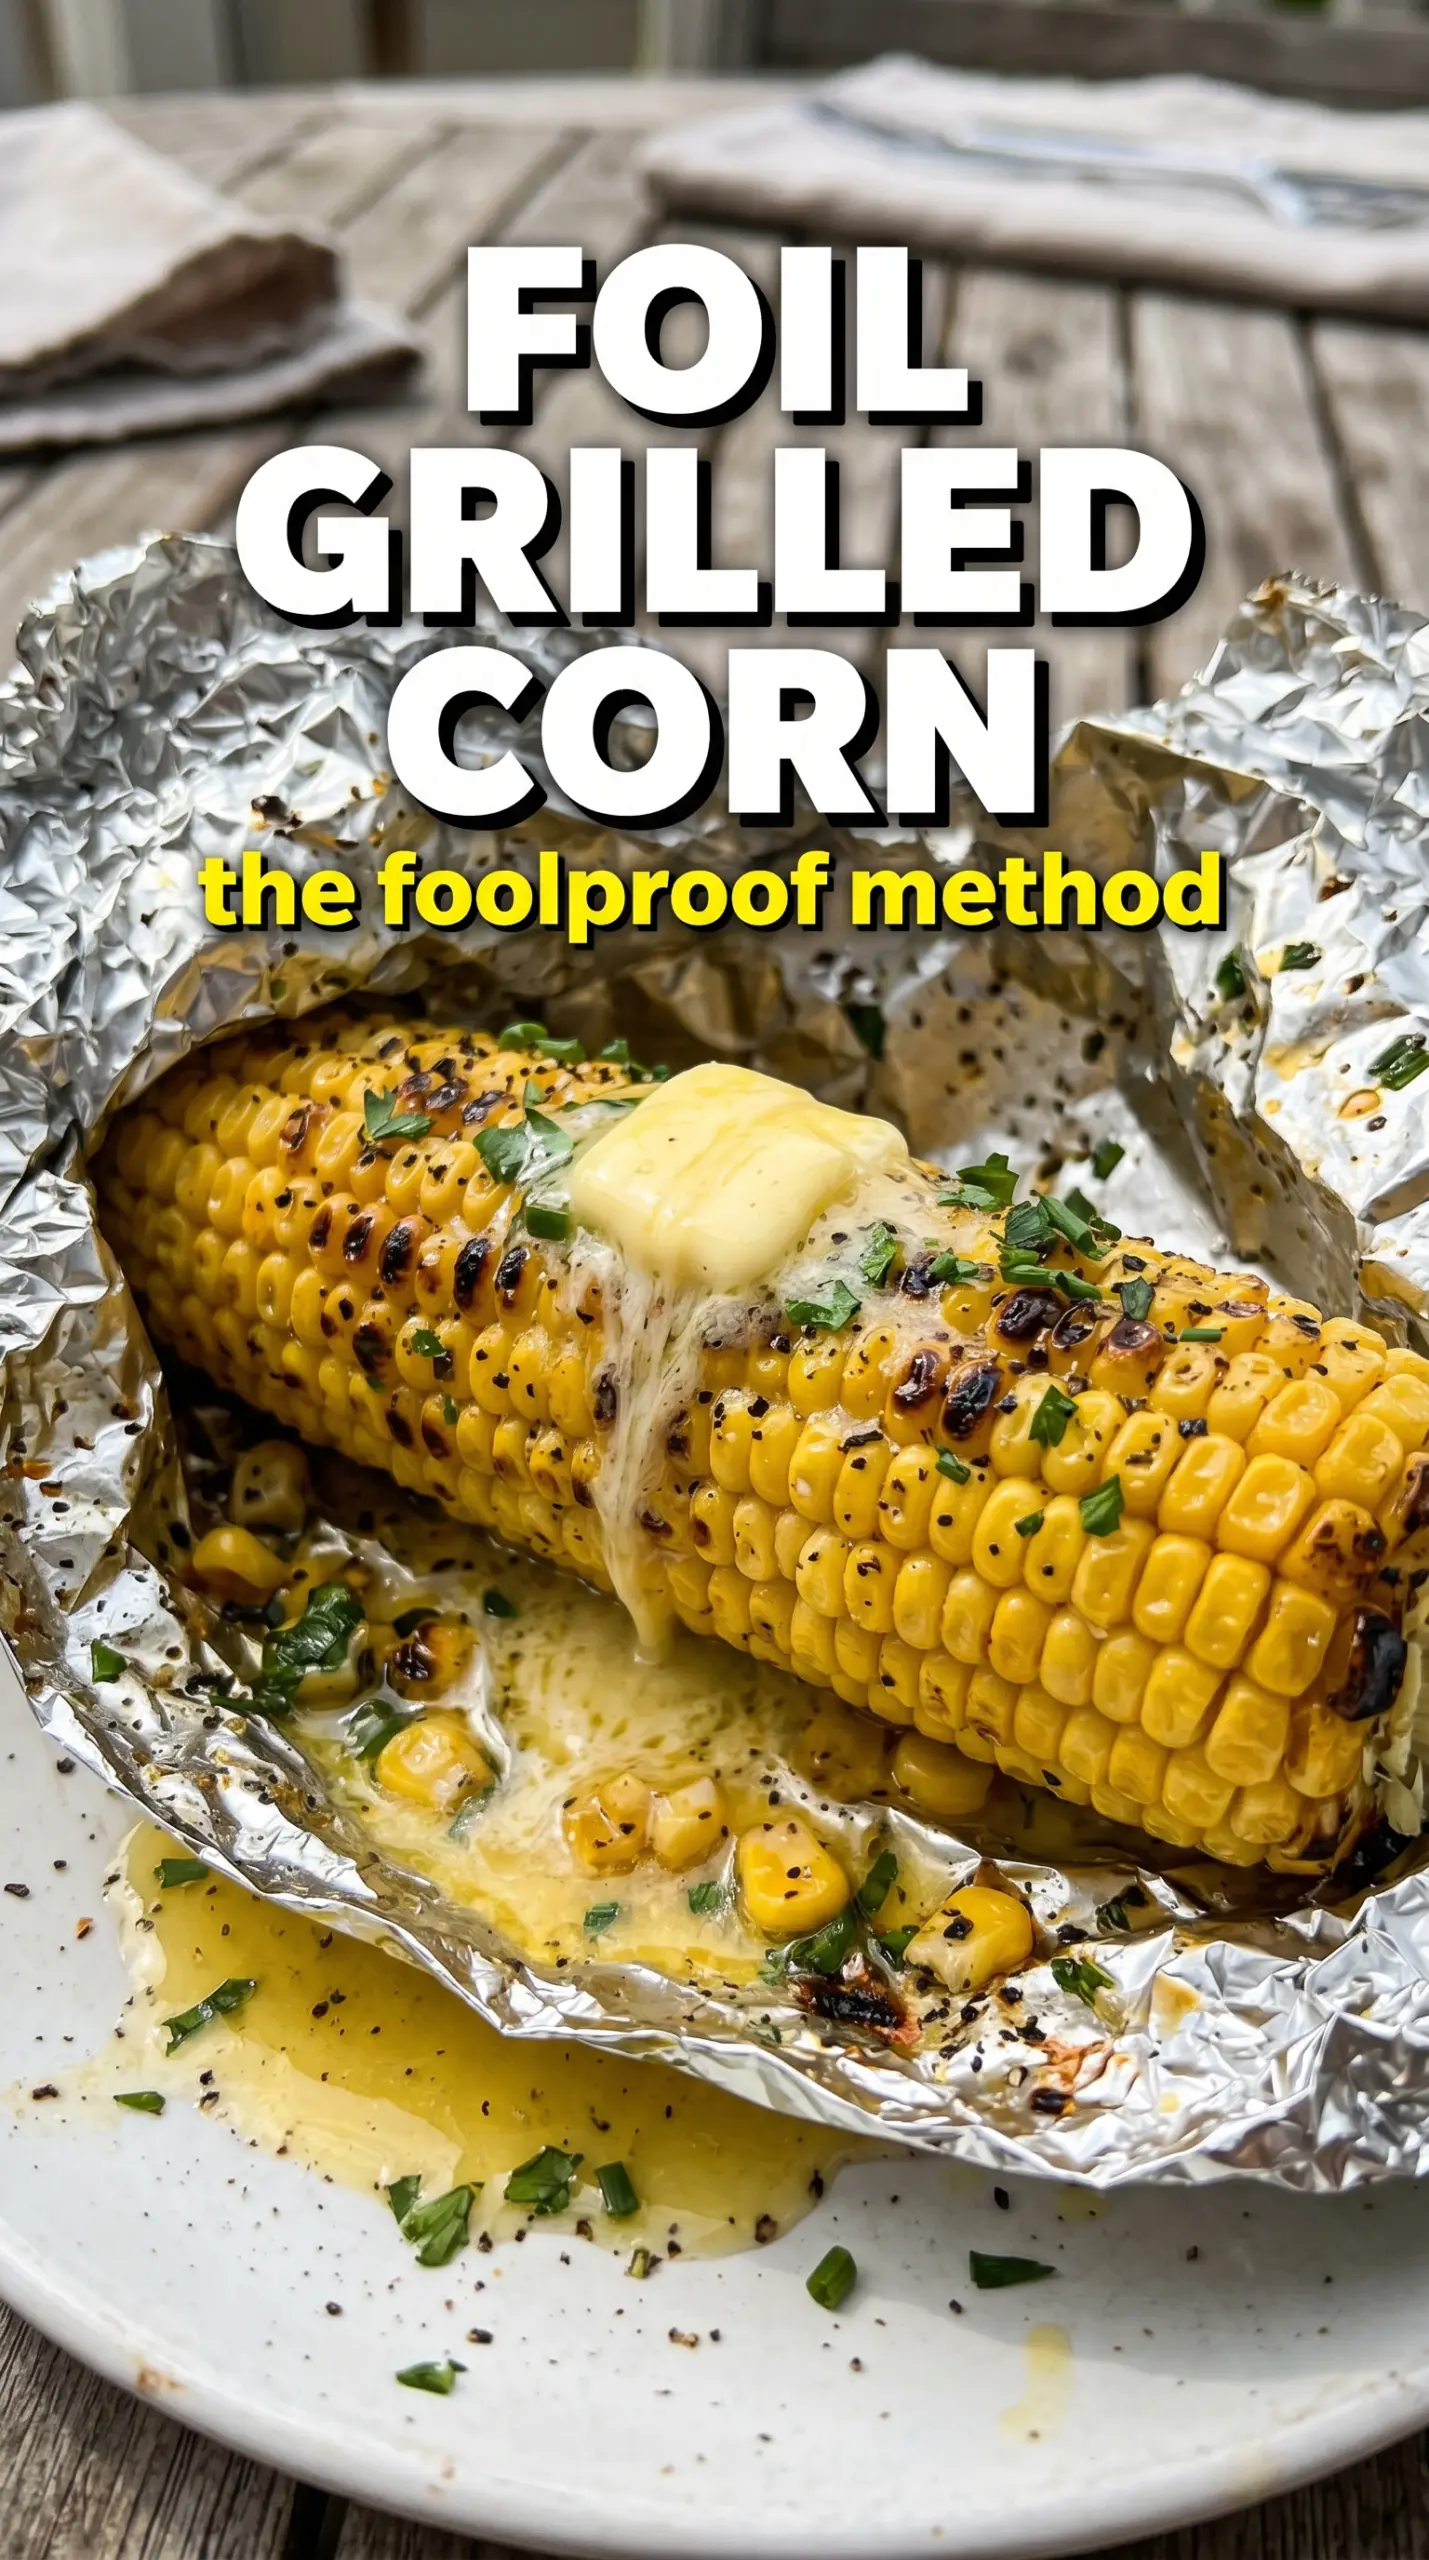
Serving With the Butter Still Inside
Unwrap the corn at the table and let the steam rush out before you take the first bite. That last bit of melted herb butter in the foil is worth spooning over the top. If the kernels look dry when you open the packet, the corn likely needed a tighter seal or a few extra minutes on the grill, because the steam is what carries the butter flavor through the cob.
Three Ways to Make This Grilled Corn Work for Different Tables
Dairy-Free Grilled Corn
Use a plant-based butter that softens well and melts evenly. The flavor will be a little cleaner and less rich than dairy butter, but the garlic and herbs still carry the dish. Choose a brand that tastes good on its own, since this recipe doesn’t hide a bland substitute.
Make It Smokier and More BBQ-Friendly
Add a pinch of smoked paprika or a little chili powder to the butter mixture. That gives the corn a deeper grilled flavor without changing the texture. This works especially well alongside burgers, ribs, or anything with a sweet barbecue sauce.
No Fresh Herbs on Hand
Use dried thyme and dried parsley, but cut the amount down to about one-third because dried herbs concentrate fast in the packet. Rub them between your fingers before mixing so they release more of their aroma. The result is still good, just a little less bright than the fresh-herb version.
Storage and Reheating
- Refrigerator: Store leftover corn in an airtight container for up to 3 days. The kernels will soften a bit more as they sit, but the flavor stays good.
- Freezer: Freezing isn’t my first choice because the corn loses some of its snappy texture after thawing. If you do freeze it, cut the kernels off the cob first and freeze them in a sealed bag for later use in soups or chowders.
- Reheating: Reheat gently in the microwave with a small splash of water covered loosely, or wrap in foil and warm on a low grill. High heat dries the kernels fast and pushes the butter out instead of back into the corn.
Questions I Get Asked About This Recipe

Grilled Corn on the Cob in Foil
Ingredients
Equipment
Method
- Preheat the grill to medium heat, around 375°F, so it’s ready before the packets go on. Keep the lid closed as much as possible to maintain steady heat.
- Mix the softened butter with minced garlic, thyme leaves, parsley, salt, and black pepper until evenly combined. The mixture should look uniform and spreadable.
- Place each husked corn ear on a sheet of heavy-duty aluminum foil and spread herb butter generously all over. Make sure butter reaches kernels on all sides for glossy results.
- Wrap each ear tightly in the foil, sealing the ends well to trap steam. Fold and pinch the seams firmly so no steam leaks out.
- Grill the foil-wrapped corn for 20–25 minutes, turning every 5–7 minutes for even steaming. Time it so the corn is tender throughout by the end of grilling.
- Carefully unwrap the foil at the table and serve with any remaining herb butter. Watch for steam that will be hot when the packets are opened.