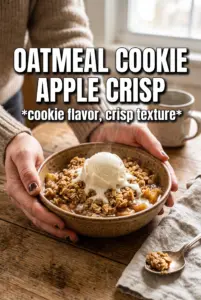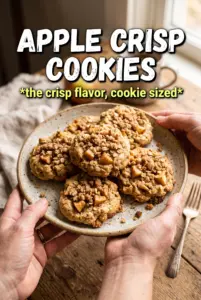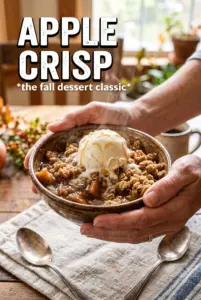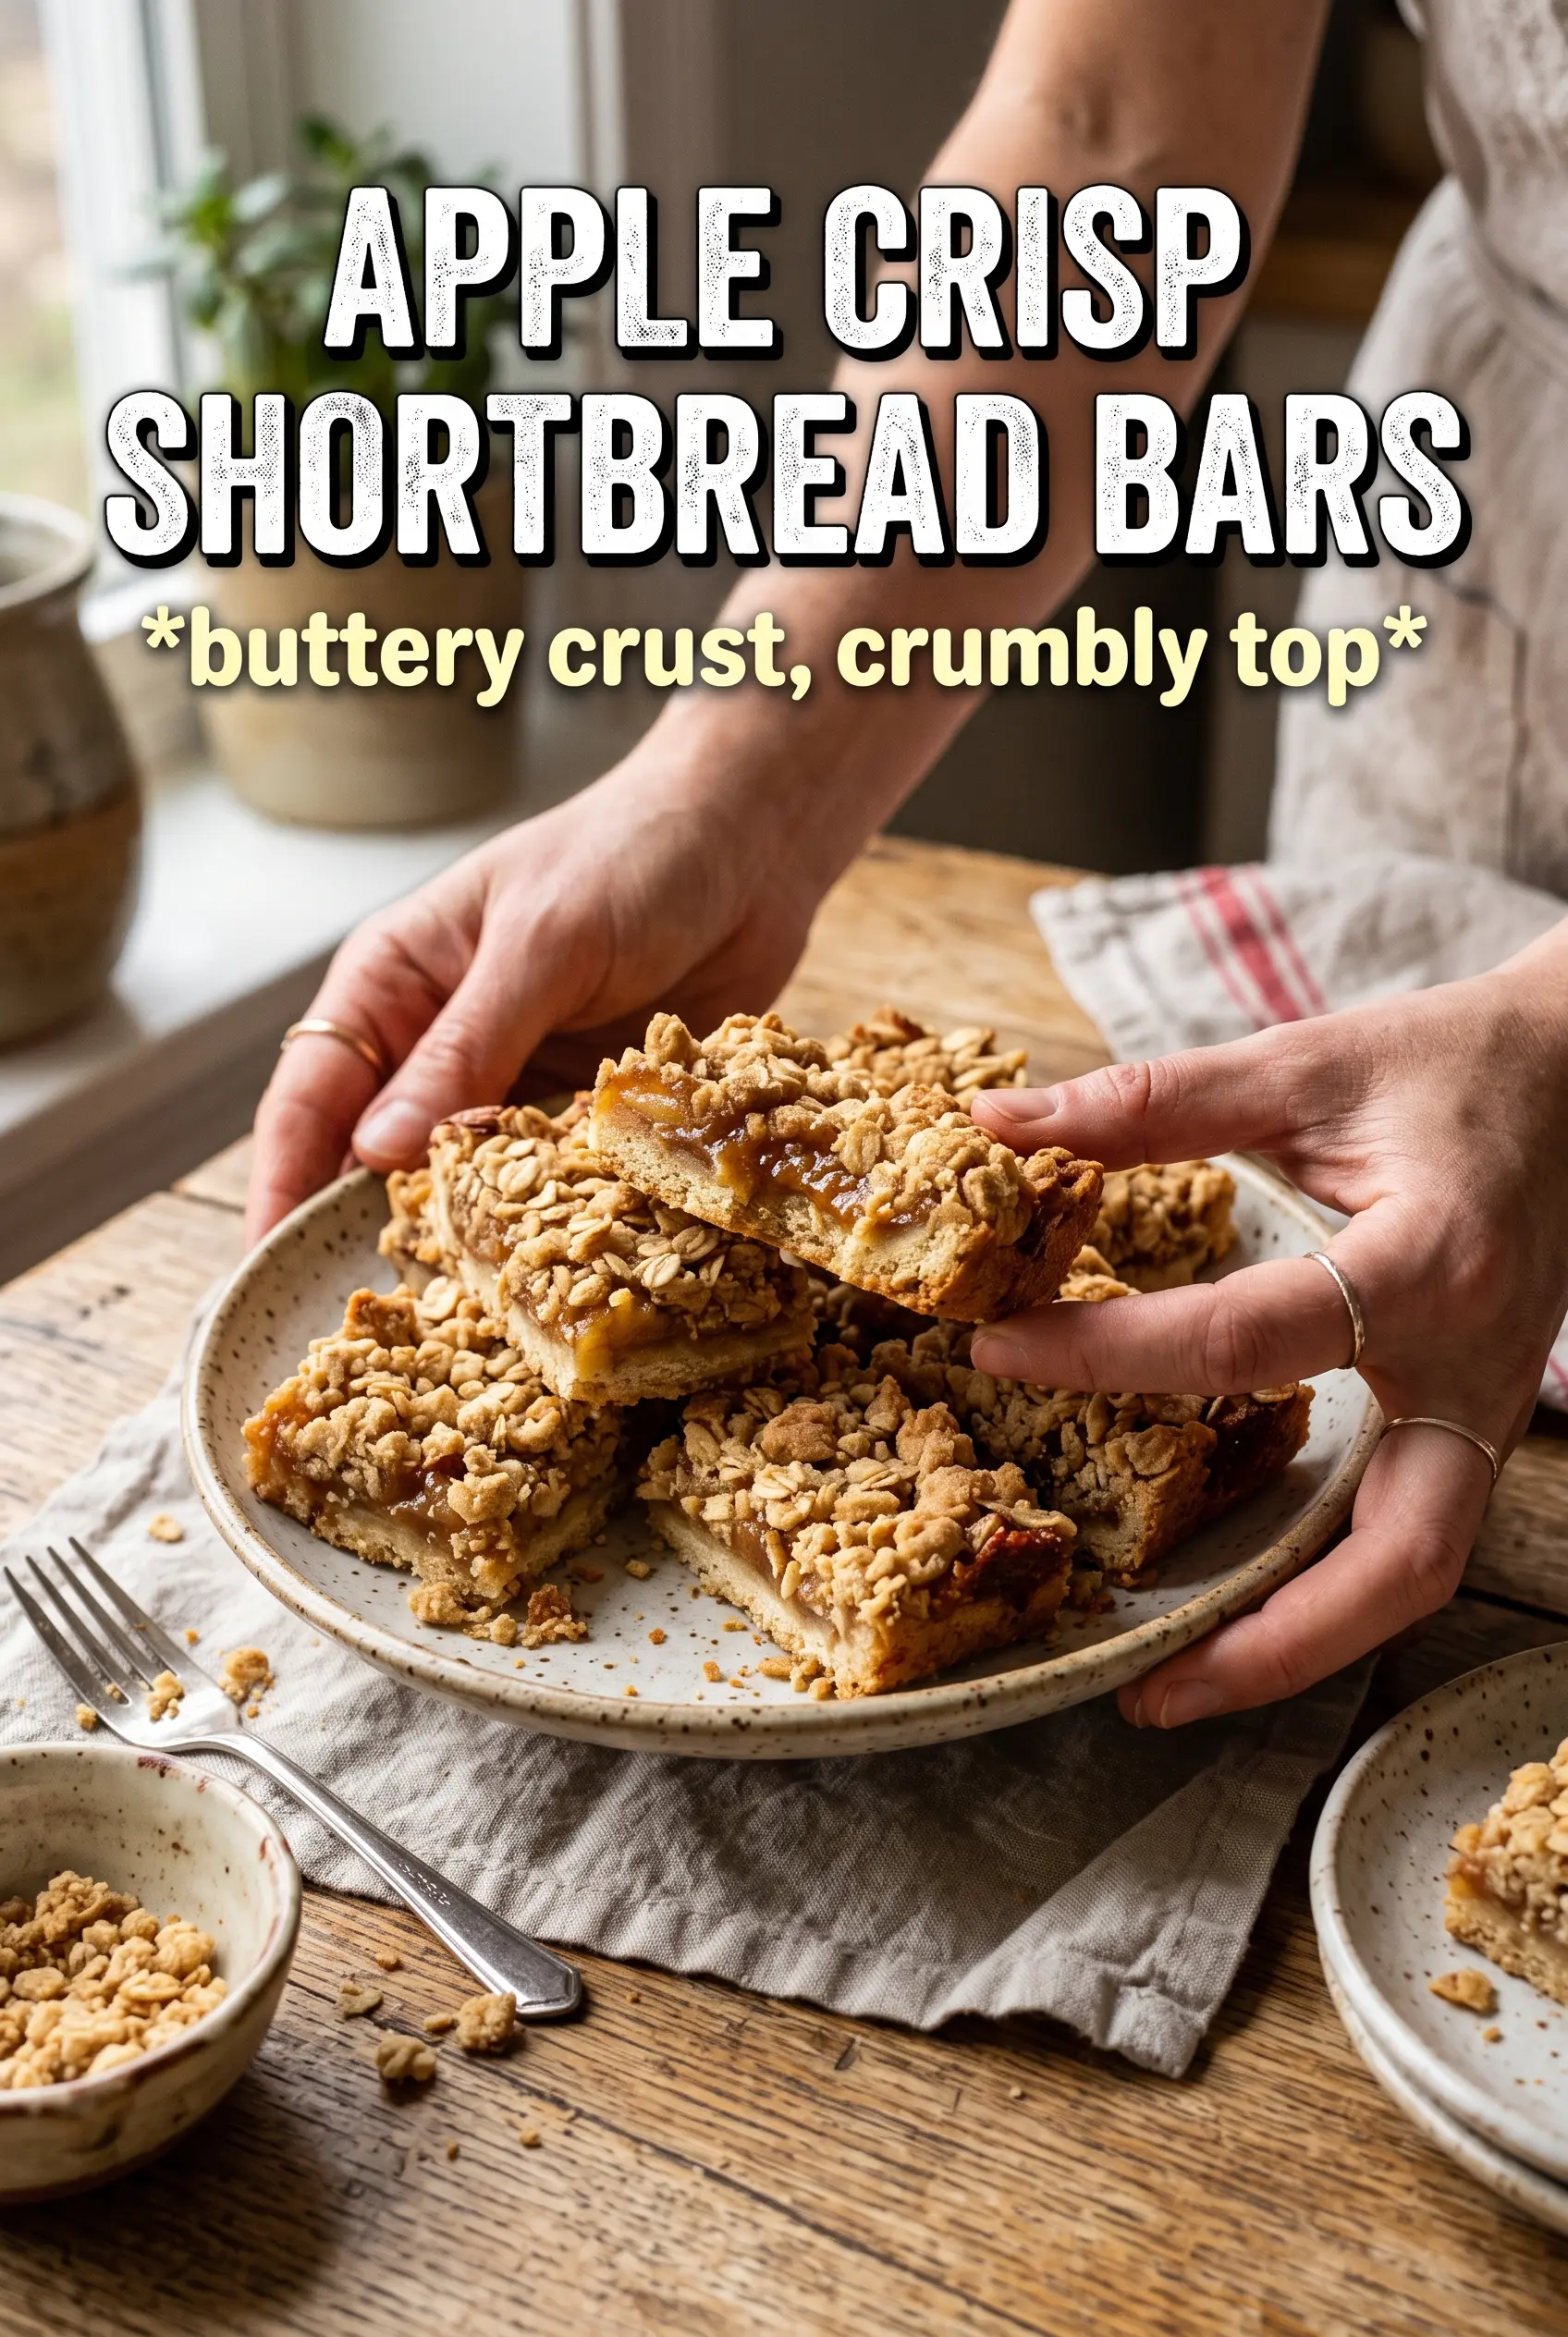
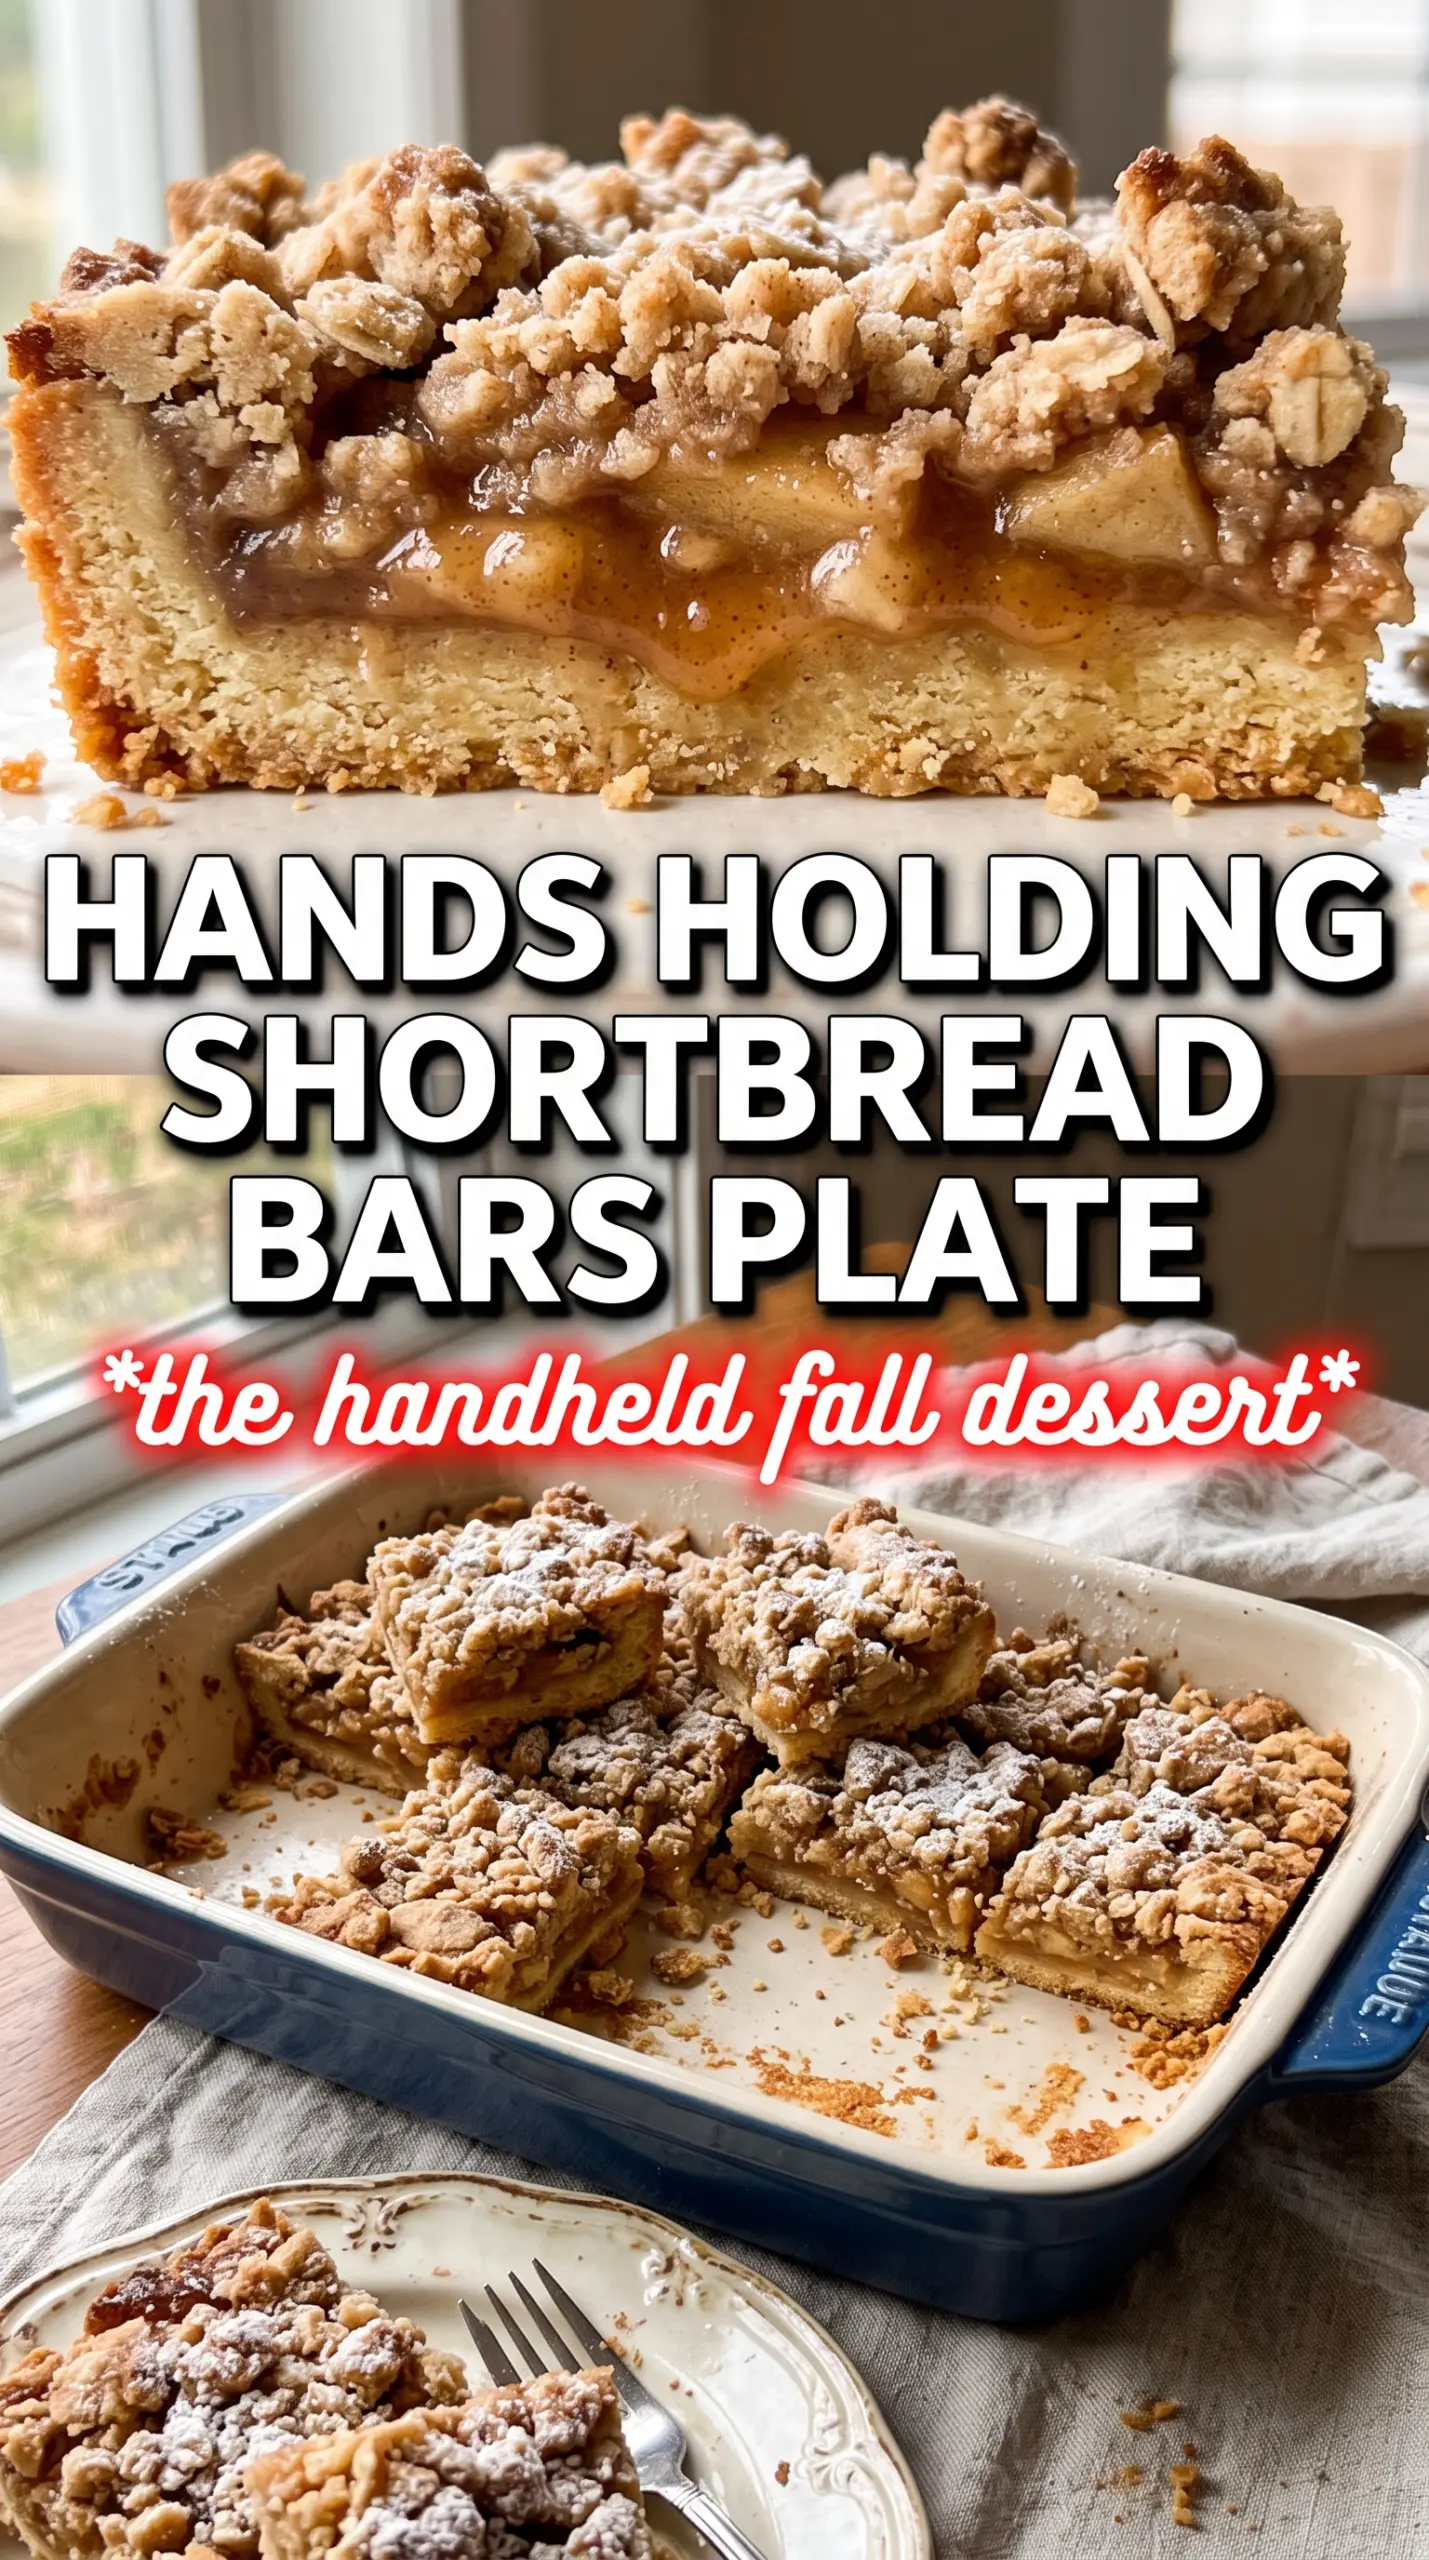
Buttery shortbread, tender spiced apples, and a craggy oat crumble make these apple crisp shortbread bars the kind of dessert people keep cutting “just one more square” from. The base bakes up sturdy enough to hold its shape, but it still melts on the tongue, and the apple layer stays juicy without turning watery. A drizzle of caramel at the end pulls everything together without making the bars cloying.
What makes these work is the order. The bottom layer gets a quick head start in the oven, so it stays firm under the fruit instead of going soft. The apples are tossed with cornstarch before they go in, which thickens the juices as they bake and keeps the bars neat when you slice them. Using the same mixture for the base and the crumble also gives the whole pan a consistent buttery oat flavor with very little extra work.
Below you’ll find the small details that matter here: how tightly to press the base, how to tell when the apples have baked long enough, and how to get clean slices after the bars cool. The method is simple, but the timing is what keeps the layers distinct.
The crumble stayed crisp on top and the apple layer set up enough to cut clean squares the next day. I warmed each bar for a few seconds and the caramel soaked into the edges just enough without making them soggy.
Save these apple crisp shortbread bars for when you want a buttery oat crumble and a clean-slicing apple filling in one pan.
The Trick to Bars That Slice Clean Instead of Collapsing
Most apple bars fail for one of two reasons: the base goes soft, or the filling runs everywhere when you cut into it. The fix here is a par-baked crust and a lightly thickened apple layer. That first bake sets the shortbread so it can hold up under the fruit, and the cornstarch catches the apple juices before they turn the pan into syrup.
The other thing that matters is cooling. Warm fruit bars always look messy, even when they taste great. Give these time to cool all the way down so the filling firms up and the crumble stays on top instead of sliding off the second you lift a square.
- Cold butter — This is what gives the base its short, crumbly texture. If the butter softens before it hits the oven, the crust turns dense instead of sandy and crisp. Cubing it cold and cutting it in quickly keeps little pockets of butter in the mixture, which melt in the oven and create that tender bite.
- Rolled oats — They add structure and that classic crisp topping texture. Quick oats can work in a pinch, but the bars will be a little finer and less rustic. Old-fashioned oats hold their shape better and give you the best crumb.
- Apples — Use a firm baking apple that keeps its shape, like Honeycrisp, Granny Smith, or a mix of both. Soft apples turn mushy before the topping browns. Slice them thin so they soften evenly and layer without leaving gaps.
- Cornstarch — This is what turns the apple juices into a glossy filling instead of a puddle. Flour can thicken too, but it leaves the filling a little cloudier and heavier. Cornstarch gives a cleaner set and a brighter finish.
What Each Ingredient Is Actually Doing in This Recipe
- Primary ingredient (the star) — Quality matters most. Choose the best you can find.
- Cooking medium (oil, butter, or broth) — This carries flavors and prevents dryness.
- Seasonings (salt, pepper, spices, herbs) — Layer flavors so nothing overpowers. Build depth gradually.
- Aromatics (garlic, onion, herbs) — Cook with fat to bloom flavors. Become the foundation.
- Supporting ingredients — Complement the main ingredient without overpowering it.
- Sauce or liquid (if applicable) — Brings flavors together. Balance richness with acid.
- Acid (lemon, vinegar, wine, or other) — Brightens and prevents flat-tasting results.
- Final finish (garnish, glaze, or sauce) — Prevents one-dimensional taste and adds visual appeal.
Building the Layers So the Filling Stays Juicy, Not Watery
Mixing the Crumble Base
Stir the flour, oats, brown sugar, cinnamon, and salt first, then cut in the cold butter until the mixture looks like coarse crumbs with some larger pebbles. Those bigger pieces bake into the best crunchy topping, so don’t chase a perfectly uniform texture. If the butter starts to smear, stop and chill the bowl for a few minutes before continuing.
Pressing and Prebaking the Crust
Reserve about a cup of the crumble mixture for the top, then press the rest firmly and evenly into the parchment-lined pan. A loose press gives you a crumbly base that falls apart under the filling. Bake it just until the surface looks set and slightly dry at the edges; it should not be deeply browned yet.
Layering the Apples
Toss the sliced apples with sugar, cinnamon, nutmeg, cornstarch, and lemon juice until every slice looks lightly coated. Spread them over the hot crust in an even layer so the filling cooks at the same pace across the pan. If the apples mound too high in the center, the middle stays underbaked while the edges overcook.
Finishing with the Crumble Top
Scatter the reserved crumble over the apples without packing it down. You want open pockets where the heat can move through and crisp the top as the fruit bubbles underneath. Bake until the topping is deep golden and you can see the filling bubbling at the edges and through the middle, which tells you the cornstarch has done its job.
Three Ways to Make These Bars Fit What You Have on Hand
Gluten-Free Version
Swap the all-purpose flour for a good 1:1 gluten-free baking blend. The oats already bring a lot of texture, so the bars still feel sturdy and crisp, though the base may be a little more delicate when warm. Let them cool fully before slicing so the crumb has time to set.
Dairy-Free Swap
Use a plant-based butter stick that bakes well in place of the unsalted butter. Stick-style margarine or tub spreads usually hold too much water and can make the crust greasy. The bars will still bake up crumbly and rich, though the flavor will be a little less buttery.
Change the Fruit
Pear slices work well if you want a softer, slightly floral filling. Use firmer pears and keep the cornstarch the same, since pears release a lot of juice as they bake. Peaches can work too, but they need a little less baking time and taste best with a bit of extra lemon juice.
Storage and Reheating
- Refrigerator: Store in an airtight container for up to 5 days. The crumble softens a little in the fridge, but the bars still hold their shape well.
- Freezer: These freeze well. Wrap individual bars tightly and freeze for up to 2 months, then thaw in the fridge overnight.
- Reheating: Warm a bar in a 300F oven for 8 to 10 minutes if you want the topping crisp again. The microwave works for speed, but it softens the crumble, so use short bursts only if you don’t mind a softer texture.