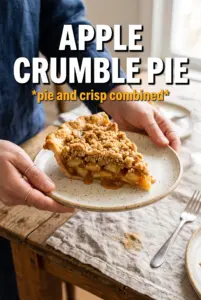
Apple crisp mini cheesecakes give you the best parts of two desserts in one tidy little package: a buttery graham crust, smooth cheesecake filling, soft cinnamon apples, and a golden oat crumble that stays crisp on top. Each bite has a clean contrast of textures instead of the heavy, one-note richness that can happen when cheesecake and fruit topping get piled together too thickly.
What makes this version work is the order of the layers. The crust gets a quick bake so it sets before the filling goes in, and the apples are cooked just enough to soften and release their juices without turning watery in the oven. The crumble is mixed with cold butter so it bakes up into little browned bits instead of melting into the cheesecake.
Below, I walk through the small details that keep the centers creamy, the topping balanced, and the crust from going soggy. If you’ve ever had mini cheesecakes crack, sink, or turn mushy under fruit, the tips in this post will help.
The crumble stayed crisp on top even after chilling overnight, and the cheesecake filling baked up smooth with no cracks. I took these to a potluck and there wasn’t one left.
Save these apple crisp mini cheesecakes for the dessert table nights when you want creamy centers, baked apples, and a crisp oat topping in one bite-sized treat.
The Shortcut That Keeps the Crust Crisp Under the Cheesecake
Mini cheesecakes fail for one of two reasons: the crust turns soggy, or the filling bakes too fast and puffs, then collapses. A five-minute pre-bake fixes the crust before the wet filling has a chance to soak in. That small step matters more here than in a full-size cheesecake because the crust is thinner and the surface area is smaller, so there’s less room for sloppy layering.
The other trap is overbaking. These should come out when the centers are just set with a slight wobble in the middle. They finish firming as they cool, and that gentle carryover heat is what keeps the texture creamy instead of dense. If the tops look fully puffed and matte all the way across, they’ve gone a little too far.
What Each Layer Is Doing in These Mini Cheesecakes
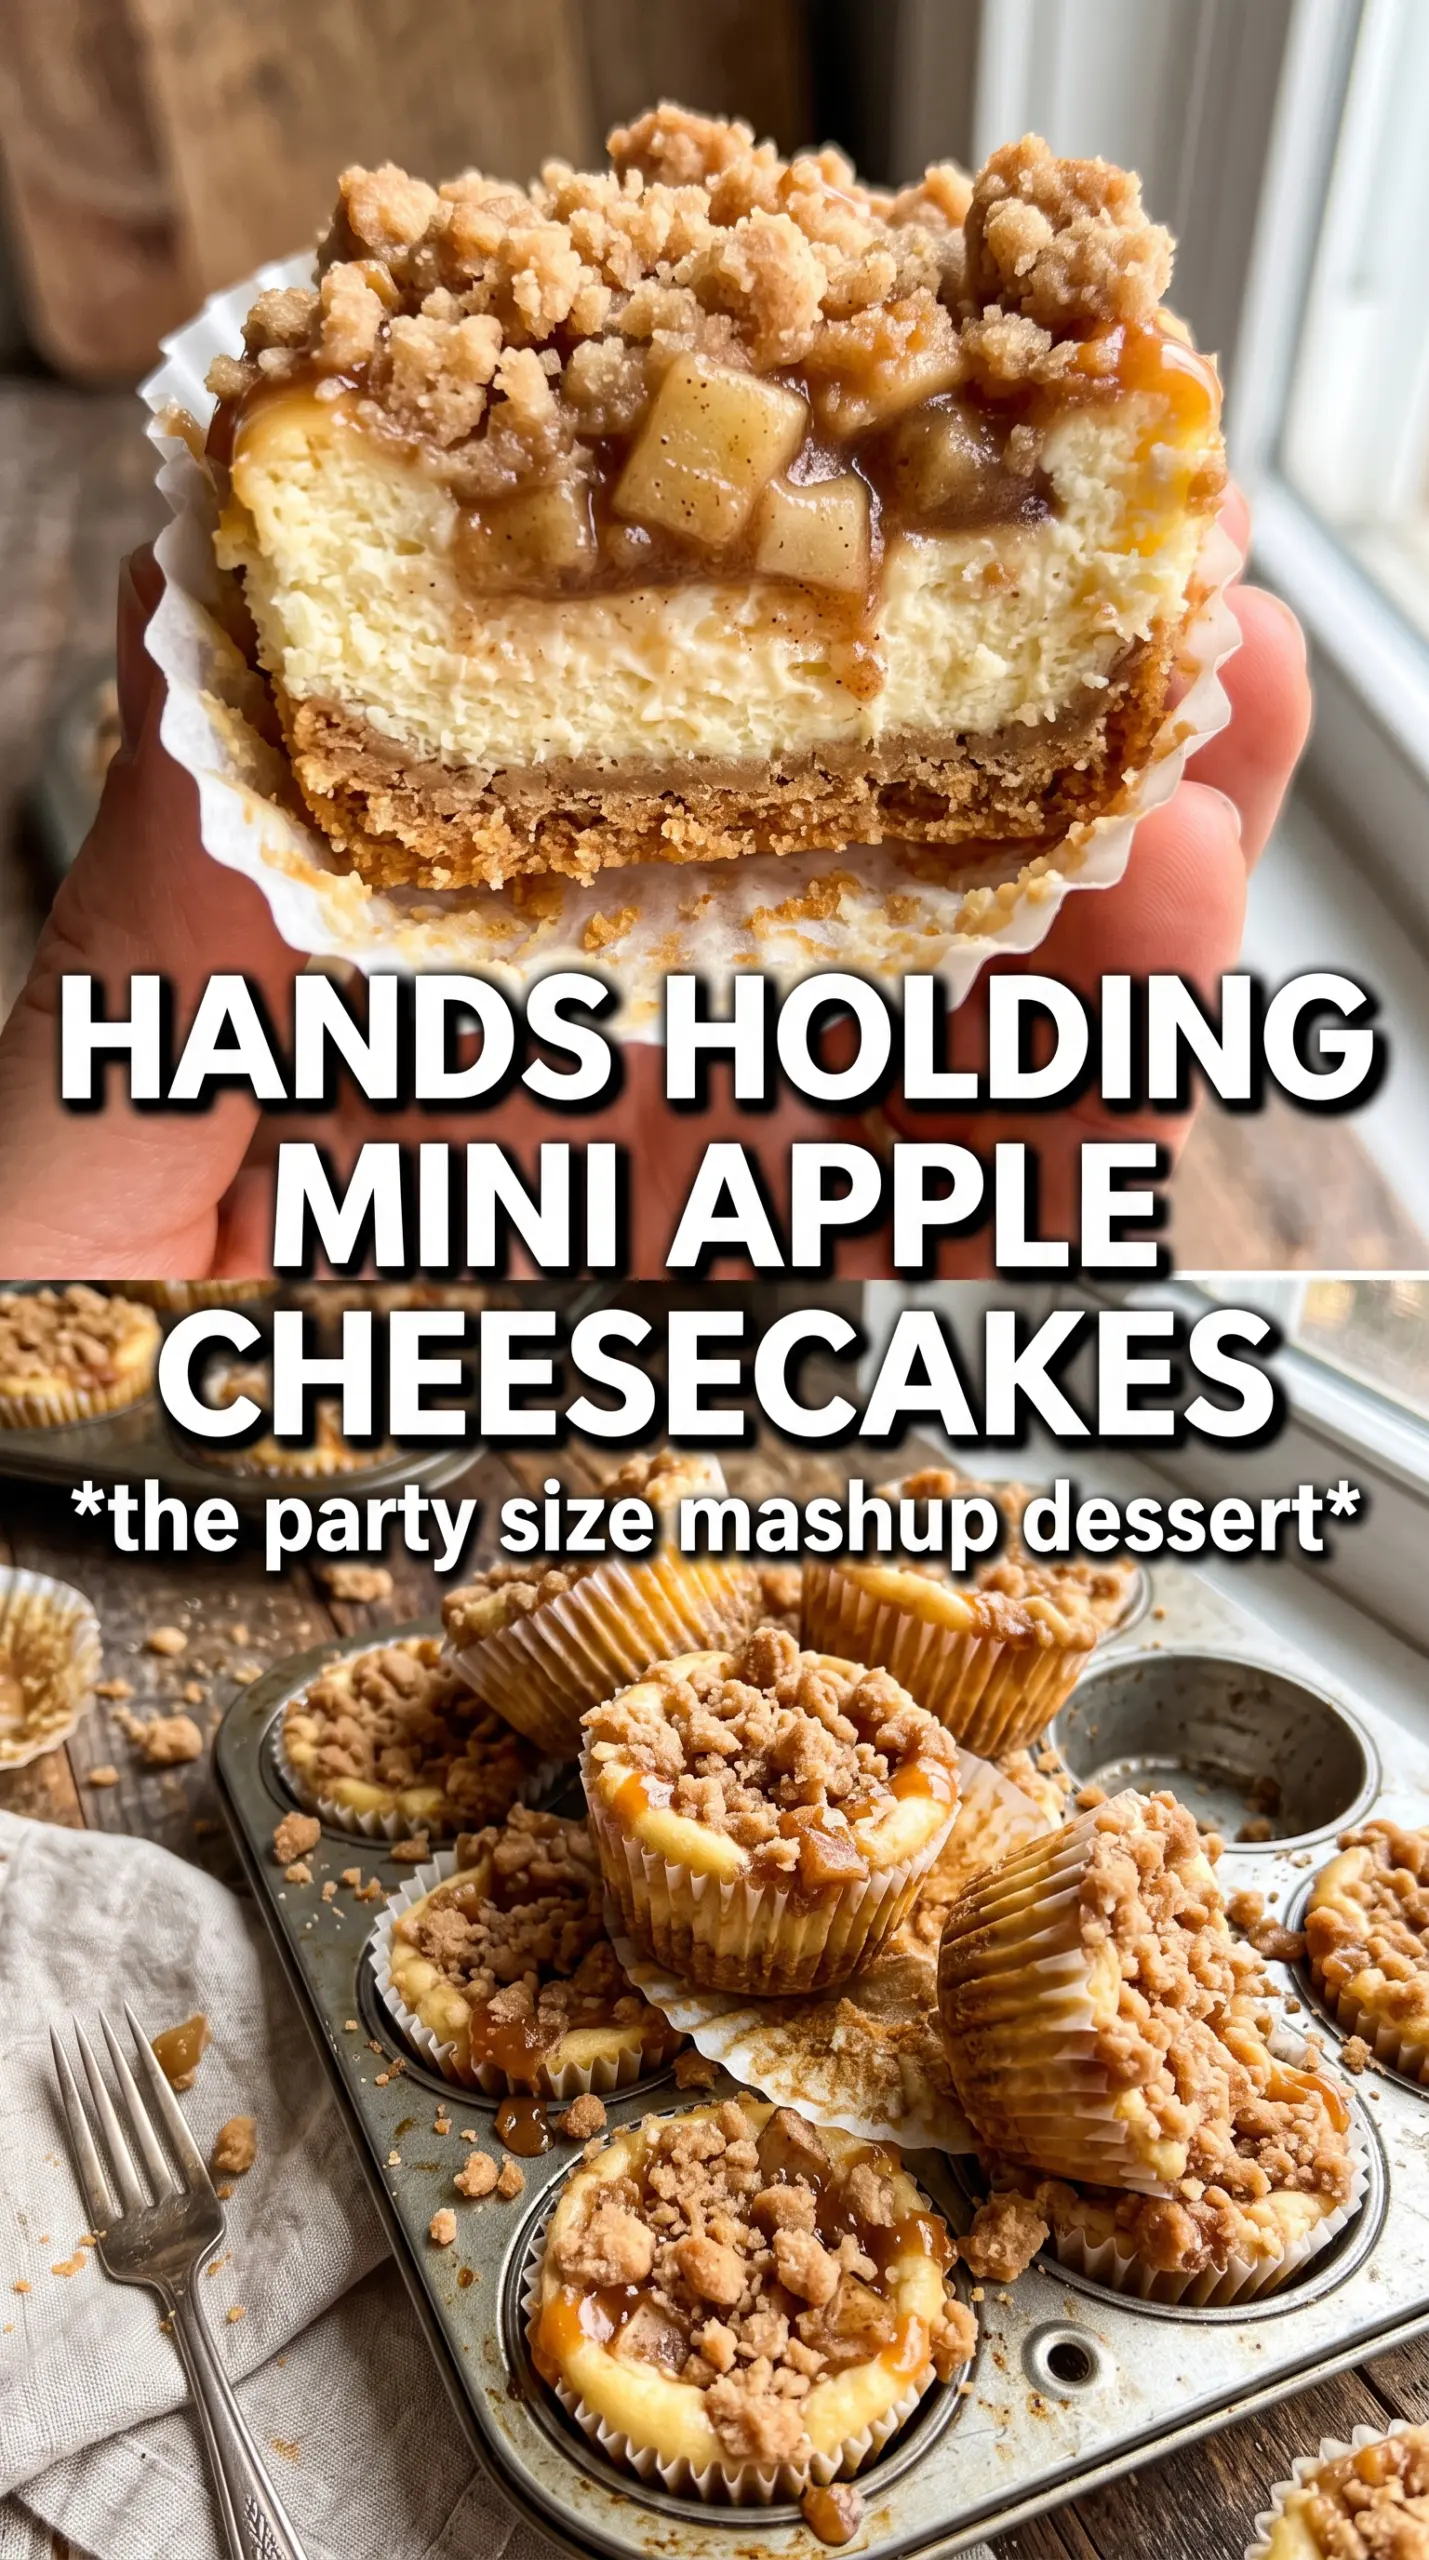
- Graham cracker crumbs — These bring the buttery, toasty base that holds up under the filling. Crush them finely so the crust packs tightly; larger crumbs can leave gaps and make the base crumble when you peel off the liner.
- Cream cheese — Use full-fat cream cheese here. Low-fat versions loosen the filling and don’t set with the same clean, dense-smooth texture. Let it soften fully first, or you’ll end up beating in lumps that never disappear.
- Sour cream — This lightens the filling and gives it that classic tang. You can swap in plain full-fat Greek yogurt, but the result will be a little sharper and slightly less velvety.
- Apples — Firm baking apples hold their shape best after a quick stovetop cook. The goal is softened bits with a little bite left, not applesauce.
- Old-fashioned oats — These give the topping its crisp, nubby texture. Quick oats work in a pinch, but they bake into a finer crumble and lose some of that apple crisp character.
- Cold butter for the crumble — This is what creates the streusel. If the butter melts before baking, the topping turns pasty instead of crisp, so cut it in cold and stop mixing as soon as it looks sandy with small clumps.
The Order That Gives You Smooth Filling and a Real Crumble Top
Building the Crust
Mix the graham crumbs, melted butter, and sugar until every crumb looks evenly moistened, then press the mixture firmly into lined muffin cups. A flat-bottomed measuring cup works well here because it compacts the crust evenly without tearing the liners. Bake it just long enough to smell toasted at the edges; if it goes deep brown, the crust can turn bitter once it chills.
Softening the Apples First
Cook the diced apples with butter, brown sugar, and cinnamon until they give off a little juice and the edges start to turn translucent. They should still hold shape when stirred. If you skip this step and add raw apples, they can leak moisture into the cheesecake and leave you with a watery top and an underseasoned fruit layer.
Keeping the Filling Silky
Beat the cream cheese and sugar until the mixture looks smooth before adding the eggs, sour cream, vanilla, and cinnamon. Scrape the bowl well so there aren’t hidden pockets of cream cheese at the bottom. Once the eggs go in, mix just until combined; too much air in the batter can cause the centers to rise and crack as they bake.
Finishing with the Crumble
Top each filled cup with the cooked apples, then scatter the oat crumble over the surface. You want loose little clumps, not a thick packed lid, so the cheesecake can still peek through in spots. Bake until the centers jiggle slightly when you tap the pan; if the tops look dry and fully firm, the filling has gone farther than you want.
How to Adapt These for Different Tables and Diets
Gluten-Free Version
Swap the graham crackers for certified gluten-free graham crumbs, and use a 1:1 gluten-free flour blend in the crumble. The texture stays close to the original, though the topping may brown a little faster, so start checking it near the end of the bake time.
Dairy-Free Version
Use plant-based cream cheese, a dairy-free butter substitute, and a thick unsweetened dairy-free yogurt in place of sour cream. The filling will be a little softer and slightly less tangy, but chilling fully helps it set up nicely.
Caramel Apple Twist
Drizzle a little caramel over the cooked apples before adding the crumble. That gives you a sweeter, richer topping, but it also softens the crisp edge, so use just enough to glaze the apples instead of soaking them.
Storage and Reheating
- Refrigerator: Store covered for up to 4 days. The crumble softens a little on day two, but the flavor stays good.
- Freezer: These freeze well without the topping getting too damaged. Freeze fully chilled cheesecakes on a tray, then wrap and store in an airtight container for up to 1 month.
- Reheating: Serve these cold or let them sit at room temperature for 15 to 20 minutes. Microwaving warms the filling unevenly and turns the crumble soft, which is the one thing you don’t want here.
Answers to the Questions Worth Asking
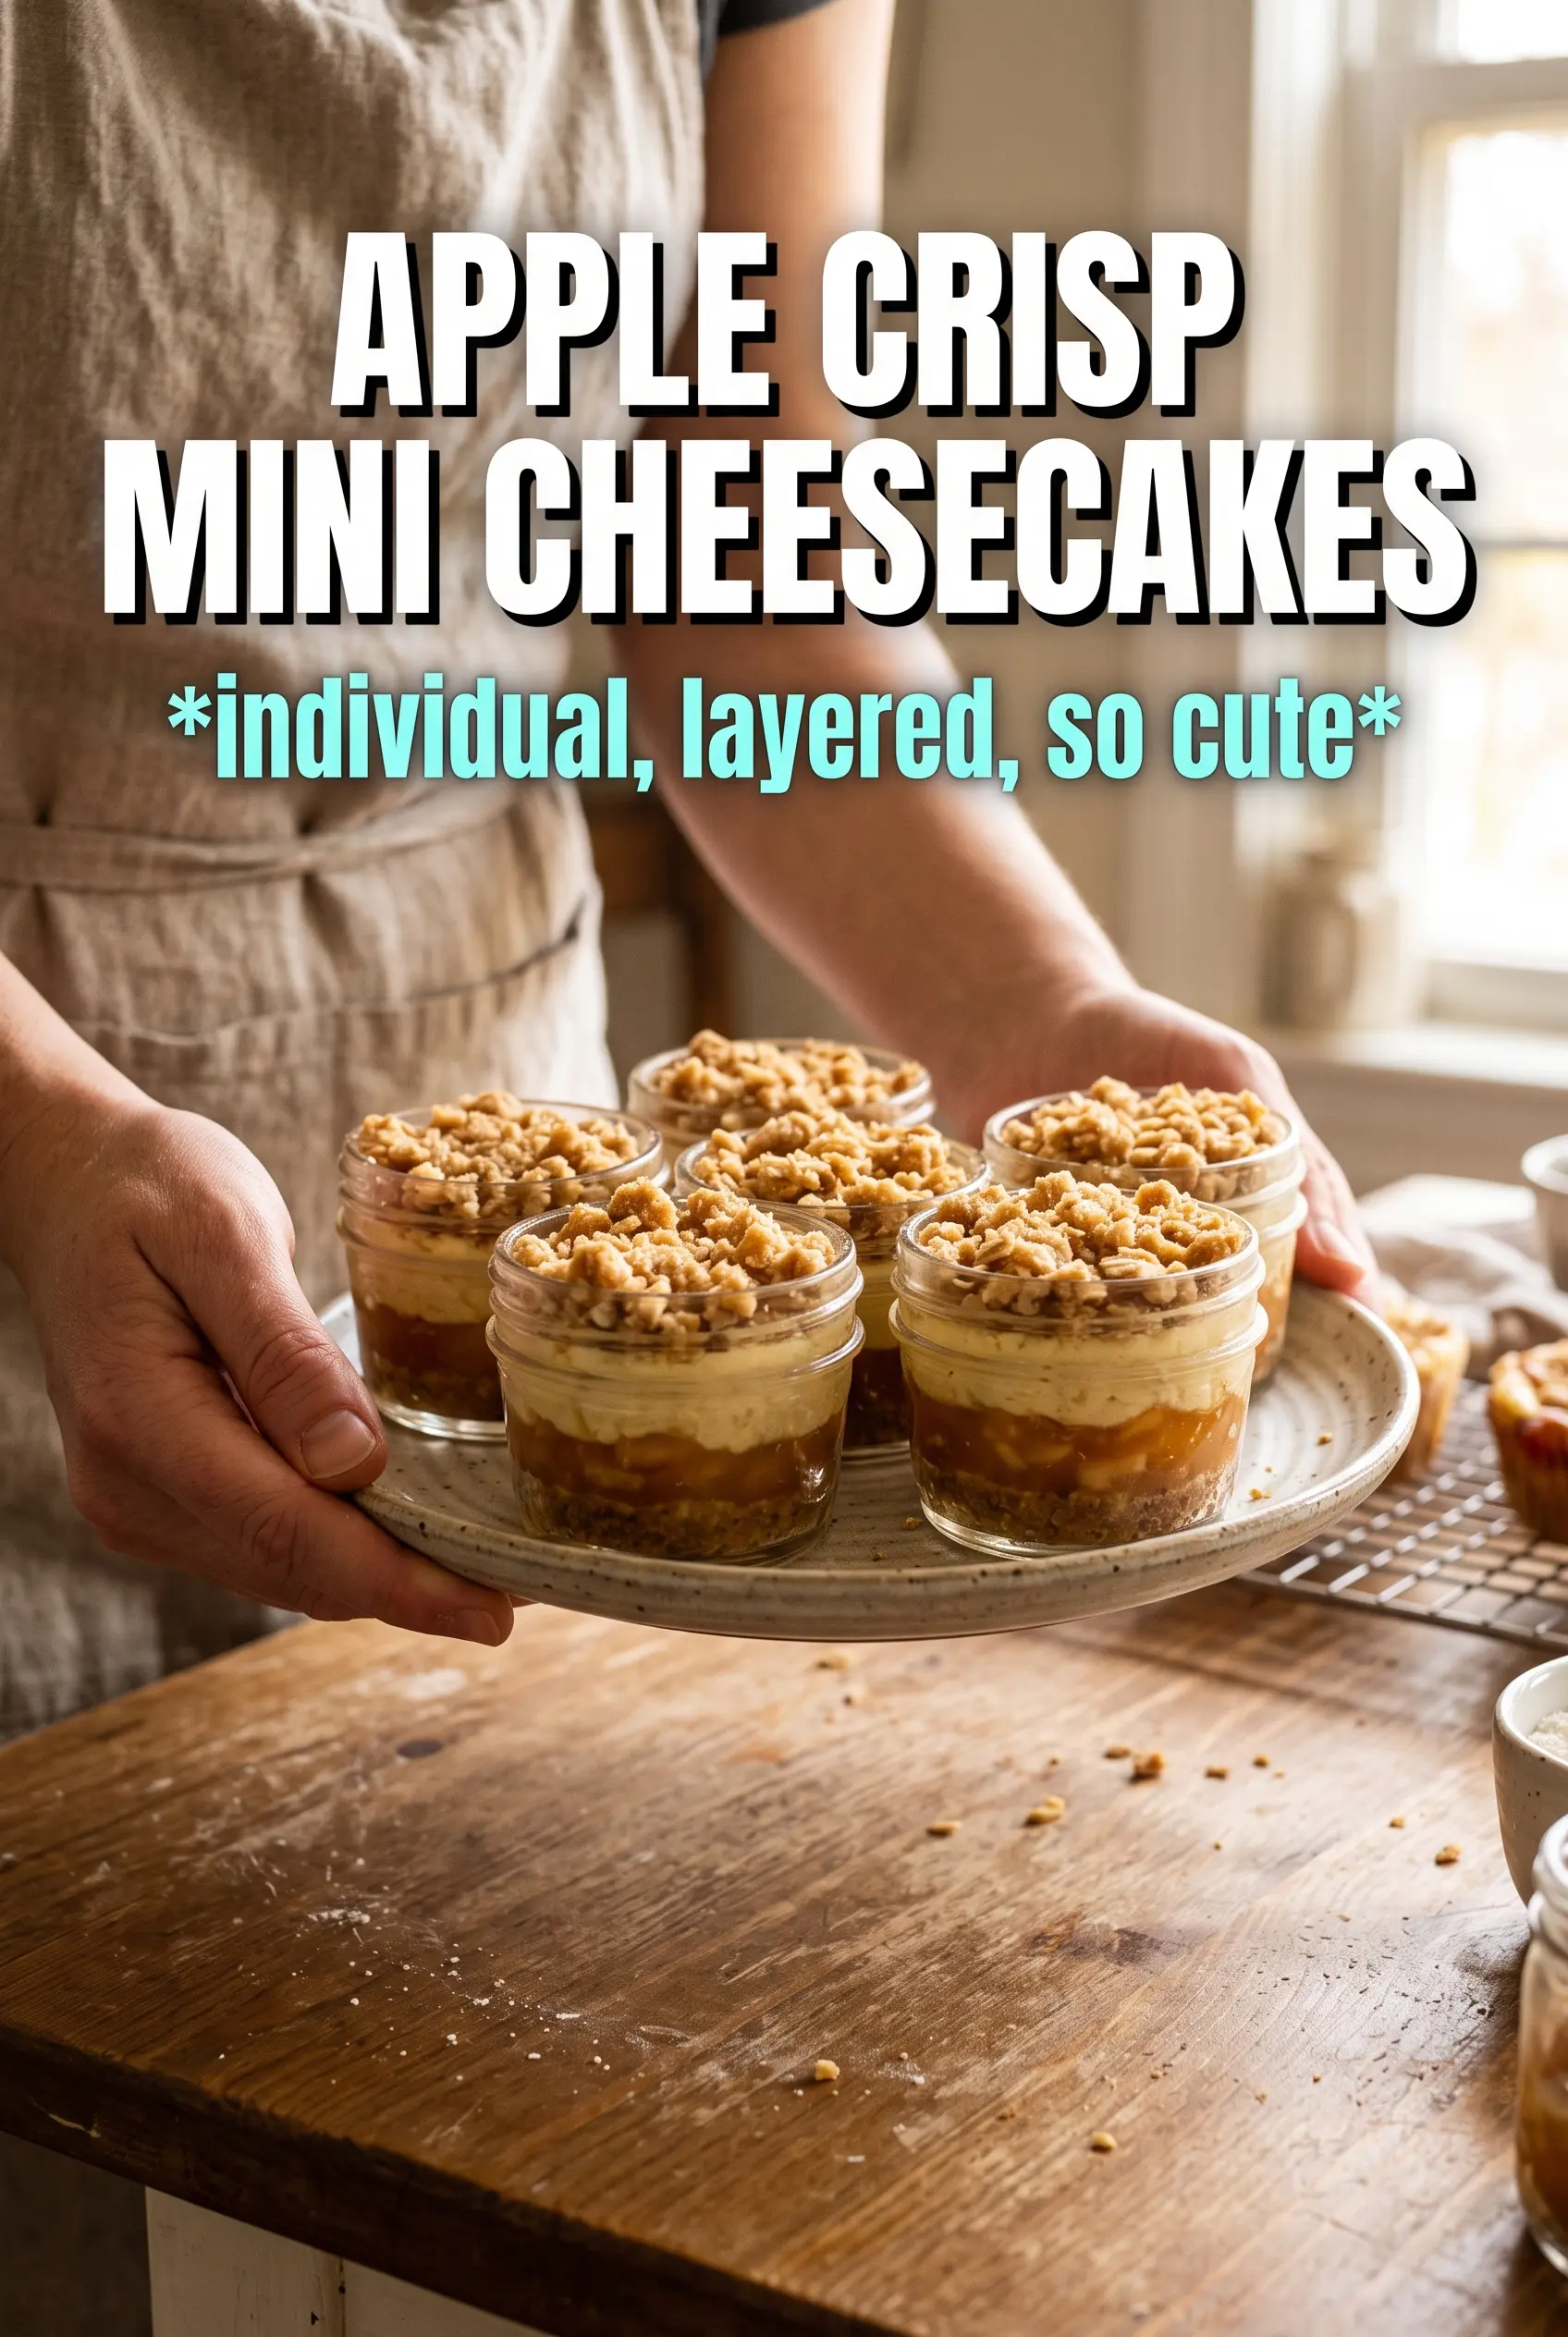
Apple Crisp Mini Cheesecakes
Ingredients
Equipment
Method
- Preheat the oven to 325F and line a 12-cup muffin tin with cupcake liners.
- Combine graham cracker crumbs, melted butter, and sugar, then press firmly into each liner.
- Bake the crusts for 5 minutes, until set, then remove to cool.
- Cook the diced apples with butter, brown sugar, and cinnamon for 5 minutes until softened, then cool.
- Beat the cream cheese and granulated sugar until smooth.
- Add the eggs, sour cream, vanilla, and cinnamon and mix until the batter is smooth.
- Fill each crust with the cheesecake batter.
- Top each cheesecake with the cooked apples.
- Make the oat crumble by mixing oats, flour, brown sugar, and cinnamon, then cut in the cold butter until crumbly.
- Scatter the oat crumble over each cheesecake.
- Bake for 20 to 22 minutes, until the centers are just set.
- Refrigerate for 3 hours until fully chilled before serving.