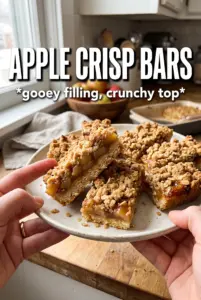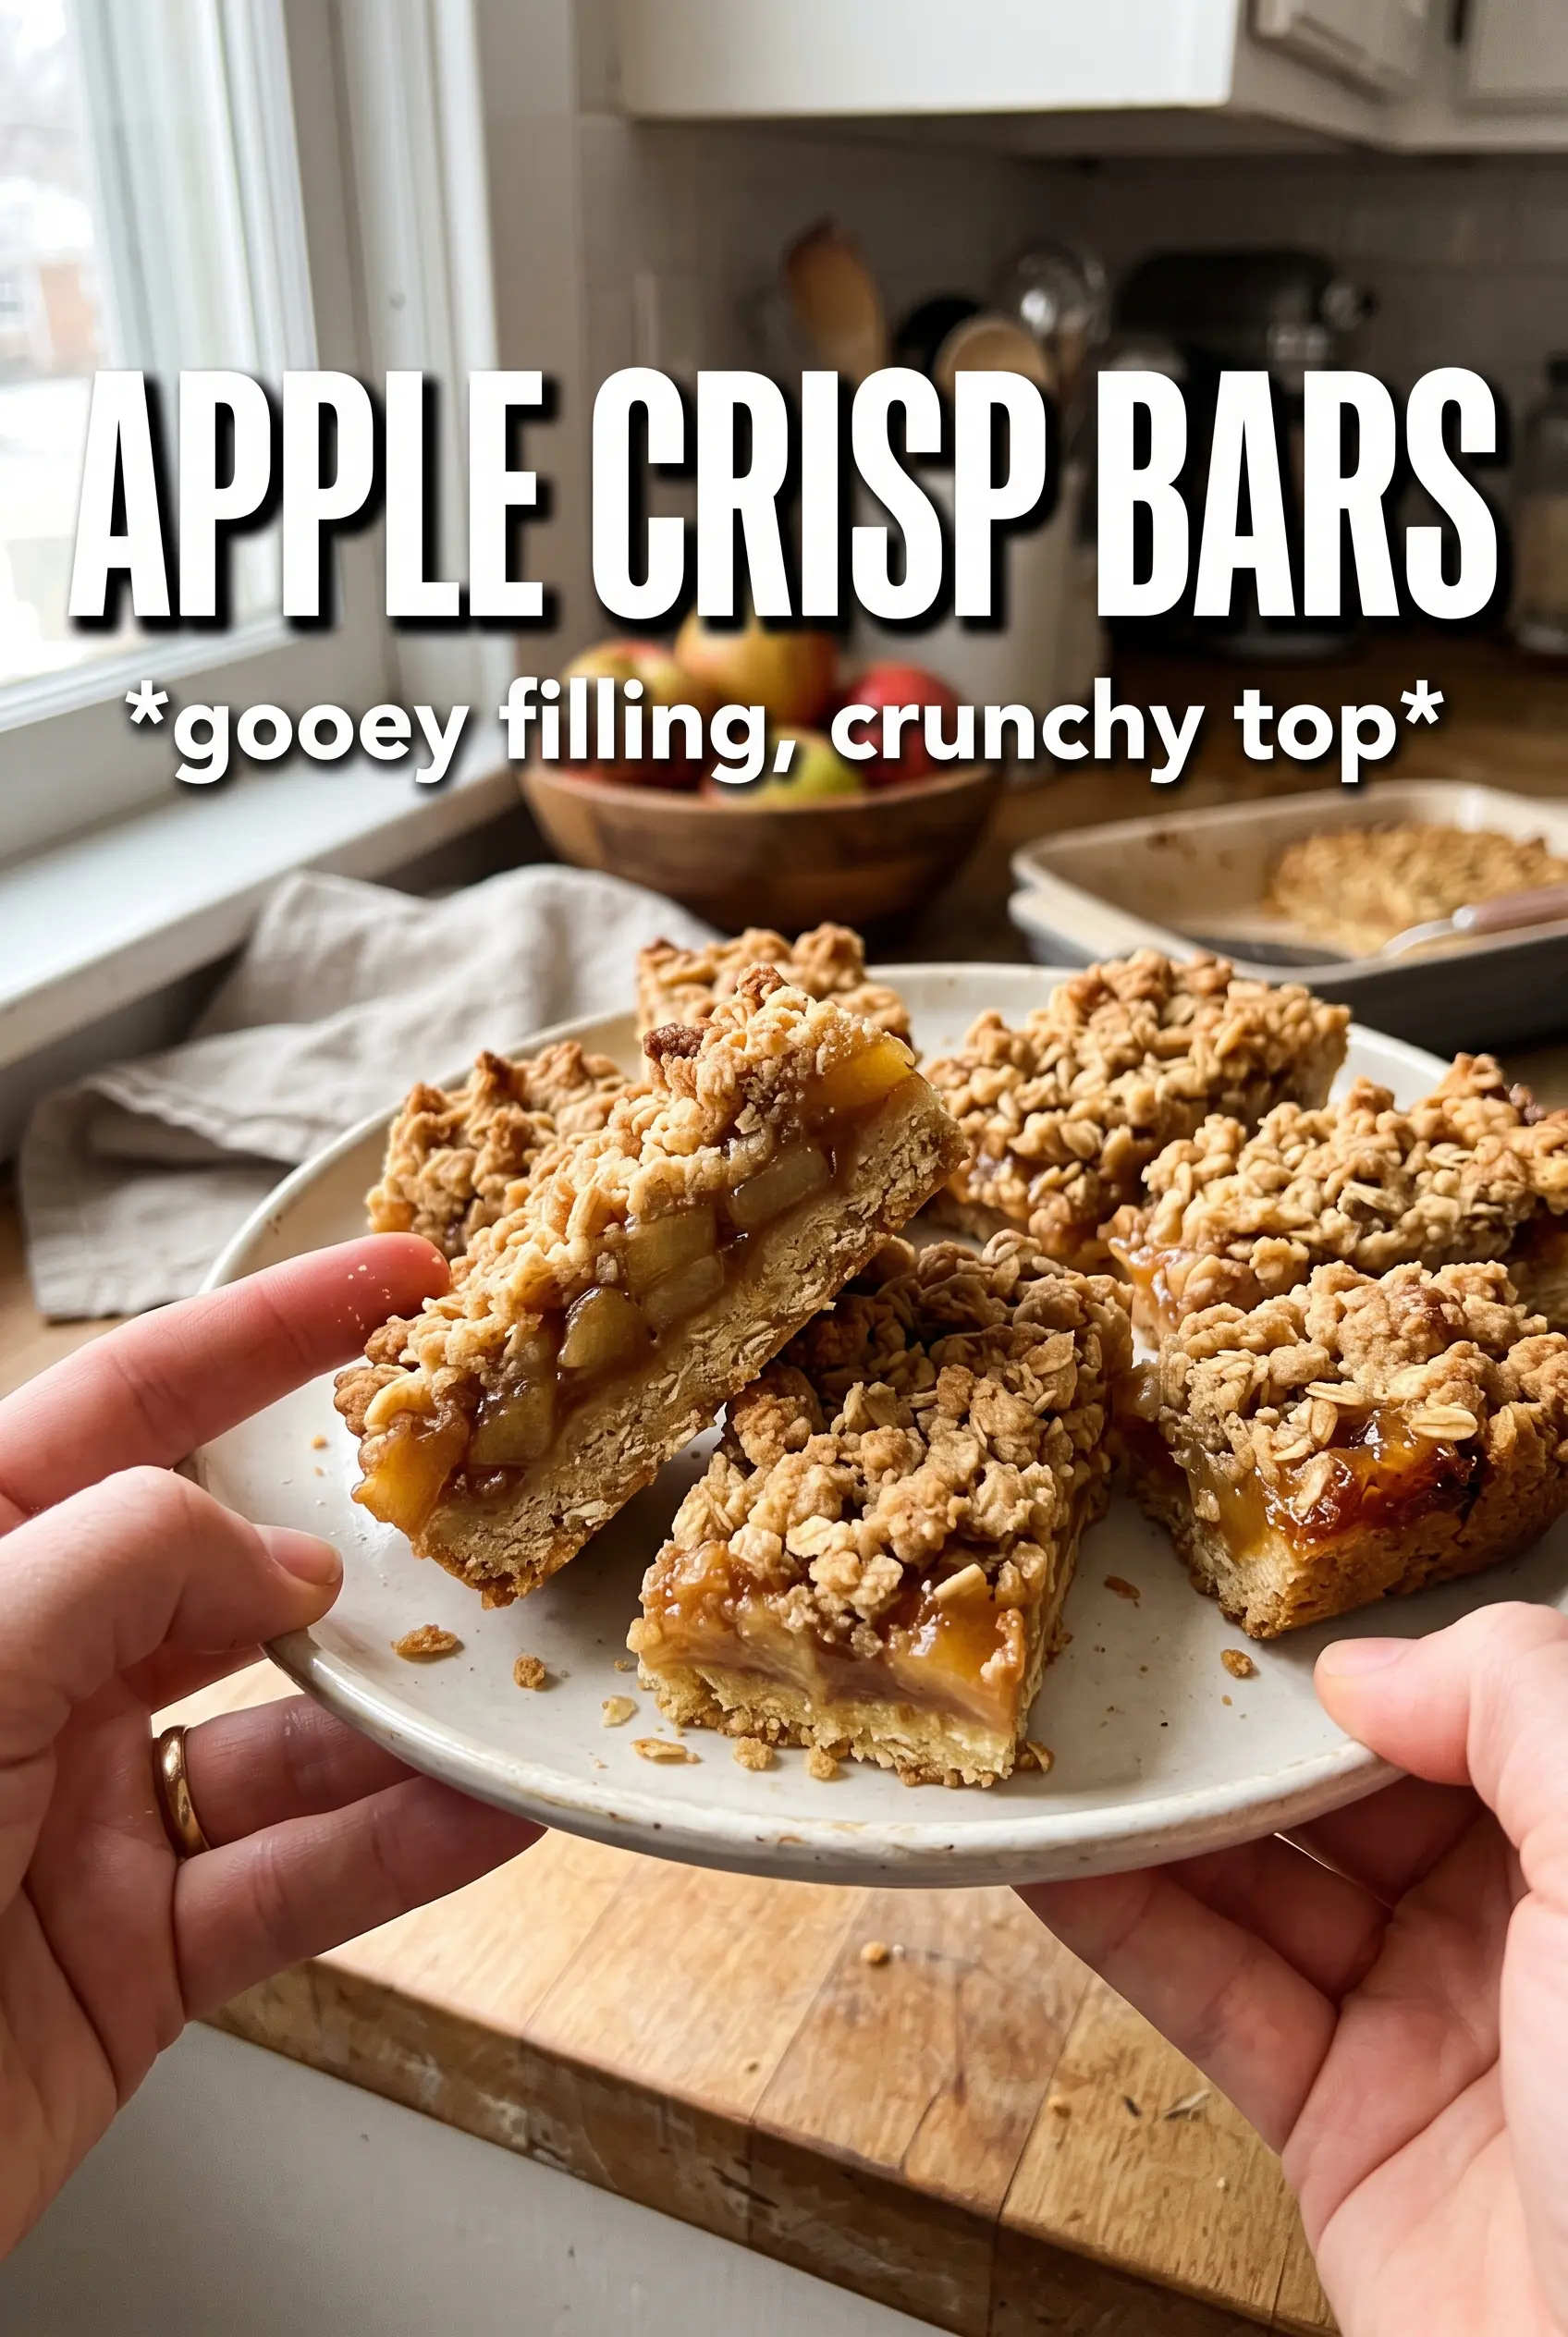
Apple crisp bars give you everything people love about apple crisp, just in a form that slices cleanly and travels without falling apart. The base bakes into a sturdy oat crust, the filling turns soft and spiced without going watery, and the top stays sandy and crisp instead of melting into the apples. You get those cozy cinnamon-apple flavors in neat squares that hold their shape on a plate.
The trick is baking the bottom layer before adding the filling. That short head start keeps the crust from going soggy under the apples, which is the most common problem in bars like these. Cornstarch also earns its place here; it thickens the juices as the apples bake so the filling sets up once the bars cool instead of leaking all over the pan.
Below, I’ll walk through the one step that keeps the crust crisp, the apple texture that works best, and a few easy ways to adjust the bars for different diets or make-ahead plans.
The oat topping stayed crisp even after cooling, and the apple layer set up beautifully once I let the bars cool all the way. I cut them into clean squares for a bake sale and they held together perfectly.
These apple crisp bars bake up with a crisp oat topping and a thick, spiced apple layer that slices cleanly every time.
The Reason These Bars Stay Crisp Instead of Turning Soft
The biggest mistake with apple bars is treating them like a dump-and-bake dessert. If the crust goes in raw, the butter softens the oats before the apples are finished, and the bottom layer ends up dense instead of crisp. A quick pre-bake changes the whole texture. It gives the base time to set, so it can support the filling without turning cakey or damp.
The second piece is how the apples are cut. Fine dice cooks faster and releases enough juice to become tender, but it still leaves little bits of apple in every bite. Large chunks take longer and can leave the bars awkward to slice. You want apples that soften into the filling, not pieces that fight the knife.
- Pre-baking the crust — this is what protects the bottom layer from soaking up too much apple juice.
- Cornstarch in the filling — it thickens the fruit juices as the bars cool, which is why the squares hold together instead of puddling.
- Fine-diced apples — they bake evenly and give you a clean, layered bite from crust to topping.
What Each Ingredient Is Actually Doing in These Bars
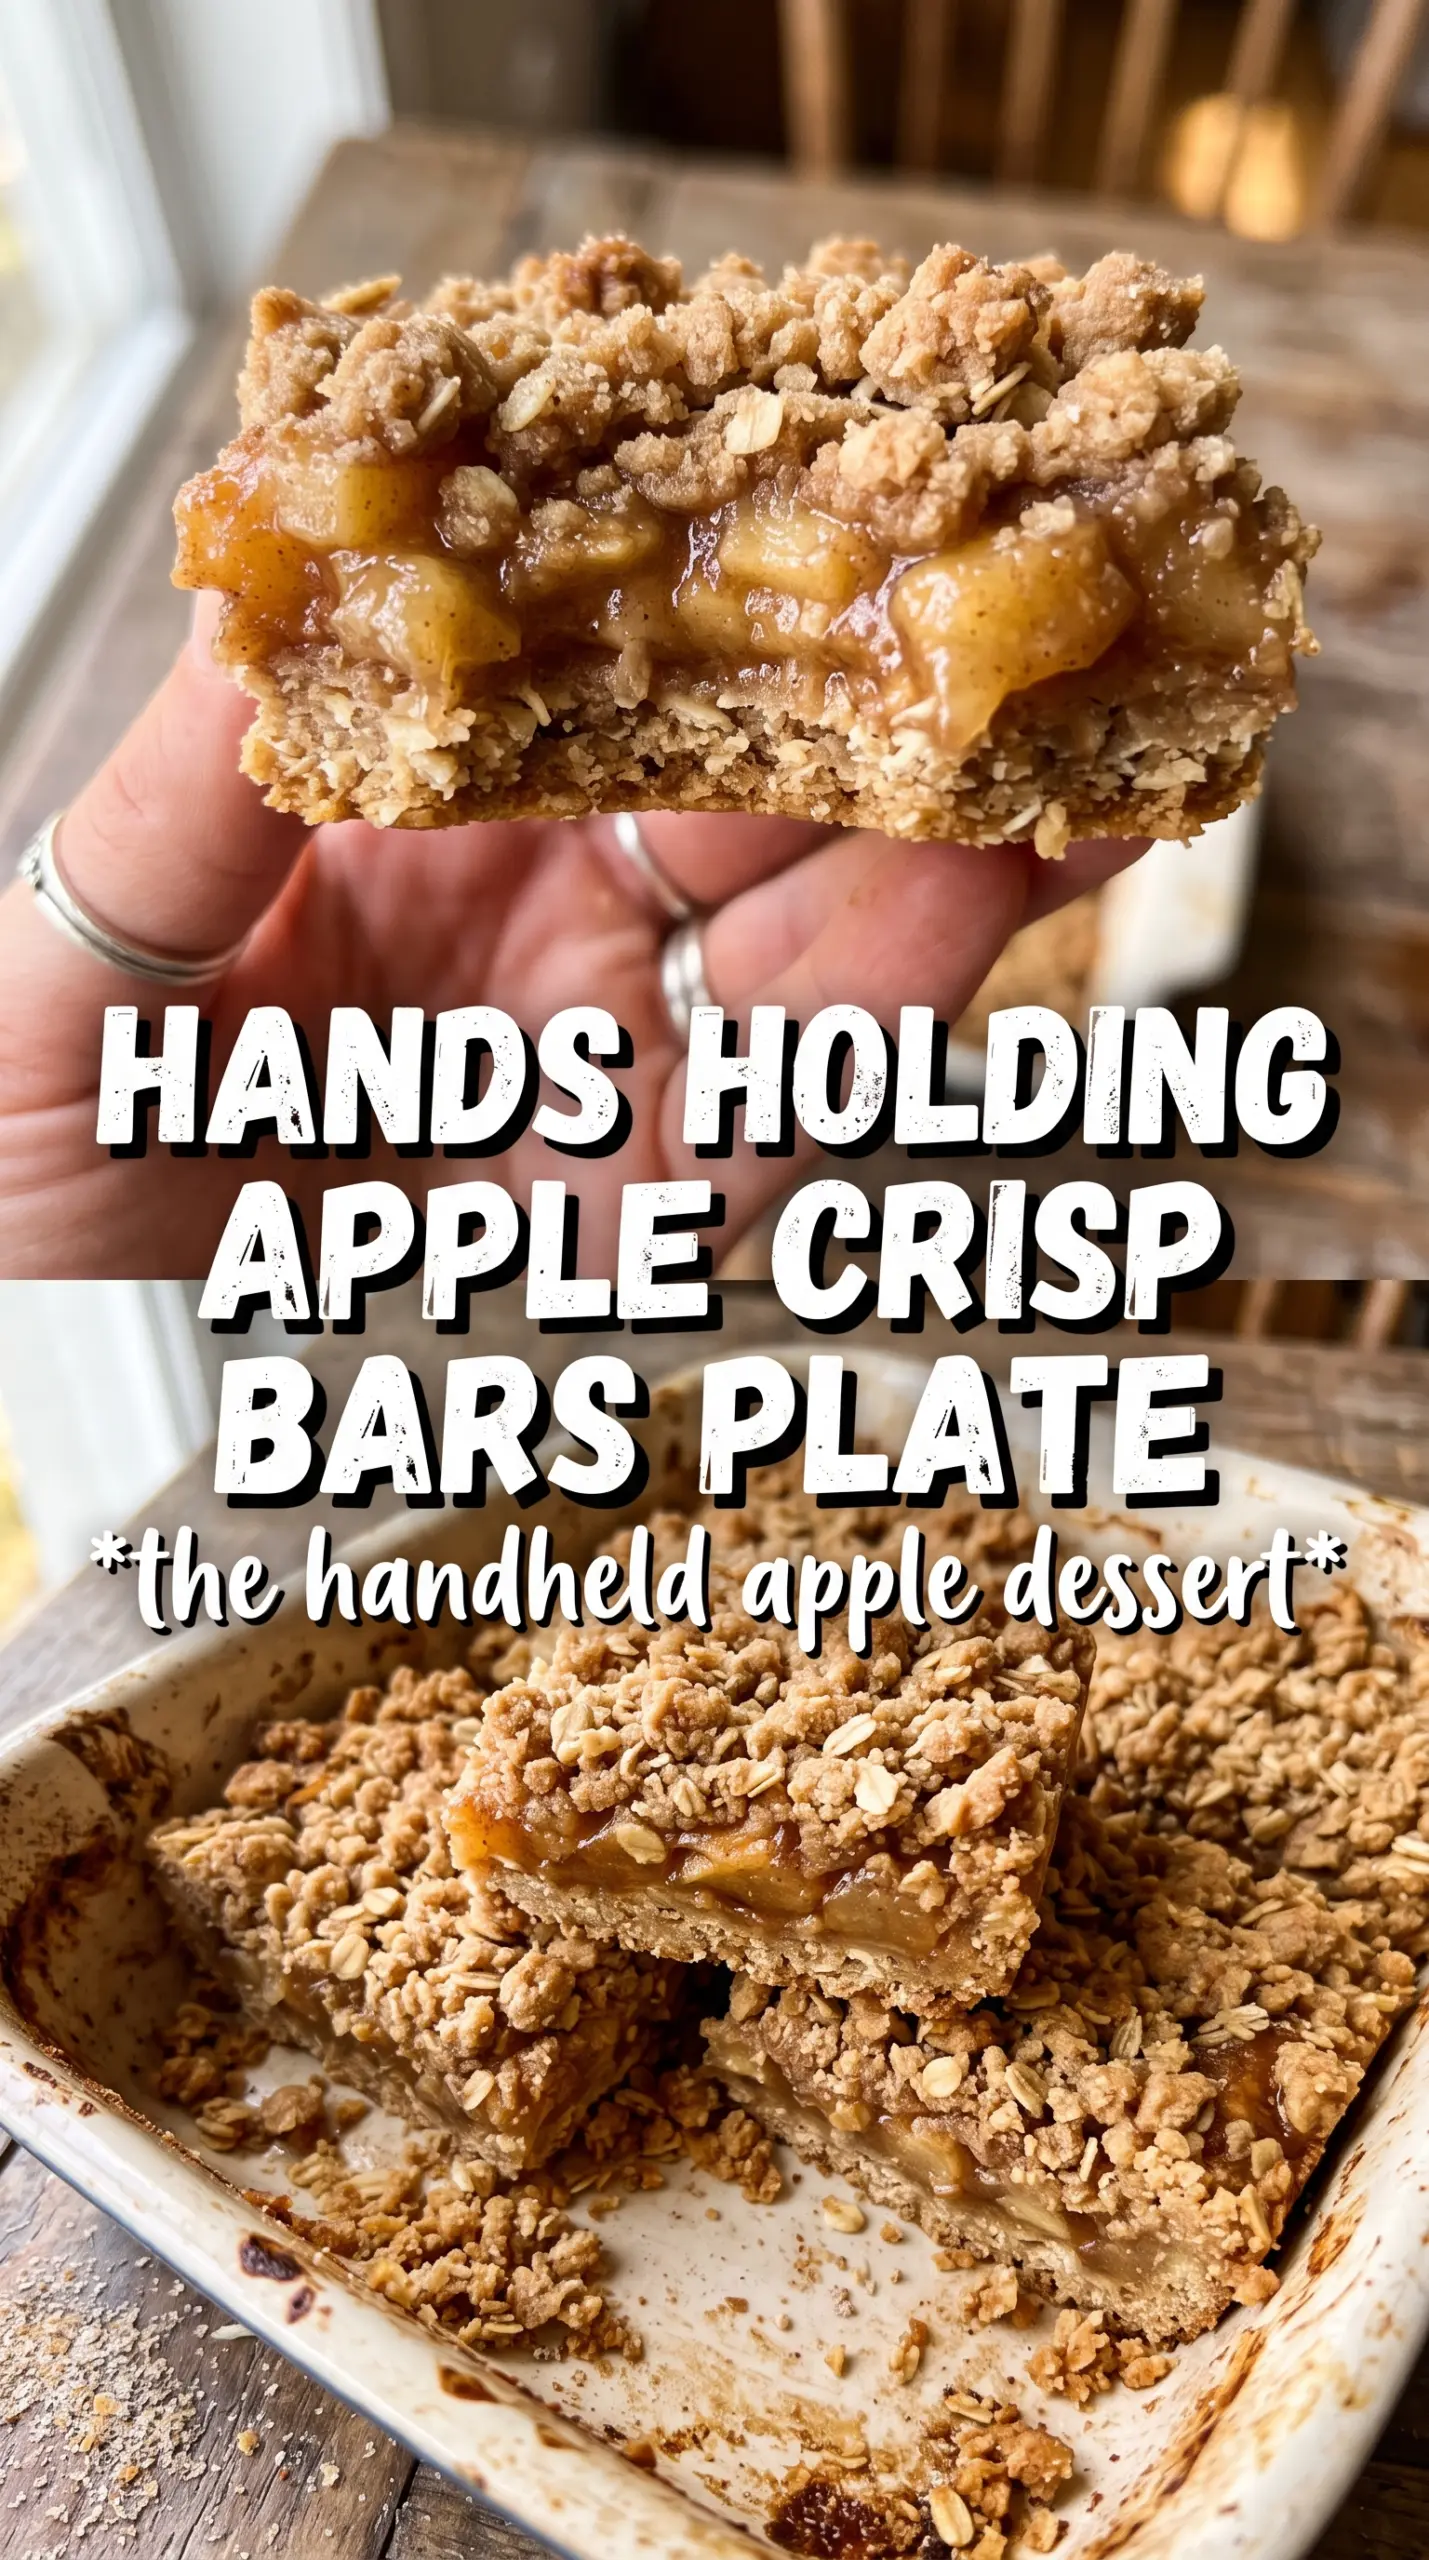
- Rolled oats — they give the topping its nubby, crisp texture. Quick oats turn softer and more pasty, so stick with rolled oats if you want that classic crumble feel.
- All-purpose flour — this binds the oat mixture into a true bar crust instead of a loose streusel. You can swap in a 1:1 gluten-free baking flour, and the bars still hold well.
- Brown sugar — it adds moisture and a deeper caramel note that works better here than white sugar in the crust. Packed brown sugar also helps the topping brown properly.
- Butter — melted butter coats the dry ingredients evenly, which is why the crumble bakes into sandy clusters instead of dry crumbs. Use unsalted butter so you control the salt level.
- Apples — use a firm baking apple that holds some shape, like Honeycrisp, Granny Smith, or a mix. Very soft apples can turn the filling mushy before the crust and topping finish baking.
- Cornstarch and lemon juice — cornstarch thickens, and lemon brightens the apples so the filling tastes like fruit instead of just sugar and spice. Don’t skip the lemon; it keeps the sweetness in check.
Building the Layers Without Losing the Crunch
Mixing the Crumble
Stir the oats, flour, brown sugar, cinnamon, and salt together first so the seasoning is evenly distributed. Then drizzle in the melted butter and toss until every dry patch looks damp and clumpy. If the mixture still looks dusty in spots, it won’t bake into a cohesive crust, so keep tossing until the texture feels like wet sand with some larger pebbles.
Pressing and Pre-Baking the Base
Press about two-thirds of the crumble firmly into the parchment-lined pan. Use the bottom of a measuring cup to pack it into an even layer, especially into the corners, because thin spots brown too fast and break apart when sliced. Bake it just until the surface looks set and lightly matte. It doesn’t need to be deeply browned yet.
Spreading the Apple Filling
Toss the diced apples with sugar, cinnamon, nutmeg, cornstarch, and lemon juice while the base bakes. Spread the apples over the hot crust while they still look lightly coated and juicy. If the apples sit too long, the cornstarch starts clumping in the bowl instead of thickening the filling in the oven.
Finishing with the Top Crumble
Scatter the remaining crumble over the apples in an even layer, but don’t press it down. Loose crumbs create that crisp, craggy topping that browns well and stays distinct from the fruit below. Bake until the topping is deep golden and you can see the filling bubbling up at the edges, which tells you the cornstarch has activated and the bars are set.
Three Ways to Adjust These Bars Without Ruining the Texture
Gluten-Free Version
Use a cup-for-cup gluten-free flour blend in place of the all-purpose flour. The bars will still slice well, though the crumble may be a little more delicate, so let them cool completely before lifting them from the pan.
Dairy-Free Swap
Replace the butter with a solid plant-based baking butter. The key is using one that melts and coats the oats the same way dairy butter does; soft tub spreads can make the mixture too loose and reduce the crisp texture.
Extra-Spiced Apple Filling
If you like a stronger spice note, add a pinch of cloves or allspice to the apple mixture. Keep it light. Too much spice can bury the apple flavor and make the filling taste heavy instead of bright and crisp.
Storage and Reheating
- Refrigerator: Store covered for up to 5 days. The topping softens a bit after day one, but the flavor stays great.
- Freezer: These freeze well. Wrap individual bars tightly and freeze for up to 2 months, then thaw in the fridge so the filling doesn’t weep as much.
- Reheating: Warm bars in a 300F oven for 8 to 10 minutes. The oven brings back the crumble texture better than the microwave, which tends to soften the topping and make the crust chewy.