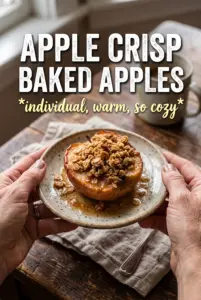
Apple crisp baked apples hit that perfect middle ground between a baked dessert and a proper fruit-forward treat. The apples soften until spoon-tender, but they still hold their shape, and the oat crumble on top bakes into little crunchy pockets that catch the melted butter and cinnamon. Add a scoop of vanilla ice cream and the whole thing turns into one of those desserts that disappears fast because everyone keeps going back for “just one more spoonful.”
What makes this version work is the layering. The apples get a little cinnamon sugar inside the cavity before the crumble goes on top, so the flavor runs all the way through instead of sitting only on the surface. The splash of cider in the baking dish keeps the bottoms from drying out and gives you just enough steam to help the apples cook evenly without collapsing.
You’ll find the small details that matter below, including how to keep the crumble from turning sandy and how to tell when the apples are done without overbaking them. Once you’ve made them once, the method feels natural, and it’s easy to repeat whenever you’ve got a few apples to use up.
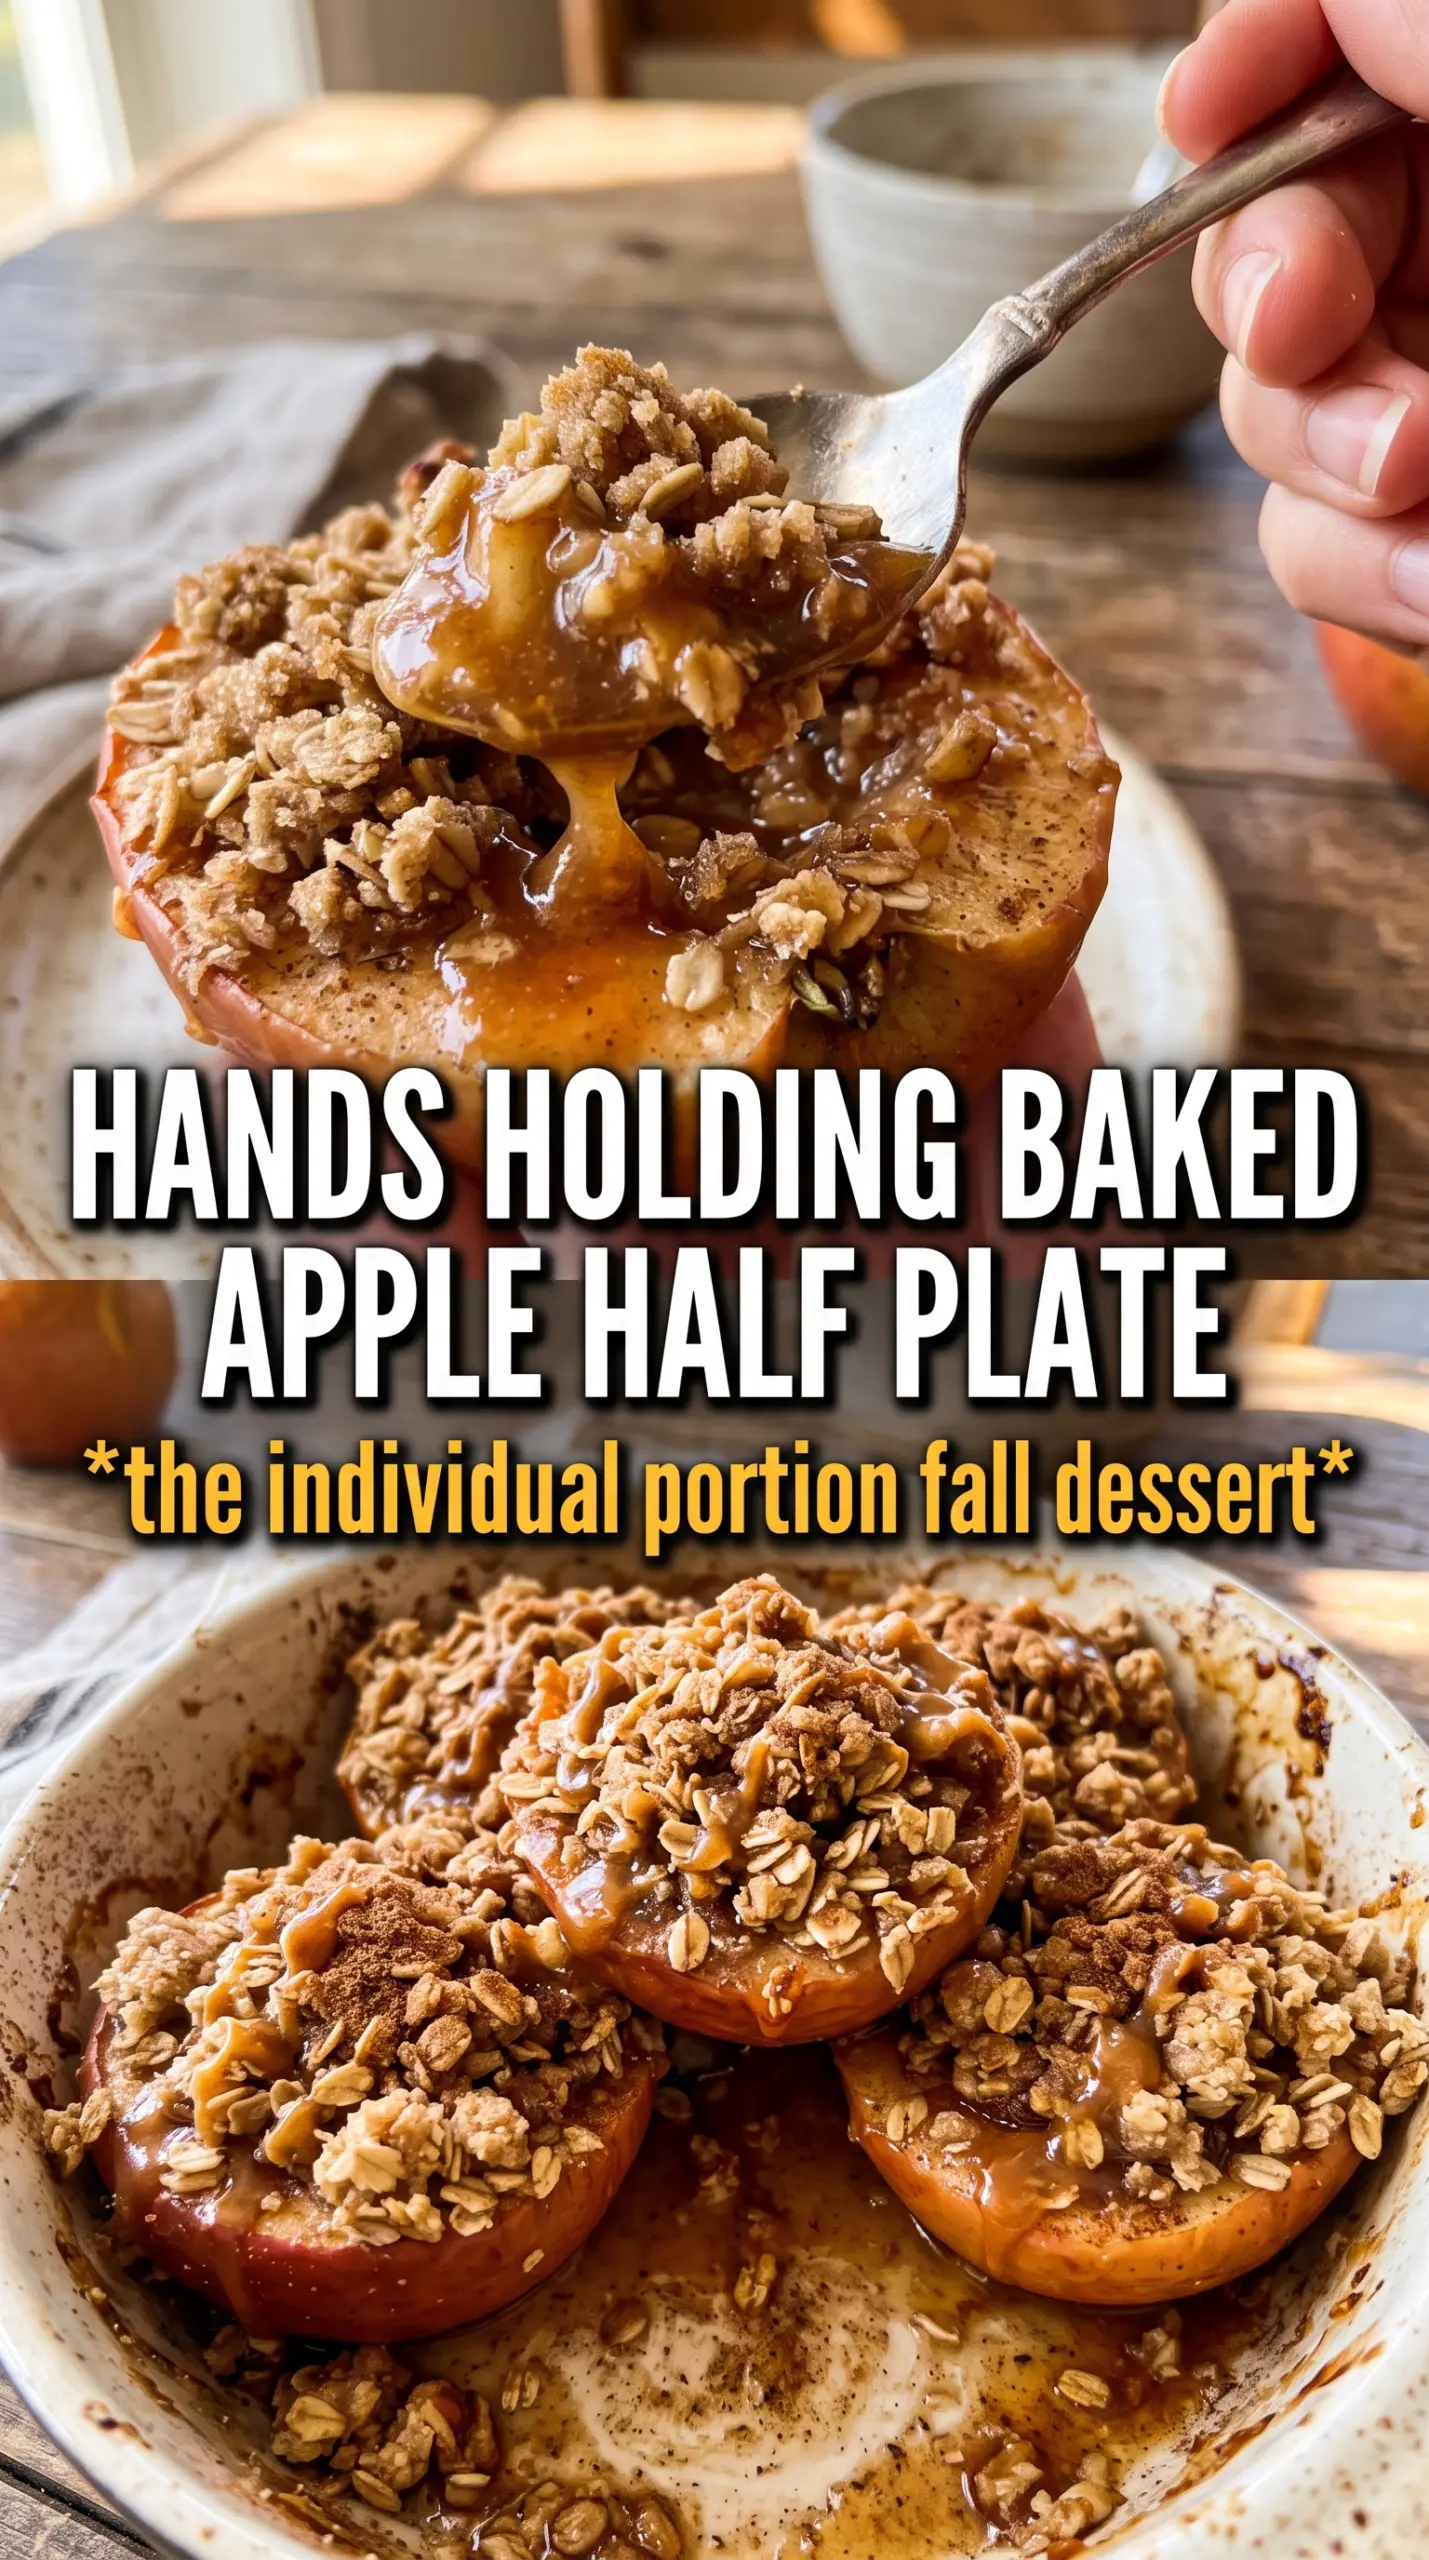
The crumble stayed crisp on top while the apples baked all the way through, and the cinnamon sugar in the center made every bite taste like apple crisp in a neat little package.
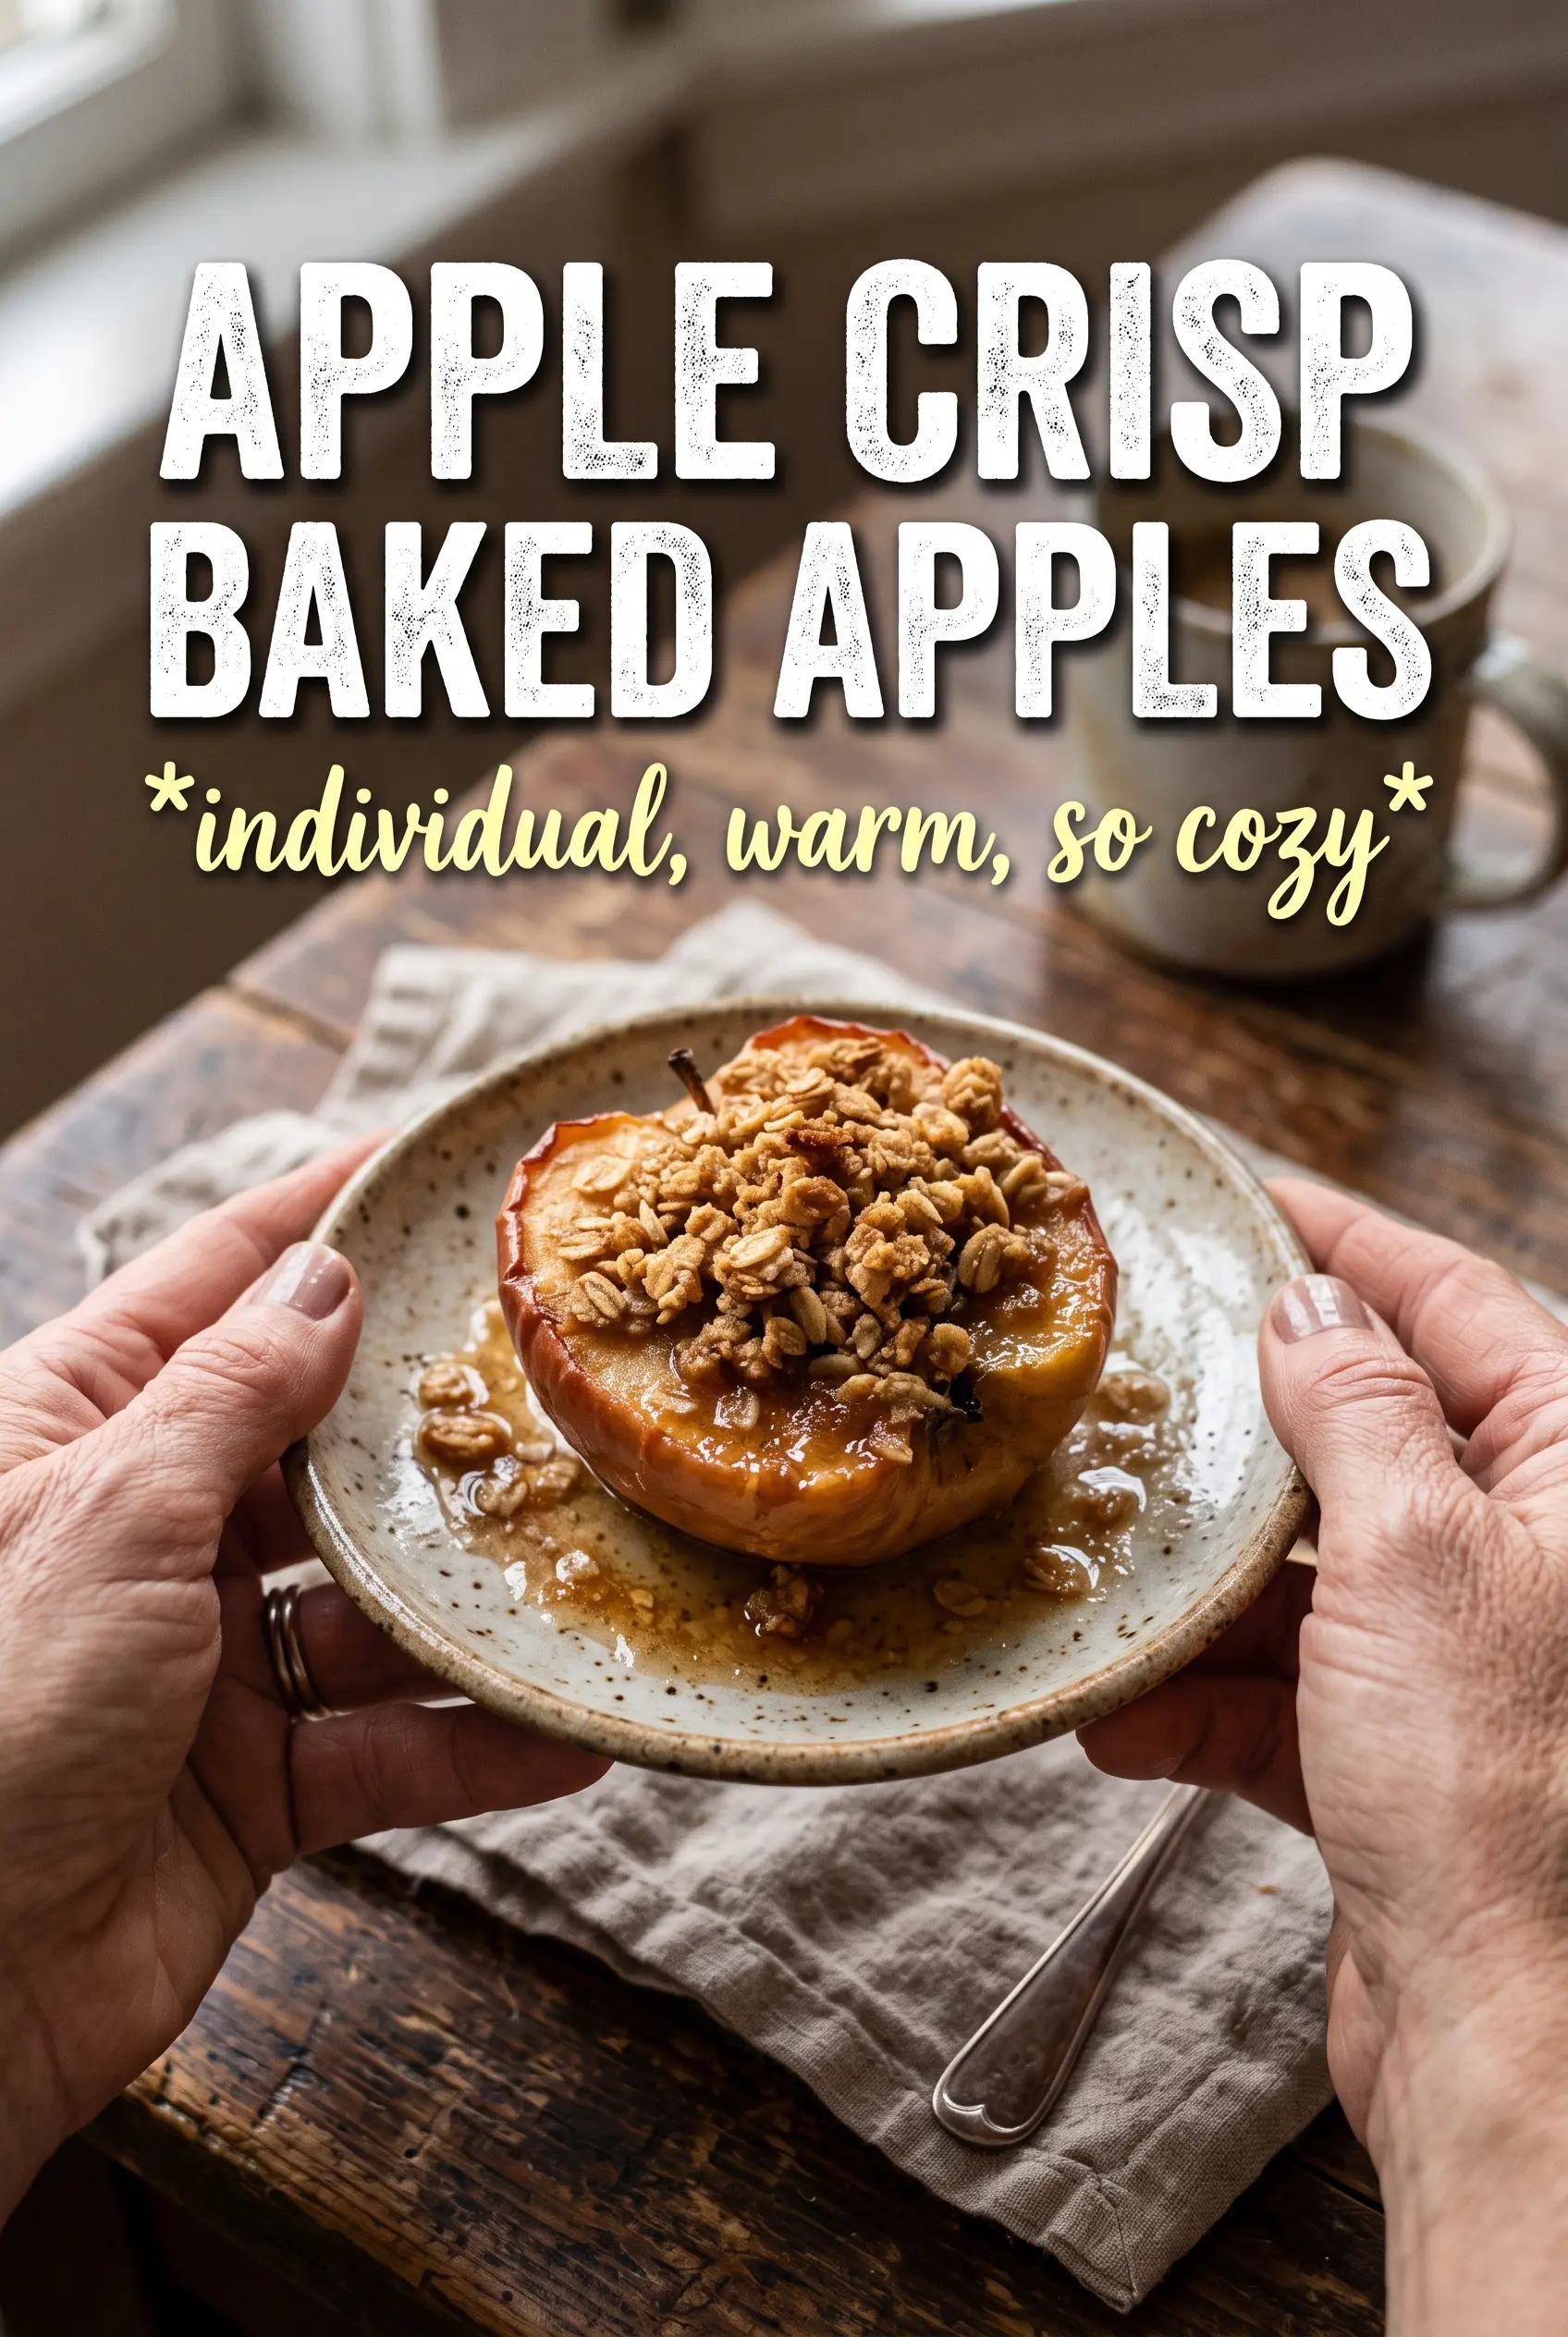
These apple crisp baked apples bake up with tender centers, golden oat crumble, and the best caramelized edges.
The Trick to Keeping the Apples Tender, Not Mushy
The biggest mistake with baked apples is treating them like something that needs a long, slow roast. That’s how you end up with collapsed fruit and a watery filling. Here, the apples need just enough time to soften from the inside while the crumble browns on top. The oven temp is high enough to get the topping crisp before the fruit gives up its structure.
Leaving the bottom of each apple intact matters more than it sounds. It keeps the brown sugar, butter, and cinnamon inside the cavity instead of letting everything leak into the pan. If you core too aggressively or cut through the bottom, the filling runs out and the apples lose that neat, self-contained look that makes this dessert work.
Honeycrisp and Braeburn both hold up well because they stay firm after baking. Softer apples like McIntosh tend to collapse before the topping is finished. If your apples are on the smaller side, check them a few minutes early; if they’re large and dense, expect to stay closer to the full bake time.
What Each Ingredient Is Actually Doing in This Dish
- Apples — Honeycrisp gives you a sweet-tart bite and keeps a firm texture, while Braeburn brings a little more spice and depth. Either one needs to be sturdy enough to stand up to baking without turning soft in the center before the topping is done.
- Rolled oats — These give the crumble its nubbly, crisp texture. Quick oats will work in a pinch, but the topping will be finer and less crunchy.
- All-purpose flour — It binds the crumble just enough so you get clumps instead of loose sugary crumbs. Don’t swap in too much almond flour here unless you want a softer, sandier topping.
- Brown sugar — This adds molasses flavor and helps the topping brown. The little bit inside the apple cavities melts into the fruit and makes the centers taste like apple crisp from the inside out.
- Cold butter — Cold cubes are what create the crumble. If the butter softens before it goes into the oats, the topping turns pasty instead of crisp.
- Apple cider or water — Cider adds a little extra apple flavor, but water still does the job. The important part is having a shallow layer of liquid in the pan so the apples don’t dry out while they bake.
Building the Crumble So It Stays Crisp on Top
Preparing the Apples
Set the apples in a baking dish and pour the cider or water into the bottom before you do anything else. Core from the top and stop before you punch through the base; the apple needs a little bowl to hold the filling. A melon baller or small spoon works well for this, and it gives you cleaner edges than a knife. If the cavity is too wide, the apples soften too fast and the crumble slides off instead of sitting neatly on top.
Mixing the Filling and Topping
Stir the oats, flour, brown sugar, cinnamon, nutmeg, and salt together first so the spice gets distributed evenly. Then cut in the cold butter until you see clumps that hold when squeezed. If the mixture looks powdery, the butter is still too large; if it looks greasy, the butter got too warm. You want rough crumbs with a few bigger bits because those brown into the best crunchy pieces.
Packing and Baking
Press a little cinnamon sugar and a piece of butter into each apple cavity, then mound the crumble over the top. Some of it will spill onto the dish, and that’s fine; those stray bits bake into the edges of the pan and turn deeply crisp. Bake until the apples yield easily when pierced with a paring knife and the topping looks golden, not pale. If the crumble browns before the apples are tender, tent the dish loosely with foil for the last few minutes.
Serving While the Edges Are Still Hot
Serve these right away if you want the best contrast between warm fruit, crisp topping, and cold ice cream. The topping stays crisp longest in the first ten to fifteen minutes out of the oven. Caramel sauce is optional, but it plays nicely with the cinnamon and buttery oats. If you wait too long, the crumble softens from the steam, and the dessert loses some of what makes it special.
Three Ways to Make This Recipe Your Own
Dairy-Free Baked Apples
Swap the butter for a plant-based stick butter that stays firm when cold. The topping will still clump and brown, though it may bake a shade less richly than the dairy version. Use a dairy-free vanilla ice cream if you want the full finish without changing the texture of the baked apples.
Gluten-Free Crisp Topping
Use a measure-for-measure gluten-free flour blend in place of the all-purpose flour. The topping stays crisp, though it may be a little more delicate when you scoop it. Don’t skip the oats, since they give this dessert the crisp texture that makes it feel like apple crisp instead of plain baked fruit.
Extra Spice, Less Sweet
Add a pinch of cloves or cardamom to the crumble if you want a warmer, more spiced finish. You can also cut the brown sugar back slightly if your apples are very sweet. The result tastes a little sharper and less dessert-heavy, which works well when you’re serving it after a rich meal.
Storage and Reheating
- Refrigerator: Store leftovers covered for up to 4 days. The crumble softens a bit as it sits, but the flavor stays good.
- Freezer: It freezes, but the apples soften noticeably after thawing, so I don’t recommend freezing it if you want the best texture.
- Reheating: Warm in a 325F oven until heated through and the topping re-crisps at the edges. The microwave makes the apples steamy and the crumble soft, so it’s the one method that hurts this dessert most.
Answers to the Questions Worth Asking
Apple Crisp Baked Apples
Ingredients
Equipment
Method
- Preheat oven to 375F. Pour apple cider into the bottom of a baking dish.
- Core apples from the top, leaving the bottom intact, creating a cavity about 1-1/2 inches wide.
- Mix brown sugar and cinnamon for the cavity filling. Place a pinch into each apple followed by a piece of butter.
- In a bowl, combine rolled oats, all-purpose flour, brown sugar, cinnamon, nutmeg, and salt.
- Cut in the cold cubed butter until clumpy, leaving small butter bits for crisp pockets.
- Pack crumble into and over the top of each apple so the tops are fully covered.
- Bake 35-40 minutes at 375F until the apples are tender and the crumble is golden.
- Serve immediately with vanilla ice cream and caramel sauce.