Chocolate chip caramel bars hit the sweet spot between a cookie bar and a caramel square: buttery, chewy, and layered with that soft, gooey middle that sets just enough to slice cleanly once it cools. The oats give the base and topping a little grit and keep the texture from turning cakey, while the caramel stays tucked in the center instead of leaking out across the pan.
The key here is treating the dough like both crust and crumble. Pressing two-thirds of it firmly into the pan gives you a sturdy base that can hold the caramel, and the short par-bake keeps the bottom from going past chewy into dry. A little cream loosens the caramel just enough to spread in an even layer without tearing up the base, and the flaky salt at the end keeps the bars from reading one-note sweet.
Below, I’ll walk through the part that matters most: how to keep the caramel layer from turning messy, how to get the topping golden without overbaking the center, and what to do if you want to swap in a different chocolate or make these a little more nutty.
The caramel layer stayed perfectly gooey after cooling, and the oats in the topping gave the bars a great chew instead of making them crumbly. My family kept sneaking pieces until the pan was gone.
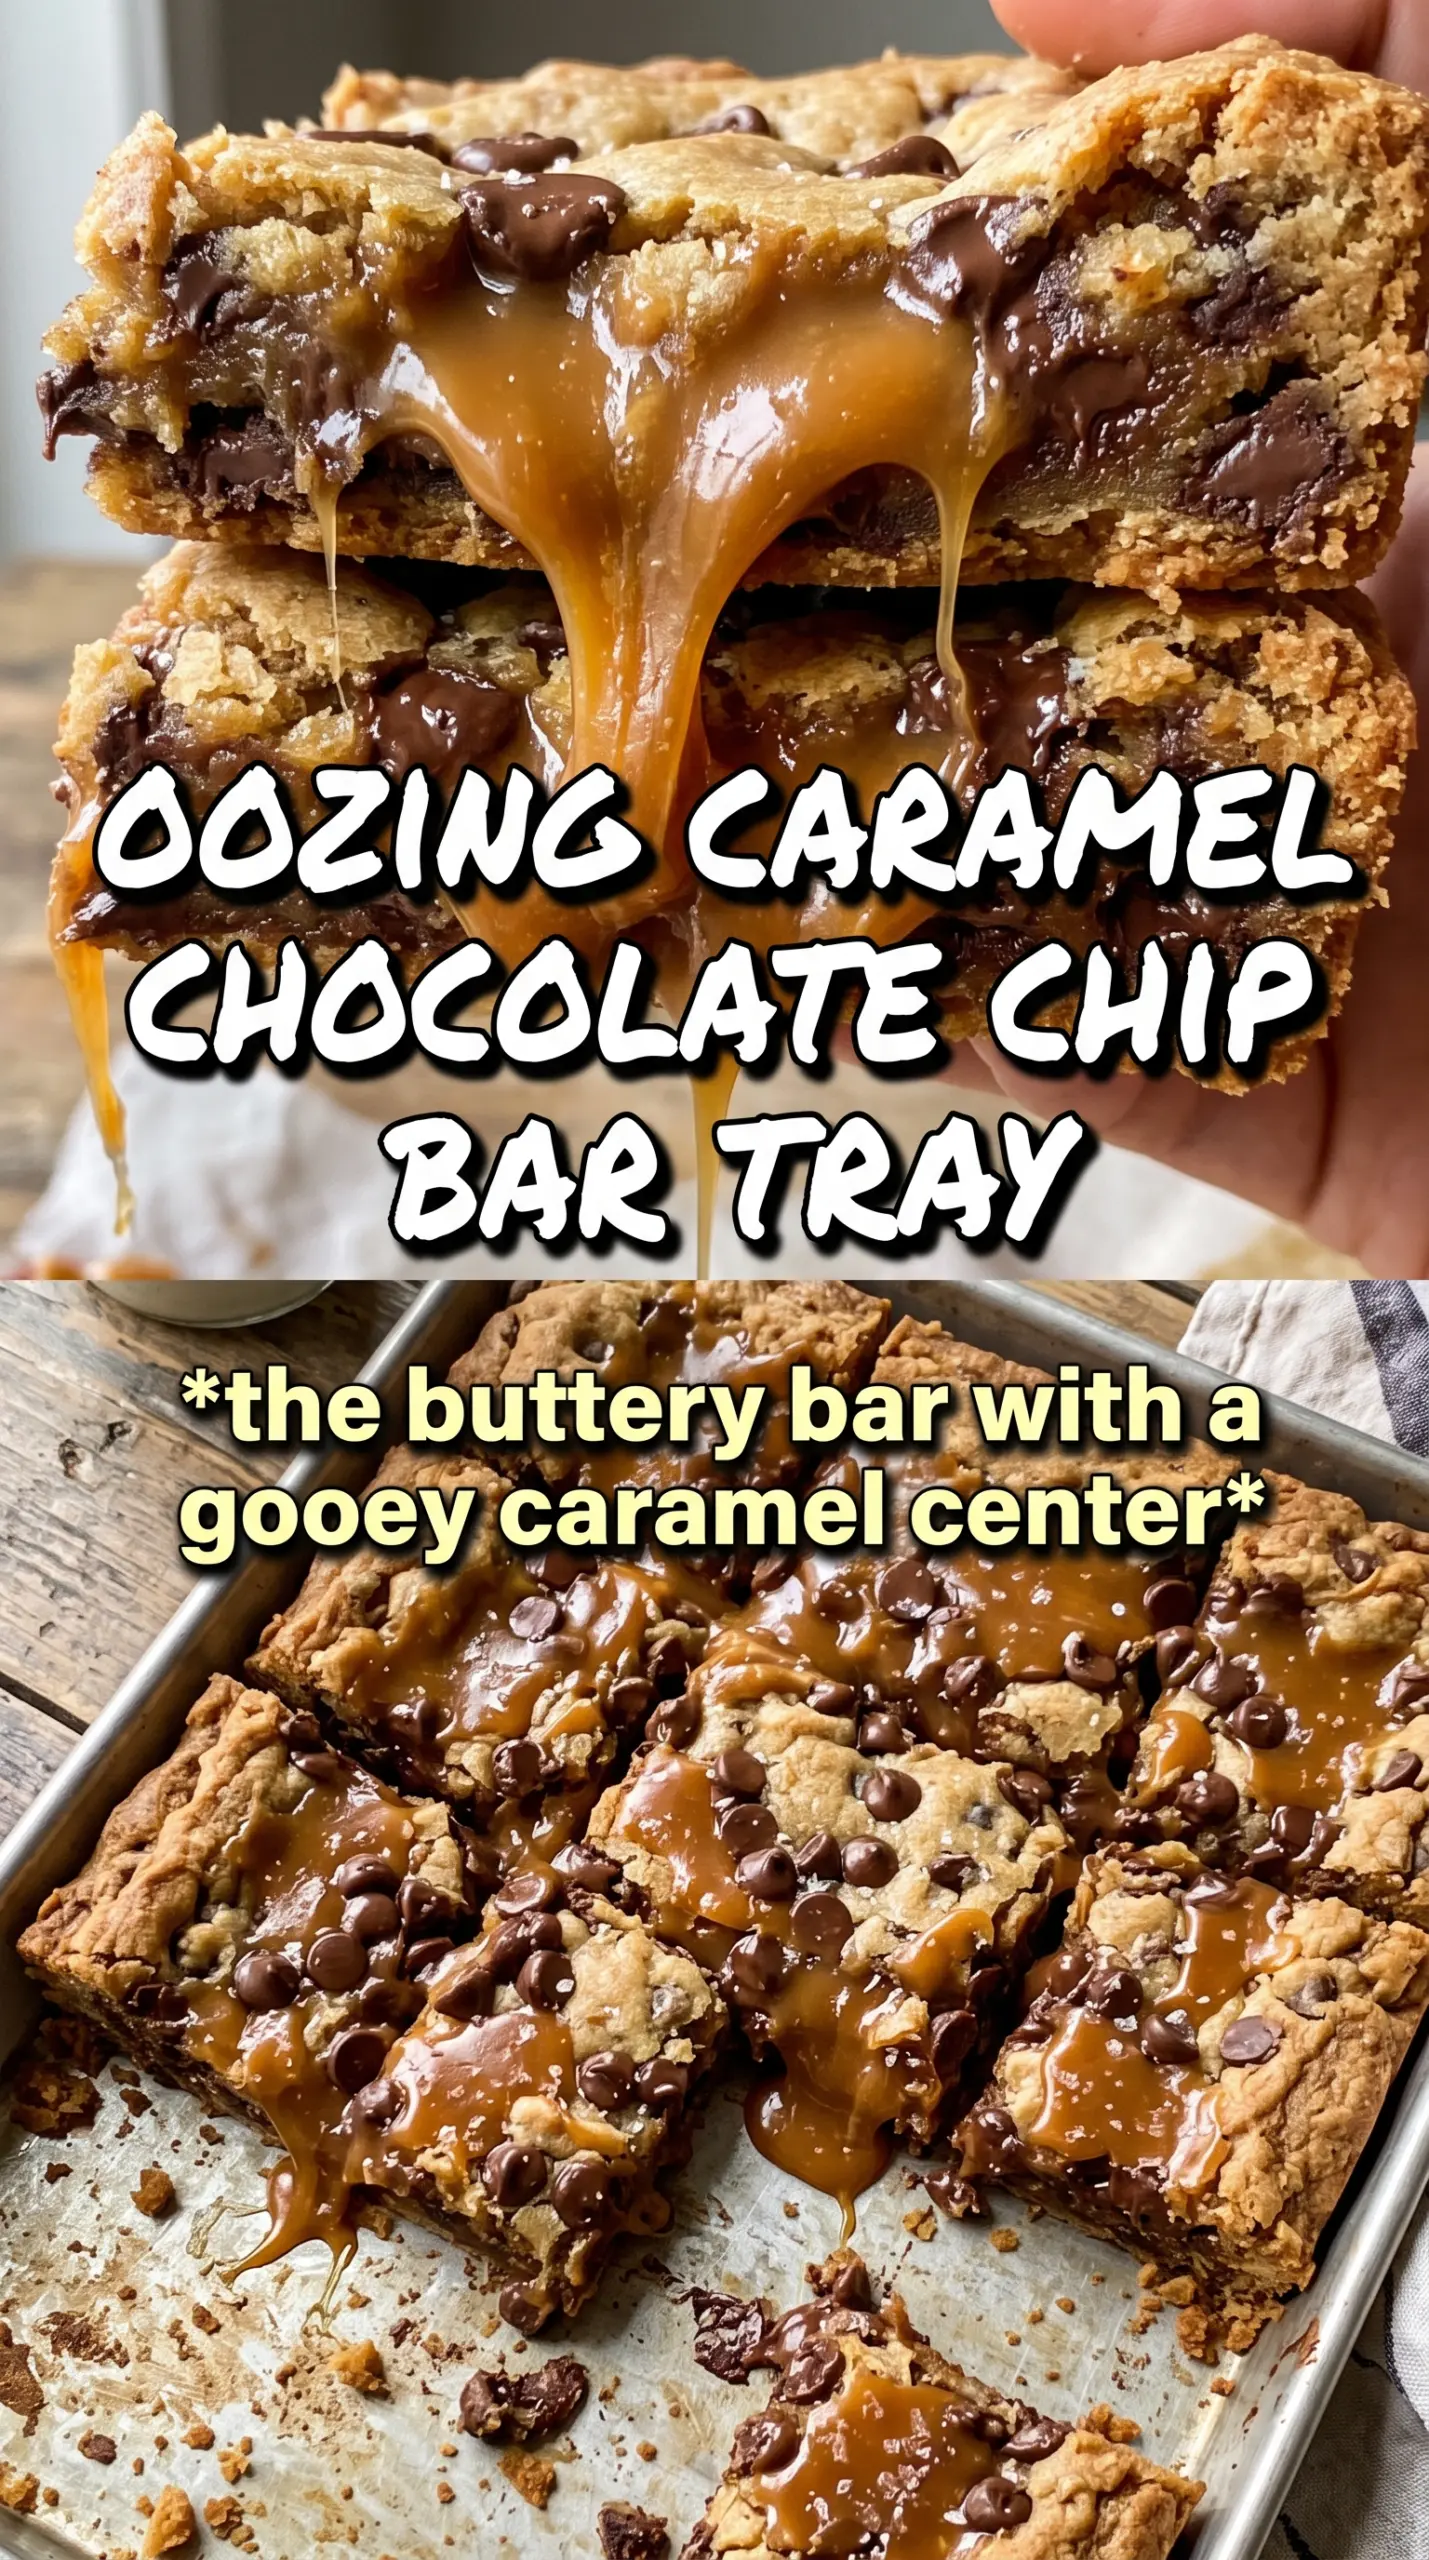
These chocolate chip caramel bars have that gooey caramel middle and crisp, oat-studded top that makes them hard to stop slicing into.
The Caramel Layer Needs a Little Help to Stay Put
The most common mistake with bars like this is pouring caramel straight onto a raw base and expecting it to behave. It usually doesn’t. The bottom needs that 10-minute head start so it can set into a firm enough layer to support the filling, and the caramel needs the cream so it spreads instead of pooling in one thick ribbon.
That short par-bake also changes the texture of the finished bars. Without it, the bottom stays too soft and the caramel sinks in. With it, you get clear layers: a chewy base, a soft center, and a crumbly, golden top that holds together once cooled.
- Press the base firmly. A loose layer bakes up uneven and can leave gaps for the caramel to leak through.
- Use the hot base. The warm surface helps the caramel settle into an even sheet.
- Cool completely before slicing. The caramel sets as it cools, and cutting early turns clean bars into a sticky mess.
What Each Ingredient Is Actually Doing in This Dish
- Rolled oats bring chew and keep the topping from tasting like a plain cookie dough crumble. Quick oats will work in a pinch, but they make the texture finer and a little less rustic.
- Brown sugar adds moisture and that caramel-like depth that fits the filling. If you swap in more white sugar, the bars bake up drier and flatter in flavor.
- Melted butter is what ties the dough together without needing a mixer. It also gives the edges that rich, crisp finish. Don’t use softened butter here; it won’t coat the dry ingredients the same way.
- Caramel sauce is easiest to work with when it’s thick but pourable. If yours is stiff, warm it gently before mixing in the cream so it spreads in a smooth layer.
- Semi-sweet chocolate chips keep the sweetness in check. Milk chocolate makes the bars sweeter and softer, while dark chocolate gives a sharper finish.
- Flaky sea salt matters. It cuts through the caramel and makes the chocolate taste fuller. Fine salt won’t give you the same finish on top.
Building the Layers Without Overbaking the Center
Mixing the Oat Dough
Stir the dry ingredients together first so the baking soda and salt are evenly distributed, then drizzle in the melted butter and toss until every bit looks damp. You want a crumbly, sandy mixture that holds together when pinched, not a wet batter. If there are dry pockets at the bottom of the bowl, the bars will bake unevenly, so scrape from the edges and the bottom as you mix.
Creating the Base
Press about two-thirds of the mixture into the parchment-lined pan in an even layer, and press harder than you think you need to. A lightly packed base can crumble when you slice the bars. Bake it just until the surface looks set and the edges are starting to color; you’re not trying to fully brown it yet.
Adding the Caramel and Chocolate
Whisk the caramel and cream until smooth, then pour it over the hot base and spread it to the corners. Scatter the chocolate chips across the caramel while it’s still warm so they nestle in a little instead of rolling around. If the caramel looks streaky or too thick to spread, it needs a touch more warmth before you move on.
Finishing the Top
Crush the remaining dough over the top in uneven clumps so some caramel peeks through after baking. That gives you better texture than a solid blanket of topping. Pull the pan when the top is golden and the center still looks slightly soft; it will firm up as it cools, and that’s what keeps the caramel layer from turning stiff.
Three Ways to Make These Bars Fit Your Kitchen
Gluten-Free Version
Use a good 1:1 gluten-free flour blend in place of the all-purpose flour, and keep the oats certified gluten-free. The bars will still bake up chewy, but the topping may be a little more delicate when warm, so let them cool fully before lifting them from the pan.
Dairy-Free Adaptation
Swap in a dairy-free butter substitute and use a dairy-free caramel sauce that’s thick enough to hold its shape. The texture stays close to the original, but the flavor will be a little less rich, so the flaky salt becomes even more important.
Nutty Upgrade
Add up to 1 cup of chopped pecans or walnuts with the chocolate chips. The nuts give the bars a crunch that works nicely against the caramel, but too many will crowd out the gooey center, so keep the mix-ins modest.
Storage and Reheating
- Refrigerator: Store in an airtight container for up to 5 days. The caramel firms up in the fridge, so the bars slice neatly but lose a little softness.
- Freezer: These freeze well. Wrap the cut bars individually and freeze for up to 2 months, then thaw at room temperature.
- Reheating: For a warm bar, microwave one piece for 8 to 10 seconds. Longer than that and the caramel can turn runny before the base has a chance to warm through.
Answers to the Questions Worth Asking
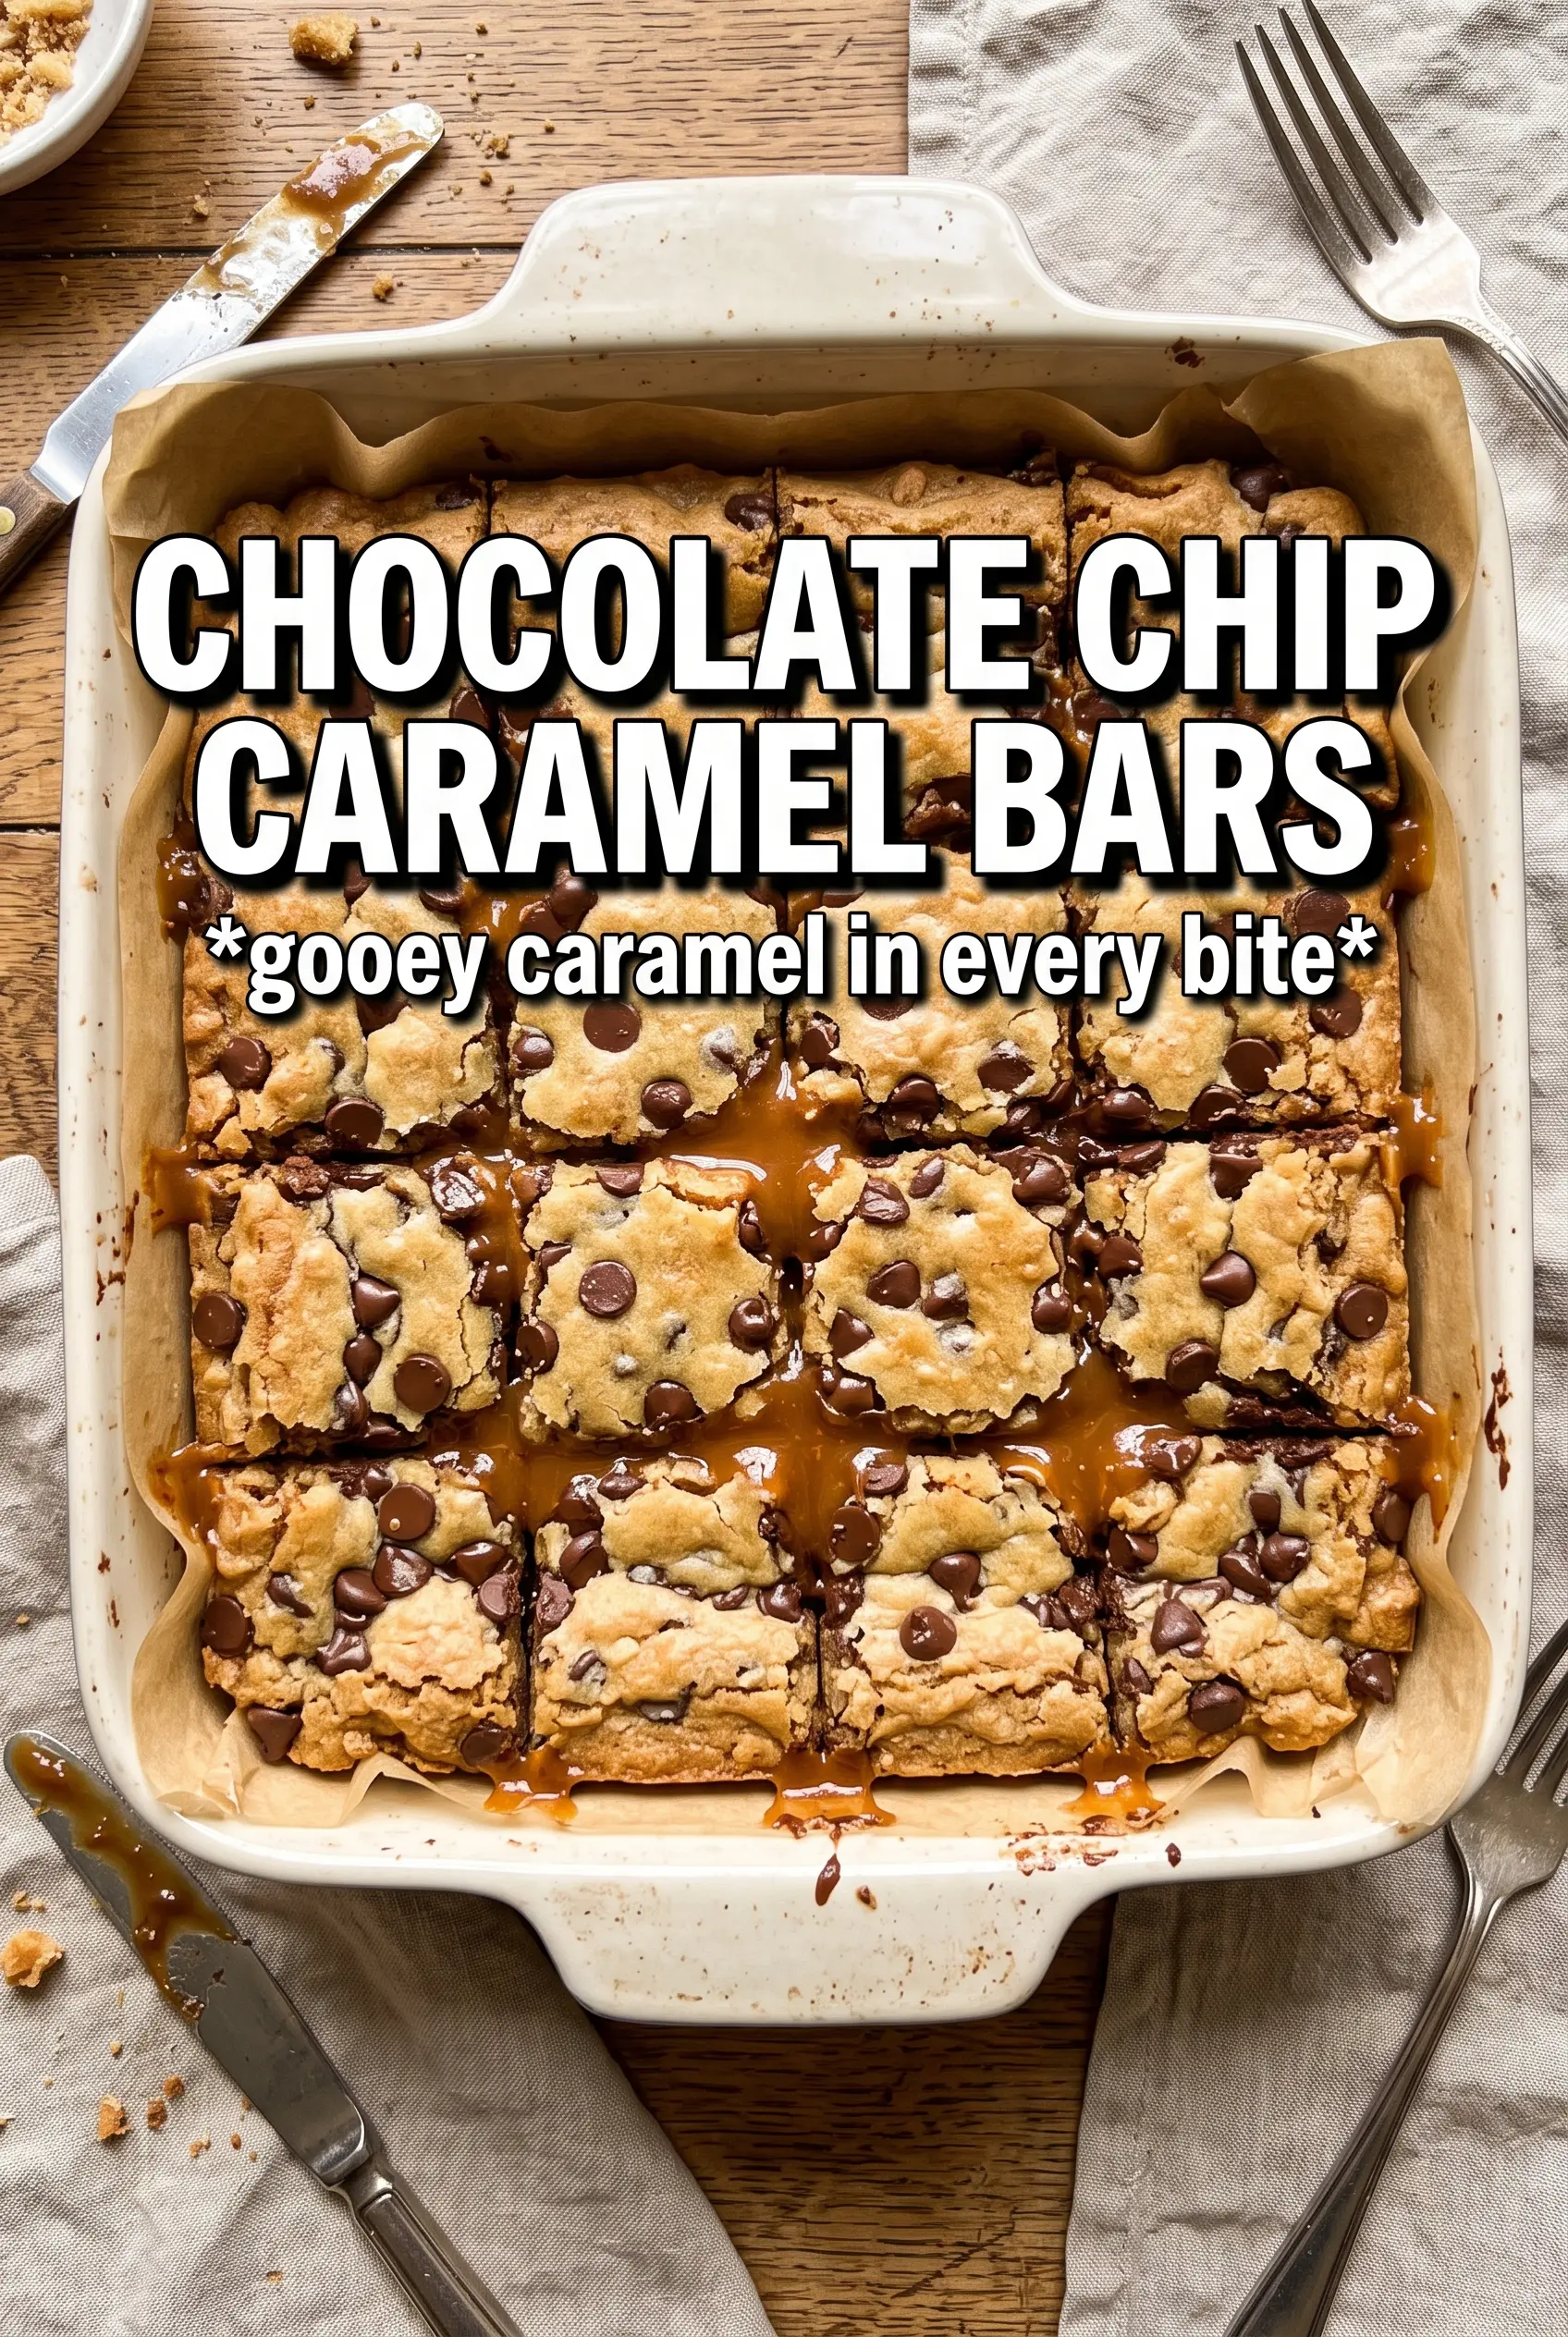
Chocolate Chip Caramel Bars
Ingredients
Equipment
Method
- Preheat oven to 350F and line a 9x13 pan with parchment, leaving overhang for easy lifting.
- In a mixing bowl, combine all-purpose flour, rolled oats, brown sugar, granulated sugar, baking soda, and salt.
- Drizzle in the melted unsalted butter and toss until the mixture is evenly moistened and clumps slightly.
- Press 2/3 of the mixture firmly into the prepared pan, smoothing it into an even layer.
- Bake at 350F for 10 minutes until the base is lightly set and fragrant.
- Whisk caramel sauce and heavy cream until smooth, then pour over the hot base.
- Scatter semi-sweet chocolate chips over the caramel, then crumble the remaining dough on top.
- Bake at 350F for 20-22 minutes, until the topping is golden and caramel is bubbling at the edges.
- Sprinkle with flaky sea salt and cool completely before slicing for clean bars.