These no bake pumpkin dream bars land with the kind of soft, chilled slice that disappears fast from a dessert table. The crust stays buttery and crisp enough to hold its shape, while the pumpkin layer turns fluffy and light instead of dense or puddly. That contrast is what makes them worth repeating.
The trick is treating each layer separately. The crust needs that short chill so it compacts before the filling goes on, and the cream cheese has to be fully smooth before the pumpkin gets added or you’ll end up with little bits that never blend out. Folding in the whipped topping at the end keeps the filling airy, which is exactly what gives these bars their “dream” texture instead of a heavy pumpkin square.
Below you’ll find the few details that matter most: how to keep the crust from crumbling when you cut the bars, what to do if your filling looks loose, and a couple of easy ways to change up the topping without losing that classic pumpkin-and-cream-cheese finish.
The filling set up beautifully after a few hours in the fridge, and the gingersnap crumbs on top gave it just enough spice. Mine sliced cleanly into neat bars with no mess at all.
Save these No Bake Pumpkin Dream Bars for the kind of dessert that needs just a quick mix, a long chill, and a clean slice every time.
The Chill Time Is What Gives These Bars Their Clean Layers
No bake bars live or die by temperature. If you rush the crust, it smears when you spread the filling over it. If you cut into the bars before the pumpkin layer is fully set, the whole pan will slump instead of slicing into neat squares. The fridge does the heavy lifting here, not the mixer.
The other mistake is overworking the whipped topping. You want it folded in, not beaten in, because the goal is a mousse-like filling with enough body to hold under the top layer. Once the cream cheese is smooth, the rest comes together fast. That matters because the longer the filling sits at room temperature, the softer it gets before chilling.
What Each Ingredient Is Actually Doing in This Dessert
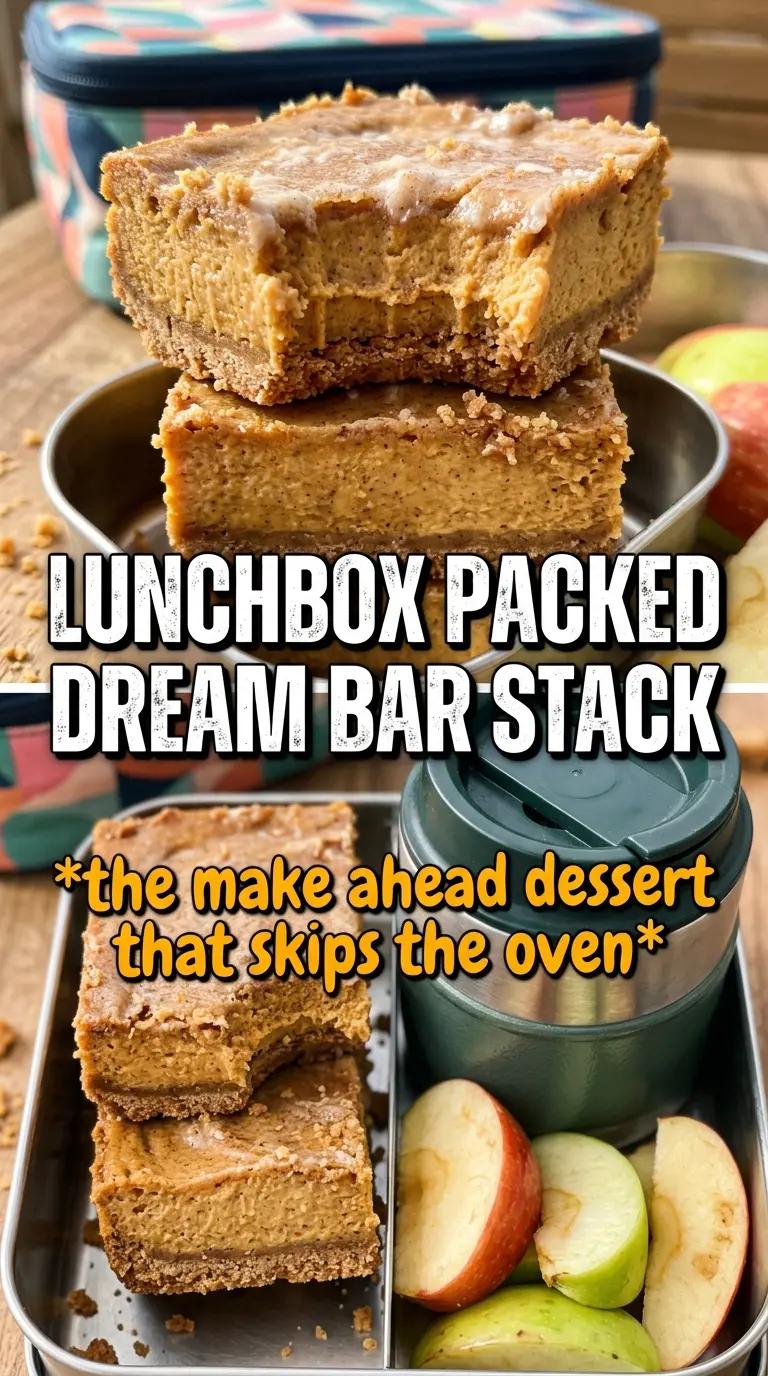
- Graham cracker crumbs — These form the base that keeps the bars from tasting like straight filling. Pre-crushed crumbs are fine, but they should be fine and sandy, not chunky, so the crust presses tightly into the pan.
- Melted butter — This is what binds the crust. If the crust seems loose after mixing, it usually needs a better press into the pan rather than more butter, which can make it greasy instead of firm.
- Cream cheese — Softened cream cheese is nonnegotiable. Cold cream cheese leaves little lumps in the filling, and once those are in, they rarely disappear after the whipped topping goes in.
- Pumpkin puree — Use plain pumpkin puree, not pumpkin pie filling. Pie filling already has sugar and spices mixed in, which throws off the balance and makes the bars taste muddy instead of clean and spiced.
- Powdered sugar — This sweetens the filling without graininess. Granulated sugar won’t dissolve the same way in a no-bake filling, so the texture suffers.
- Whipped topping — This gives the filling its light, sliceable texture. Whipped cream can work in a pinch, but it softens faster and doesn’t hold as long in the fridge.
- Gingersnap crumbs — They add a sharp, spiced finish that plays well with the pumpkin. If you want a milder top, use extra cinnamon instead, but you’ll lose that crackly bite.
How to Build the Layers So the Bars Slice Cleanly
Pressing and Chilling the Crust
Mix the graham crumbs, sugar, and melted butter until every crumb looks damp, then press the mixture firmly into a 9×13 pan. Use the bottom of a measuring cup to pack it down evenly into the corners, because loose spots turn crumbly when you cut the bars. A 20-minute chill is enough to firm it up before the filling goes on.
Whipping the Pumpkin Filling Smooth
Beat the cream cheese first until it looks glossy and no pale lumps remain. Add the pumpkin, sugar, spices, and vanilla after that, and keep mixing just until smooth. If you start with cold cream cheese, the filling will never get that silky base and you’ll see specks of unblended cheese in the final slice.
Folding in the Whipped Topping
Add about two-thirds of the whipped topping and fold it in with a spatula, using broad strokes from the bottom of the bowl. Stop as soon as the mixture turns light and uniform. Overmixing knocks out the air, and that’s what makes the filling dense instead of soft and mousse-like.
Finishing and Setting the Pan
Spread the pumpkin layer over the chilled crust, then smooth the remaining whipped topping across the top in an even layer. Dust with cinnamon and add the crushed gingersnaps before the final chill so they settle into the topping a little. Four hours in the fridge is the minimum for clean slices, but overnight gives the firmest bars.
Three Ways to Make These Bars Fit What You’ve Got
Dairy-Free Version
Use a dairy-free cream cheese and a non-dairy whipped topping with enough structure to hold a layer. The bars will still set, but the filling will taste a little less rich and a touch softer, so give them the full chill time before cutting.
Gluten-Free Crust
Swap in gluten-free graham-style crumbs or crushed gluten-free cookies. The texture stays nearly the same as long as the crumbs are fine and the crust is pressed firmly into the pan.
Extra-Spiced Topping
Mix a pinch of pumpkin pie spice into the final whipped topping layer before spreading it on top. That gives the bars a stronger bakery-style spice note, but don’t overdo it or the topping can start to taste dusty instead of creamy.
Storage and Reheating
- Refrigerator: Store covered for up to 5 days. The crust softens a little by day two, but the bars still slice well if they stay cold.
- Freezer: These freeze well. Cut into bars, wrap tightly, and freeze in a single layer before transferring to a container. Thaw in the refrigerator so the topping doesn’t weep.
- Reheating: No reheating needed. Serve straight from the fridge for the best texture, because warming them turns the filling loose and makes the crust fall apart.
Answers to the Questions Worth Asking
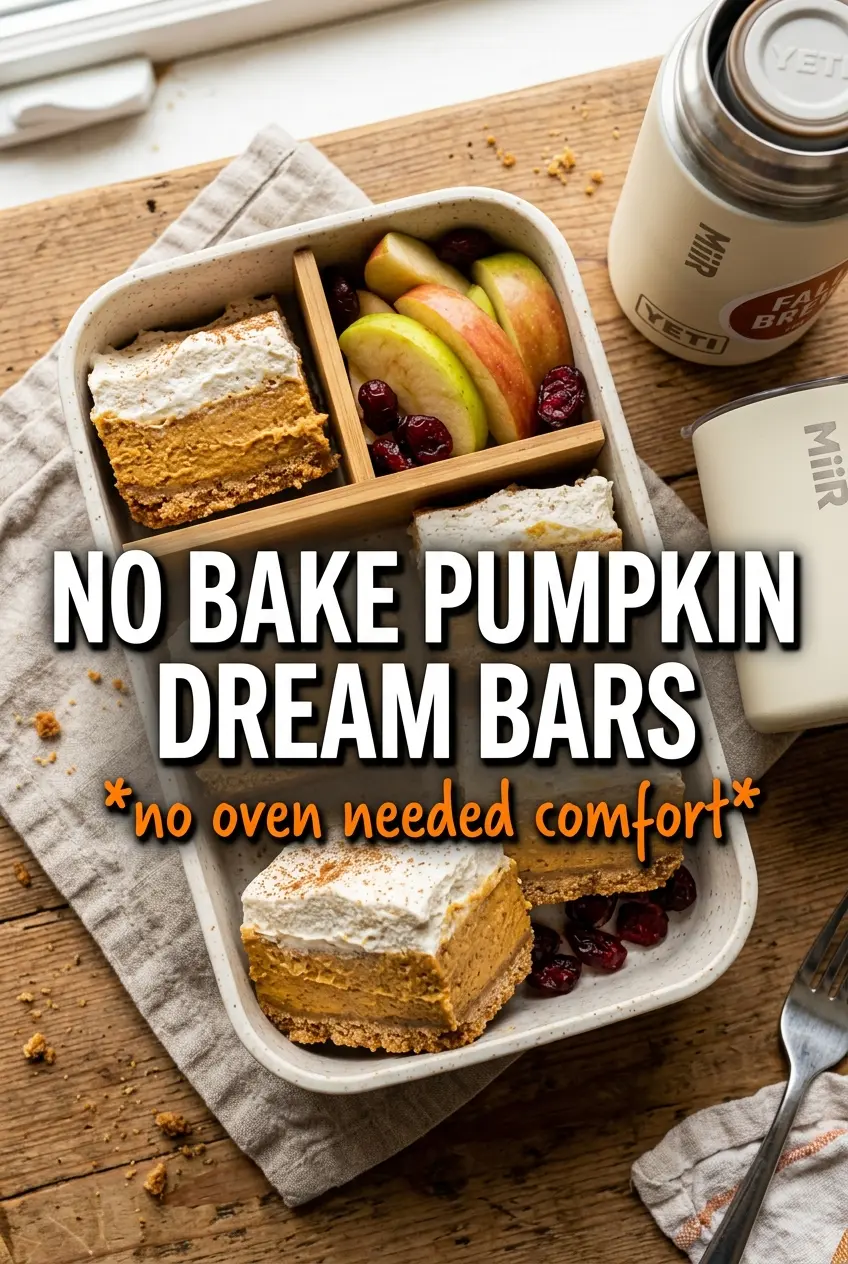
No Bake Pumpkin Dream Bars
Ingredients
Equipment
Method
- Press graham cracker crumbs, sugar, and melted butter into a 9x13 pan to form an even crust layer, then refrigerate for 20 minutes to set, looking for it to firm up and hold shape.
- Beat the softened cream cheese until smooth, scraping the sides as needed for a lump-free texture.
- Add pumpkin puree, powdered sugar, pumpkin pie spice, cinnamon, and vanilla, then beat until fully combined and creamy.
- Fold in 2/3 of the thawed whipped topping until the mixture is light and uniform with no streaks.
- Spread the pumpkin cream cheese layer over the chilled crust in an even thickness, using gentle pressure to seal it to the edges.
- Spread the remaining whipped topping over the pumpkin layer so it covers the surface completely.
- Dust the top lightly with cinnamon for visible specks across the surface.
- Scatter crushed gingersnap cookies over the top, leaving some contrast so the crumbs stand out.
- Refrigerate for 4 hours or overnight until firm enough to slice cleanly, looking for a set center with no jiggle.
- Cut into bars and serve, using a sharp knife and wiping between cuts for neat edges.