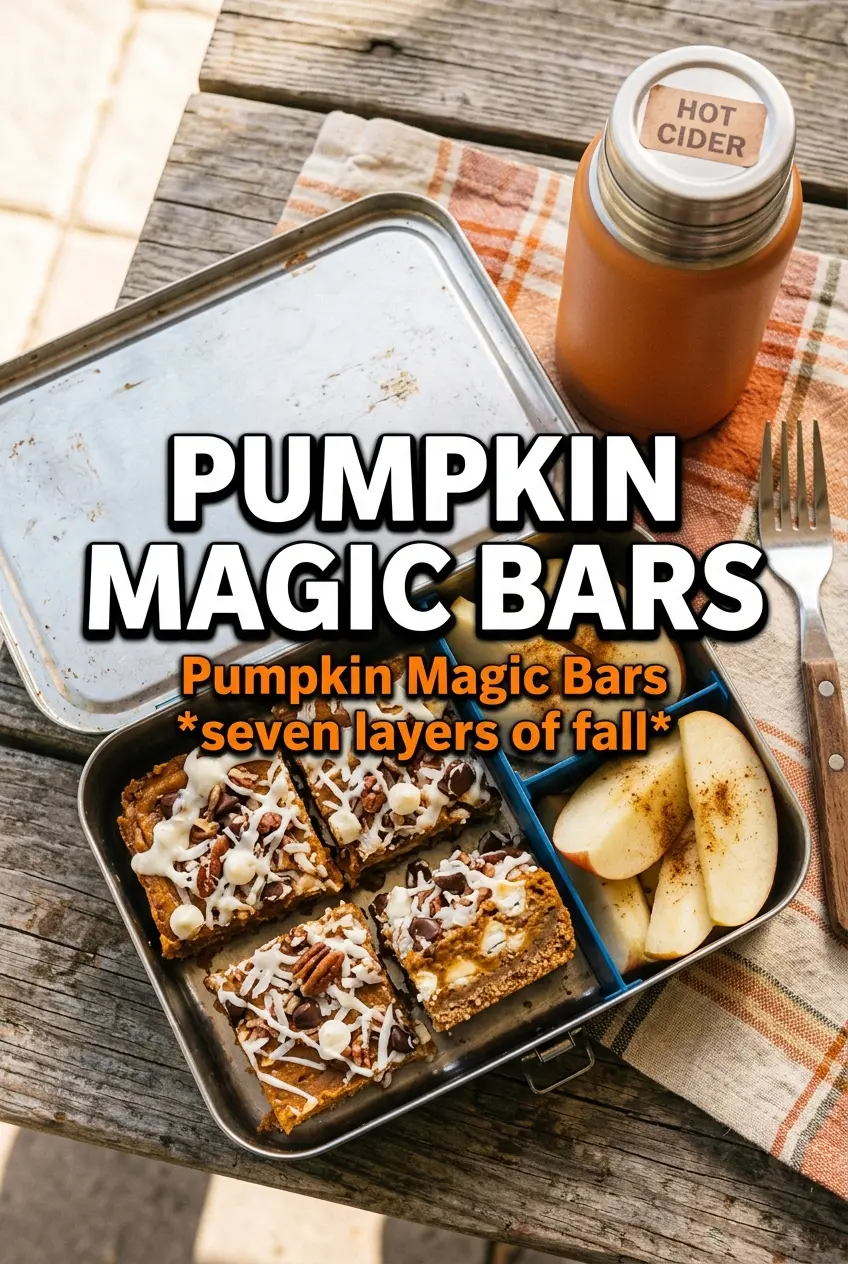
Pumpkin Magic Bars turn into those layered dessert bars that disappear faster than you expect: crisp gingersnap base, creamy pumpkin filling, sticky toasted coconut, melted white chocolate, and little pockets of butterscotch and toffee in every bite. The texture is the whole point here. You get a firm, sliceable bar with enough chew to keep it interesting and enough sweetness to feel like a proper treat.
The trick is in the layering. The melted butter at the bottom helps the gingersnap crumbs bake into a sturdy crust instead of a sandy one, and the pumpkin gets mixed right into the sweetened condensed milk so the center sets without tasting eggy or custardy. Pressing the toppings down gently matters too — not enough to crush everything, just enough to help the bars knit together as they bake.
Below you’ll find the small details that keep these bars cleanly cut and not gummy, plus a few swaps if you need to work around what you have on hand. Once you’ve made them once, the formula makes sense fast.
The gingersnap crust stayed crisp under the pumpkin layer, and the bars held together perfectly after chilling. My coworkers kept asking what was in them because the white chocolate and toffee made every bite taste different.
Save these Pumpkin Magic Bars for the dessert tray when you want a chewy gingersnap crust, creamy pumpkin layer, and crunchy candy-studded top in one pan.
The Crust Needs More Than Just a Sprinkle of Crumbs
A magic bar crust can turn dusty and weak when the crumbs sit on top of melted butter without enough contact. Here, the gingersnap crumbs get spread evenly across the butter and then pressed into place after the toppings go on, which helps them bake into a tight base instead of a loose layer that falls apart when you lift a square. Gingersnaps also pull their weight in flavor. They bring spice and molasses depth that plain graham crackers can’t match, and that warmth is what keeps the bars from tasting flat.
The other common failure is a center that never quite sets. Pumpkin puree adds moisture, so it needs the condensed milk to carry it into a thick, sliceable layer. If you add too much pumpkin or pull the pan too early, the bars will look done at the edges but slump in the middle once they cool. Bake until the center looks set with just a slight wobble, then give it the full cooling time before cutting.
What Each Ingredient Is Actually Doing in This Dish
- Gingersnap crumbs — These form the crust and give the bars their spiced backbone. If you only have graham crackers, the bars will still work, but they’ll taste sweeter and less complex. Crush the cookies fine enough that the layer packs together instead of staying sandy.
- Sweetened condensed milk — This is the glue that holds the bars together and bakes into a creamy, chewy layer. There isn’t a great substitute if you want the same texture. Evaporated milk won’t set the same way.
- Pumpkin puree — Use pure pumpkin, not pumpkin pie filling. Pie filling is already sweetened and seasoned, which throws off the balance and can make the bars too soft. The puree adds body and that recognizable pumpkin flavor without making the filling overly sweet.
- White chocolate chips, butterscotch chips, and toffee bits — These give the bars sweetness, pockets of melt, and little crunchy surprises. You can swap one chip for another, but keep at least one creamy component and one crunchy one so the topping still feels layered.
- Pecans — The pecans keep the top from being all sugar and add a toasty bite after baking. Walnuts work too, but they read a little more bitter and less buttery.
Getting the Layers to Bake Into One Clean Square
Start with the buttered pan, not a dry crust
Pour the melted butter straight into the baking pan first, then scatter the gingersnap crumbs evenly over it. That lets the butter soak up into the crumbs from underneath, which gives you a firmer base than tossing everything together in a bowl. If you see dry patches, those spots will bake up crumbly, so spread the crumbs all the way to the corners.
Build the pumpkin layer before the toppings go on
Whisk the sweetened condensed milk, pumpkin puree, pumpkin pie spice, and cinnamon until smooth, then pour it evenly over the crust. The filling should look glossy and pourable, not thick like frosting. If there are streaks of pumpkin or spice, keep whisking; unmixed pockets can bake into uneven bites.
Press the topping in just enough to help it hold
Layer the coconut, chips, pecans, and toffee bits across the top, then press down gently with your hands. You’re not flattening the bars. You’re helping the toppings settle into the pumpkin layer so they don’t roll off when the bars slice. Bake until the edges are golden and the center looks set, then cool the pan completely before you cut.
How to Adapt This for Different Pantries and Diets
Gluten-Free Version
Use certified gluten-free gingersnap cookies for the crust. The rest of the ingredients are naturally gluten-free, but the cookie brand matters because some spice cookies pick up wheat from shared production lines. The texture stays the same as long as the crumbs are fine and evenly packed.
Nut-Free Swap
Leave out the pecans and replace them with extra coconut or more chips. You’ll lose the buttery crunch, so the bars will lean sweeter, but the structure still holds. If you want more texture without nuts, crushed pretzels are a good stand-in if you don’t need the bars to stay fully dessert-sweet.
Less Sweet, More Spiced
Cut the butterscotch chips down by half and add a pinch more pumpkin pie spice. That brings the bars a little closer to pumpkin dessert territory instead of candy-bar territory. The bars still slice well, but the pumpkin and spice taste comes forward more clearly.
Storage and Reheating
- Refrigerator: Store in an airtight container for up to 5 days. The bars firm up in the fridge, which makes them even easier to cut cleanly.
- Freezer: These freeze well. Wrap individual bars tightly and freeze for up to 2 months, then thaw in the fridge so the topping doesn’t sweat and get sticky.
- Reheating: Serve at room temperature or warm a bar for about 10 seconds in the microwave. Too much heat softens the chips and can make the crust lose its bite.
Answers to the Questions Worth Asking
Pumpkin Magic Bars
Ingredients
Equipment
Method
- Preheat the oven to 350°F, then pour the melted butter into a 9x13 baking pan.
- Sprinkle the gingersnap cookie crumbs evenly over the butter.
- Whisk the sweetened condensed milk, pumpkin puree, pumpkin pie spice, and cinnamon, then pour evenly over the crumbs.
- Layer the coconut, white chocolate chips, butterscotch chips, pecans, and toffee bits evenly over the top.
- Press down gently with your hands so the layers adhere.
- Bake for 30–35 minutes at 350°F until the edges are golden and the center is set, with no wet jiggle.
- Cool completely before cutting into bars so the layers fully bind together.