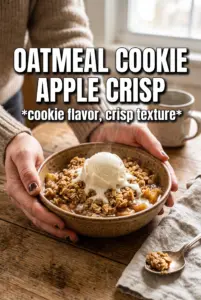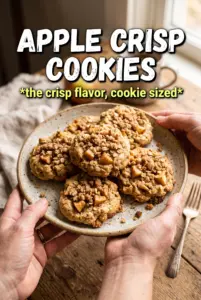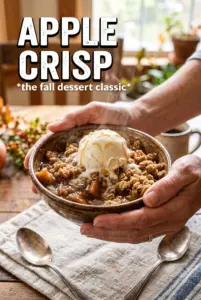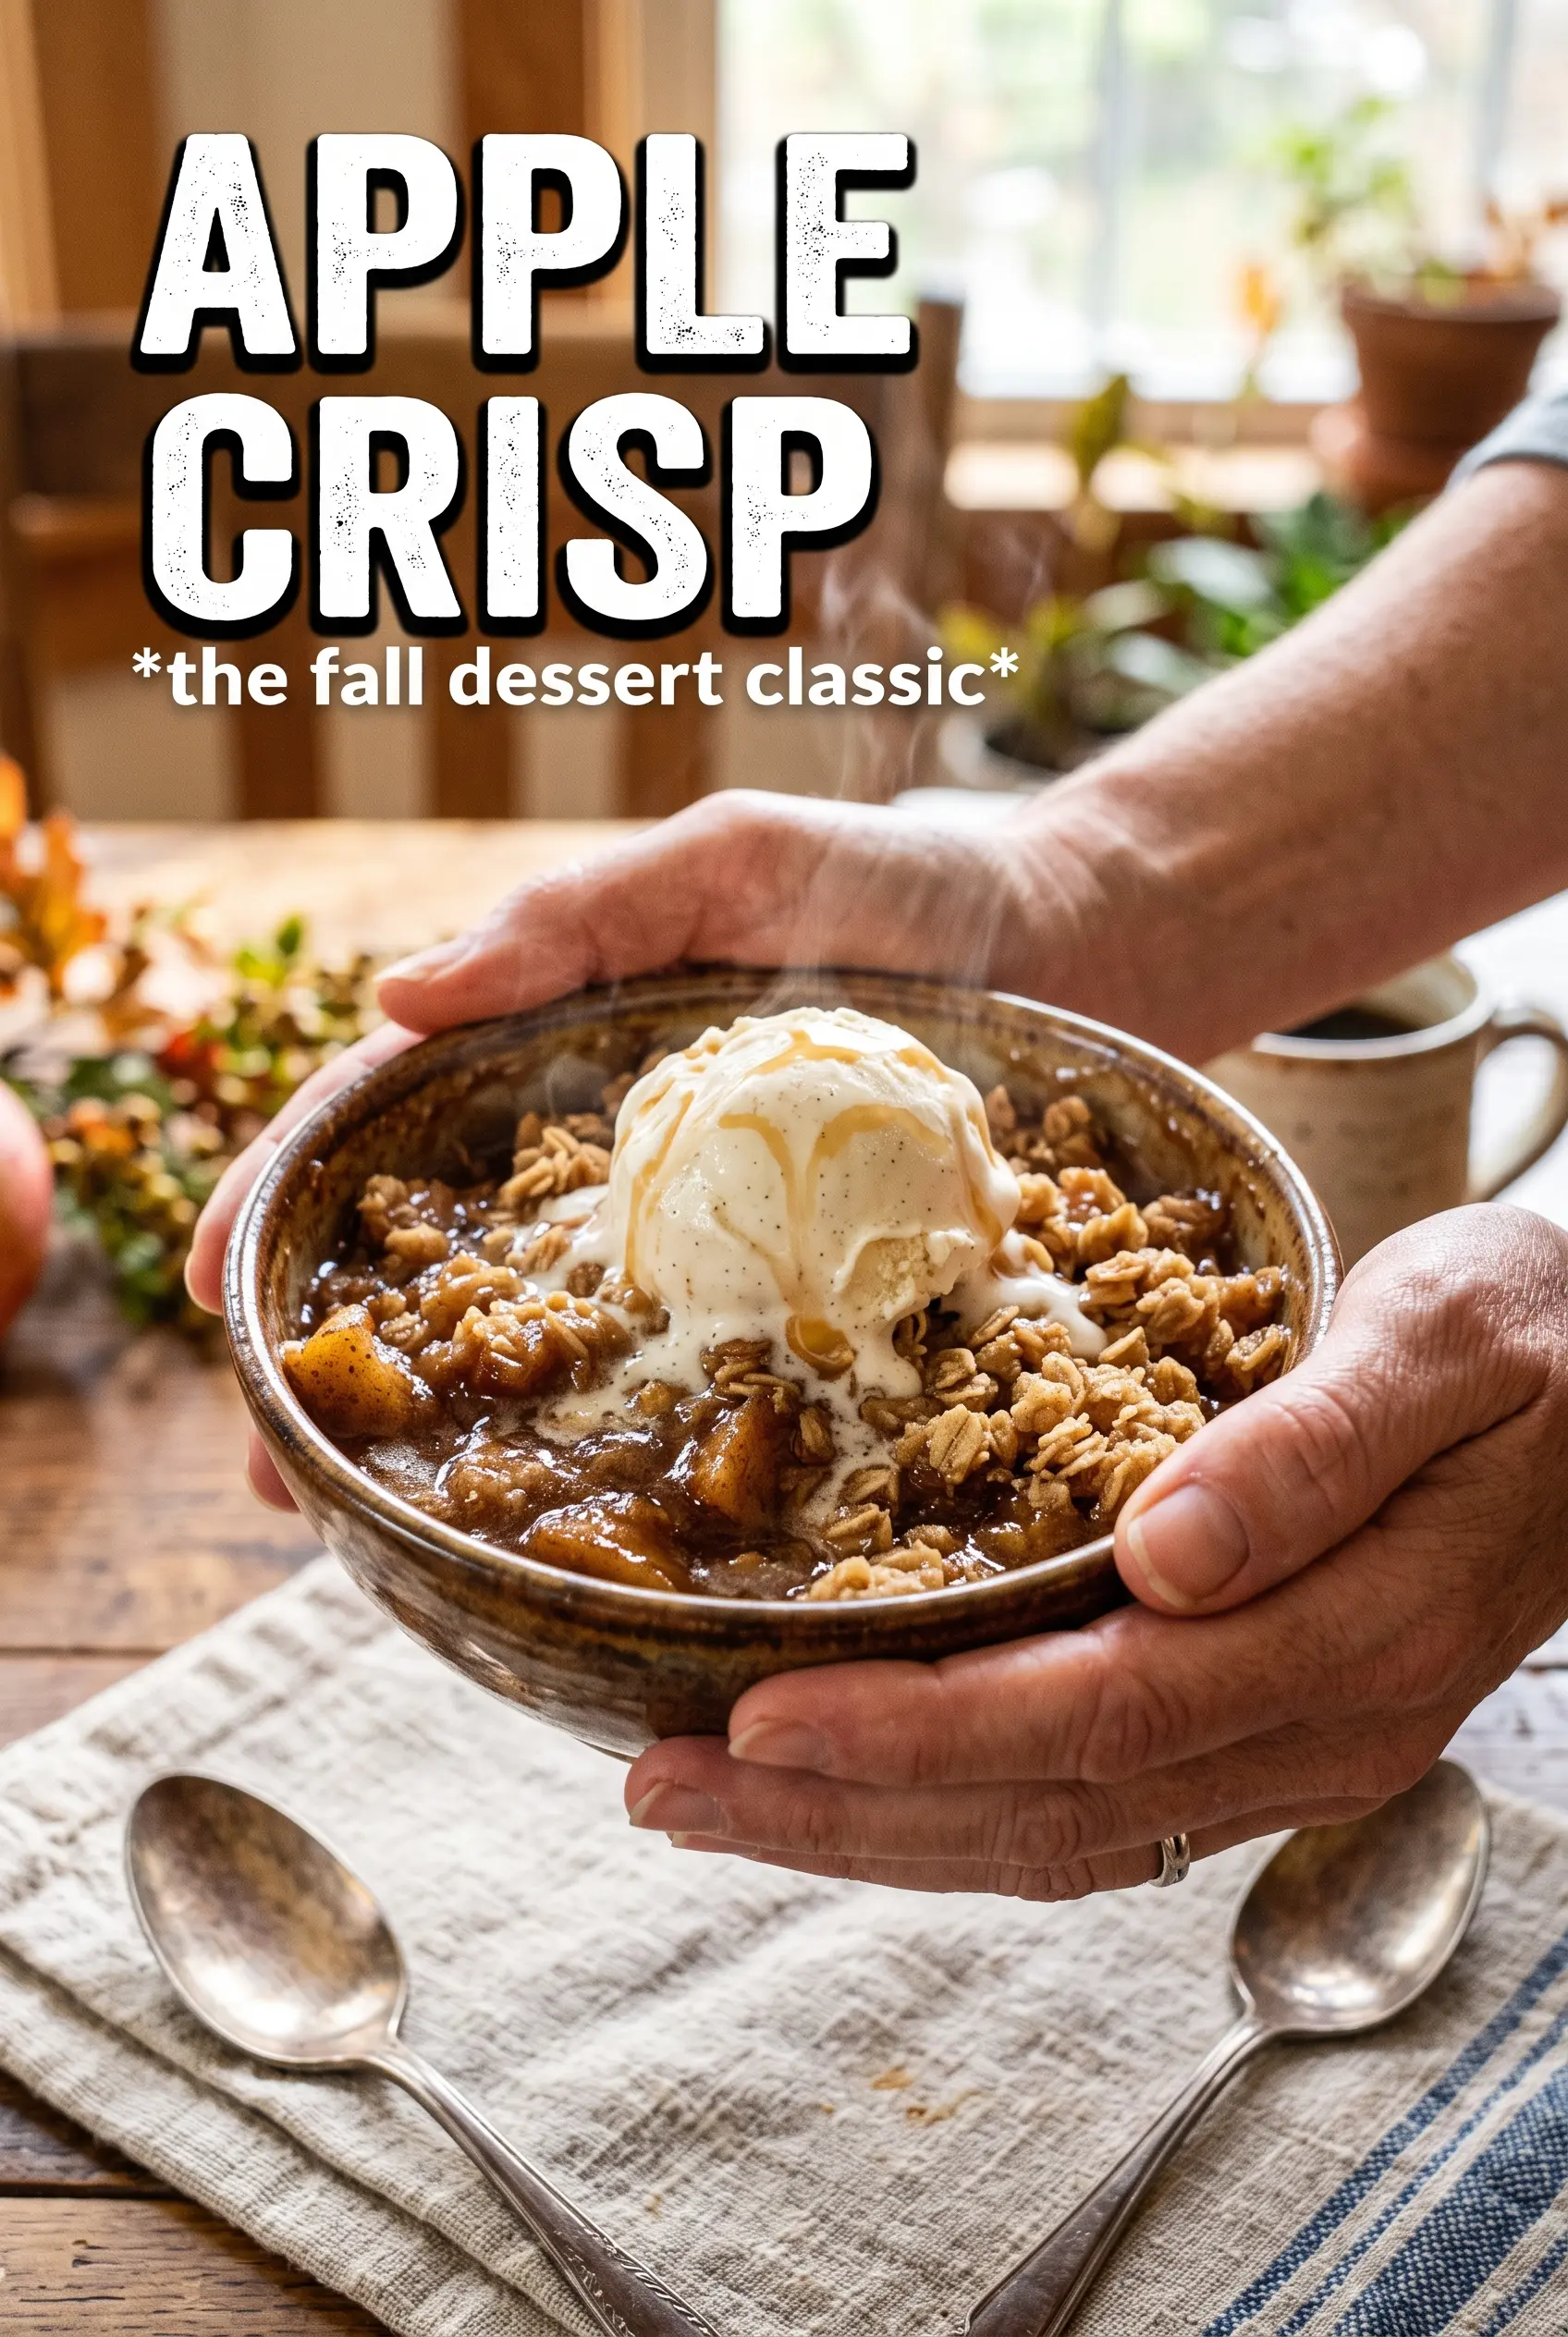
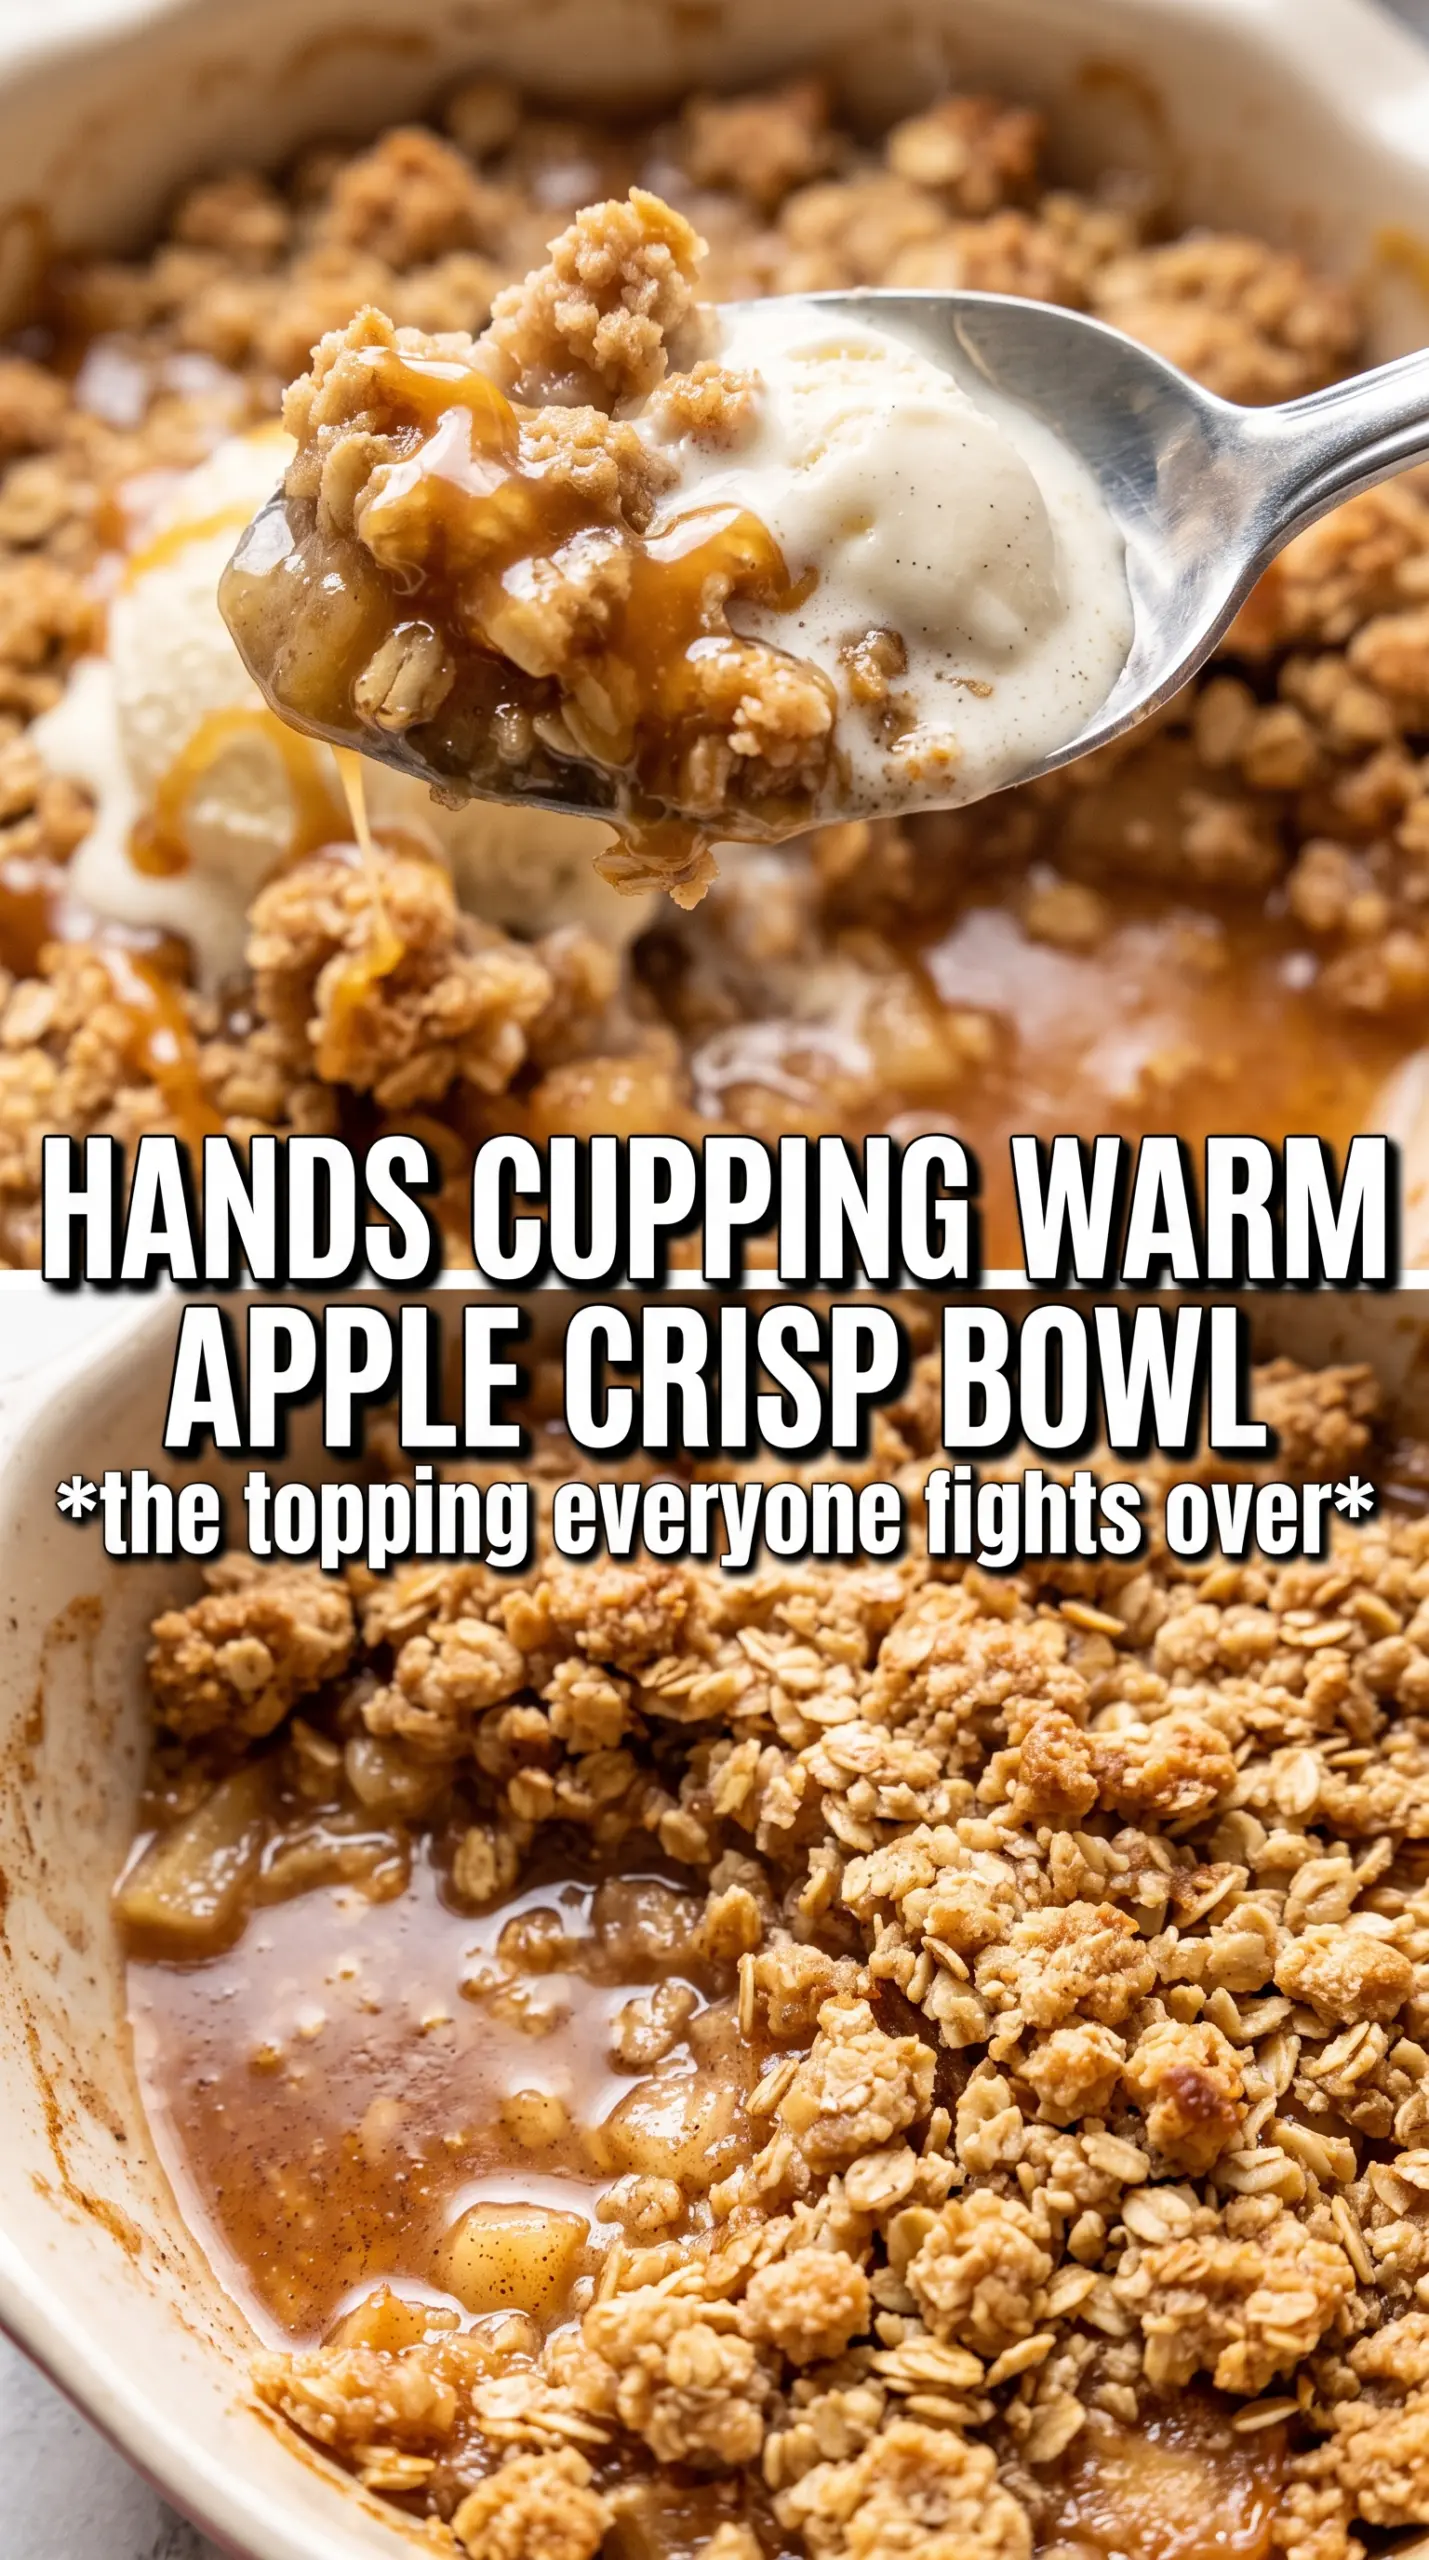
Apple crisp earns its place because it gives you everything people want from a baked apple dessert without the fuss of pie dough. The filling turns soft and bubbling at the edges, the topping stays rough and craggy, and every spoonful gets that contrast of warm cinnamon apples under a buttery oat crust. When it comes out of the oven with the edges caramelized and the center still thick and glossy, it feels homey in the best possible way.
The version that works best leans on two apples, not one. Granny Smith gives the filling structure and enough tartness to keep the dessert from tasting flat, while Honeycrisp adds juiciness and a cleaner apple flavor. Cornstarch matters here too. It thickens the juices as the apples bake, so you end up with a spoonable filling instead of a watery puddle under the crumble.
Below, I’ll show you why the topping needs cold butter, how to tell when the apples are fully baked, and the small trick that keeps the crumble from turning into a sandy layer.
The topping baked up crunchy instead of sandy, and the apples were soft but not mushy. I used the Granny Smith and Honeycrisp mix, and the filling thickened just enough to spoon cleanly with the ice cream.
Save this apple crisp for the kind of dessert that bakes up with a bubbling fruit center and a chunky oat topping with crisp caramelized edges.
The Secret to Apple Crisp That Isn’t Watery Under the Topping
The biggest mistake with apple crisp is piling in apples that release a lot of juice without giving that juice anything to bind to. Once the fruit starts heating, it sheds liquid fast. If there’s no starch in the filling, the bottom turns soupy and the topping goes soft before it has a chance to crisp.
Cornstarch fixes that, but only if the apples are tossed evenly before they go into the pan. You want every slice lightly coated so the thickening happens throughout the dish instead of in a few pockets. Baking until you see the filling actively bubbling around the edges matters too. That bubbling tells you the cornstarch has reached the heat it needs to thicken properly.
- Granny Smith apples — These hold their shape and keep the dessert from turning mushy. If you swap them out, choose another firm baking apple, not a soft eating apple that collapses too fast.
- Honeycrisp apples — They add juiciness and a rounder sweetness. If you only use tart apples, the crisp can taste sharp; if you only use sweet apples, it can taste flat.
- Cornstarch — This thickens the apple juices as they bake. Flour works in a pinch, but it takes more of it and the filling can taste a little cloudier.
- Cold butter — Cold butter creates the chunky topping. Warm butter blends too smoothly into the dry ingredients and you lose those crisp craggy pieces that brown so well.
What Each Part of the Apple Crisp Is Doing in the Pan
- Apples — Peel and slice them evenly so they bake at the same pace. Thin slices melt down too fast; very thick slices can stay firm while the topping browns.
- Lemon juice — It keeps the apples tasting bright and keeps the sweeter varieties from going dull in the oven. You won’t taste lemon, just a cleaner apple flavor.
- Brown sugar — This deepens the filling and the topping with a caramel note. White sugar alone makes the crisp taste a little one-dimensional.
- Rolled oats — They give the topping its rough, craggy texture. Quick oats work, but they bake up tighter and softer.
- All-purpose flour — It helps the crumble hold together in chunks instead of turning into loose crumbs. That structure is what gives you those crisp bite-size clumps.
Building the Layers So the Topping Stays Crisp
Coating the Apples First
Toss the sliced apples with the sugars, spices, cornstarch, and lemon juice until every slice looks lightly coated. The mixture will look dry at first, then it will start to turn glossy as the sugar pulls moisture from the fruit. Spread the apples in the baking dish in an even layer so the center doesn’t sit under a mound that bakes unevenly.
Cutting the Butter Into the Crumble
Work the cold cubed butter into the oats, flour, sugar, cinnamon, and salt until the mixture forms chunky clumps. Stop before it turns sandy. If the butter softens too much, the topping melts into a paste instead of baking into rough, crisp pieces. Those larger clumps are what give you the best texture after baking.
Baking Until the Filling Bubbles at the Edges
Scatter the topping over the apples without pressing it down. Pressing compacts the crust and blocks steam, which keeps the topping from crisping properly. Bake until the top is deeply golden and you see thick bubbling around the edges of the dish. If the top browns too quickly before the fruit bubbles, lay a loose piece of foil over it and keep baking.
How to Adapt This for a Different Pantry or Diet
Make It Gluten-Free
Swap the all-purpose flour for a 1:1 gluten-free baking blend with xanthan gum already included. The topping stays crisp and crumbly, though it may brown a little faster, so start checking it near the end of the bake time.
Make It Dairy-Free
Use a firm plant-based butter block instead of the unsalted butter. Soft tub spreads usually have too much water and won’t create the same chunky crumble, so the topping bakes up denser and less crisp.
Use All Tart Apples
If you only have Granny Smith apples, add an extra tablespoon of brown sugar to the filling. The dessert will be brighter and a little sharper, which works well if you like apple crisp with less sweetness.
Storage and Reheating
- Refrigerator: Keep leftovers covered for up to 4 days. The topping softens a bit, but the flavor stays good.
- Freezer: It freezes well after baking. Cool completely, wrap tightly, and freeze for up to 2 months; thaw in the refrigerator before reheating.
- Reheating: Warm it uncovered in a 325F oven until hot and the topping wakes back up a little. The microwave heats the fruit, but it softens the crumble fast, which is the part most people want to keep crisp.