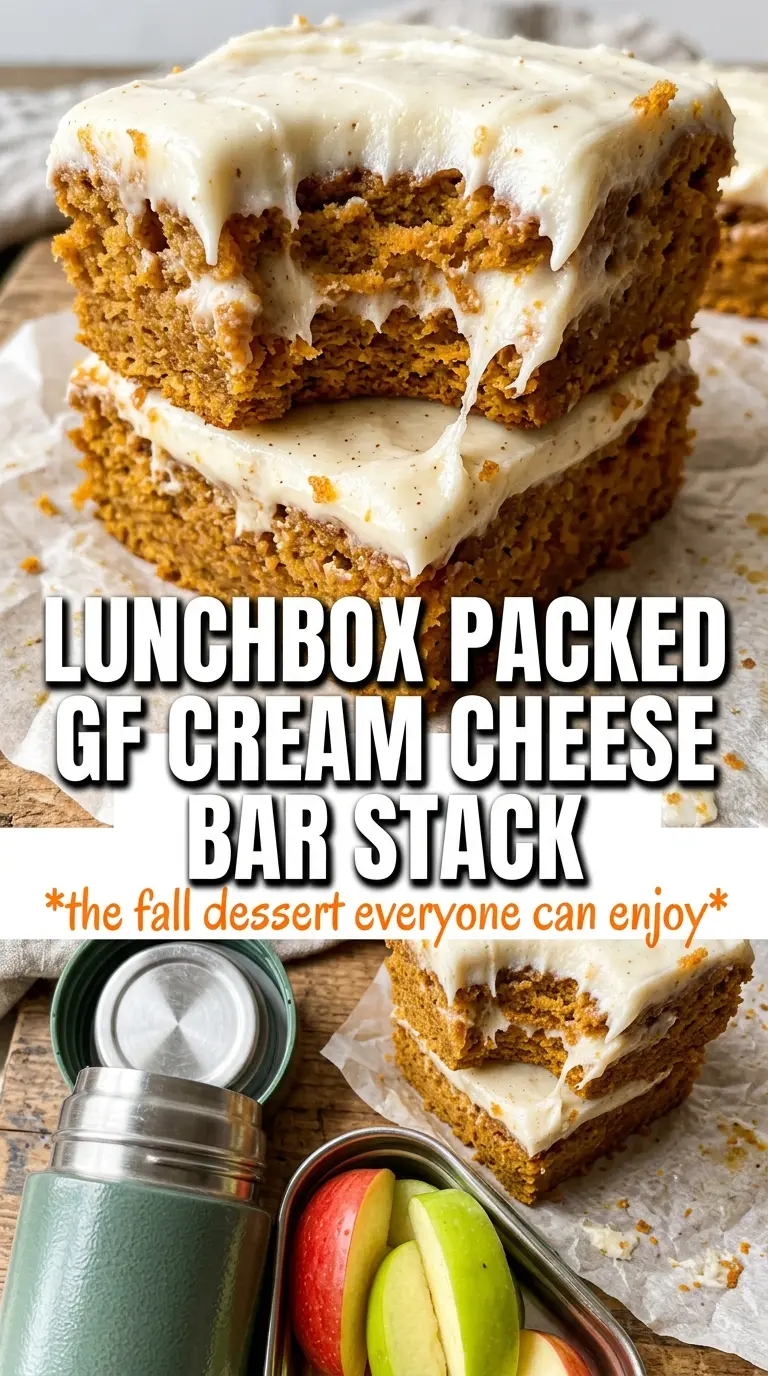
These gluten-free pumpkin bars bake up soft and tender with that old-school pumpkin cake texture people expect from a good bar recipe, then get finished with a thick layer of cream cheese frosting that sets up just enough to slice cleanly. The bars stay moist without turning heavy, and the spice level lands in that sweet spot where the pumpkin still tastes like pumpkin instead of pumpkin pie filling in disguise.
The part that makes this version work is the balance of structure and moisture. A gluten-free all-purpose blend with xanthan gum gives the bars enough backbone to hold the frosting, while the pumpkin puree and oil keep the crumb plush instead of dry or crumbly. The batter comes together fast, but the bars need to cool all the way before the frosting goes on or the top will slide around and soften into the crumb.
Below, you’ll find the detail that matters most for getting clean squares, plus a few smart swaps and storage notes so these bars hold up for potlucks, holidays, or an ordinary Tuesday when pumpkin sounds right.
The bars came out moist and cakey, and the cream cheese frosting spread like a dream once they were fully cool. I cut them after chilling and got neat squares with no crumbs falling apart.
These gluten-free pumpkin bars stay soft, slice cleanly, and taste just as good chilled the next day.
The Gluten-Free Batter Needs More Structure Than You Think
Gluten-free pumpkin bars can go wrong in two opposite ways: gummy in the middle or dry and crumbly at the edges. The fix isn’t adding more flour. It’s using a blend that already contains xanthan gum and stopping the bake as soon as a toothpick comes out clean. Overbaking steals the moisture that pumpkin is supposed to bring to the pan.
The other trap is overmixing once the flour goes in. Gluten-free batter doesn’t need a long beat, and too much mixing can tighten the crumb enough to make the bars feel dense instead of tender. Fold until the dry spots disappear, spread the batter evenly, and let the oven do the rest.
- Gluten-free all-purpose flour blend with xanthan gum — This gives the bars their shape and prevents a sandy texture. A single-ingredient flour swap won’t behave the same way here, so use a balanced blend rather than mixing your own unless you already know it bakes well in cakes.
- Pumpkin puree — Use plain pumpkin puree, not pumpkin pie filling. Pie filling already has sugar and spices mixed in, which throws off both the texture and the flavor balance.
- Vegetable oil — Oil keeps the crumb soft for days, which matters in a bar that gets chilled under frosting. Melted butter will work, but the bars will set a little firmer and lose some of that plush texture.
- Cream cheese — Full-fat cream cheese gives the frosting the tang and body that hold up against the sweet bars. Reduced-fat versions can work in a pinch, but the frosting usually ends up looser and less rich.
Building the Bars So They Bake Up Tender, Not Heavy
Whisk the dry ingredients first
Whisk the flour, baking powder, baking soda, spices, and salt together until everything looks evenly distributed. This keeps one bite from tasting like pure cinnamon while another tastes flat. If your baking soda lands in a pocket, you’ll get uneven rise and darker specks in the crumb.
Beat the wet mixture until smooth
Beat the eggs, sugar, oil, pumpkin, and vanilla until the mixture looks glossy and thick but still pourable. The sugar should dissolve enough that you don’t see a grainy texture clinging to the bowl. If the mixture looks separated, keep mixing for another 20 to 30 seconds before adding the flour.
Fold, spread, and stop as soon as it blends
Add the dry ingredients and fold just until the batter turns uniform. Scrape the bottom of the bowl because gluten-free flour likes to hide there in a dry pocket. Spread the batter into the pan in an even layer; if one side is thinner, it will overbake before the center sets.
Bake to the first clean toothpick, not past it
Bake at 350°F until the top looks set and a toothpick inserted in the center comes out clean or with a few moist crumbs. The bars should spring back lightly when touched in the middle. If the toothpick comes out with wet batter, give them another few minutes, but once the crumbs are set, pull them out. Carryover heat finishes the middle while the pan is still hot.
Cool completely before frosting
Let the pan cool all the way to room temperature before you touch the frosting. Warm bars turn cream cheese frosting soft and slippery, and the whole top can slide when you cut them. A short chill after frosting helps the bars slice into clean squares.
What Each Ingredient Is Actually Doing in These Pumpkin Bars
The ingredient list is simple, but each part has a job. The flour blend provides the frame, the eggs hold everything together, and the pumpkin puree brings both moisture and that deep orange color that makes these bars look like fall without needing artificial shortcuts. The spice blend is what keeps the bars from tasting one-note, and the frosting gives them the classic bakery finish people expect from pumpkin bars.
- Eggs — Four eggs give these bars lift and structure, which matters in gluten-free baking where you don’t have gluten to help the crumb hold together. They also help the bars slice neatly once cooled.
- Pumpkin pie spice and cinnamon — Pumpkin pie spice brings warmth, while the extra cinnamon keeps the flavor from disappearing under the frosting. If you only have pumpkin pie spice, use a little extra cinnamon for the strongest result.
- Powdered sugar — This is what gives the frosting its fluffy body. Granulated sugar won’t dissolve the same way, so the frosting would feel gritty instead of smooth.
- Milk — Just a small amount loosens the frosting to a spreadable consistency. Add it slowly so the frosting stays thick enough to sit on top of the bars instead of sinking into them.
Three Ways to Make These Bars Fit Your Kitchen
Dairy-Free Frosting Swap
Use dairy-free cream cheese and plant-based butter in the frosting. The texture will still be creamy, though usually a little softer, so chill it before spreading if your kitchen runs warm. The bars themselves are already dairy-free, so this is an easy adjustment.
Make the Spice More Pronounced
Add an extra half teaspoon of cinnamon to the batter or a pinch of cloves to the frosting if you want a stronger spice finish. That pushes the bars closer to a classic pumpkin spice cake flavor without changing the texture.
Lower-Sugar Approach
You can cut the frosting sugar slightly, but don’t remove too much or it will lose its body. If you want the bars less sweet overall, keep the frosting full strength and serve thinner squares; the texture stays better than trying to lighten the frosting too far.
Make Ahead for a Crowd
Bake the bars a day ahead, chill them uncovered until the frosting has set, then cover tightly. The flavor deepens overnight, and the bars cut even cleaner the next day than they do fresh.
Storage and Reheating
- Refrigerator: Store covered for up to 5 days. The frosting stays firm, and the pumpkin crumb stays moist.
- Freezer: Freeze unfrosted bars for the best texture, wrapped well, for up to 2 months. Frosting can be frozen separately, but the texture is best when made fresh.
- Reheating: These bars are meant to be served chilled or at cool room temperature. If you want a softer bite, let them sit out for 20 to 30 minutes; microwaving will melt the frosting and make the top greasy.
Answers to the Questions Worth Asking
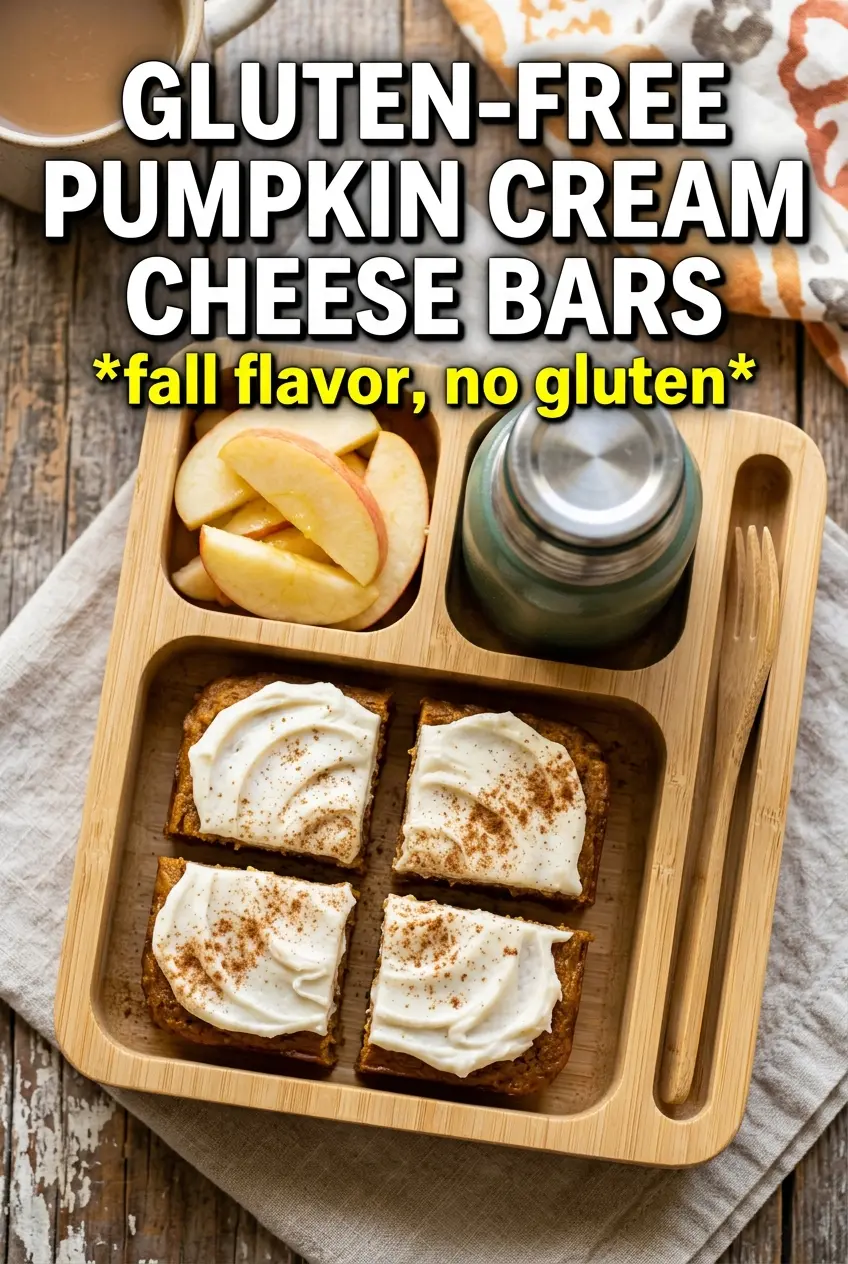
Gluten-Free Pumpkin Bars With Cream Cheese Frosting
Ingredients
Equipment
Method
- Preheat the oven to 350F and grease a 15x10 rimmed baking sheet with a light coating. Set the pan aside so it’s ready for the batter.
- Whisk the gluten-free all-purpose flour blend, baking powder, baking soda, pumpkin pie spice, cinnamon, and salt in a bowl until evenly combined.
- Beat the eggs, granulated sugar, vegetable oil, pumpkin puree, and vanilla until smooth and glossy.
- Fold the flour mixture into the pumpkin mixture until no dry streaks remain. Stop mixing as soon as the batter looks uniform.
- Spread the batter evenly in the prepared pan. Use a spatula to level the top.
- Bake for 25-28 minutes at 350F until a toothpick comes out clean. Look for a lightly set center with no wet batter.
- Cool the bars completely before frosting. This prevents the frosting from melting or sliding.
- Beat the softened cream cheese and softened butter until smooth. Scrape the sides to keep the mixture lump-free.
- Add powdered sugar, vanilla, cinnamon, nutmeg, and milk, then beat until combined. The frosting should thicken into a spreadable, airy texture.
- Beat until very fluffy, then spread over the cooled bars. Swirl the frosting for a thick, ridged finish.
- Dust the top lightly with cinnamon. Aim for an even, thin coating over the frosting.
- Refrigerate for 30 minutes before cutting. The chilled frosting helps the bars slice cleanly.