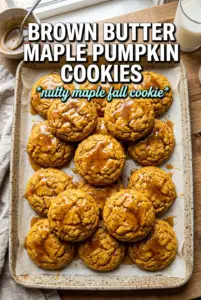
Brown butter maple pumpkin cookies bake up with crisp edges, soft centers, and that deep, nutty flavor that plain pumpkin cookies never quite reach. The brown butter pulls the whole batch in a richer direction, while maple syrup keeps the sweetness round instead of sharp. Add the maple glaze and a pinch of flaky salt, and you get cookies that taste polished without being fussy.
The part that makes these work is the balance. Pumpkin puree brings moisture, but too much turns cookies cakey and dull, so it gets blotted dry before it goes into the dough. Brown butter also needs time to cool and solidify; if it goes in warm, the dough spreads before the oven can set the edges. That little extra step gives you cookies that hold their shape and still stay tender in the middle.
Below, I’ll walk through the trickiest part of the recipe — keeping the pumpkin from watering down the dough — plus the easiest way to get a glaze that drizzles cleanly instead of disappearing into the cookies.
The brown butter made these taste like bakery cookies, and the pumpkin stayed in the background instead of making them cakey. The glaze set nicely and the flaky salt on top was the perfect finish.
Brown butter maple pumpkin cookies with a glossy maple glaze are worth saving for your next cookie bake.
The Brown Butter Step That Keeps These Cookies From Spreading Too Much
Brown butter gives these cookies their best flavor, but it also creates the biggest timing trap. If you use it while it’s still soft or warm, the dough loosens and the cookies spread before the centers can set. Let it cool until it’s fully solid again, then beat it with the brown sugar and maple syrup until creamy. That’s what gives you a dough that scoops cleanly and bakes into cookies with defined edges instead of flat puddles.
Blotting the pumpkin puree matters for the same reason. Pumpkin adds flavor and color, but it also carries a lot of water. Too much moisture turns the crumb soft in the wrong way and blurs the spice flavor. Dry pumpkin puree tastes more concentrated, and it keeps the cookies from drifting into cake territory.
What Each Ingredient Is Actually Doing in This Dough
- Browned unsalted butter — This is the flavor base. Browning it adds the toasted, nutty note that makes these taste deeper than standard pumpkin cookies. Salted butter works in a pinch, but you’ll lose a little control over the final seasoning.
- Pure maple syrup — Maple syrup sweetens the dough and ties into the glaze so the whole cookie tastes cohesive. Pancake syrup won’t give you the same clean maple flavor or the same finish.
- Pumpkin puree — Use canned pumpkin puree, not pumpkin pie filling. The puree should be blotted until it feels thicker and less wet; that small prep step keeps the cookies tender instead of cakey.
- Brown sugar — This adds moisture and a little chew, which balances the crisp edges. Light or dark brown sugar both work, though dark brown sugar pushes the cookies a little deeper and molasses-heavy.
- Pumpkin pie spice and cinnamon — Pumpkin pie spice does the heavy lifting, while the extra cinnamon sharpens the warmth. If your spice blend is old and faded, the cookies will taste flatter than they should.
Building the Dough So the Cookies Bake Up Soft, Not Cakey
Bringing the Brown Butter Back to Solid
Brown the butter until the milk solids turn deep amber and smell nutty, not burnt. Then chill it until it solidifies again, which takes about an hour. That texture matters because solidified brown butter creams with the sugar instead of flooding the dough with grease. If you rush this and use it soft, the cookies spread before they have time to set.
Mixing the Wet Ingredients Without Loosening the Dough
Beat the solidified brown butter with the brown sugar and maple syrup until creamy and slightly fluffy. Add the blotted pumpkin, eggs, and vanilla just until combined. The mixture should look smooth and thick, not shiny and loose. Overmixing at this stage can make the dough too slack, especially if the pumpkin still holds too much moisture.
Folding, Scooping, and Baking at the Right Moment
Fold in the dry ingredients just until the flour disappears, then scoop the dough into rounded tablespoons. The dough will be soft but should hold its shape on the tray. Bake until the edges look set and golden while the centers still look a little underdone; they finish on the hot pan as they cool. Pulling them at the right moment keeps the middles soft instead of dry.
Glazing Only After the Cookies Cool
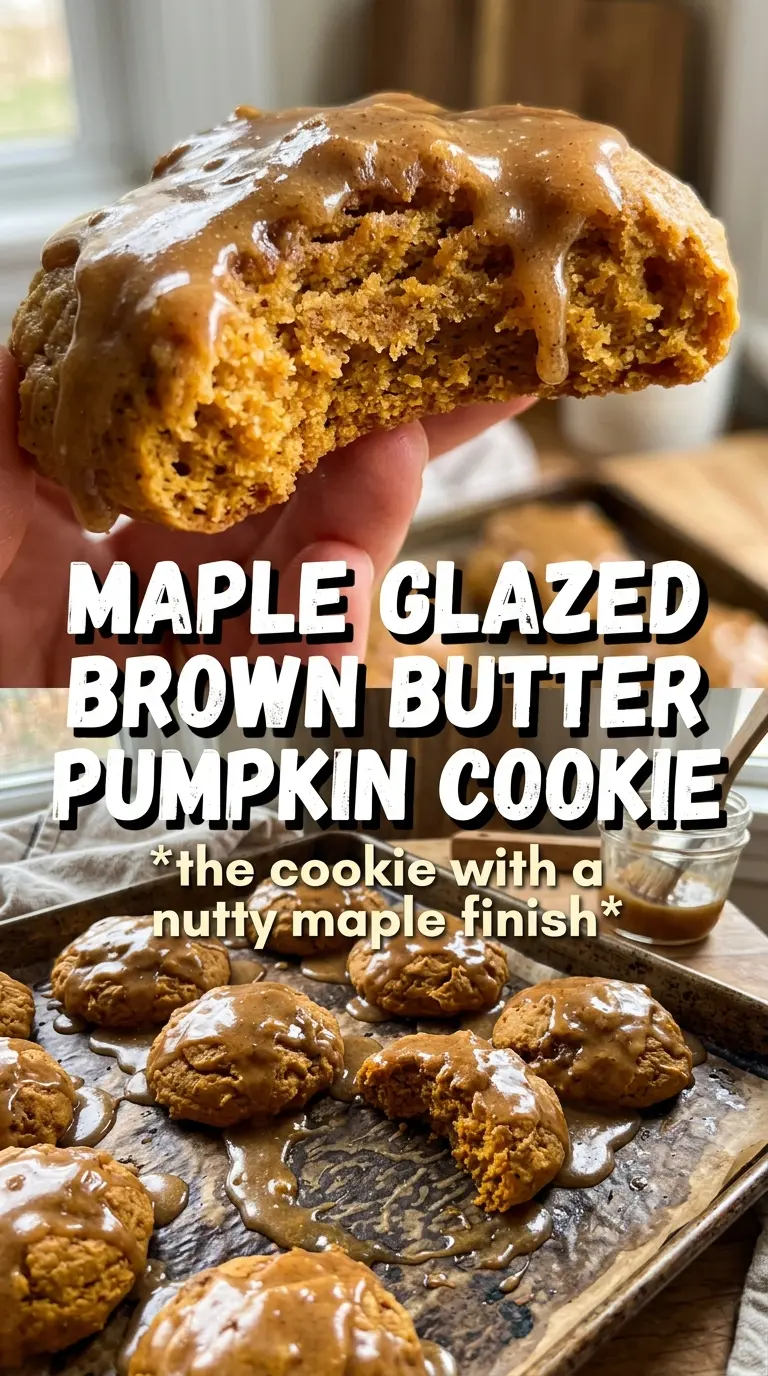
Let the cookies cool completely before adding the maple glaze. Warm cookies melt the glaze and soak it straight into the surface, which kills the clean finish. A thick, pourable glaze should ribbon off the spoon and hold for a second before settling. A final pinch of flaky salt sharpens the maple and keeps the sweetness from feeling heavy.
Three Ways to Adjust These Cookies Without Ruining the Texture
Make Them Dairy-Free
Use a plant-based butter that browns well or a vegan butter substitute if browning isn’t possible. You’ll lose a little of the nutty depth, but the maple and spices still carry the cookie. Pick a substitute with a firm texture so the dough can cream properly after chilling.
Skip the Glaze for a Less Sweet Cookie
These are still good without the glaze, especially if you finish them with flaky salt while they’re warm. The cookie itself leans gently sweet and the brown butter carries enough flavor to stand on its own. You’ll get a softer, more understated cookie with a cleaner pumpkin-spice finish.
Turn Them Into a Gluten-Free Batch
A good 1:1 gluten-free baking blend works here, especially one that includes xanthan gum. The cookies may spread a touch less and bake up a little more delicate, but the flavor stays the same. Let the dough rest a few minutes before scooping so the flour can fully hydrate.
Storage and Reheating
- Refrigerator: Store baked cookies in an airtight container for up to 5 days. The glaze will stay set, though the cookies soften a little by day two.
- Freezer: These freeze well without the glaze. Freeze the baked cookies in a single layer, then move them to a sealed bag for up to 2 months.
- Reheating: Thaw at room temperature, then warm plain cookies for 5 to 8 minutes in a 300°F oven if you want them tasting freshly baked. Don’t microwave glazed cookies or the topping will melt and turn sticky.
Answers to the Questions Worth Asking
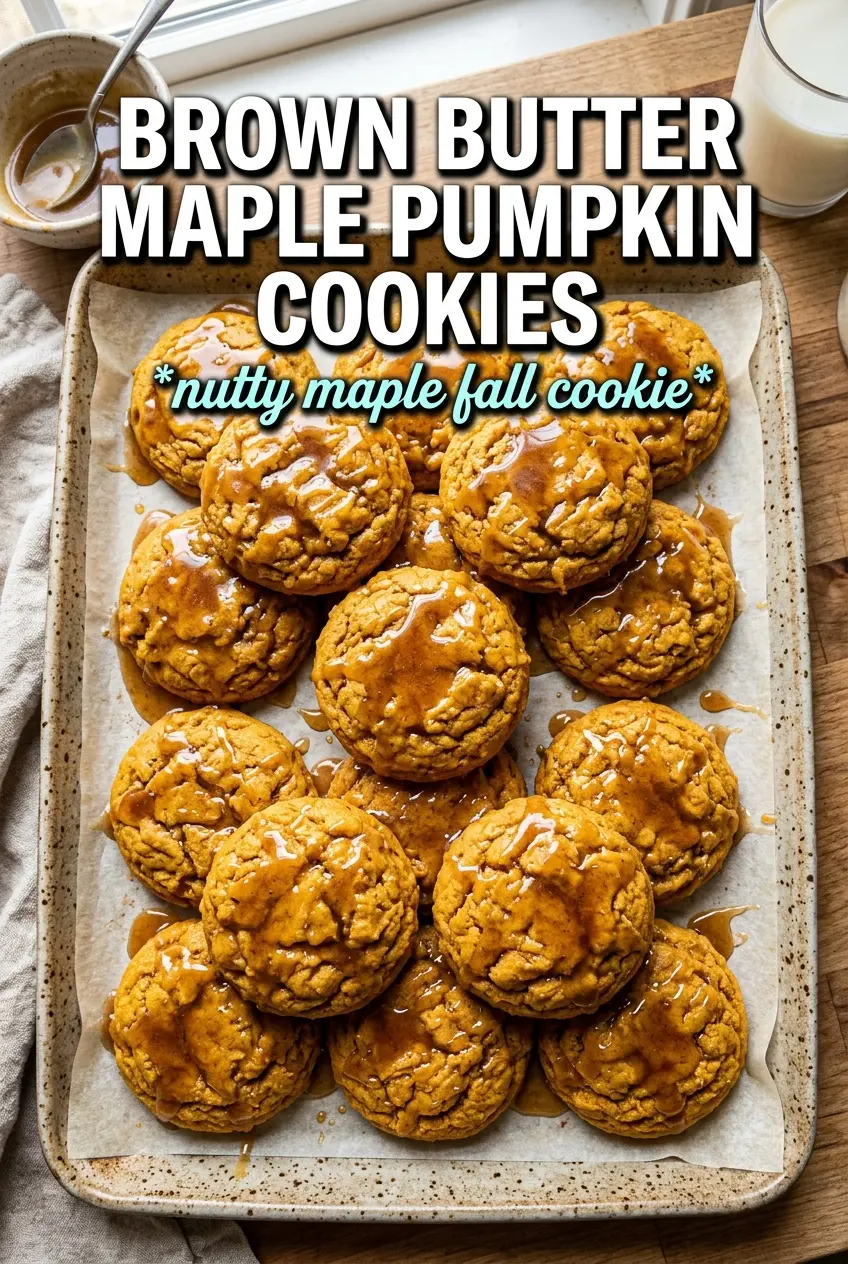
Brown Butter Maple Pumpkin Cookies
Ingredients
Equipment
Method
- Brown the butter in a cast iron skillet until deeply golden, then let it cool and refrigerate until solid, about 1 hour.
- Preheat the oven to 375F and line sheet pans with parchment paper.
- Whisk together all-purpose flour, baking soda, pumpkin pie spice, cinnamon, and salt in a mixing bowl.
- Beat the solidified brown butter, brown sugar, and maple syrup until creamy.
- Add the blotted-dry pumpkin puree, then beat in the eggs and vanilla extract until combined.
- Fold the flour mixture into the wet ingredients until no dry streaks remain.
- Scoop the dough into 2-tablespoon rounds and place them on the prepared sheet pans.
- Bake at 375F for 10-12 minutes, until the edges are golden.
- Cool the cookies completely before glazing.
- Stir powdered sugar with pure maple syrup and enough milk to make a drizzleable glaze.
- Drizzle the maple glaze over the cooled cookies and finish with flaky salt.