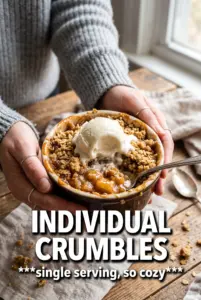
Caramel apple crisp lands in that perfect middle ground between homey and a little bit special: tender apples bubbling under a thick oat crumble with caramel worked right into the filling, not just drizzled on top at the end. The topping stays sandy and crisp at the edges, but the spoon goes through soft, jammy apples underneath, and the whole pan smells like cinnamon, browned sugar, and butter when it comes out of the oven.
The part that makes this version stand out is the cornstarch and caramel sauce in the filling. Apples give off a lot of juice as they bake, and without something to thicken it, you end up with a puddly crisp instead of a clean scoop. The cornstarch catches that liquid, while the lemon juice keeps the filling bright so the caramel doesn’t taste flat or heavy. Cold butter in the topping matters too; it melts in the oven and leaves little pockets that bake into crunch instead of a dense layer.
Below, you’ll find the small details that keep the apples from turning mushy and the crumble from sinking. If you’ve ever had a crisp come out soupy on the bottom or sandy on top, the fix is in here.
The filling thickened up beautifully and the topping stayed crisp even after we went back for seconds. I used a mix of Granny Smith and Honeycrisp, and the caramel flavor came through בלי making it too sweet.
Caramel Apple Crisp with that bubbling filling and golden oat topping is worth keeping on hand for the moments when you want a warm dessert that looks as good as it tastes.
The Trick to Keeping the Apples Tender, Not Soupy
The biggest failure point in apple crisp is watery filling. Apples release juice as they bake, and if the fruit isn’t thickened before it goes into the oven, that juice pools at the bottom and turns the crisp soft underneath. Cornstarch solves that, but only if it gets tossed evenly with the apples and sugar so it can coat every slice before the heat hits.
Caramel sauce adds more than sweetness here. It brings a deeper, cooked-sugar note and helps the filling cling to the fruit instead of sliding around in the pan. The lemon juice matters too, even in a dessert this rich, because it keeps the apples from tasting dull once they soften. If your apples have ever baked up bland and one-note, this is the reason they needed a little acid.
- Apples — Use a firm baking apple that holds its shape, like Granny Smith, Honeycrisp, or a mix of both. Softer apples collapse too fast and leave you with applesauce under the crumble.
- Caramel sauce — A good jarred sauce works here, and there is no need to make it from scratch unless you want to. Use a sauce that pours smoothly; thick candy-style caramel won’t coat the apples as evenly.
- Cornstarch — This is what turns the apple juices into a glossy filling instead of a wet pan. Arrowroot can work in a pinch, but cornstarch holds up better in a hot, sugary bake like this.
- Cold butter — The butter for the topping needs to stay cold until it goes into the oven. If it softens too much while mixing, the crumble turns paste-like instead of baking into crisp little clusters.
Building the Crisp So the Topping Stays Crunchy
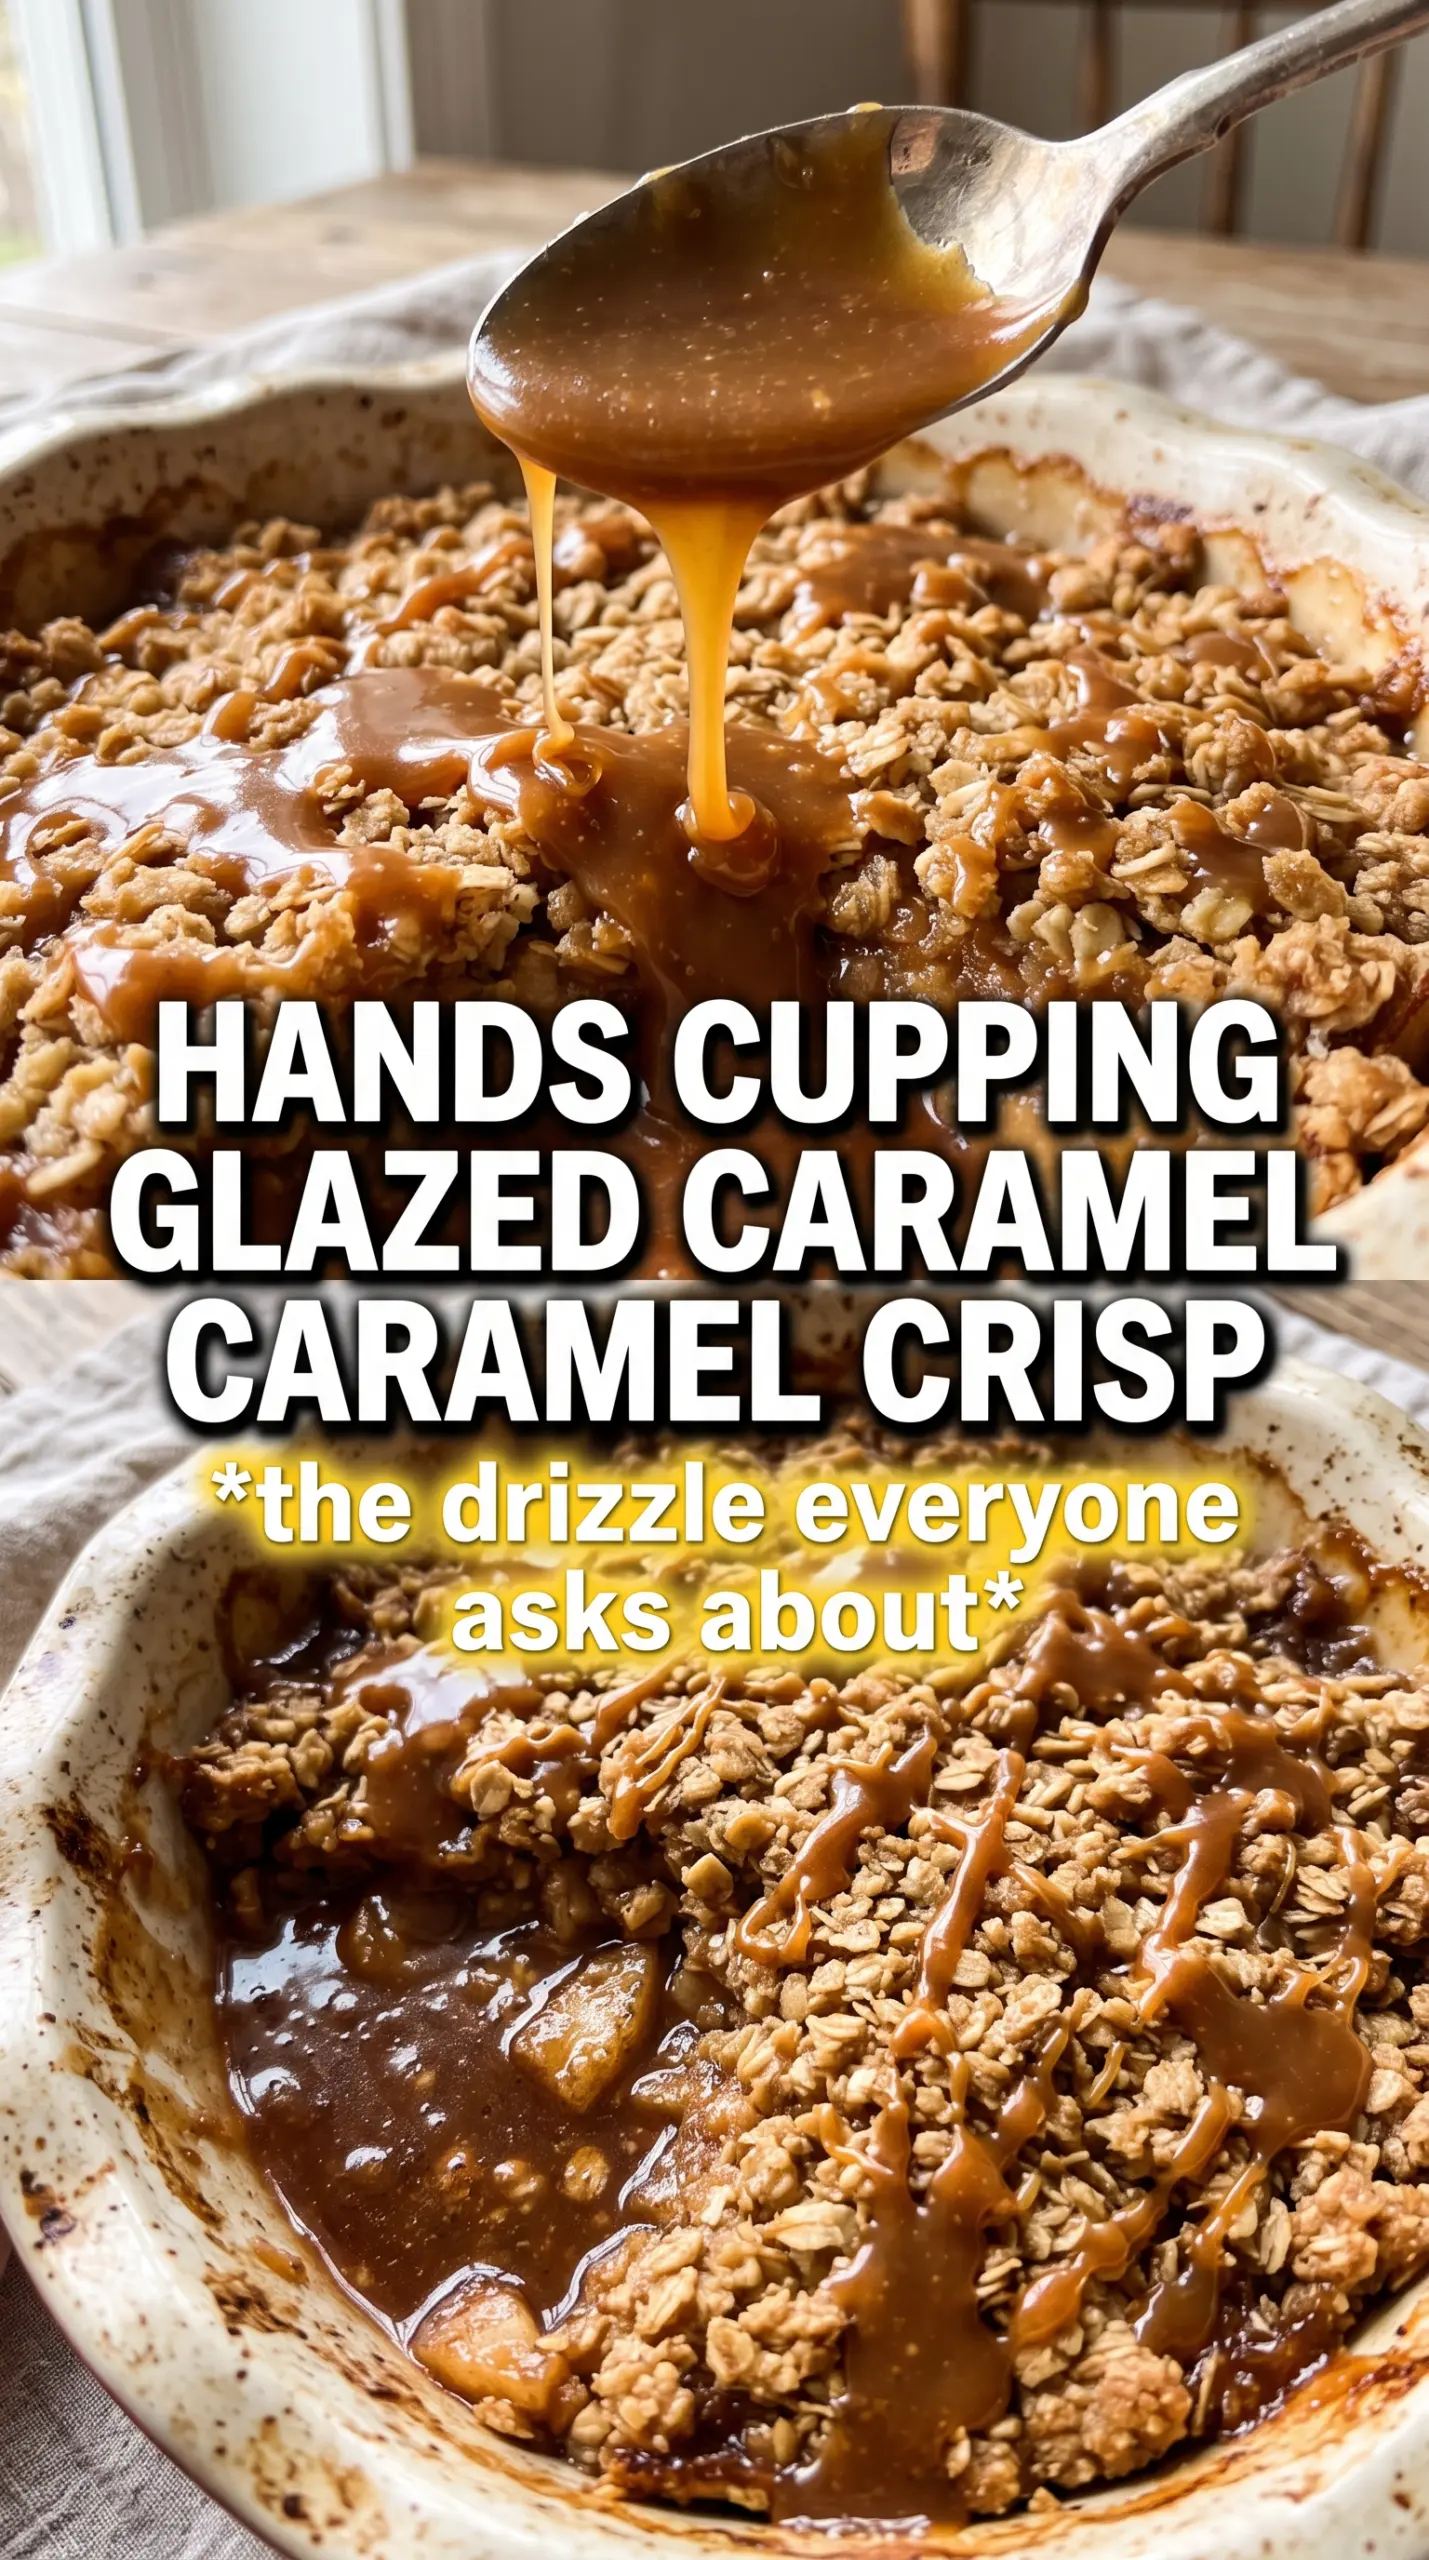
Preheat the oven fully and grease the baking dish so the fruit doesn’t catch on the edges. Toss the sliced apples with the sugar, caramel, spices, cornstarch, lemon juice, and salt until every slice looks lightly coated. That coating matters more than people think; if the cornstarch is clumped in one spot, you’ll get thick spots and soupy spots in the same pan.
For the topping, mix the dry ingredients first, then cut in the cold butter until you have irregular clumps the size of peas and small marbles. Those uneven pieces are what bake into texture. If the topping looks like damp sand, keep working a little longer; if it starts to look greasy or smooth, the butter warmed too much and the crisp will bake up dense.
Preparing the Apple Layer
Spread the apples in an even layer in the dish after tossing them. Uneven mounds bake at different rates, and the pieces on top dry out before the ones underneath finish softening. If your apples are sliced too thin, they’ll disappear into the filling; if they’re too thick, they stay stiff in the center. A medium slice gives you tender fruit with enough structure to spoon cleanly.
Making the Oat Crumble
Mix the oats, flour, brown sugar, cinnamon, and salt before adding the butter. That keeps the sweetness and spice distributed through the whole topping instead of in pockets. Work the butter in with your fingers or a pastry cutter until the mixture holds together when squeezed but still breaks apart when nudged. That’s the texture that bakes into a crisp top instead of a cookie slab.
Baking Until the Edges Bubble
Scatter the crumble over the apples without pressing it down. The topping needs a little air space so heat can move through it and crisp the oats. Bake until the top is deeply golden and the filling is visibly bubbling around the edges, not just around the center. If the top browns before the filling bubbles, tent it loosely with foil and keep baking until the fruit thickens.
The Caramel Finish
Drizzle extra caramel over the top during the last few minutes of baking so it melts into the crumble instead of sitting on top like frosting. That last-minute drizzle gives the crust a shiny finish and a deeper caramel note without making it sticky. Let the crisp rest before serving so the filling settles; scoop it too early and the juices run everywhere.
Three Ways to Work With What You Have
Dairy-Free Version
Swap the butter in the crumble for a solid plant-based butter with a high fat content. The topping will still brown and crisp, though it may bake up a touch less rich than the original. Use a caramel sauce that doesn’t rely on dairy if you want the filling to stay fully dairy-free.
Gluten-Free Crisp
Use a 1:1 gluten-free flour blend in place of the all-purpose flour and keep the oats certified gluten-free. The texture stays crunchy, but the topping may be a little more delicate when scooped, so let it cool for at least 10 to 15 minutes before serving.
How to Stretch It for a Bigger Crowd
Double the recipe and bake it in two 9×13 dishes rather than one oversized pan. A deeper pan can trap steam and slow the bubbling, which leaves the bottom soft. Two pans bake more evenly and give you the same crisp topping from edge to edge.
Storage and Reheating
- Refrigerator: Store covered for up to 4 days. The topping softens a bit in the fridge, but the flavor stays good.
- Freezer: It freezes well after baking. Cool completely, wrap tightly, and freeze for up to 2 months. Thaw overnight in the fridge before reheating.
- Reheating: Warm in a 325F oven until heated through and the topping crisps back up, usually 15 to 20 minutes depending on portion size. The microwave will warm the filling, but it softens the crumble fast.
Answers to the Questions Worth Asking
Caramel Apple Crisp
Ingredients
Equipment
Method
- Preheat the oven to 375F and grease a 9x13 baking dish. Set the dish aside for the fruit and crumble to go in next (visual cue: lightly coated surface).
- Toss the apple slices with granulated sugar, caramel sauce, cinnamon, nutmeg, cornstarch, lemon juice, and sea salt, then spread them evenly in the prepared dish. Make sure the apples look glossy and evenly coated (visual cue: caramel-speckled juices settling around the slices).
- Combine the rolled oats, flour, brown sugar, cinnamon, and salt, then cut in the cold cubed butter until chunky clumps form. Keep mixing until you see wet sand-like clumps rather than smooth dough (visual cue: irregular crumb clusters).
- Scatter the crumble over the caramel apples so the top is evenly covered. Leave small gaps for bubbling filling to show through (visual cue: golden dry crumb layer on top).
- Bake for 40-45 minutes at 375F until deeply golden and bubbling around the edges. If needed, rotate once for even browning (visual cue: thick caramel bubbling and crisping crumbs).
- Drizzle extra caramel sauce over the top during the last 5 minutes of baking. Watch for it to melt and gloss over the crumble (visual cue: shiny caramel sheen on the surface).
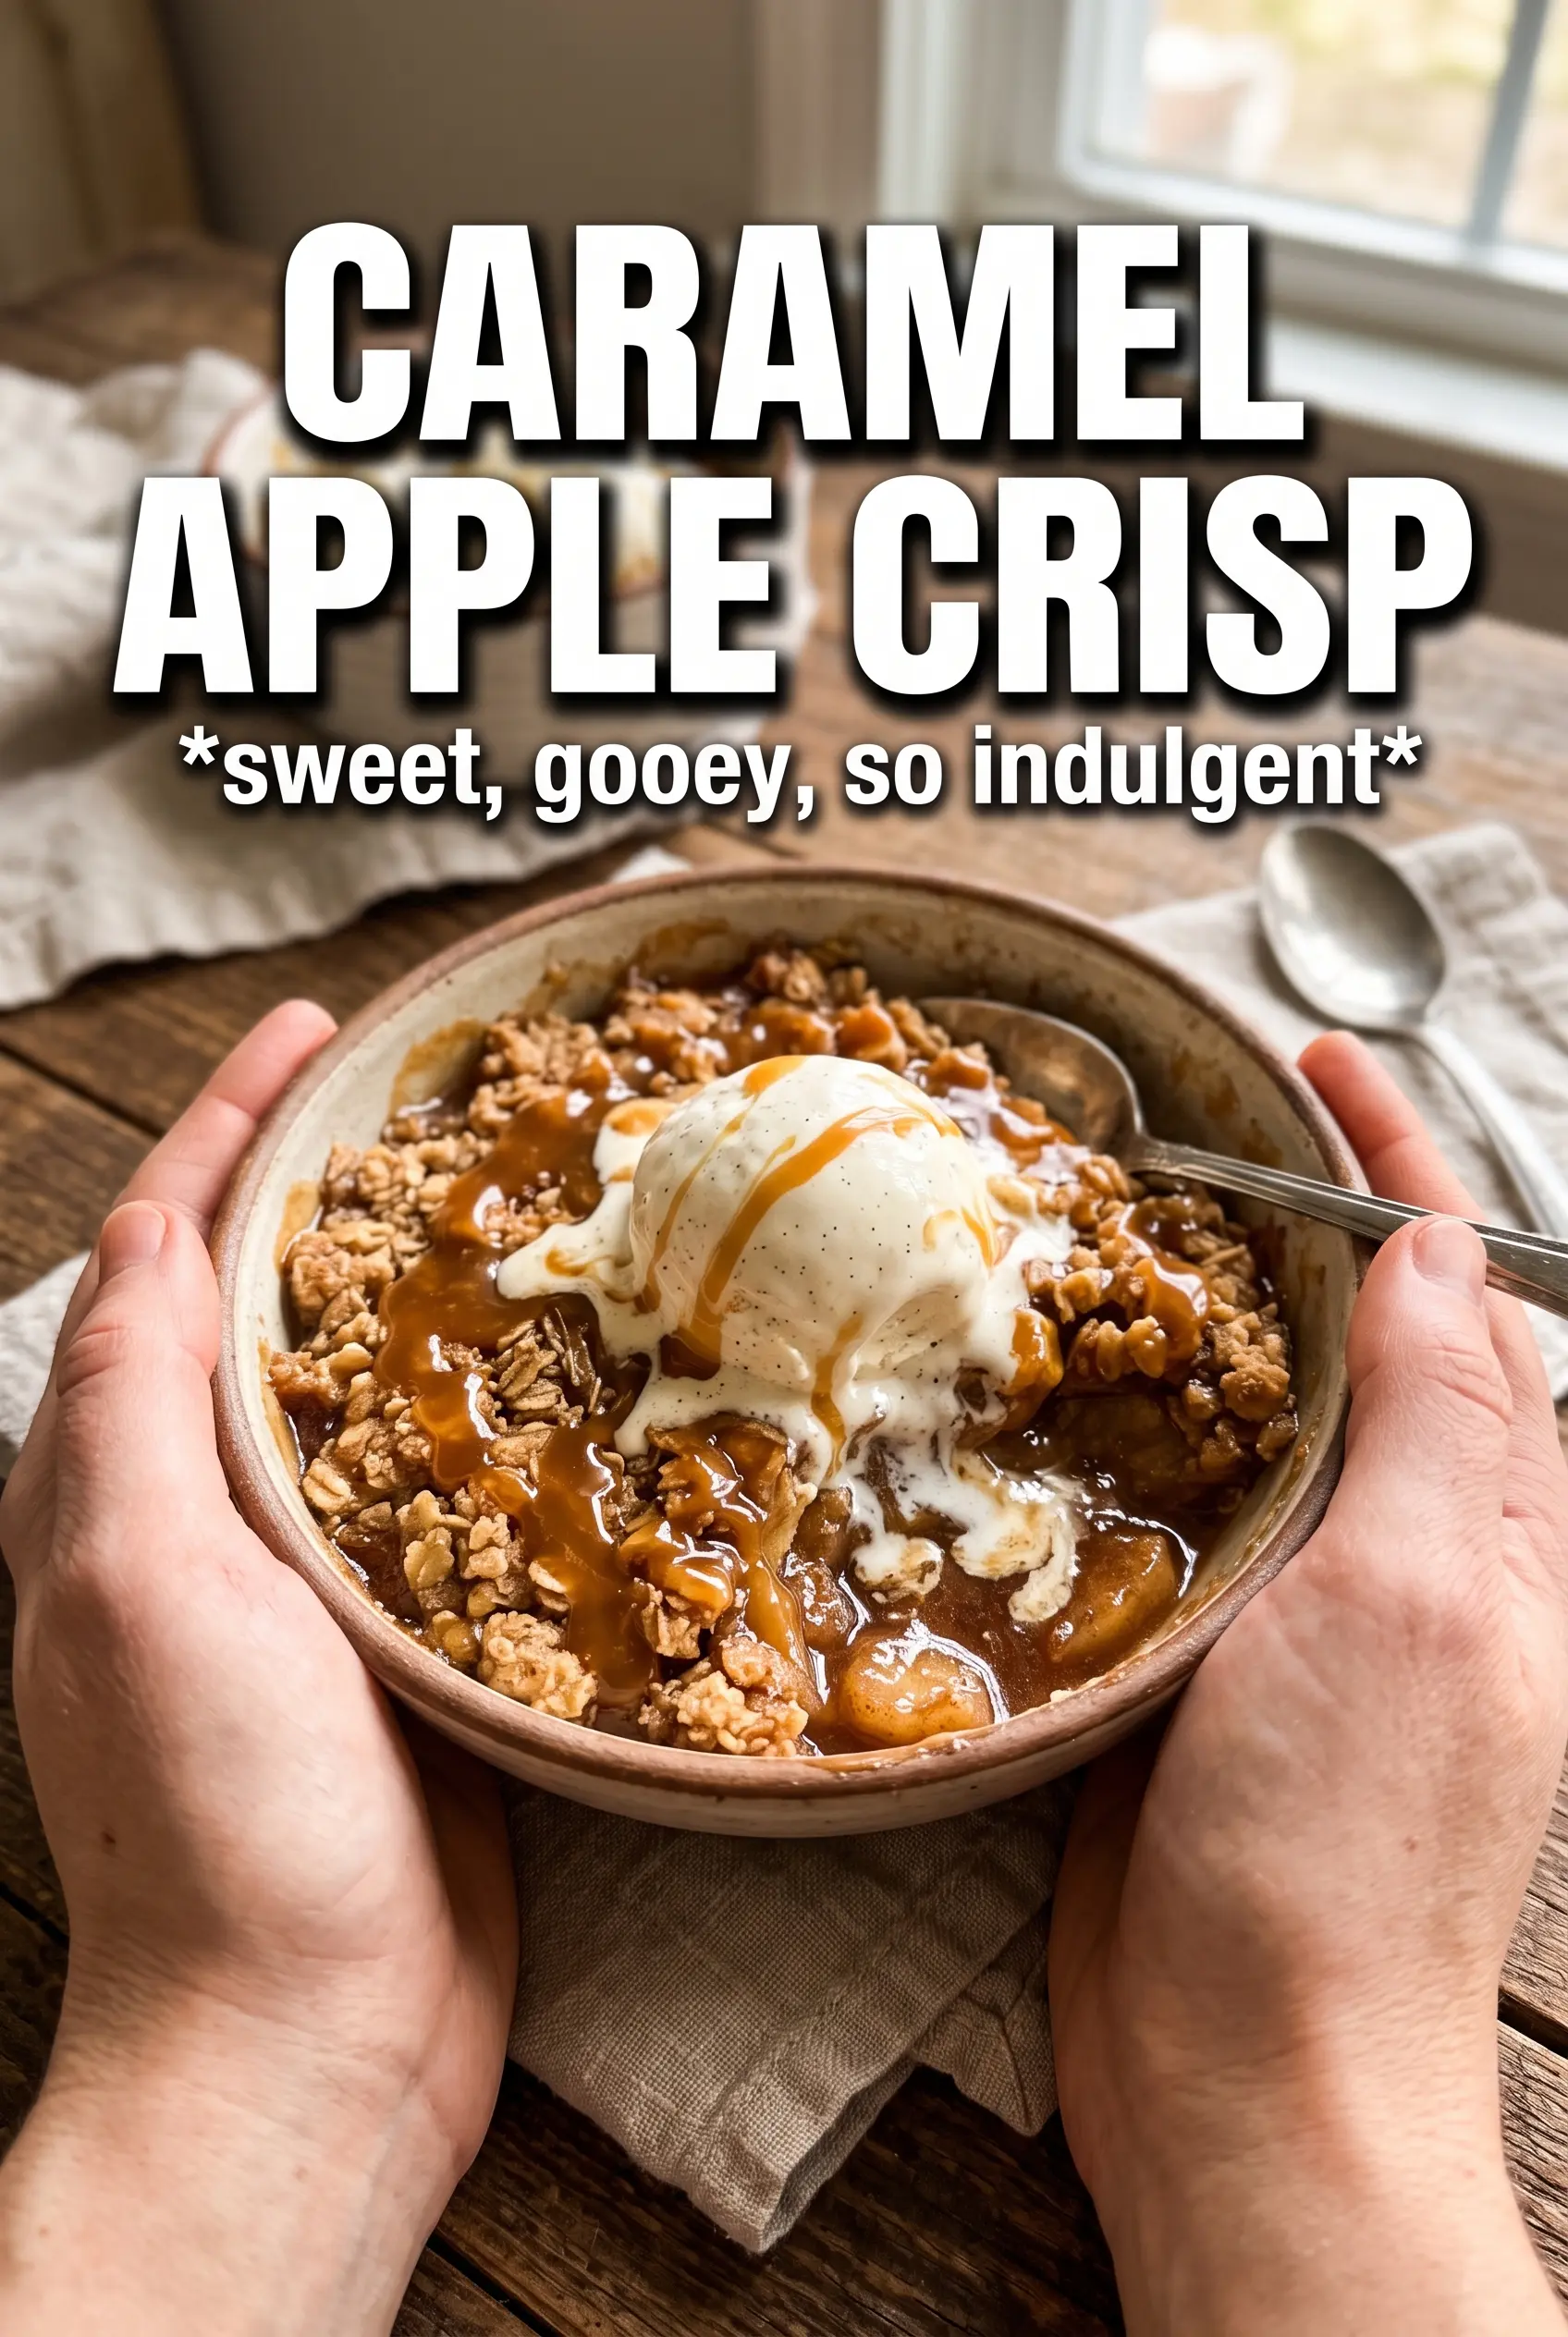
- Serve warm with vanilla ice cream and more caramel. The filling should look thick and glossy where it bubbles (visual cue: caramel puddles at the edges with a cool scoop of ice cream beside).