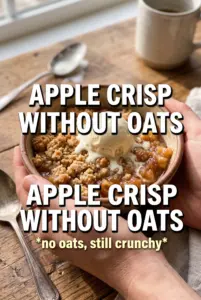
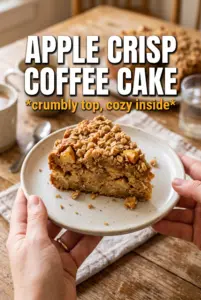
Warm apple crisp with oats is the kind of dessert that disappears before the pan has a chance to cool. The filling turns soft and jammy without going watery, and the oat topping bakes into thick, craggy clumps with crisp edges and a toasted cinnamon scent that fills the kitchen. A spoonful pulls up tender apples, buttery crumbs, and just enough syrupy juice to coat everything underneath.
What makes this version work is the balance. The apples get tossed with cornstarch, which helps thicken the juices as they bake instead of leaving a puddle at the bottom of the dish. The topping uses old-fashioned rolled oats plus cold butter, and that cold butter matters: it creates those big, crunchy clusters instead of a sandy layer. Mixing tart and sweet apples keeps the filling from tasting flat, and the lemon juice keeps the flavor bright after baking.
Below, I’ve included the little details that keep the topping crisp and the filling set, plus a few ways to adapt it if you need to swap apples or plan ahead for dessert later in the week.
The oat topping baked up in big crisp clumps and the apples were soft without turning mushy. I also loved that the filling thickened as it cooled instead of running all over the plate.
Save this apple crisp with oats for the dessert nights when you want a bubbling fruit filling and a thick, crunchy oat topping.
The Secret to a Crisp Topping That Stays Clumpy
The biggest mistake with apple crisp is working the topping until it looks uniform. That gives you a fine, sandy layer instead of the thick, crunchy clumps people actually want. Cold butter is the difference here. When it stays in chunks as you mix, those chunks melt in the oven and leave behind pockets of crisp, browned oats and flour.
The other thing that matters is coverage. If the topping is scattered in a few thin patches, the apples will bubble through and soften the crumble from underneath. A full layer gives the fruit some shelter while the top browns, and the contrast between tender filling and crisp lid is what makes the dish worth serving warm.
What Each Ingredient Is Doing in the Pan
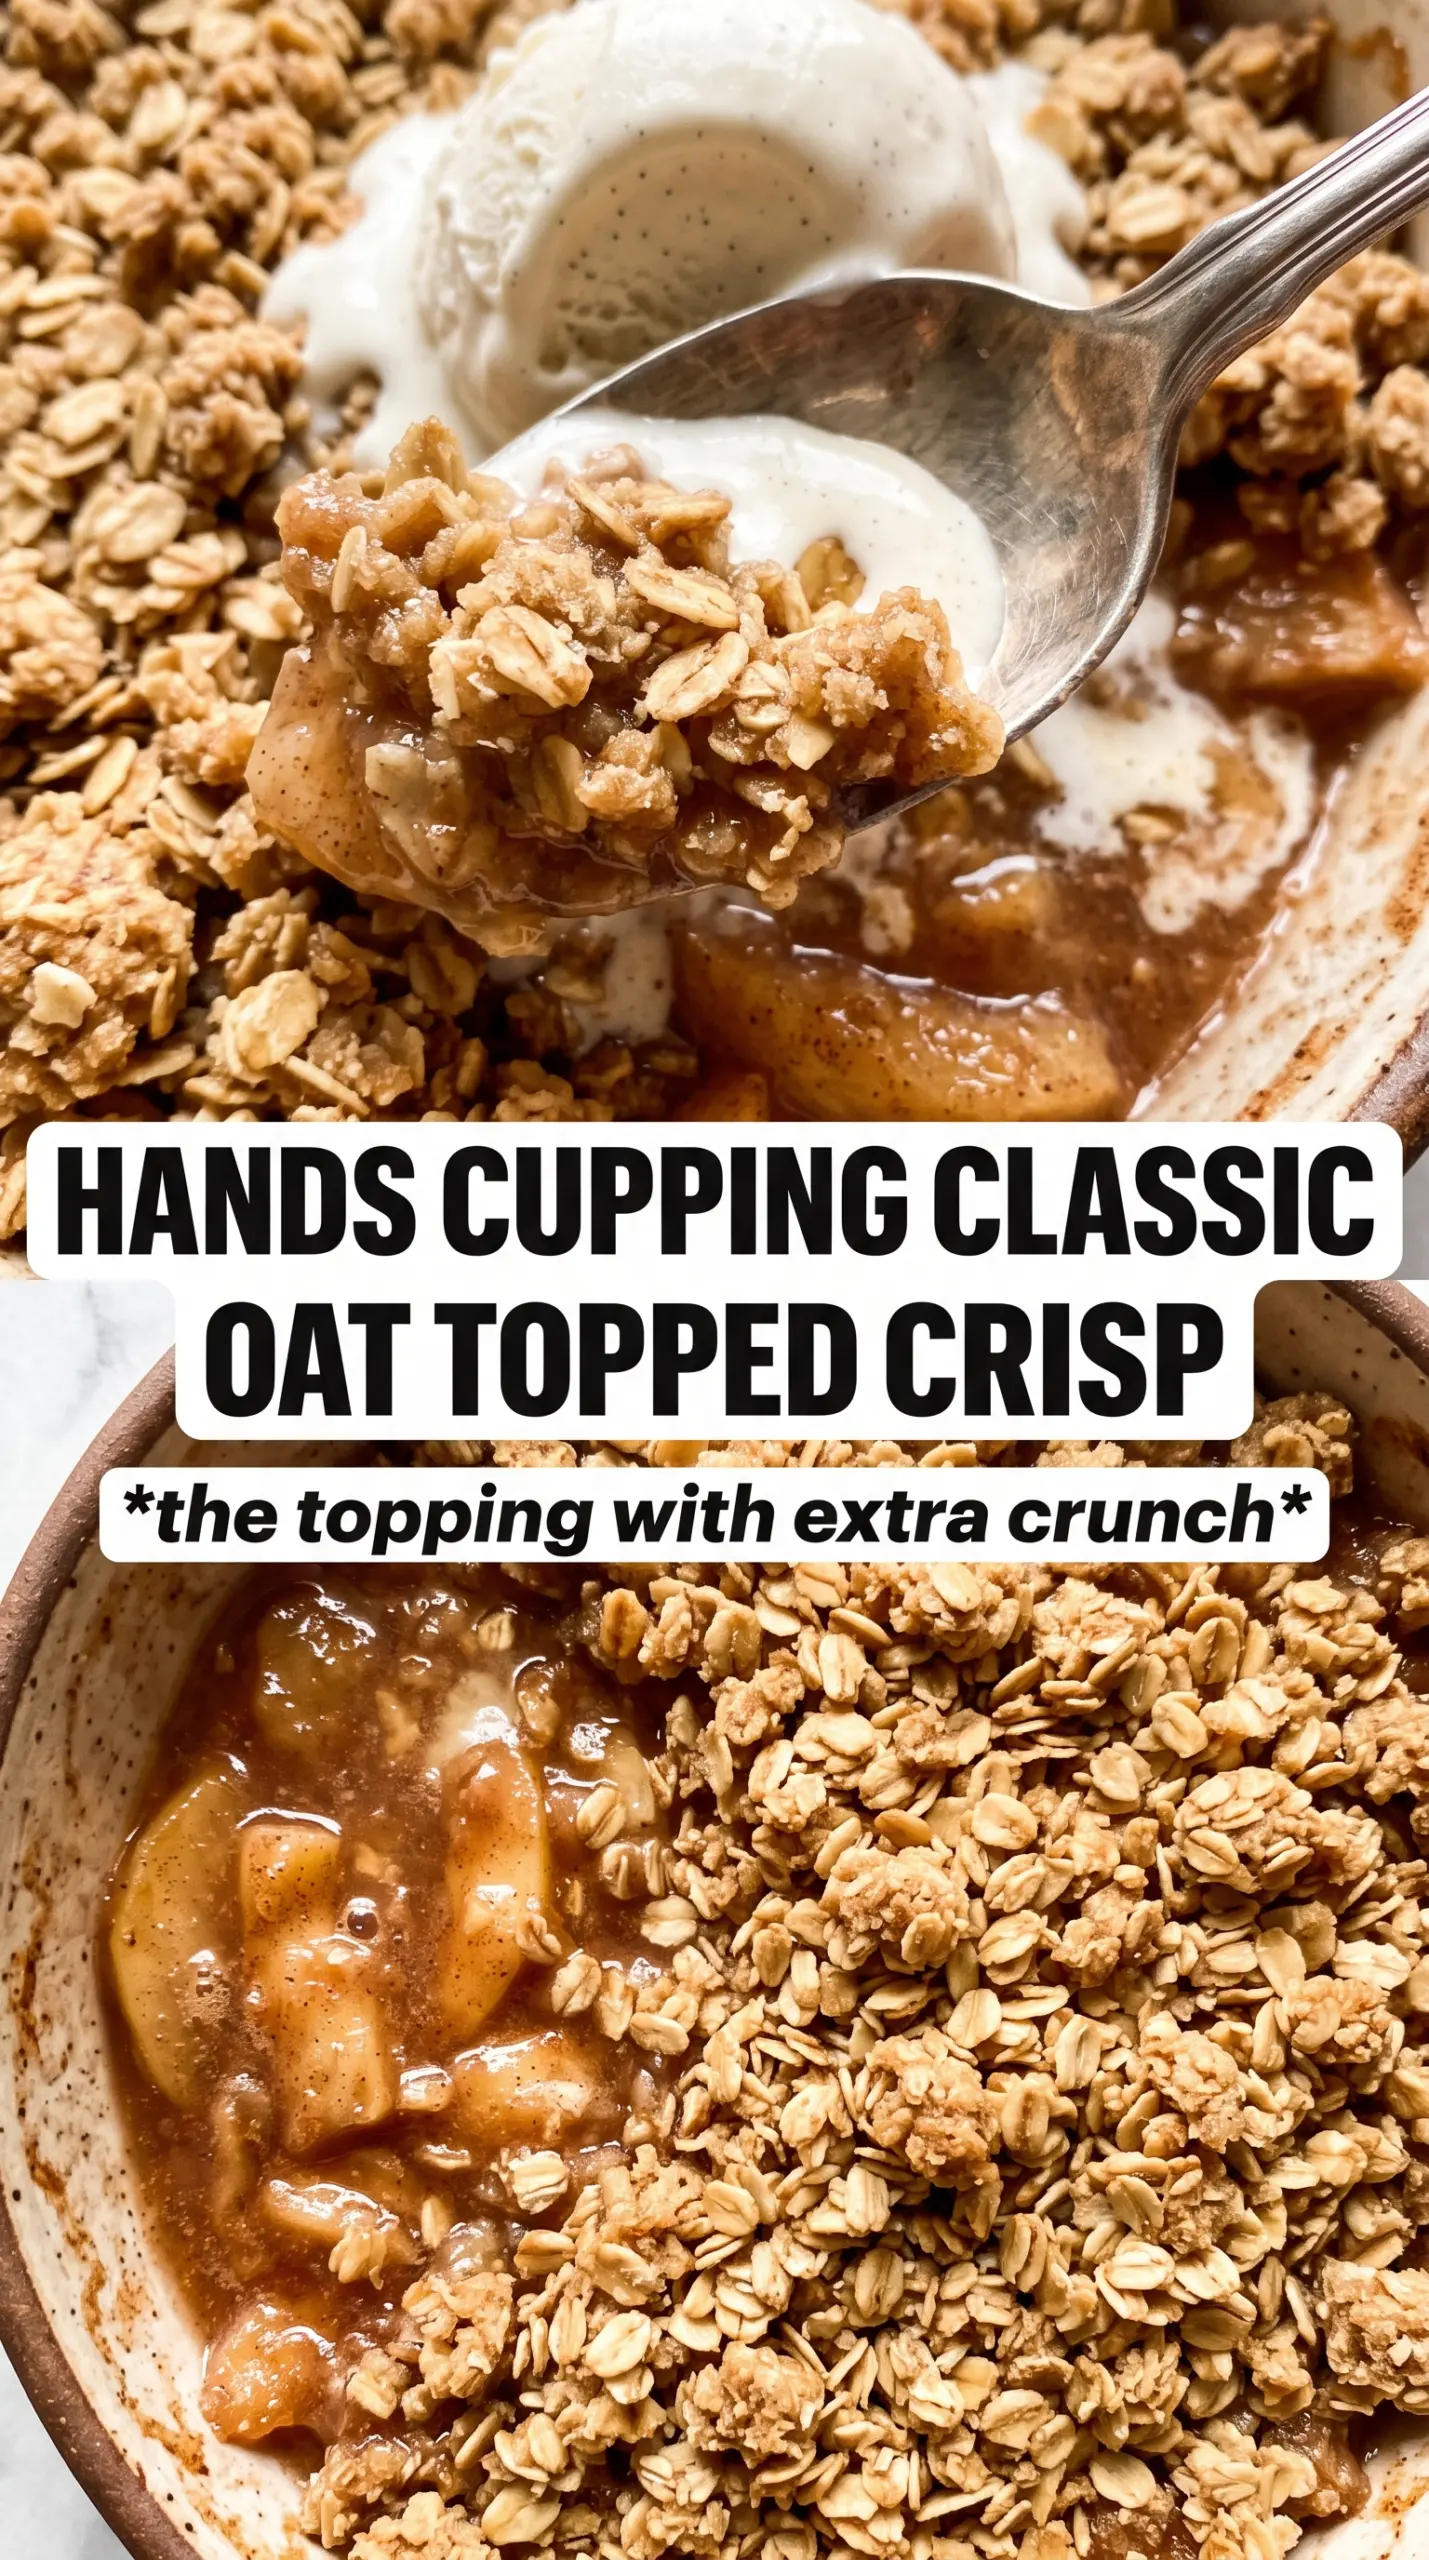
- Apples — A mix of tart and sweet apples gives the filling more depth. Tart apples hold their shape and keep the dessert from tasting one-note, while sweeter apples help the juices turn glossy and dessert-like. If you only have one variety, use a firm baking apple and keep the slices thick enough to survive the oven.
- Cornstarch — This is what keeps the filling from running all over the plate. It thickens the juices as the apples bake, and it works better here than flour because it stays clearer and lighter. Don’t skip it unless you like a loose, spoonable sauce around the fruit.
- Rolled oats — Old-fashioned oats give the topping its chew and texture. Quick oats can work in a pinch, but the topping will be finer and less craggy. If you want those big rustic clusters, stick with rolled oats.
- Cold butter — This is what makes the topping clump instead of blending into crumbs. Cube it cold, then cut it in just until you have shaggy pieces and little doughy clusters. If the butter softens too much before baking, the topping bakes up flatter and less crisp.
- Brown sugar — Brown sugar deepens the topping and helps it caramelize while the crisp bakes. The molasses note fits apple dessert better than plain white sugar. Pack it into the cup so the topping has enough sweetness to brown properly.
Building the Apple Crisp So the Filling Bubbles and the Topping Browns
Coating the Apples
Toss the sliced apples with both sugars, spices, cornstarch, and lemon juice until every slice looks lightly coated. You want the sugar and starch evenly distributed so the filling thickens in the oven instead of clumping in one corner. Spread the fruit in an even layer in the baking dish. If the apples mound too high in the center, the middle stays undercooked while the edges overbake.
Making the Oat Crumble
Combine the oats, flour, brown sugar, cinnamon, and salt, then work in the cold butter with your fingertips until the mixture forms a mix of crumbs and larger clumps. Stop before it looks smooth. Those rough chunks are what turn into a deeply golden, crisp top. If the butter starts melting in your hands, pause for a minute so the mixture stays cool.
Baking Until the Edges Bubble
Scatter the crumble evenly over the apples and bake until the topping is deep gold and the fruit is bubbling around the edges, about 40 to 45 minutes. The bubbling matters more than the clock. It tells you the cornstarch has activated and the filling has thickened enough to hold together once it cools. Let it rest for 10 minutes before serving so the juices settle instead of running across the plate.
Three Ways to Adapt This Apple Crisp Without Losing the Crunch
Make It Gluten-Free
Swap the all-purpose flour for a 1:1 gluten-free baking blend. The topping will still clump and crisp, though it may brown a little faster, so start checking a few minutes early. Keep the oats certified gluten-free if cross-contamination matters.
Use Pears or a Mixed Fruit Filling
You can replace part of the apples with firm pears or a handful of frozen berries. Pears bring a softer, floral sweetness, while berries add extra juice and a brighter color. If you add berries, keep them to a smaller portion so the filling doesn’t turn soupy.
Make It Dairy-Free
Use a plant-based butter that behaves like stick butter and stays cold until it hits the oven. The flavor will be a little less rich, but the texture can still be crisp and clumpy if you keep the fat cold. Avoid soft tub-style spreads; they melt too fast and make the topping greasy.
Storage and Reheating
- Refrigerator: Store covered for up to 4 days. The topping softens a bit in the fridge, but the flavor holds up well.
- Freezer: Apple crisp freezes well after baking. Cool completely, wrap tightly, and freeze for up to 2 months. Thaw overnight in the fridge before reheating.
- Reheating: Warm in a 325F oven until the filling is hot and the topping crispens again, usually 15 to 20 minutes. The microwave will heat the apples but leaves the topping limp, which is the main thing to avoid.
Answers to the Questions Worth Asking
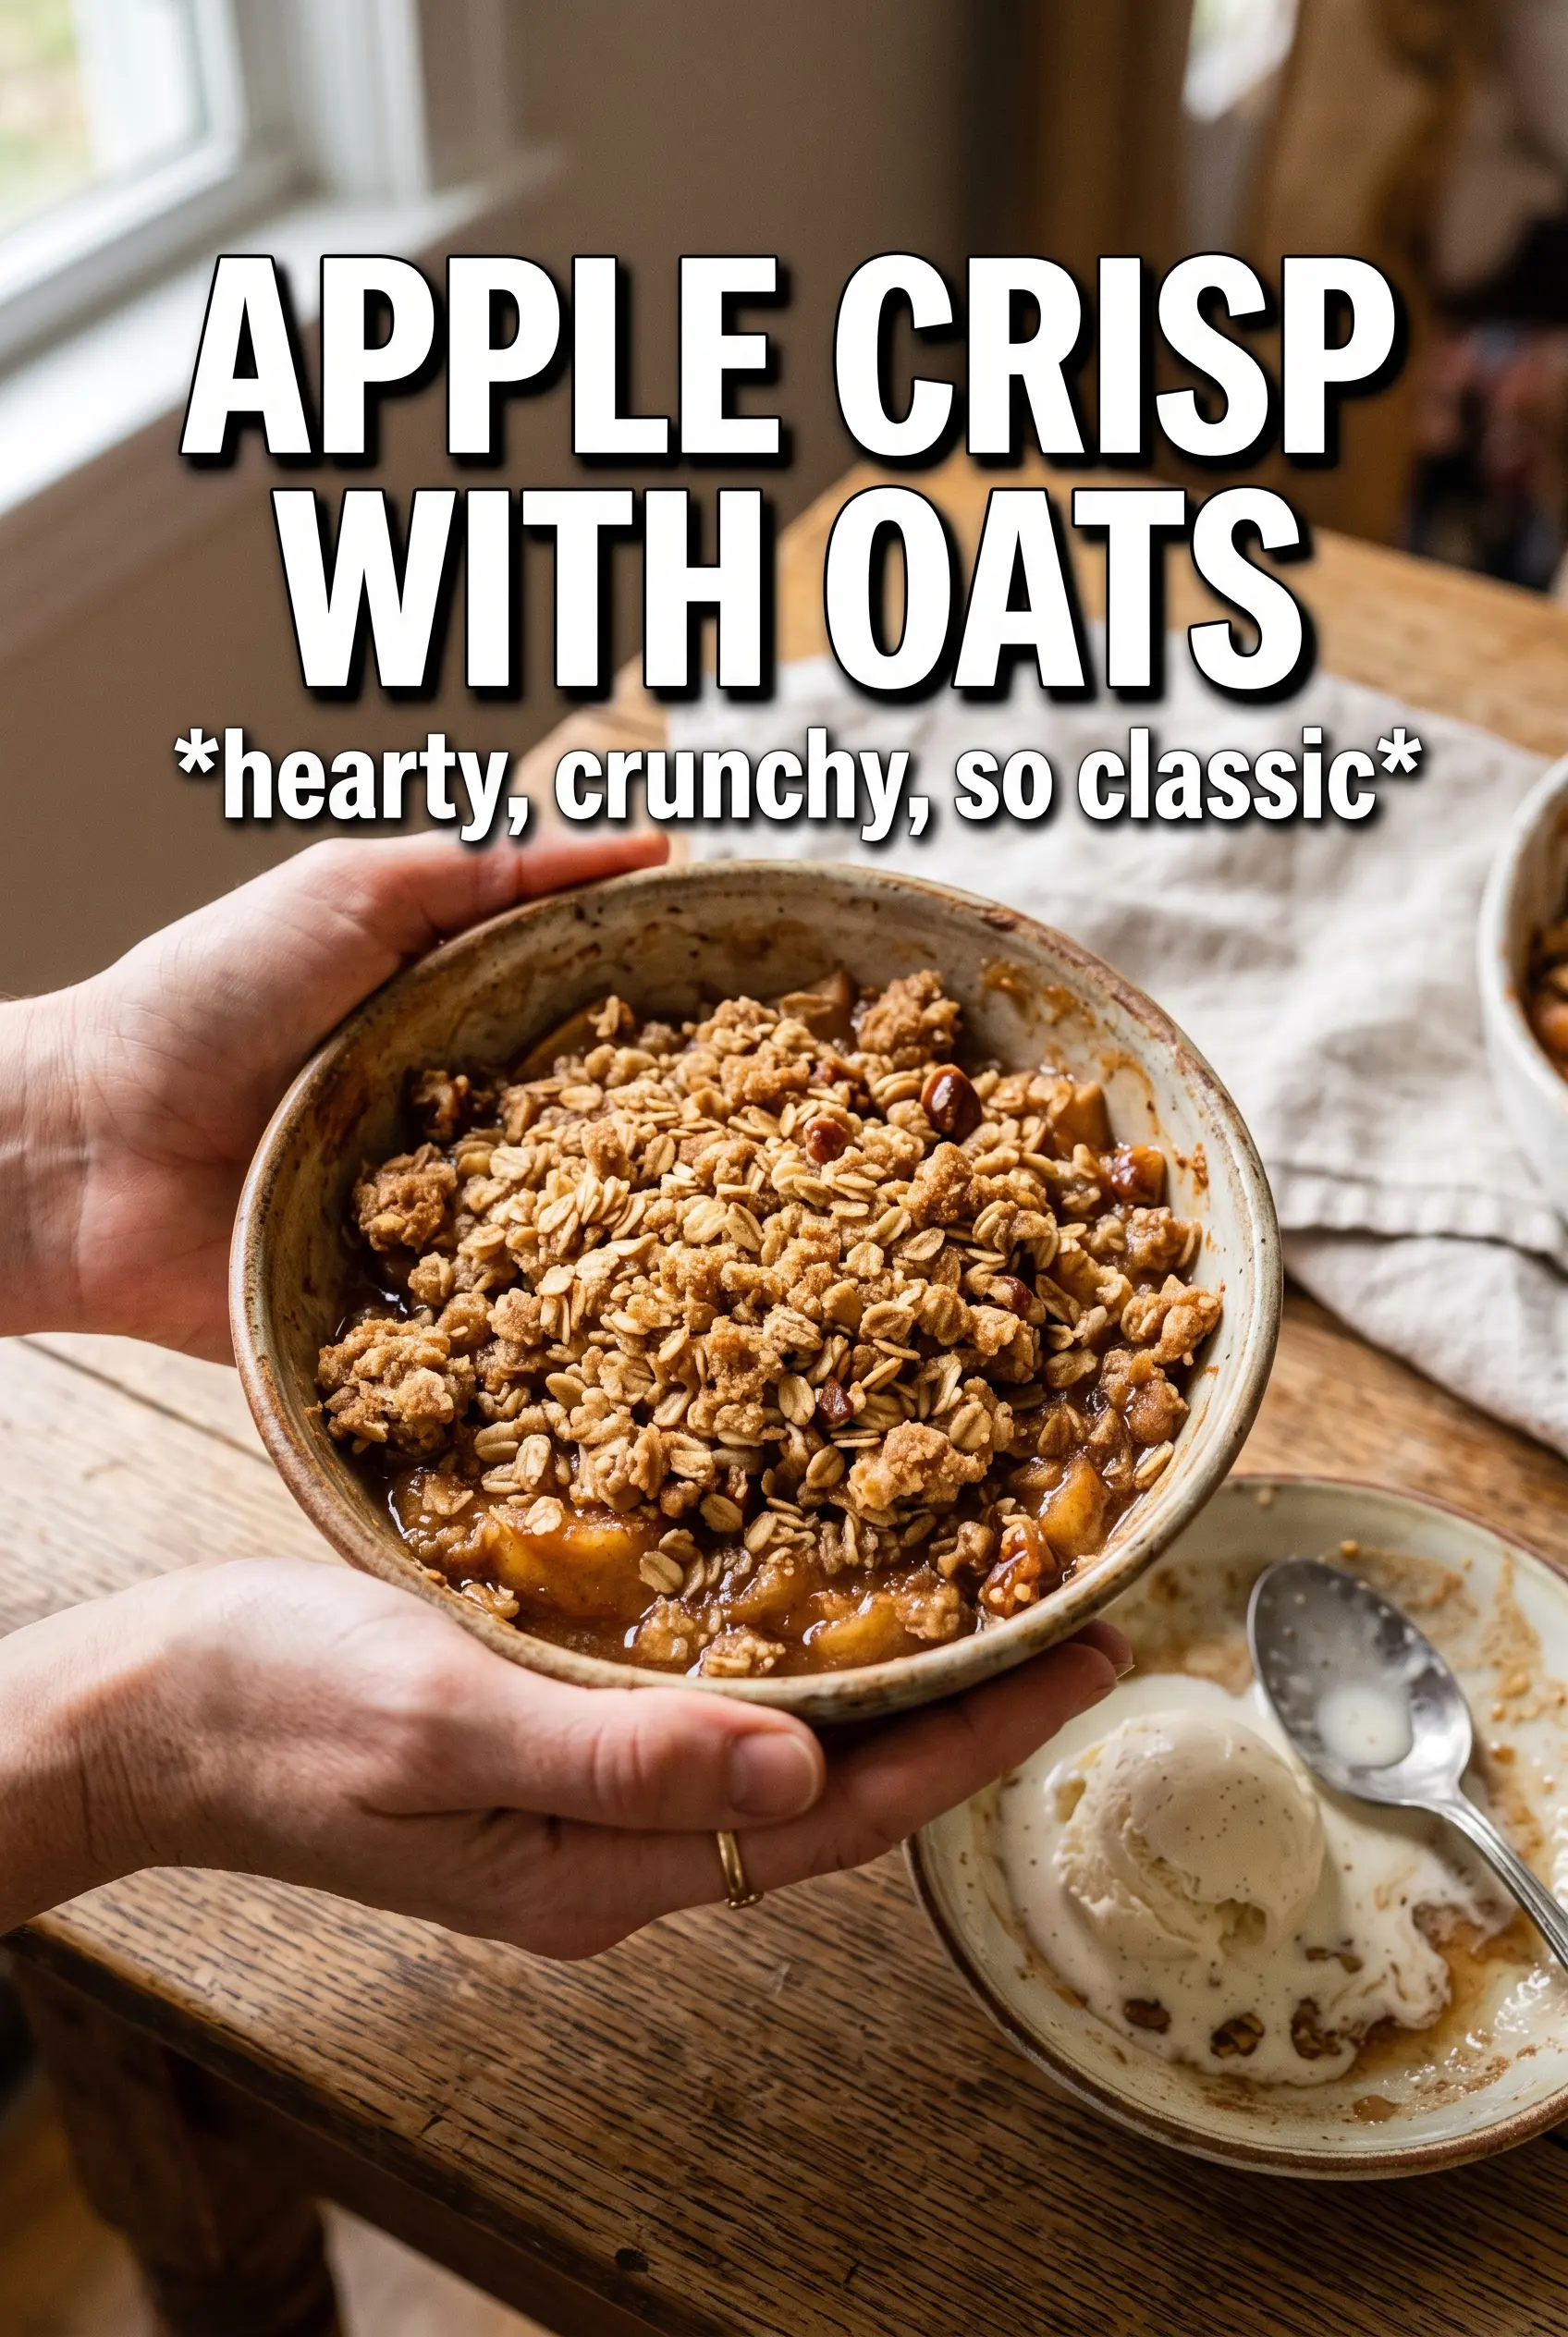
Apple Crisp With Oats
Ingredients
Equipment
Method
- Preheat oven to 375°F and grease a 9x13 baking dish so the apples don’t stick.
- Toss apple slices with granulated sugar, brown sugar, cinnamon, nutmeg, allspice, cornstarch, and lemon juice until evenly coated.
- Spread the coated apples in the prepared dish in an even layer.
- Combine rolled oats, all-purpose flour, packed brown sugar, cinnamon, and salt in a mixing bowl.
- Cut in cold cubed unsalted butter with your fingertips until large chunks and clumps form.
- Scatter the crumble evenly over the apples, covering every surface.
- Bake for 40–45 minutes at 375°F until the oat topping is deeply golden and the apple filling is bubbling at the corners.
- Cool for 10 minutes so the filling thickens slightly before serving.
- Serve warm with vanilla ice cream or whipped cream.