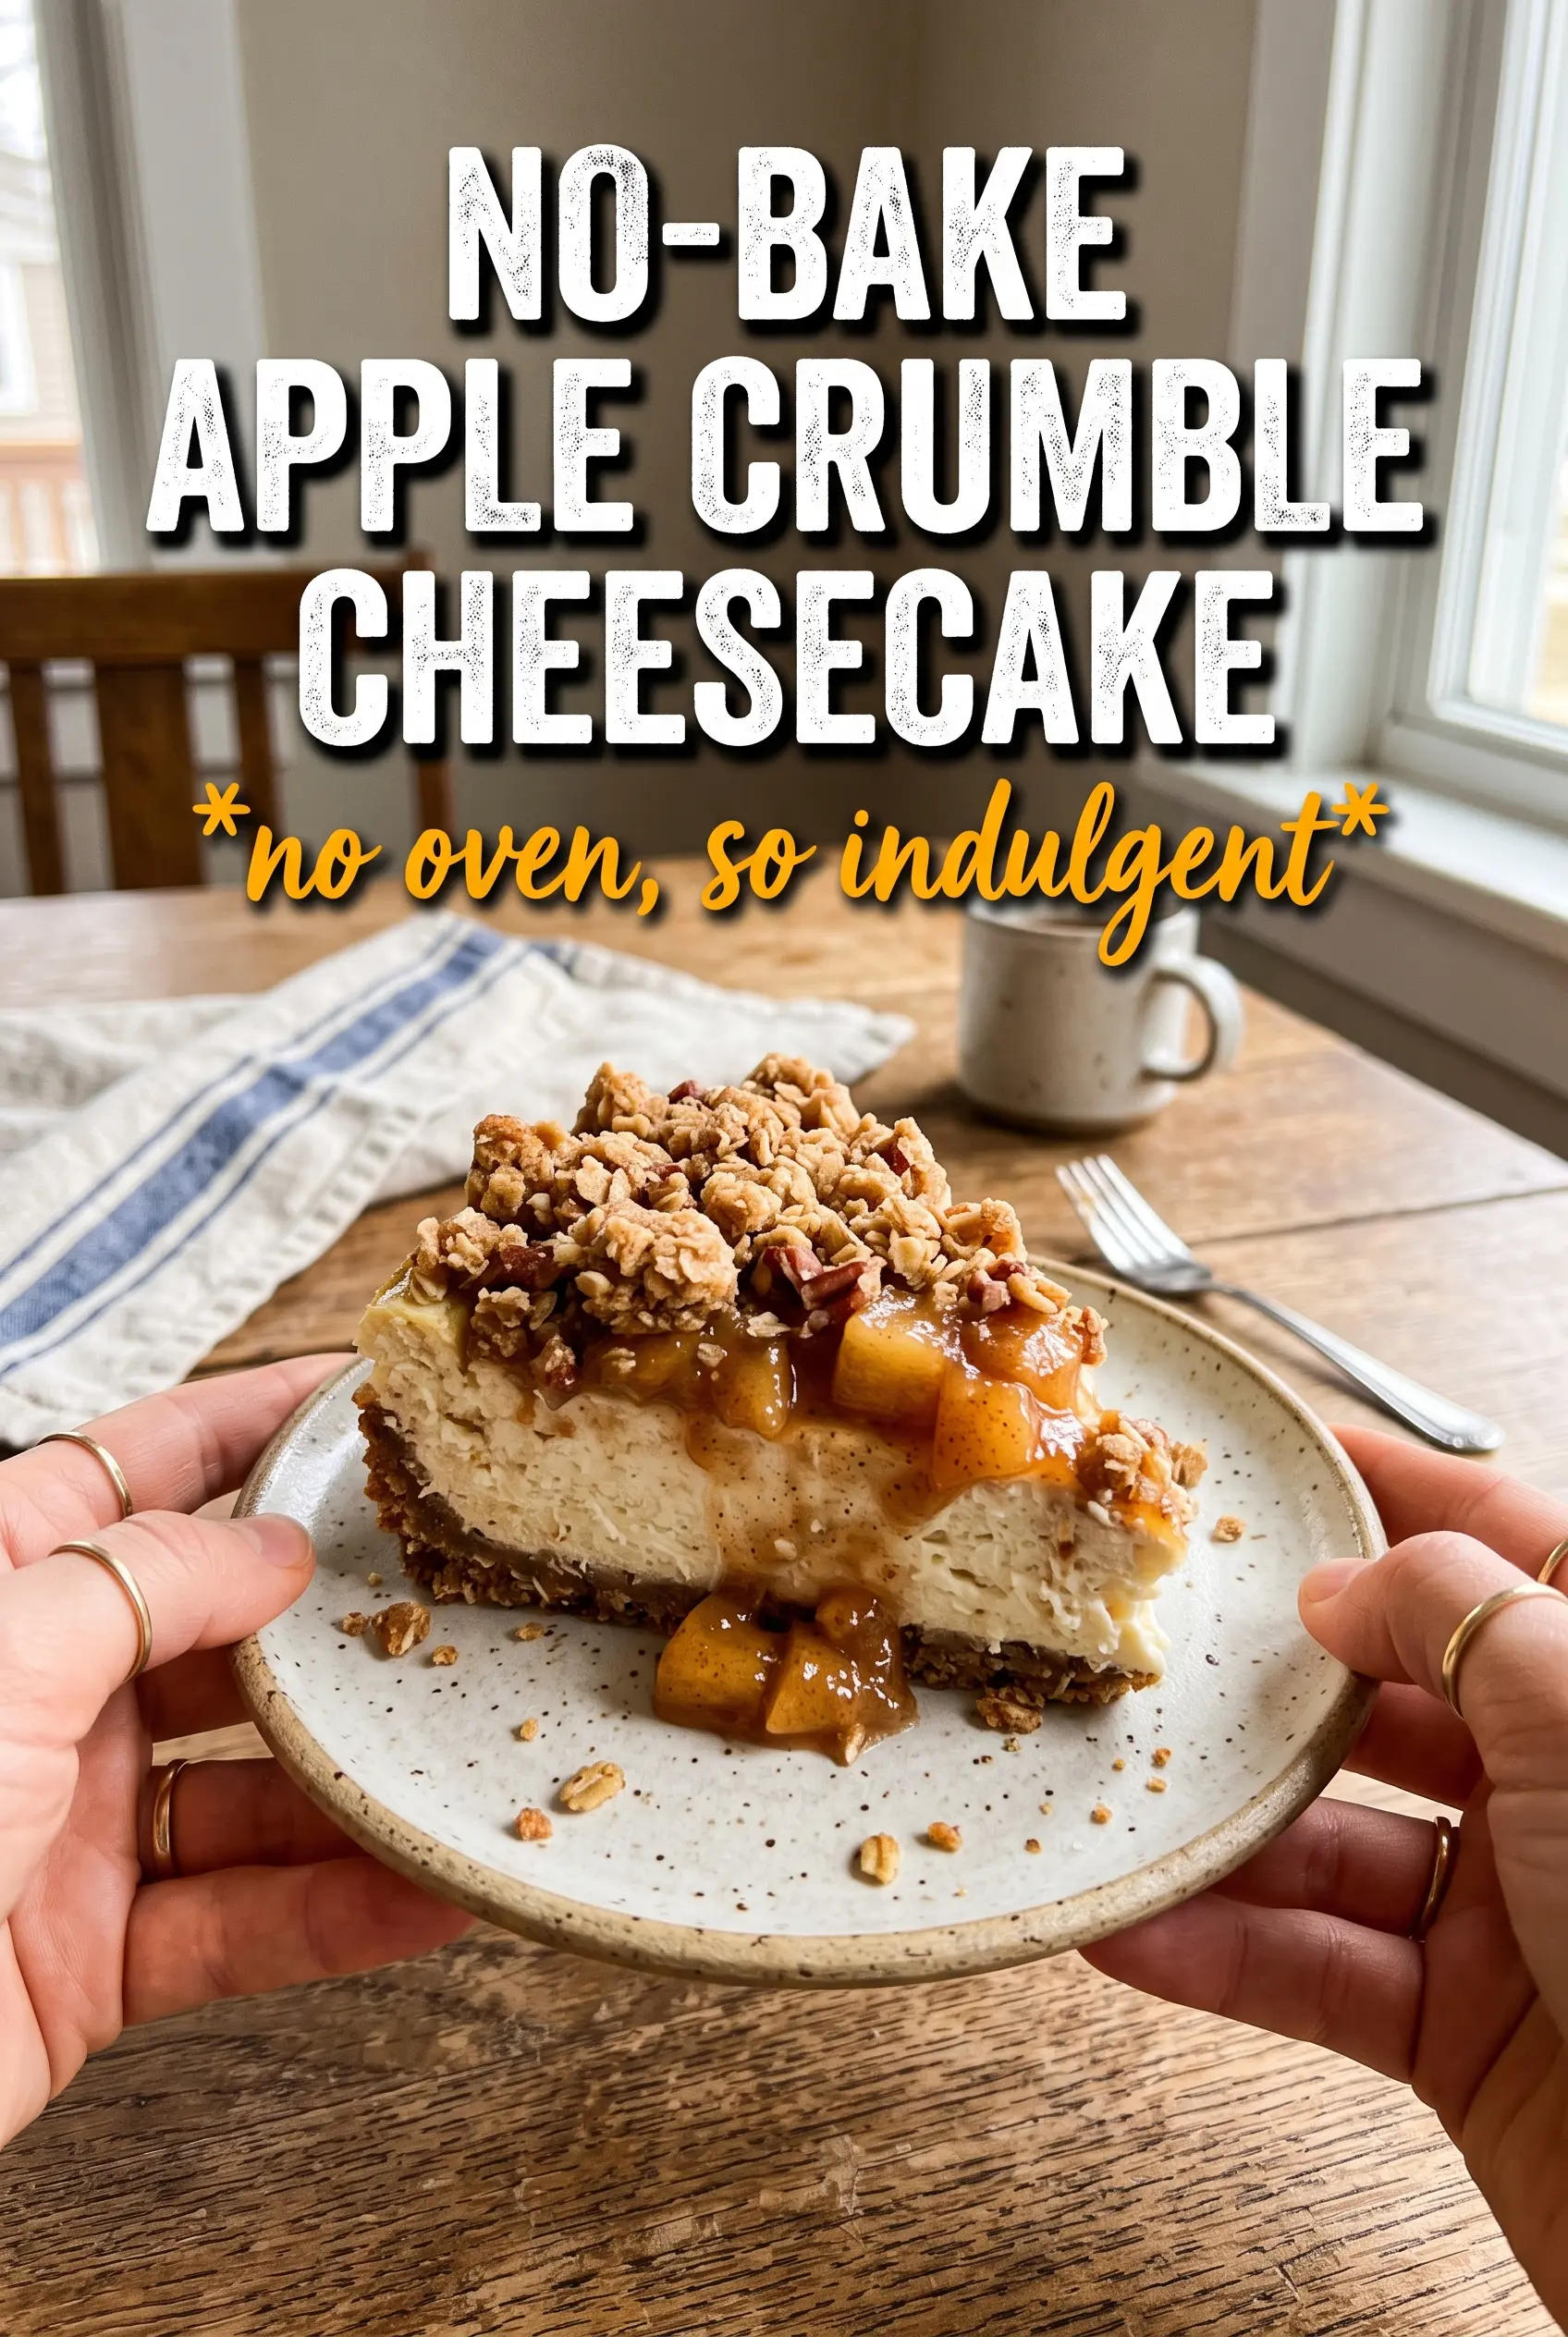
Cold, creamy cheesecake layered over a crisp oat crumble crust and finished with spiced apples makes this dessert feel bigger than the effort it takes. The filling stays light but still slices cleanly, and the buttery crumble on the bottom gives every bite a little crunch instead of the usual soft graham cracker base. That mix of cool cream cheese, warm cinnamon, and tender apples is what keeps people going back for “just one more” slice.
The crust matters here because it’s doing more than holding things together. Rolled oats and flour bake up into a sturdier, toastier base than a straight cookie crumb, and pressing it firmly into the pan keeps the cheesecake from slumping when you cut it. Whipping the cream to stiff peaks before folding it in is what gives the filling that airy, mousse-like texture without needing gelatin or baking.
Below, I’ve included the small details that make this one behave like a proper cheesecake instead of a soft no-bake filling with toppings piled on top. The chilling time is not optional here, and the way you handle the whipped cream changes the final texture more than most people expect.
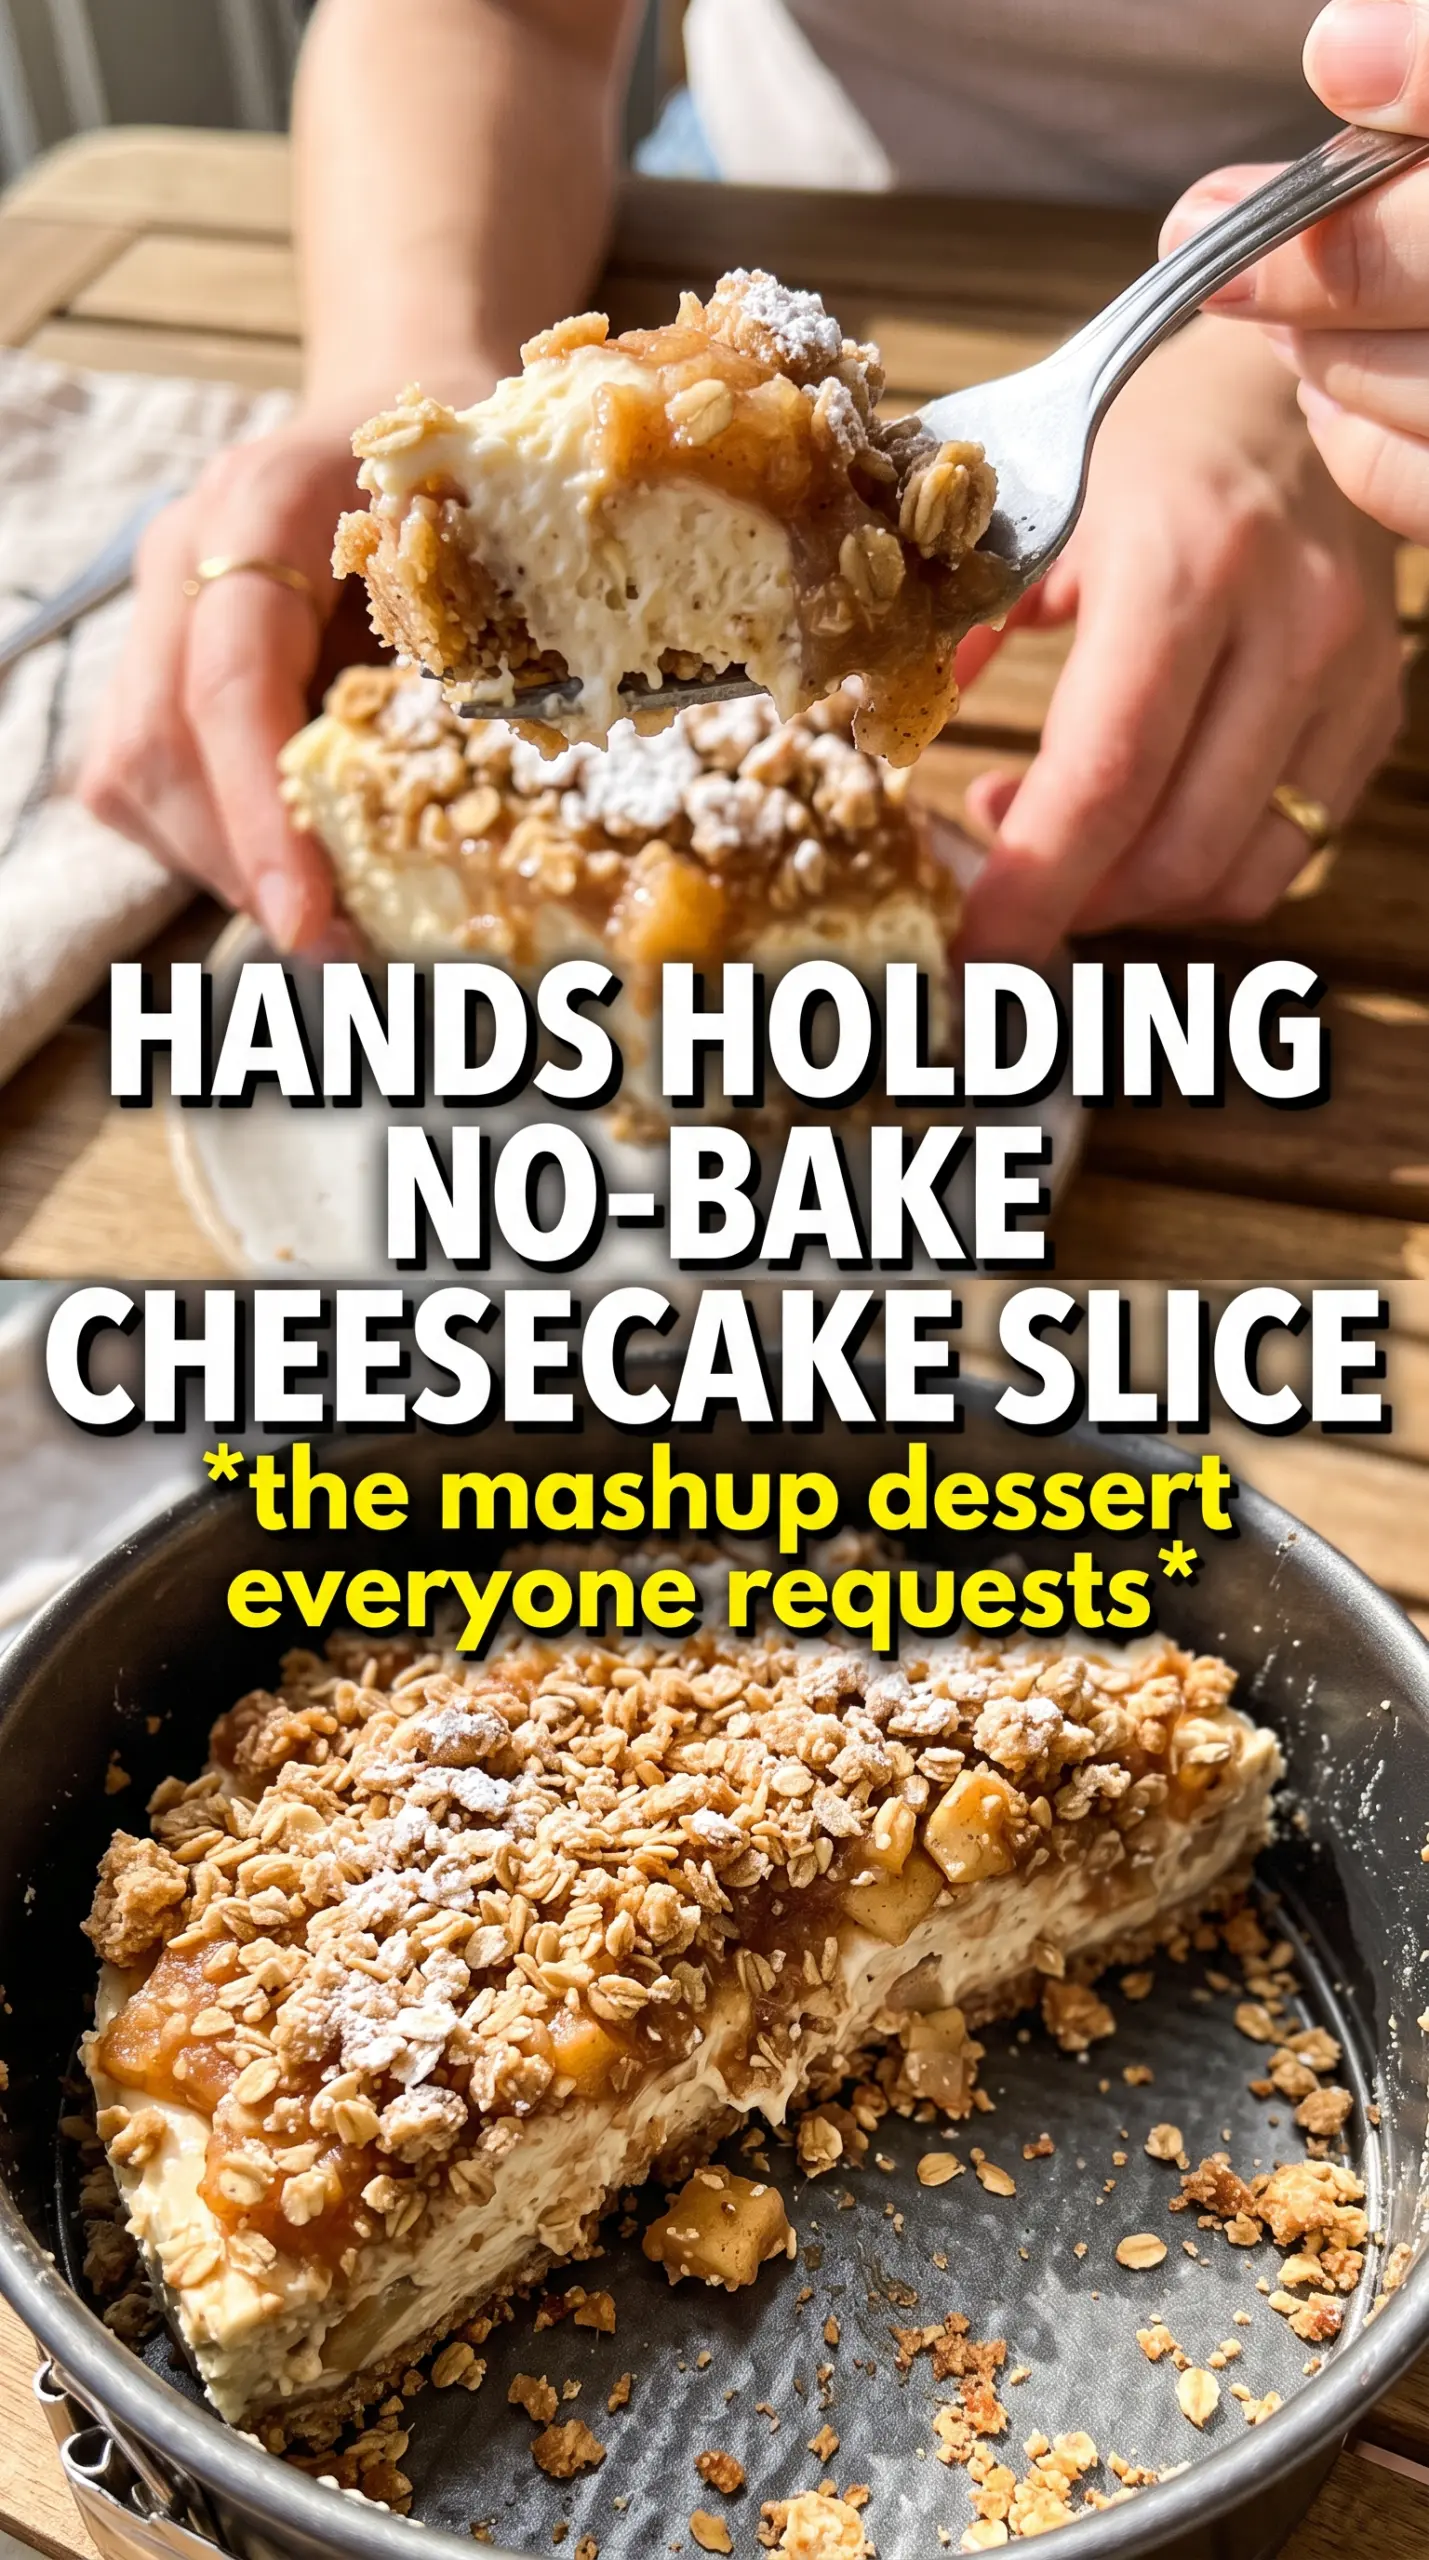
The crumble crust stayed firm, the filling set up beautifully after chilling overnight, and the apple layer tasted like apple pie on top of cheesecake. I cut clean slices the next day and the extra crumble on top added the best texture.
Save this no-bake apple crumble cheesecake for the dessert nights when you want a creamy slice with a crisp oat crust and spiced apple topping.
The Crust Has to Be Pressed Like It Means It
The most common mistake with a no-bake cheesecake is treating the crust like a loose sprinkle instead of a real base. This oat crumble mixture is meant to be packed down firmly so it chills into something sliceable. If it stays sandy, the filling will slide as soon as you cut into it.
Reserving part of the crumble before pressing the crust is the trick that gives you a true crumble finish on top without making a second batch. The oats bring a little chew and a toasted edge that graham crumbs can’t match, and brown sugar keeps the whole thing tasting warm and buttery instead of flat. If your crust seems dry before it goes into the pan, the melted butter wasn’t distributed well enough — toss until every oat looks lightly coated and clumpy.
What Each Layer Is Doing in This Cheesecake
- Rolled oats — These give the crust its craggy texture and a more cookie-like bite. Quick oats can work in a pinch, but the crust will be finer and a little less rustic.
- Flour — This helps the crumble hold together once the butter chills. All-purpose flour is the right choice here; almond flour won’t bind the same way.
- Brown sugar — Use it in both the crust and filling for deeper caramel notes. Light or dark brown sugar both work, though dark brown will push the cheesecake a little richer.
- Cream cheese — Soften it fully before mixing. Cold cream cheese leaves tiny lumps that don’t disappear later, no matter how long you beat the filling.
- Heavy cream — Whip it to stiff peaks before folding it in. That step is what gives the cheesecake body without baking, and under-whipped cream will leave the filling soft and loose.
- Apple pie filling — This keeps the topping fast and consistent. If you want to use homemade cooked apples, let them cool completely and keep the juices thick, or they’ll weep into the cheesecake.
Building the Filling So It Slices Cleanly
Press and Chill the Base First
Mix the oats, flour, brown sugar, cinnamon, and melted butter until the crumbs look evenly damp, then press them hard into the bottom of a 9-inch springform pan. Use the flat bottom of a measuring cup to compact the crust into an even layer. Chill it for 20 minutes so the butter firms back up before the filling goes on. If you skip that rest, the crust can spread when you add the cheesecake layer.
Beat the Cream Cheese Until It Looks Silky
Beat the softened cream cheese with both sugars, vanilla, and cinnamon until the mixture is completely smooth and glossy. Scrape the bowl well; a streak of unmixed cream cheese will show up later as a soft lump. Stop as soon as it’s smooth and creamy, because overbeating can make the filling loose instead of plush.
Fold in the Whipped Cream, Don’t Stir It In
Whip the heavy cream to stiff peaks, then fold it into the cream cheese mixture in two additions. Use a spatula and work from the bottom of the bowl up so you keep the air in the cream. If you stir aggressively, the filling turns dense and can feel heavy instead of cloudlike. Spread it over the chilled crust in an even layer so the topping sits neatly on top later.
Finish With Apples and the Reserved Crumble
Stir cinnamon and nutmeg into the apple pie filling, then spoon it evenly over the cheesecake layer. The spice goes in before the apples hit the cake so it distributes through the fruit instead of sitting in little pockets on top. Scatter the reserved crumble over the apples right before chilling, then refrigerate for at least 6 hours. Overnight is even better, and it gives the layers time to set enough for clean slices.
How to Adapt This for Different Cravings and Diets
Gluten-Free Version With a Different Crust Texture
Swap the flour for a cup-for-cup gluten-free baking blend and use certified gluten-free oats. The crust will still hold together, but it will taste a little more delicate and less bready than the original.
Dairy-Free Cheesecake Filling
Use dairy-free cream cheese and a whipped coconut topping instead of heavy cream. The filling won’t taste exactly like classic cheesecake, but it will still set into a creamy, sliceable layer with the same apple-cinnamon topping.
Make It More Like Apple Pie
Add a pinch of cloves or allspice to the apple layer if you want it warmer and more pie-like. The cheesecake will read less dessert-bar and more like a chilled apple pie filling over cream.
Storage and Reheating
- Refrigerator: Store covered for up to 4 days. The crust softens a little over time, but the cheesecake still holds its shape well.
- Freezer: Freeze whole or in slices for up to 1 month. Wrap tightly, then thaw in the refrigerator so the filling doesn’t turn grainy.
- Reheating: Don’t reheat this dessert. Serve it cold straight from the fridge, and let slices sit 10 minutes at room temperature if you want the filling slightly softer.