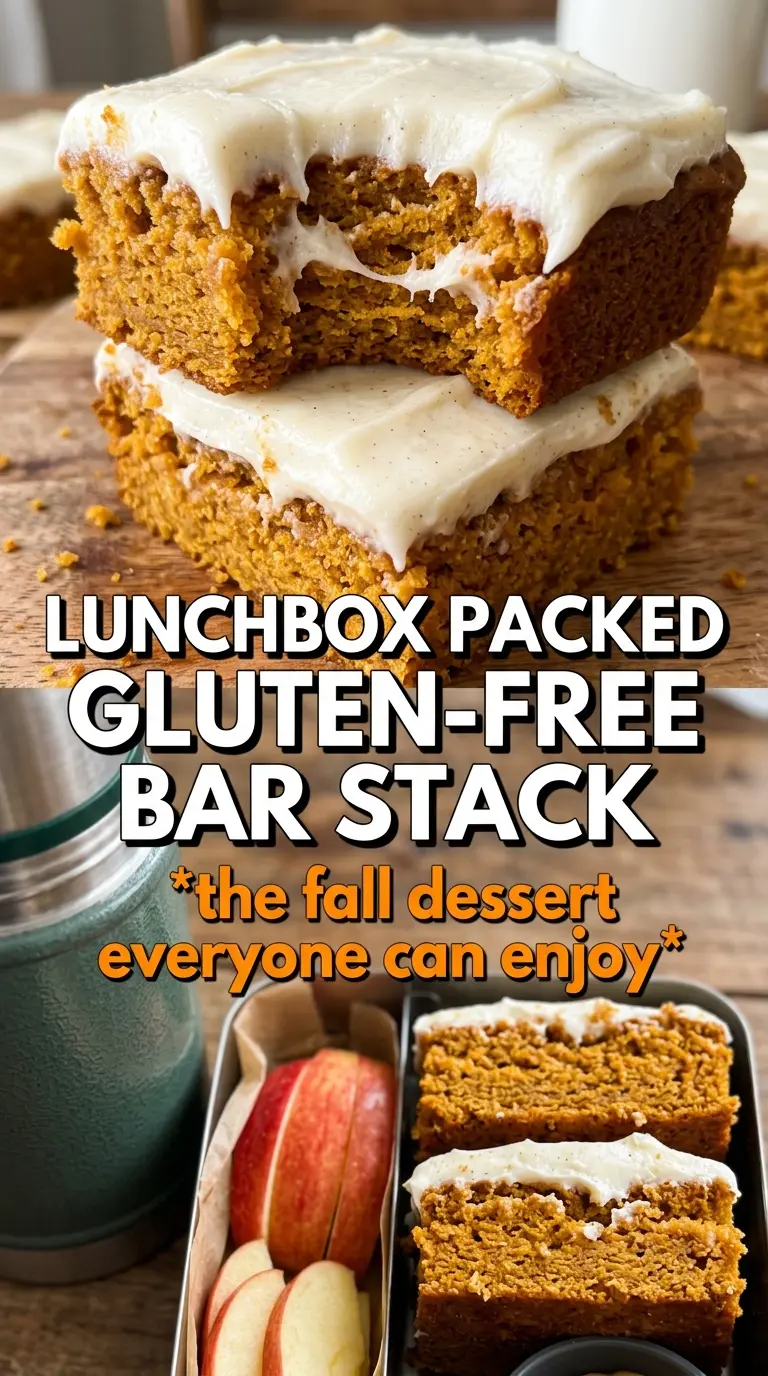
These gluten-free pumpkin bars bake up soft, sturdy, and full of warm spice, with a crumb that stays tender instead of crossing into gummy or sandy. The cream cheese frosting spreads smoothly over the top and sets just enough after a short chill, so you get clean squares with that classic pumpkin-bar look people expect at a fall dessert table.
The part that matters most here is the batter balance. Pumpkin adds a lot of moisture, so the flour blend needs xanthan gum and the mixing has to stay gentle once the dry ingredients go in. Overmixing tightens gluten-free batters in a weird way, even when there’s no wheat flour involved, and it can leave the bars dense instead of plush. Baking them in a rimmed sheet pan keeps the layer thin enough to cook through without drying out.
Below, I’ve included the details that matter most: how to keep the bars from sinking in the center, why the frosting needs to wait until the bars are fully cool, and the small swaps that still keep the texture right.
The bars came out soft but not cakey, and the frosting firmed up beautifully after chilling. I used the pan size you listed and they sliced into perfect squares without crumbling at all.
Save these gluten-free pumpkin bars for the day you want a soft pumpkin dessert with cream cheese frosting that cuts cleanly and tastes like the classic version.
The Reason These Bars Stay Tender Instead of Gummy
Gluten-free pumpkin bars can go wrong in two common ways: they bake up wet in the center, or they turn oddly tight and gummy after cooling. The fix is a mix of structure and restraint. The flour blend needs xanthan gum so the bars hold together, but once that flour hits the wet batter, stop as soon as it disappears. That keeps the crumb soft instead of dense.
The other piece is the pan. A 15×10 rimmed sheet gives you a thin layer that bakes evenly, which is what keeps the pumpkin from steam-softening the middle while the edges dry out. If the bars are baked in a deeper pan, they take longer to set and the texture can drift into heavy and custardy. You want the top set, the center springy, and a toothpick that comes out clean or with just a few moist crumbs.
What Each Ingredient Is Actually Doing in These Pumpkin Bars
- Gluten-free all-purpose flour blend with xanthan gum — This is the backbone of the bars. A blend that already includes xanthan gum gives you the best chance at a sliceable, bakery-style texture. If your blend doesn’t include it, the bars can crumble when cut and feel fragile after chilling.
- Pumpkin puree — Use pure pumpkin, not pumpkin pie filling. Pie filling is already sweetened and spiced, which throws off both the flavor and the structure. The puree brings moisture and that deep pumpkin color without making the bars taste like canned filling.
- Vegetable oil — Oil keeps these bars soft even after refrigeration, which is exactly what you want in a sheet-pan pumpkin bar. Melted butter gives more flavor, but it can also firm up too much when cold. Neutral oil keeps the crumb tender and consistent.
- Cream cheese and butter for the frosting — Cream cheese gives the frosting tang and body, while butter softens the flavor and helps it whip fluffy. Use full-fat cream cheese here. Reduced-fat versions can make the frosting loose, and that’s the last thing you want on a soft bar that needs clean edges.
Building the Batter So It Bakes Evenly
Whisk the Dry Ingredients First
Whisk the flour, baking powder, baking soda, pumpkin pie spice, cinnamon, and salt until the color looks uniform. That step matters more than it sounds, because the spices need to be spread evenly or you’ll get sharp pockets of cinnamon in one bite and none in the next. If your baking powder clumps, break it up now or the bars can rise unevenly and leave little tunnels.
Beat the Wet Ingredients Until Smooth
Eggs, sugar, oil, pumpkin, and vanilla should look glossy and fully blended before the flour goes in. You’re not trying to whip in a lot of air; you’re trying to make an even batter that bakes into a fine crumb. If the mixture looks streaky, keep mixing for a few more seconds so the pumpkin is fully dispersed.
Fold, Don’t Beat, Once the Flour Goes In
As soon as the flour mixture is added, switch to a gentle hand. Stir just until the dry pockets disappear. Overmixing won’t develop gluten here, but it can still overwork the starches and give the bars a heavier texture. Scrape the bottom of the bowl so there isn’t a hidden pocket of flour waiting to bake into a dry stripe.
Watch the Center, Not the Clock
Bake until the top is set and a toothpick comes out clean from the center, usually around 25 to 28 minutes. The bars should spring back lightly when touched in the middle. If the top starts to darken before the center is done, your oven may run hot, and pulling them a minute early is better than drying them out.
Three Ways to Make These Bars Fit Your Table
Dairy-Free Frosting That Still Spreads Well
Use a dairy-free cream cheese and a plant-based butter stick for the frosting. The texture will be a little softer and the tang may be milder, but the bars still slice nicely after chilling. Whip it just until smooth so it doesn’t thin out.
A Sweeter, More Dessert-Forward Version
Add an extra 1/2 cup powdered sugar to the frosting if you want a thicker, sweeter top layer. It turns the bars into more of a bakery-style dessert and balances the warmth of the pumpkin spice. Don’t add more sugar to the batter unless you want a softer, slightly stickier crumb.
Gluten-Free Without the Guesswork
Stick with a cup-for-cup gluten-free flour blend that includes xanthan gum. That one detail does more for the texture than almost anything else in the recipe. If your blend is rice-heavy and very gritty, the bars can feel dry on the tongue even when the crumb looks moist.
Storage and Reheating
- Refrigerator: Store covered for up to 5 days. The bars stay moist, and the frosting firms up a little, which helps them cut neatly.
- Freezer: Freeze unfrosted bars for the best texture, tightly wrapped, for up to 2 months. Frosting can be made fresh after thawing, since cream cheese frosting can turn a little grainy after freezing.
- Reheating: These are best served chilled or at cool room temperature. If you want the bars slightly softer, let a square sit out for 15 to 20 minutes; microwaving will melt the frosting and make the crumb greasy.
Answers to the Questions Worth Asking
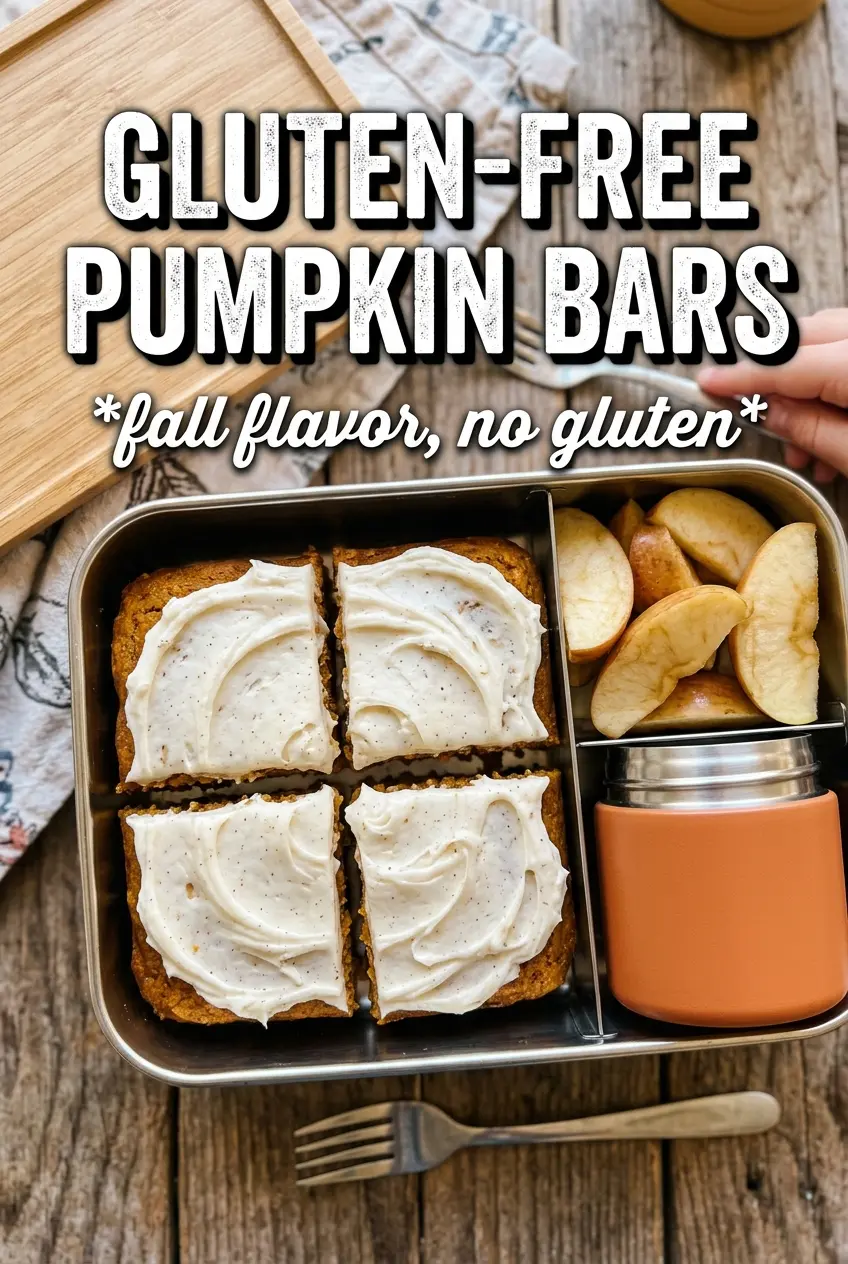
Gluten-Free Pumpkin Bars
Ingredients
Equipment
Method
- Preheat oven to 350F and grease a 15x10 rimmed baking sheet.
- Whisk gluten-free all-purpose flour blend, baking powder, baking soda, pumpkin pie spice, cinnamon, and salt until evenly combined.
- Beat eggs, granulated sugar, vegetable oil, pumpkin puree, and vanilla until smooth.
- Fold the flour mixture into the wet ingredients until just combined, then pour batter into the prepared pan.
- Bake at 350F for 25-28 minutes, until a toothpick comes out clean.
- Cool the bars completely before frosting.
- Beat cream cheese and butter until smooth, then beat in powdered sugar, vanilla, and cinnamon until fluffy.
- Spread the frosting over the cooled bars.
- Chill for 30 minutes before cutting.