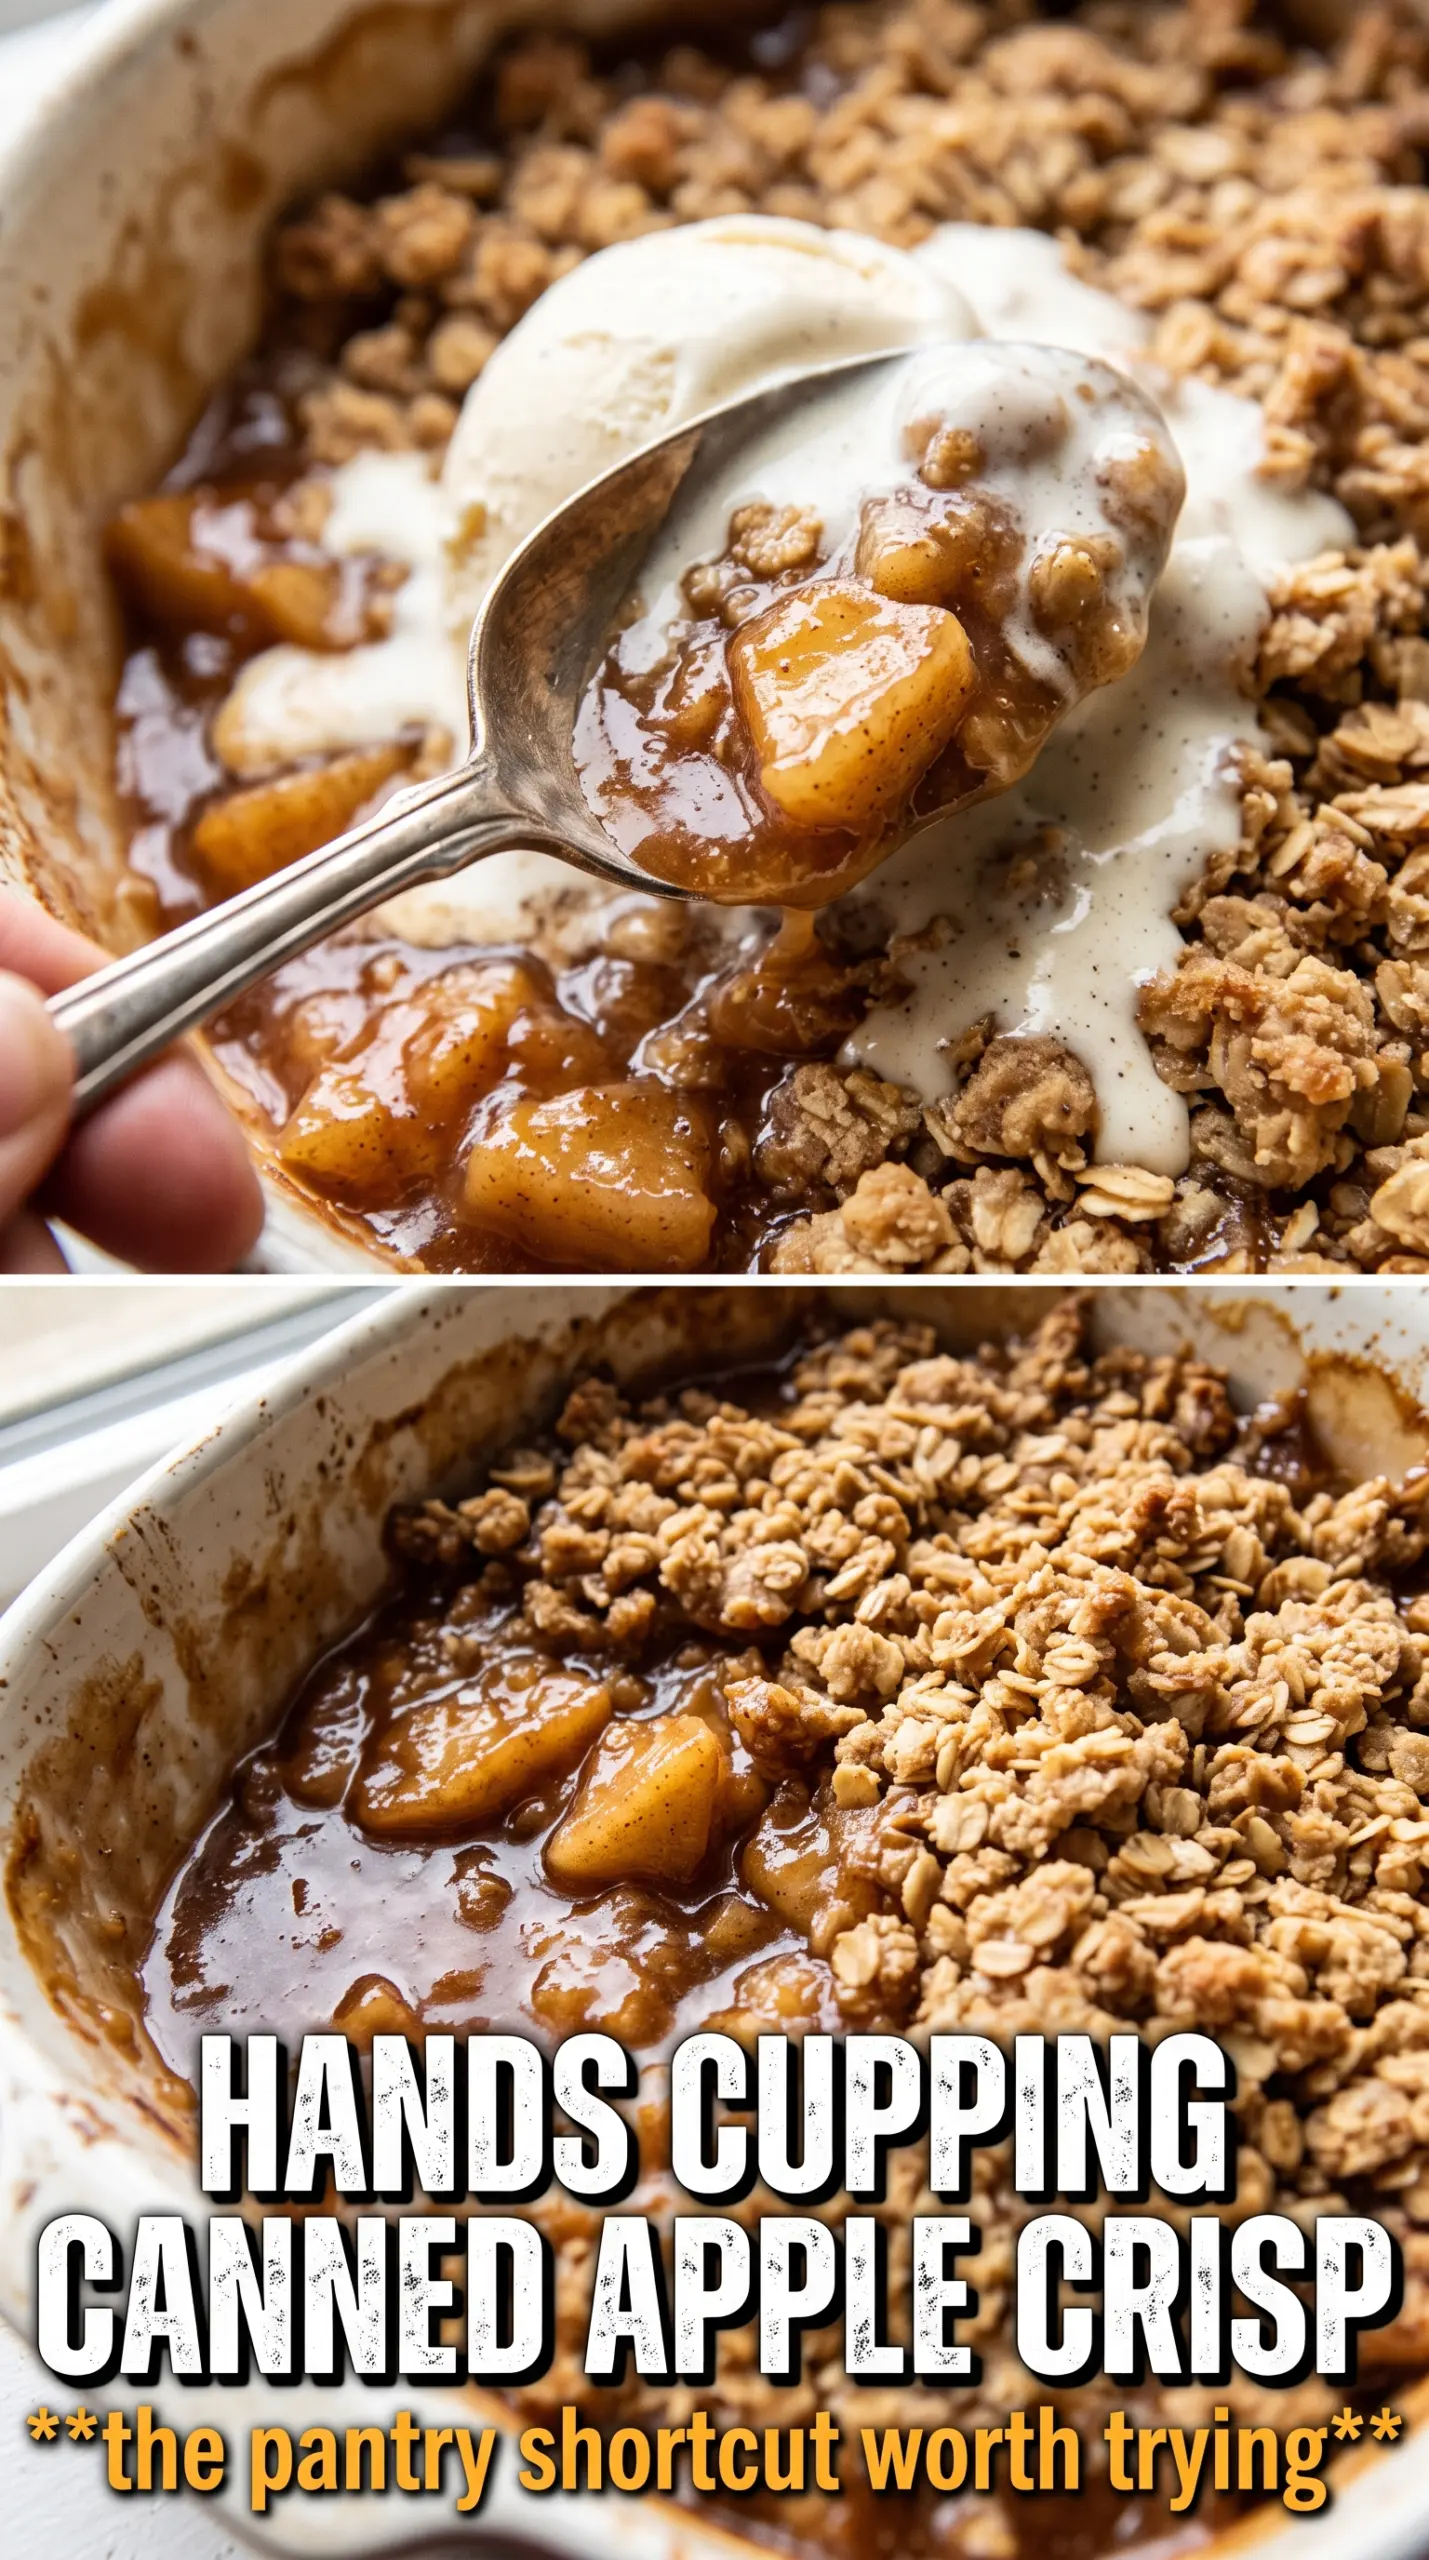
Glossy apple filling tucked under a deep golden oat crumble is the kind of dessert that disappears fast, and this version earns its place because it skips the fussy part without tasting rushed. The filling turns bubbling and thick at the edges, the topping bakes into crisp little clusters, and the whole pan lands somewhere between cozy and practical in the best way.
Using canned apple pie filling gives you a reliable base that already has the fruit cooked down, which means the crisp only needs enough time to brown the topping and marry the flavors. A little cinnamon, nutmeg, allspice, and lemon juice keep the filling from tasting flat or overly sweet. The lemon doesn’t make it tart; it wakes up the apples and helps the canned filling taste more homemade.
The topping is where the texture lives. Cold butter cut into the oats, flour, and sugar gives you those chunky crumbles that stay crisp instead of turning sandy. Below, you’ll find the small tricks that keep the topping crunchy, plus a few swaps if you need this to fit what you have on hand.
The topping stayed crunchy even after the ice cream melted a little, and the canned filling tasted way better once I added the lemon juice and extra cinnamon. My husband went back for a second bowl before I’d even finished mine.
Save this apple crisp with canned filling for the nights when you want bubbling fruit and a crunchy oat topping without peeling a single apple.
The Trick to Keeping Canned Apple Filling From Tasting Flat
Canned filling already brings the soft apple base, but it usually needs a little help if you want the dessert to taste layered instead of one-note. The cinnamon, nutmeg, and allspice sharpen the warm spice notes that can get muted in the can, and the lemon juice cuts through the sweetness just enough to keep each bite lively. That tiny bit of acid matters more here than in a pie made from fresh apples, because the filling has already been fully cooked down.
The other thing that helps is leaving the filling alone once it hits the dish. If you stir too aggressively after adding the spices, it starts breaking down into a jammy layer that can steam under the topping. Spread it evenly and let the oven do the rest.
- Apple pie filling — This is the shortcut that makes the recipe work. Choose a brand with visible apple slices, not a filling that looks mostly syrupy, because the fruit pieces hold their shape better under the crumble.
- Lemon juice — A tablespoon is enough to brighten the canned filling without making it taste citrusy. If your filling already tastes tart, cut it back to 2 teaspoons.
- Rolled oats — Old-fashioned oats give the topping chew and structure. Quick oats can work in a pinch, but the crumble will be finer and less nubby.
- Cold butter — Cold butter is what creates those crisp, sandy-to-clumpy bits on top. If it softens before it hits the oven, the topping turns dense instead of crumbly.
What Each Ingredient Is Actually Doing in This Recipe
- Primary ingredient (the star) — Quality matters most. Choose the best you can find.
- Cooking medium (oil, butter, or broth) — This carries flavors and prevents dryness.
- Seasonings (salt, pepper, spices, herbs) — Layer flavors so nothing overpowers. Build depth gradually.
- Aromatics (garlic, onion, herbs) — Cook with fat to bloom flavors. Become the foundation.
- Supporting ingredients — Complement the main ingredient without overpowering it.
- Sauce or liquid (if applicable) — Brings flavors together. Balance richness with acid.
- Acid (lemon, vinegar, wine, or other) — Brightens and prevents flat-tasting results.
- Final finish (garnish, glaze, or sauce) — Prevents one-dimensional taste and adds visual appeal.
Building the Crumble So It Stays Crisp on Top
Season the Filling First
Stir the spices and lemon juice into the canned filling before it goes into the baking dish. That gives the apples a chance to taste seasoned all the way through instead of only on the surface. The filling should look glossy and smell warm, not sharp or raw.
Cut in the Butter Until You See Pebbles
Work the cold butter into the oats, flour, sugar, cinnamon, and salt until the mixture looks like uneven pebbles with some larger clumps mixed in. Those clumps bake into the best crunchy bits. If you keep mixing until it looks uniform, the topping will bake up more like pastry than crisp.
Bake Until the Edges Bubble
The crisp is done when the topping is deeply golden and the fruit filling is bubbling at the edges of the dish. That bubbling matters more than the clock, because it tells you the filling has heated through and the sugar has thickened enough to settle properly. Pull it early and the center can taste loose and wet.
Let It Set Before Serving
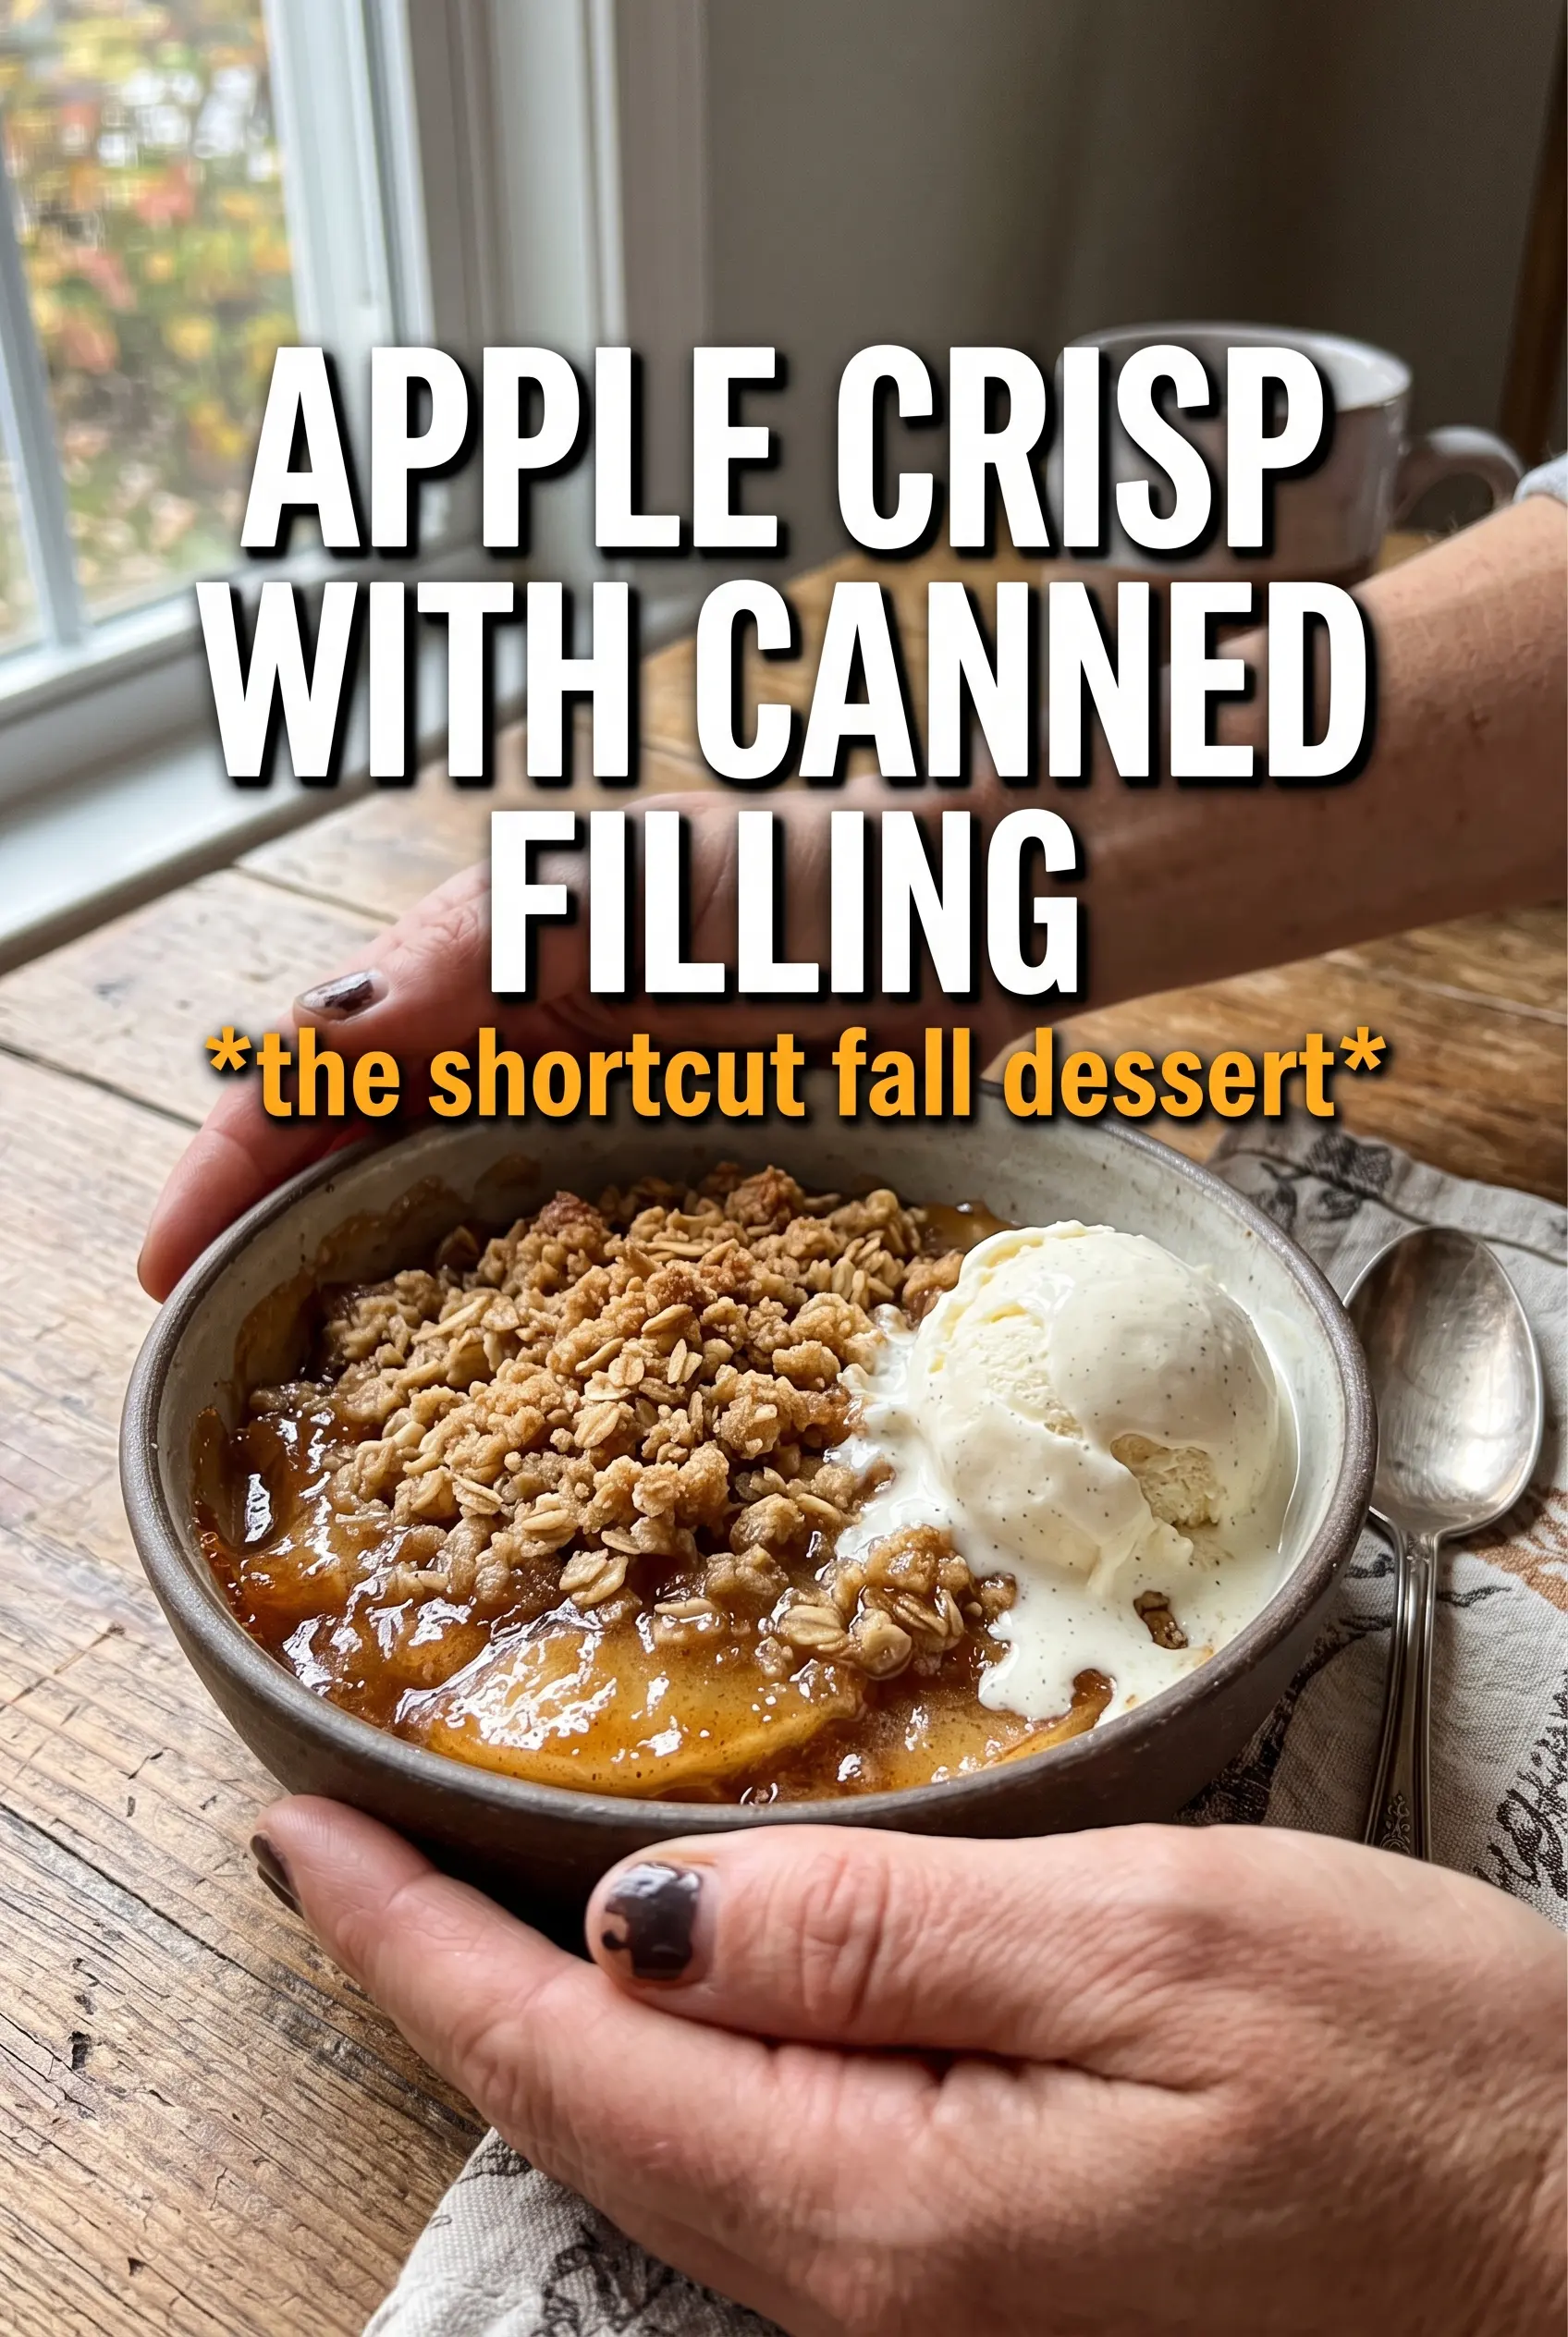
A five-minute rest keeps the filling from running across the plate the second you scoop it. The topping stays crisp, and the fruit layer thickens just enough to hold together under a spoon. Serve it warm with vanilla ice cream while the top is still crackling a little.
Three Ways to Make This Crisp Fit What You Have
Dairy-Free Version
Use cold plant-based butter sticks that are meant for baking. They won’t taste exactly the same as dairy butter, but they still give you good crumble and browning if they stay cold. Watch the color closely near the end, because some dairy-free butters brown faster.
Gluten-Free Crisp
Swap the all-purpose flour for a 1:1 gluten-free baking blend. The topping stays sturdy, though it may bake a little more delicate, so let it cool for the full five minutes before serving. Rolled oats need to be certified gluten-free if that matters for your kitchen.
Less Sweet, More Apple Forward
If your canned filling runs very sweet, cut the brown sugar in the topping down to 1/2 cup. You’ll lose a little caramel depth, but the apples taste clearer and the dessert lands less sugary, which works well with vanilla ice cream.
Make-Ahead and Reheating
- Refrigerator: Store covered for up to 4 days. The topping softens a little, but the flavor stays good.
- Freezer: Freeze the baked crisp for up to 2 months, tightly wrapped. Thaw in the fridge before reheating so the center doesn’t stay icy.
- Reheating: Warm in a 325F oven until the filling is hot and the topping crisps back up, about 15 to 20 minutes for a full pan or 10 minutes for portions. The microwave will heat the filling, but it turns the crumble soft.
Answers to the Questions Worth Asking
Apple Crisp With Canned Apple Filling
Ingredients
Equipment
Method
- Preheat the oven to 375°F and grease a 9x13 baking dish. Set aside while you mix the filling.
- Stir the cinnamon, nutmeg, allspice, and lemon juice into the canned apple pie filling to brighten and season it, then spread it evenly in the prepared dish.
- Combine the rolled oats, all-purpose flour, brown sugar, cinnamon, and salt. Cut in the cold cubed butter until chunky clumps form.
- Scatter the oat crumble generously over the apple filling, covering it as evenly as possible.
- Bake for 30–35 minutes at 375°F until the topping is golden and the filling is bubbling around the edges. If needed, rotate the pan once for even browning.
- Rest for 5 minutes before serving warm. Serve with vanilla ice cream.