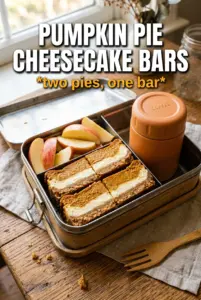
Pumpkin pie cheesecake bars give you the best part of two desserts in one pan: a crisp, buttery gingersnap crust, a creamy cheesecake layer, and that warm pumpkin spice swirl that slices clean after a good chill. The texture is what makes them worth repeating. Each bar holds its shape without feeling dense, and the spice from the crust keeps the filling from tasting flat or one-note.
The trick is treating the cheesecake base like cheesecake, not pie filling. Room-temperature cream cheese beats smooth long before the eggs go in, and that matters because lumps don’t disappear later. Dividing the batter before adding pumpkin also keeps the swirl distinct instead of turning the whole pan into one uniform orange layer. The sour cream gives the filling a little tang and helps it stay plush after chilling, which is exactly what you want here.
Below, I’ve included the one step that keeps the bars from cracking, plus a few swaps that still work if you don’t have gingersnap crumbs on hand. The little details matter with bars like these, especially when you want neat squares that look as good as they taste.
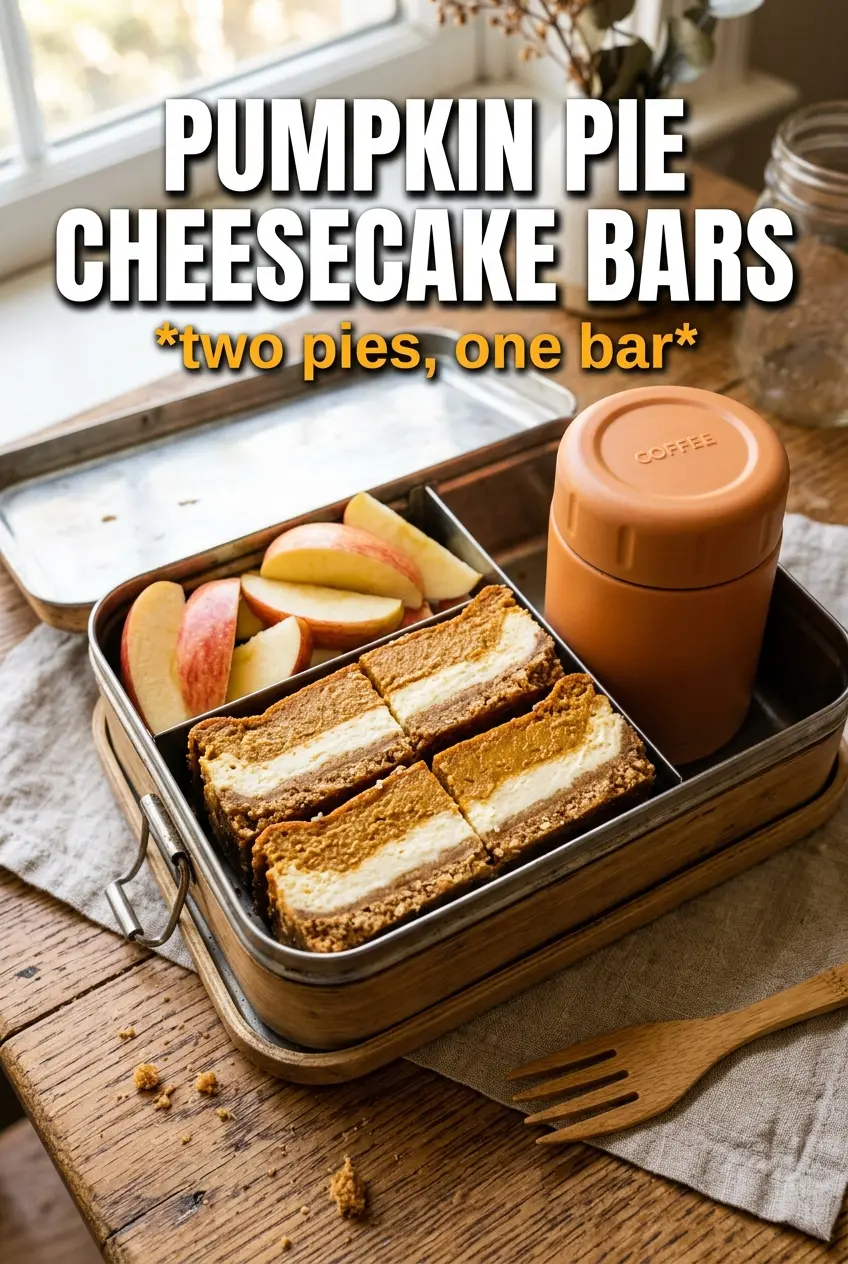
The crust stayed crisp under the cheesecake layer, and the pumpkin swirl baked up creamy without getting watery. I chilled it overnight and the bars cut into clean squares with no mess at all.
These pumpkin pie cheesecake bars are the kind you want to chill fully, slice neatly, and serve with a little whipped cream on top.
The Reason the Swirl Stays Distinct Instead of Turning Muddy
The biggest mistake with swirl bars is overmixing after the pumpkin goes in. Once the batter turns into one uniform color, you’ve lost the contrast that makes these bars taste like both cheesecake and pumpkin pie at the same time. Dividing the base first gives you control, and alternating spoonfuls over the crust helps the layers settle in a way that still looks marbled after baking.
The other thing that matters is doneness. These bars should look just set at the edges with a slight wobble in the center when they come out of the oven. If you wait until the middle looks firm, they’ll end up dry after chilling. Cheesecake always firms up in the fridge, so the oven job is to stop early, not chase a perfectly solid center.
What Each Ingredient Is Actually Doing in This Dish
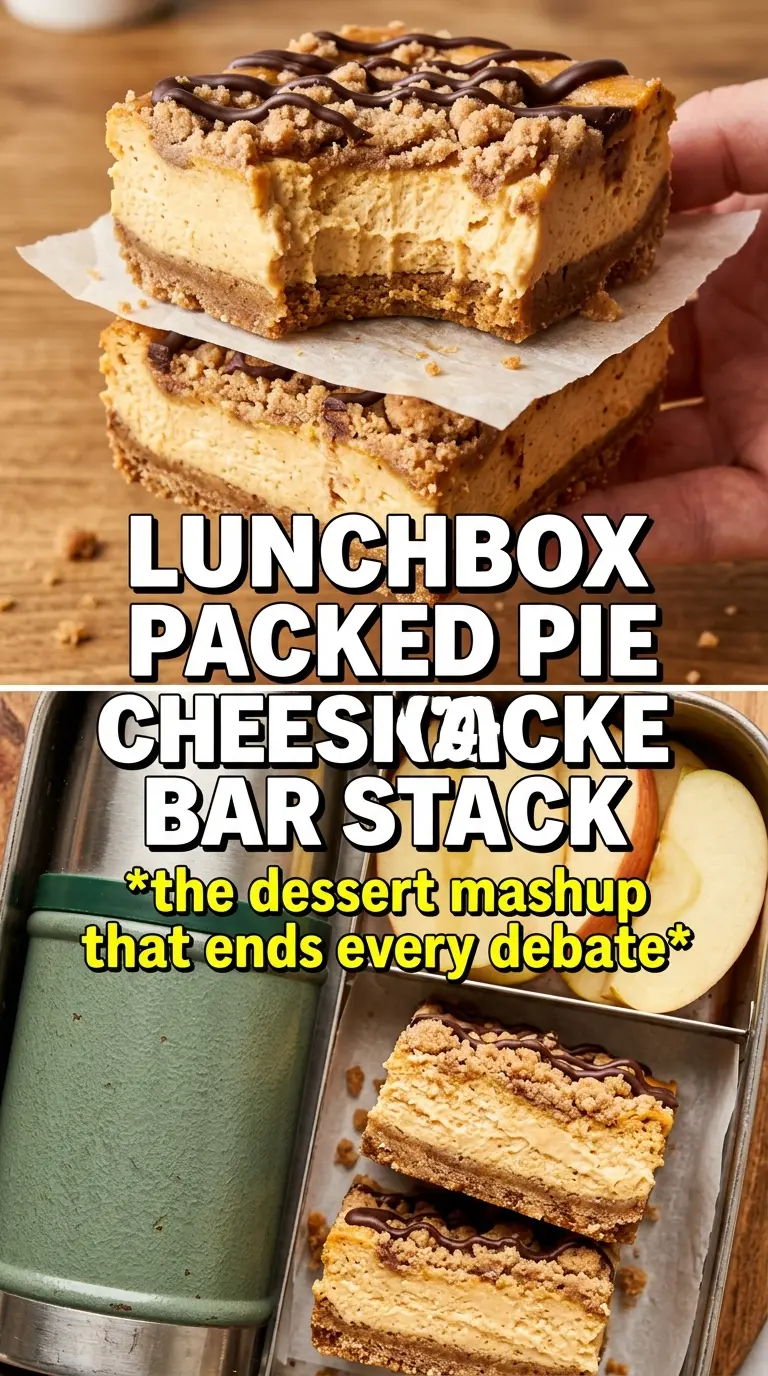
- Gingersnap crumbs — These bring spice and a firmer, snappier crust than graham crackers. They also stand up better under the creamy filling. If you need a swap, graham crackers work, but add an extra pinch of cinnamon so the crust doesn’t taste bland next to the pumpkin layer.
- Cream cheese — This is the structure of the bars. Use full-fat blocks, not tub-style spread, or the filling can turn loose and grainy. Let it soften fully before mixing so it beats smooth without needing excess mixing later.
- Sour cream — This keeps the filling rich but not heavy and adds the slight tang that makes cheesecake taste like cheesecake. Plain Greek yogurt can work in a pinch, though the result will be a little sharper and not quite as silky.
- Pumpkin puree — Use pure pumpkin, not pumpkin pie filling. Pie filling already has sugar and spices added, which throws off the balance and can make the bars too loose. If your puree looks watery, blot it briefly with paper towels first.
- Pumpkin pie spice and cinnamon — The spice blend gives the pumpkin half its familiar pie character, while the extra cinnamon nudges the filling forward without making it taste like candle wax. If your pumpkin pie spice is old and dull, the bars will taste flat, so use fresh spice if you can.
The Pan, the Batter, and the Bake That Set These Bars Up
Building the Crust First
Mix the gingersnap crumbs, sugar, and melted butter until every crumb looks evenly moistened, then press the mixture firmly into a lined 9×13 pan. A loose crust falls apart when you slice it, so use the bottom of a measuring cup to pack it into an even layer. Bake it for 10 minutes so it sets before the filling goes on; that short bake keeps the base crisp instead of soggy.
Mixing the Filling Without Adding Air
Beat the cream cheese with both sugars until it looks smooth and glossy, then add the eggs one at a time. Overbeating after the eggs go in traps too much air, and that’s what leads to puffing and cracks later. Stir in the sour cream and vanilla just until combined, then split the batter in half before you add the pumpkin and spices to one portion.
Swirling and Baking to the Right Set
Drop alternating spoonfuls of plain and pumpkin batter over the crust, then drag a knife through the top in broad, shallow sweeps. Don’t over-swirl or the colors will disappear. Bake at 325°F until the edges are set and the center still has a slight wobble when you nudge the pan, then cool it on the counter before chilling for at least 4 hours. That chill is what turns a soft cheesecake pan into clean-cut bars.
What to Change When You Don’t Have Gingersnap Crumbs
Graham Cracker Crust Instead of Gingersnap
Use the same amount of crumbs, sugar, and butter, but add a bit more cinnamon or pumpkin pie spice to keep the crust from tasting plain. You’ll lose some of the warm spice and crunch, but the bars will still slice well and taste balanced.
Dairy-Free Version
Use dairy-free cream cheese and a thick unsweetened coconut or soy yogurt in place of the sour cream. The texture will be a little softer, but it still sets well if you chill it fully. Choose a dairy-free butter that bakes firmly for the crust, not a soft spread.
Make Them Cleaner to Slice
Line the pan with parchment that overhangs on two sides so you can lift the whole slab out before cutting. Chill overnight if you want bakery-style squares. Warm knives drag through the filling, so wipe the blade clean between cuts for sharp edges.
Storage and Reheating
- Refrigerator: Store covered for up to 5 days. The crust stays best in the first 2 days, but the bars still taste great after that.
- Freezer: These freeze well. Wrap individual bars tightly and freeze for up to 2 months, then thaw in the fridge so the filling doesn’t weep.
- Reheating: Don’t reheat these bars. Serve them chilled for the cleanest texture and best slices; warming softens the filling and makes the crust lose its bite.
Answers to the Questions Worth Asking
Pumpkin Pie Cheesecake Bars
Ingredients
Equipment
Method
- Preheat oven to 325F. Press gingersnap crumbs, sugar, and melted butter into a lined 9x13 pan, then bake for 10 minutes.
- Cool the crust slightly on the counter. Keep it in the pan so you can pour the cheesecake filling right on top.
- Beat cream cheese with granulated sugar and brown sugar until smooth. Add eggs one at a time, mixing well after each.
- Stir in sour cream and vanilla, then divide the batter in half. Set one half aside for the pumpkin swirl.
- Stir pumpkin puree, pumpkin pie spice, and cinnamon into one half of the batter. Keep mixing until the pumpkin portion is evenly colored.
- Alternately pour both batters over the crust. Swirl the two batters together with a knife in gentle, marbled turns.
- Bake at 325F for 40-45 minutes until the center is just set. The edges should look set while the middle still has a slight jiggle.
- Cool completely, then refrigerate for 4 hours to firm up. Chill until fully cold for the cleanest bar slices.
- Cut into bars and top each with whipped cream. Serve chilled so the swirl holds its shape.