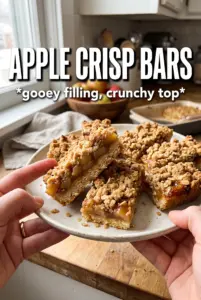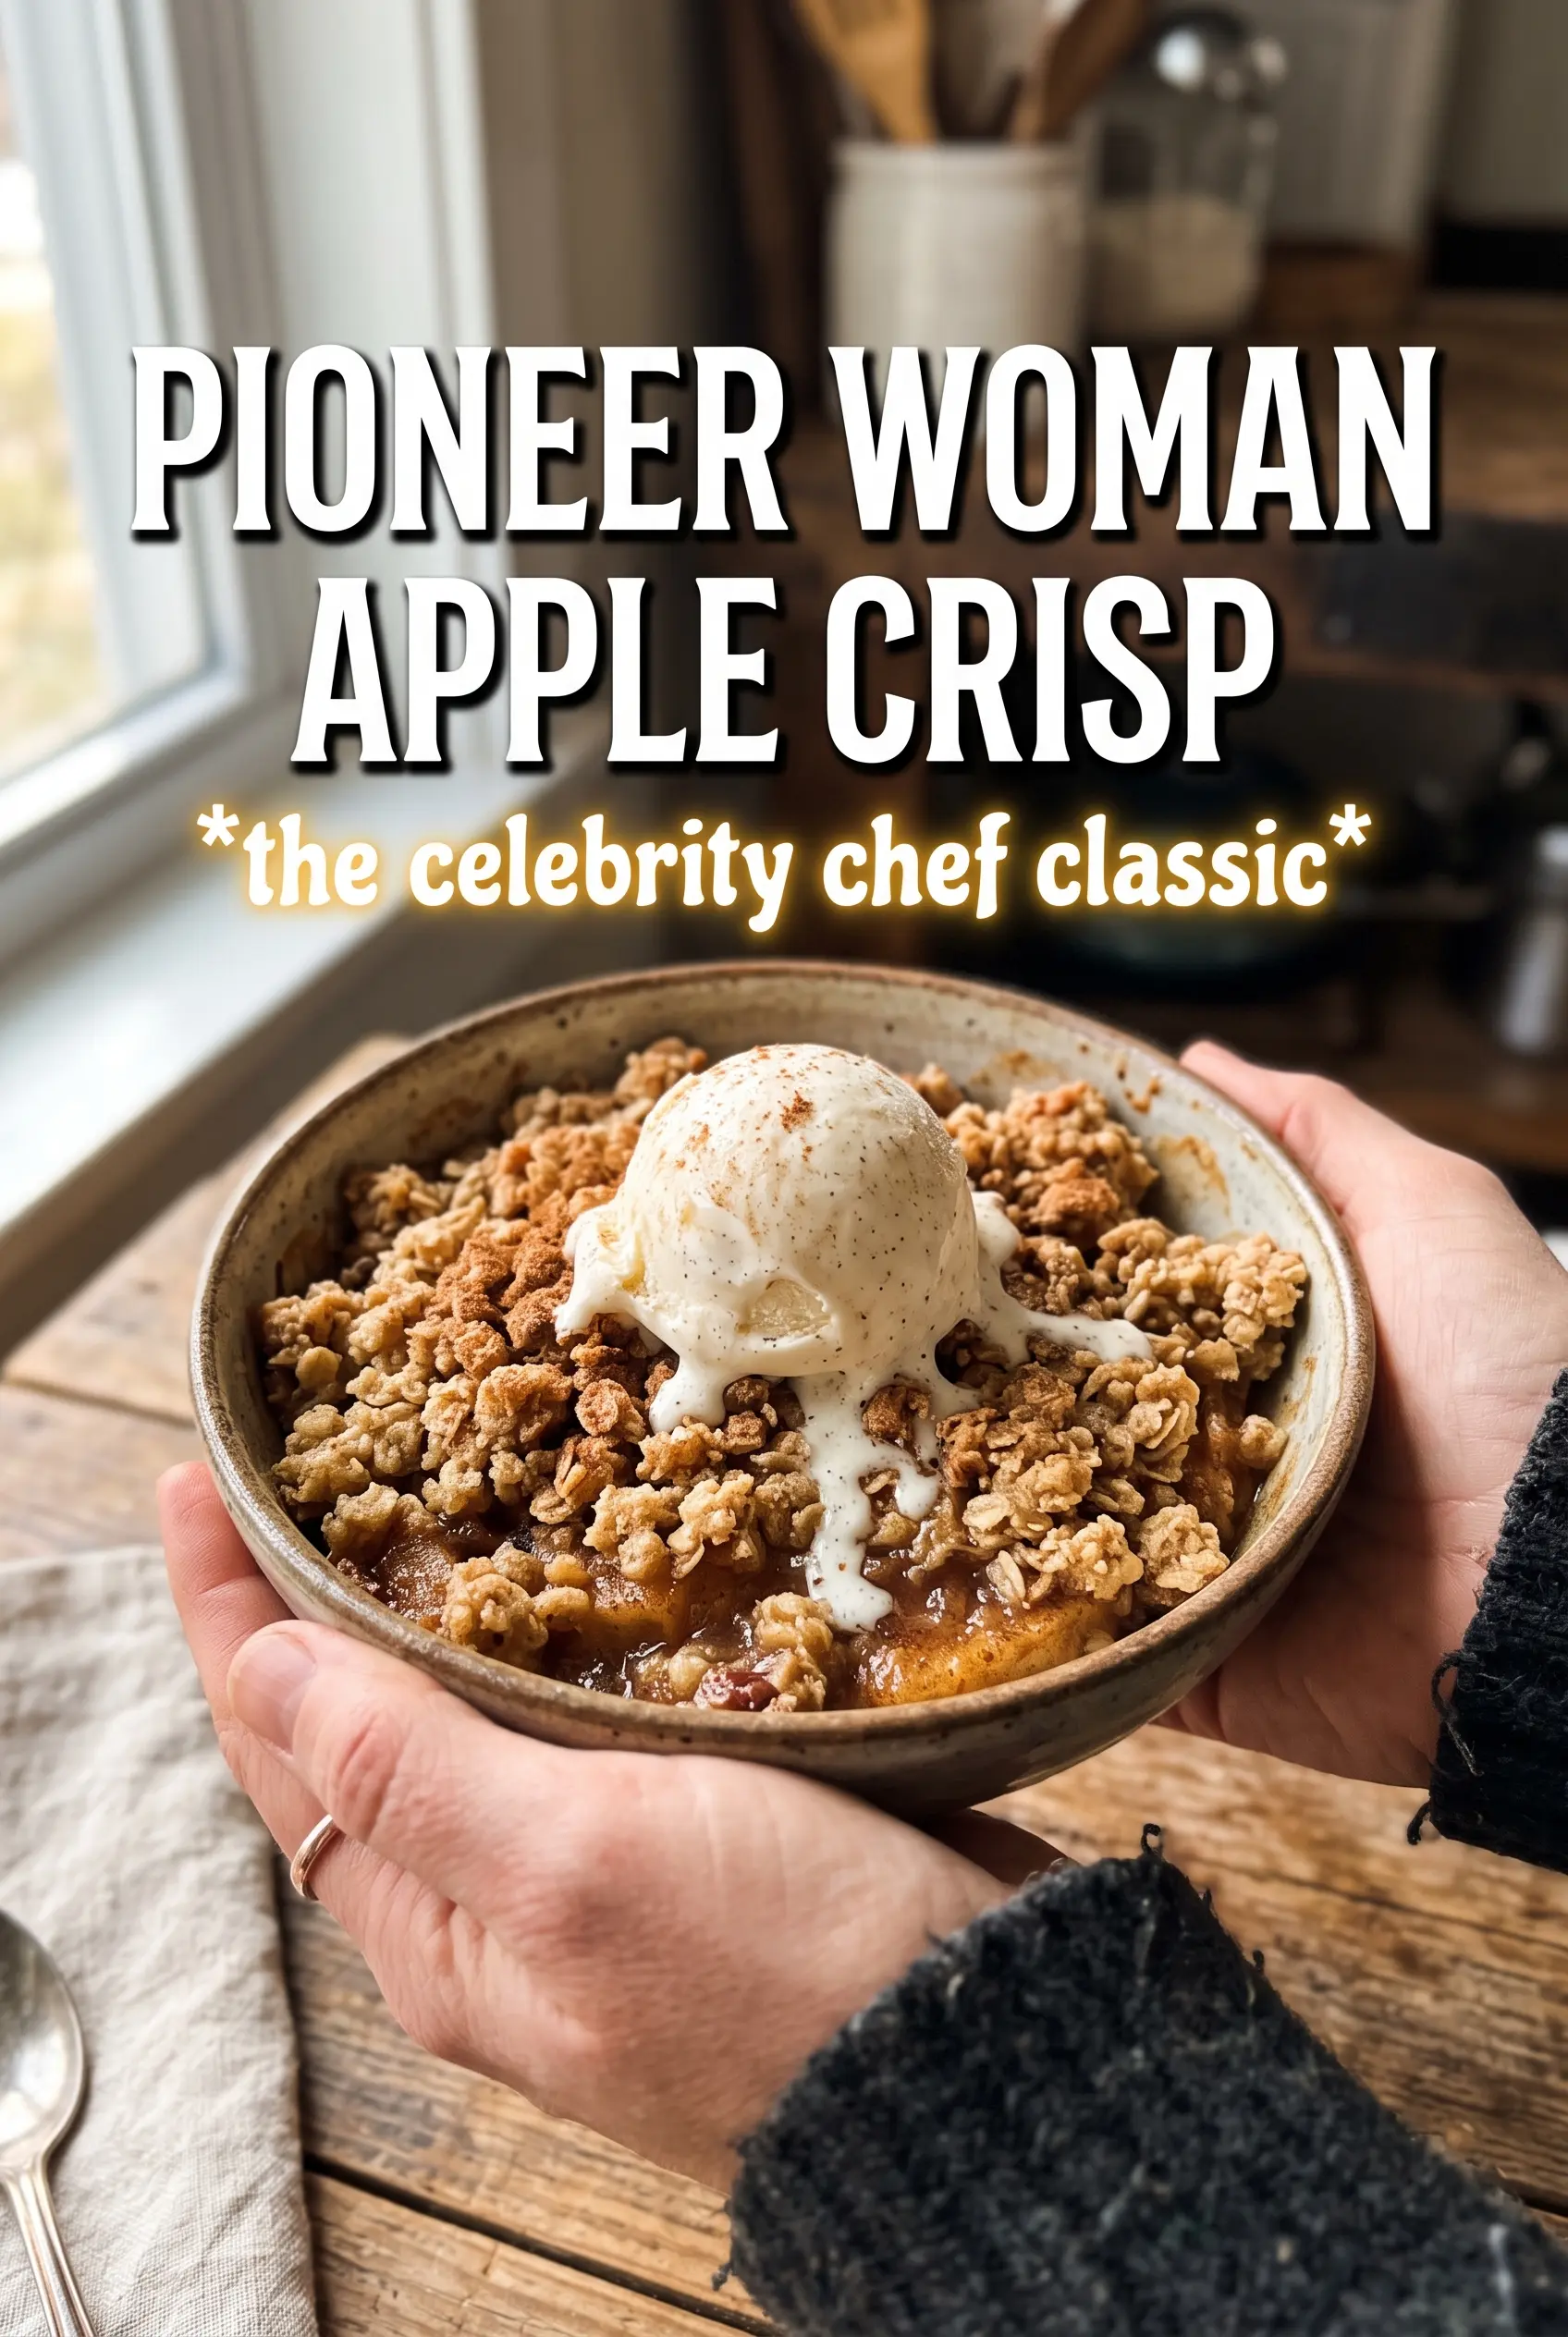
Apple crisp earns its place because it gives you the best part of pie without the fussy crust. The topping bakes into a thick layer of buttery oat crumble that stays craggy and crisp on top while the apples underneath turn soft, syrupy, and edged with cinnamon. When it comes out of the oven bubbling at the corners, it smells like a bakery dessert, but it’s built from pantry ingredients and a bowl, not a rolling pin.
This version works because the apples are lightly coated before they go into the pan, which keeps the filling from tasting flat or watery. The topping also leans on both brown sugar and granulated sugar, so you get deep caramel notes without a heavy, cakey crumble. Cold butter matters here. If it softens too much before baking, the topping melts into the apples instead of forming those big golden clumps everyone wants from a good crisp.
Below I’m walking through the one detail that keeps the topping from turning sandy, plus a few smart swaps if you need to work with what you’ve got on hand.
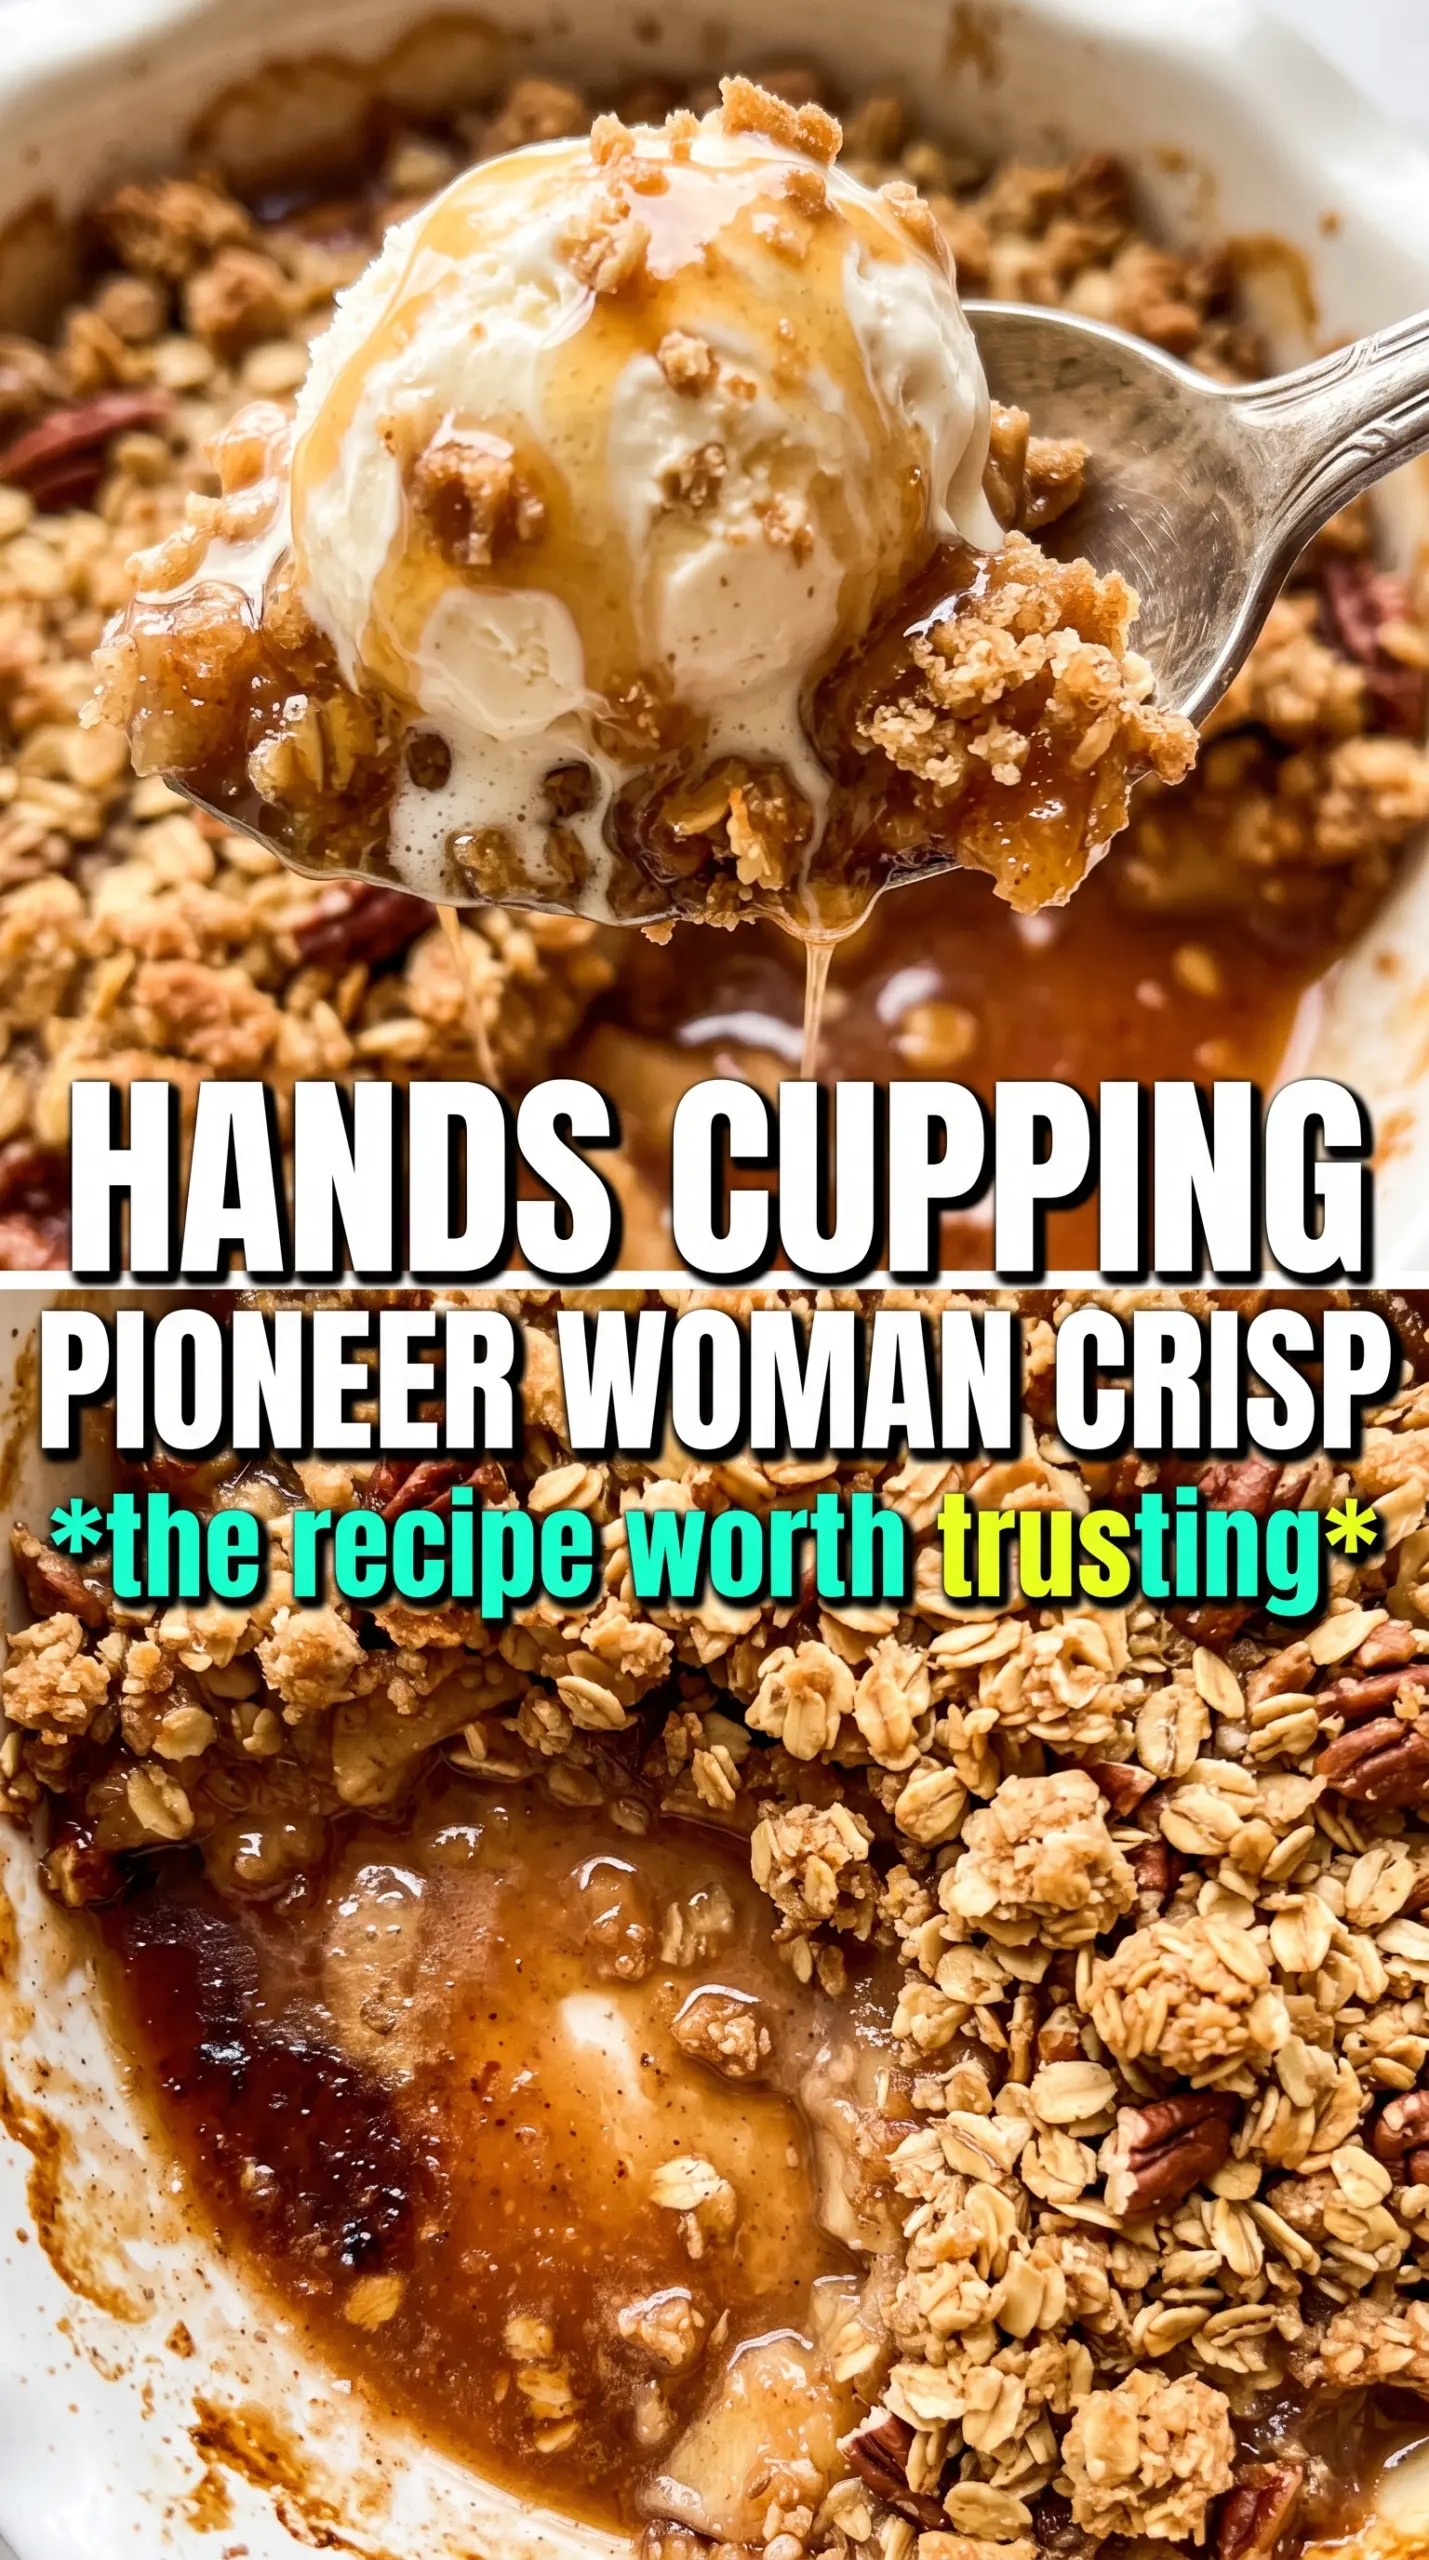
The topping baked up in big buttery clumps and the apples were tender but not mushy. I served it warm with vanilla ice cream and there wasn’t a crumb left by the end of dinner.
Love the thick oat crumble and bubbling apple filling? Save this Pioneer Woman Apple Crisp for the nights when you want a warm dessert that bakes up golden and rustic.
The Trick to Crisp Topping That Stays Clumpy Instead of Sandy
Most apple crisps go wrong in the topping. If the butter gets too soft, the flour and oats turn into a paste and bake into a dense lid instead of a rough, crunchy crust. If the butter stays in cold chunks, those bits melt in the oven and leave little pockets of steam, which is what gives you the jagged, bakery-style crumble.
The other thing that matters here is the balance of sugar and oats. Brown sugar brings depth and a little chew, while granulated sugar helps the topping bake dry enough to crisp at the edges. Baking powder sounds small, but it gives the crumb a bit of lift, so the topping doesn’t sit flat and heavy on top of the apples.
- Granny Smith apples — Their tartness keeps the dessert from turning cloying, and they hold their shape better than softer apples. If you swap them, use another firm baking apple or a mix of firm apples so the filling doesn’t collapse into applesauce.
- Rolled oats — These create the coarse, rustic texture that makes crisp feel like crisp. Quick oats will work in a pinch, but they tighten up more and give you a finer, softer topping.
- Cold butter — This is the ingredient you don’t want to rush. Cube it straight from the fridge and cut it in until the mixture looks like big, floury clumps with visible butter streaks. Those streaks are what bake into the best texture.
- Cinnamon — It shows up in both the filling and topping, so the whole dessert tastes cohesive instead of spiced only in one layer. If your cinnamon is old and dull, replace it; this recipe leans on it.
What Each Ingredient Is Actually Doing in This Recipe
- Primary ingredient (the star) — Quality matters most. Choose the best you can find.
- Cooking medium (oil, butter, or broth) — This carries flavors and prevents dryness.
- Seasonings (salt, pepper, spices, herbs) — Layer flavors so nothing overpowers. Build depth gradually.
- Aromatics (garlic, onion, herbs) — Cook with fat to bloom flavors. Become the foundation.
- Supporting ingredients — Complement the main ingredient without overpowering it.
- Sauce or liquid (if applicable) — Brings flavors together. Balance richness with acid.
- Acid (lemon, vinegar, wine, or other) — Brightens and prevents flat-tasting results.
- Final finish (garnish, glaze, or sauce) — Prevents one-dimensional taste and adds visual appeal.
Building the Layers So the Apples Stay Tender and the Top Stays Crisp
Coating the Apples First
Toss the sliced apples with sugar, flour, and cinnamon until every piece looks lightly coated. That flour helps the juices thicken in the oven, which keeps the filling from running all over the pan. If you skip it, the bottom of the crisp turns soupy before the topping has time to brown.
Making the Crumble by Hand
Mix the dry topping ingredients first, then work in the cold butter with your fingertips until you have uneven clumps ranging from pea-sized to walnut-sized. Don’t aim for a uniform sand-like texture. Those bigger butter pieces are what give the finished crisp its nubbly top instead of a flat, dry layer.
Baking Until It Bubbles at the Edges
Spread the topping evenly over the apples, then bake until the surface is deeply golden and the filling is actively bubbling around the sides of the dish. That bubbling matters more than the clock, because it tells you the apples have softened and the flour in the filling has done its job. If the top browns too quickly, lay a loose piece of foil over it for the last stretch.
Make It More Tart or More Sweet
If you like a sharper apple dessert, lean all the way into Granny Smith apples and keep the sugar amount as written. For a softer, sweeter result, swap half the apples for another firm variety like Honeycrisp or Jonagold. The texture stays good, but the flavor shifts from bright and tangy to rounder and more mellow.
Gluten-Free Version
Use a 1:1 gluten-free flour blend in both the filling and topping, and check that your oats are certified gluten-free. The texture stays close to the original, though the topping may bake a little more delicately. Let it cool for at least 20 minutes before serving so the juices set.
Dairy-Free Version
Swap the butter for a solid plant-based butter with a similar fat content. Coconut oil works, but it changes the flavor and the topping sets a little firmer. Keep it cold either way so the crumble still bakes into clumps instead of a greasy layer.
Storage and Reheating
- Refrigerator: Store covered for up to 4 days. The topping softens a little as it sits, but the flavor stays strong.
- Freezer: It freezes well after baking. Cool completely, wrap tightly, and freeze for up to 2 months. Thaw in the fridge before reheating so the center warms evenly.
- Reheating: Rewarm in a 325°F oven until the filling is hot and the top crisps back up. The microwave softens the crumble, so use it only for individual servings if texture isn’t the priority.