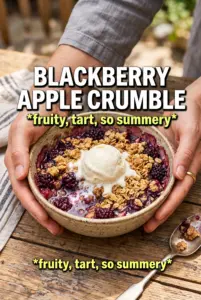
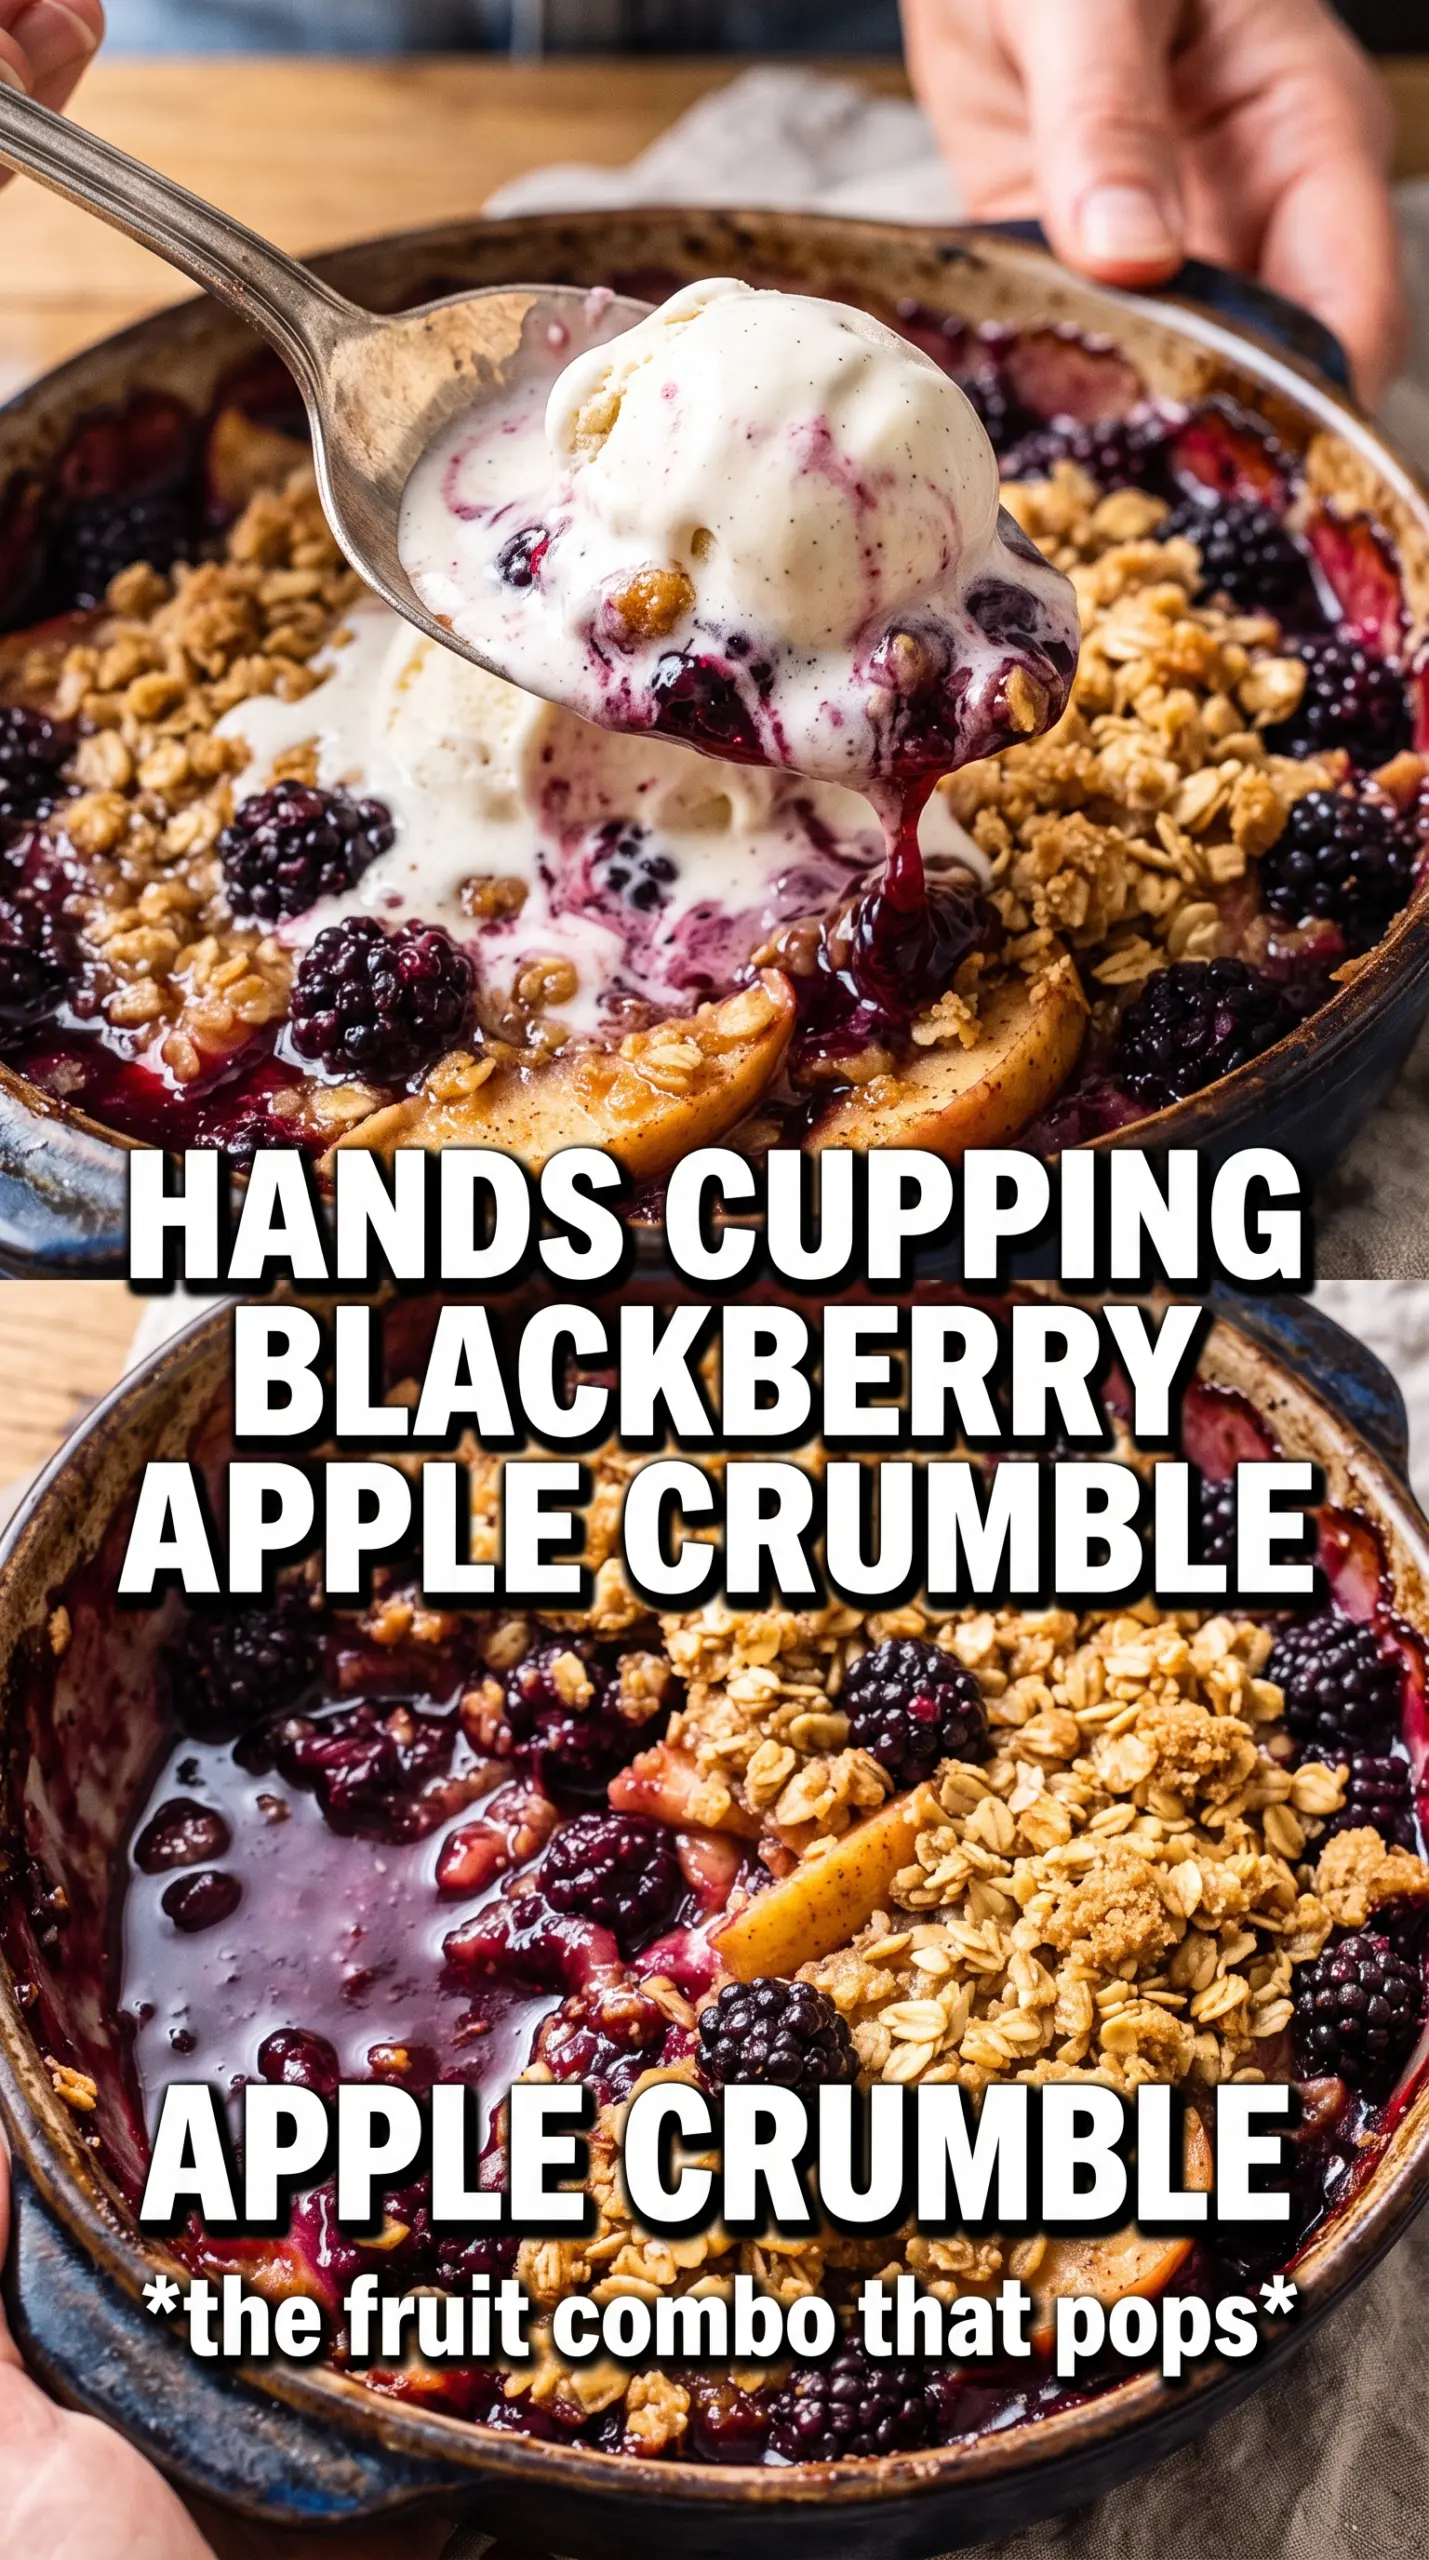
Blackberry apple crumble lands in that sweet spot between rustic and polished: soft fruit underneath, crisp oat topping on top, and a bubbling edge that tells you the filling has thickened just enough. The apples hold their shape, the blackberries break down into a jammy layer, and the topping bakes into big craggy pieces instead of turning sandy. It’s the kind of dessert that disappears fast because every spoonful gives you a little of everything.
The part that makes this version work is the balance. Apples bring structure, blackberries bring color and tartness, and a small amount of cornstarch turns the juices into a glossy sauce instead of a loose puddle. Cold butter matters here, too. Cut in properly, it creates those uneven crumbs that bake into a crisp top with some softer pockets in the middle.
Below, you’ll find the trick for keeping the filling from going watery, the ingredient swaps that actually hold up, and a few ways to adjust the crumble depending on what you’ve got in the pantry.
The topping turned out crisp and buttery, and the blackberry juices thickened around the apples instead of soaking the whole dish. I let it rest for 10 minutes like suggested and it sliced beautifully with ice cream.
Save this blackberry apple crumble for the dessert nights when you want bubbling fruit, a crisp oat topping, and zero fuss at the table.
The Reason the Fruit Stays Thick Instead of Soupy
Blackberry apple crumble goes wrong when the fruit starts leaking before the topping has time to set. Apples and blackberries release a lot of juice in the oven, and if you skip the cornstarch or cut the fruit too small, you end up with a loose filling that never really settles. The goal is a saucy layer that bubbles up around the edges, then thickens as it cools.
The other detail that matters is the fruit ratio. Apples give the crumble something sturdy to bite into, while blackberries bring the bold color and tartness that keep the dessert from tasting flat. Use a baking dish with enough surface area to let the topping crisp across the top instead of steaming in a deep mound.
- Apples — A mix of firm baking apples works best because they soften without turning to mush. If all you have are softer apples, keep the slices on the thicker side so they don’t disappear into the filling.
- Blackberries — Fresh or frozen both work. Frozen berries don’t need thawing; add them straight from the freezer so they don’t bleed too much liquid before baking.
- Cornstarch — This is what turns the fruit juices into a glossy filling. Flour can work in a pinch, but it usually looks duller and needs a little more baking time to thicken properly.
- Lemon juice — It sharpens the berries and keeps the apples tasting bright. Don’t skip it if your fruit is sweet, because the crumble topping is already doing plenty of work on the sugar side.
What Each Ingredient Is Actually Doing in This Recipe
- Primary ingredient (the star) — Quality matters most. Choose the best you can find.
- Cooking medium (oil, butter, or broth) — This carries flavors and prevents dryness.
- Seasonings (salt, pepper, spices, herbs) — Layer flavors so nothing overpowers. Build depth gradually.
- Aromatics (garlic, onion, herbs) — Cook with fat to bloom flavors. Become the foundation.
- Supporting ingredients — Complement the main ingredient without overpowering it.
- Sauce or liquid (if applicable) — Brings flavors together. Balance richness with acid.
- Acid (lemon, vinegar, wine, or other) — Brightens and prevents flat-tasting results.
- Final finish (garnish, glaze, or sauce) — Prevents one-dimensional taste and adds visual appeal.
Getting the Crumble to Bake Up Crisp, Not Sandy
Preheat the oven fully before the dish goes in. Crumble topping needs heat from the start so the butter melts in place and leaves little pockets that turn crisp. If the butter gets too soft while you’re mixing, the topping will bake into a dense layer instead of a crumbly one.
Use your fingertips or a pastry cutter to work the butter into the dry ingredients until you have uneven clumps, some the size of peas and some a little larger. Those irregular pieces are what give you the best texture. When you scatter the topping over the fruit, leave a few gaps instead of packing it down; the fruit needs room to bubble through.
Building the Fruit Layer
Toss the apples and blackberries with sugar, cornstarch, lemon juice, and cinnamon until every piece looks lightly coated. The fruit should glisten, not sit in a pool of liquid. Spread it evenly in the greased baking dish so the crumble cooks at the same rate across the pan.
Mixing the Topping
Combine the flour, oats, brown sugar, cinnamon, and salt first, then cut in the cold butter. Stop as soon as the mixture holds together in clumps when squeezed. If you keep working it past that point, the butter softens too much and the topping loses its crunch.
Baking Until the Edges Bubble
Bake until the topping is a deep golden color and the fruit juices are actively bubbling around the edges and through a few spots on top. That bubbling matters more than the clock. It tells you the cornstarch has had enough heat to thicken the filling, so don’t pull it early just because the crumble looks browned.
Letting It Set Before Serving
Give the crumble 10 minutes to rest after it comes out of the oven. The filling tightens as it cools slightly, which makes it easier to scoop and keeps it from running all over the plate. Serve it warm with double cream or vanilla ice cream while the top is still crisp.
How to Adapt This Blackberry Apple Crumble for Different Kitchens and Diets
Gluten-Free Version
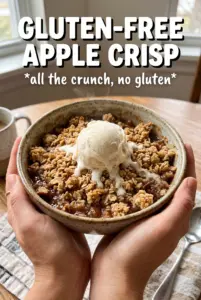
Swap the all-purpose flour for a 1:1 gluten-free baking blend and use certified gluten-free oats. The texture stays close to the original, though the topping may crumble a little more when you spoon it. If your blend is very fine, add an extra tablespoon or two of oats for more structure.
Dairy-Free Crumble
Use a firm plant-based butter that comes in sticks, not a soft spread from a tub. You want something that stays cold long enough to create those clumpy crumbs. The result is still crisp, though it usually tastes a little less rich than the butter version.
Using Different Apples
Honeycrisp, Braeburn, Granny Smith, or Pink Lady all work well here. Tart apples give the filling more contrast against the sweet topping, while sweeter apples make the dessert rounder and softer. Avoid varieties that collapse fast if you want clear apple slices in the finished crumble.
Storage and Reheating
- Refrigerator: Store covered for up to 4 days. The topping softens as it sits, but the flavor holds up well.
- Freezer: It freezes well after baking. Cool completely, wrap tightly, and freeze for up to 2 months. Thaw overnight in the fridge before reheating.
- Reheating: Warm in a 325F oven until the filling is hot and the top is crisp again. The microwave works for speed, but it softens the crumble and takes away the texture that makes this dessert worth baking.
Answers to the Questions Worth Asking
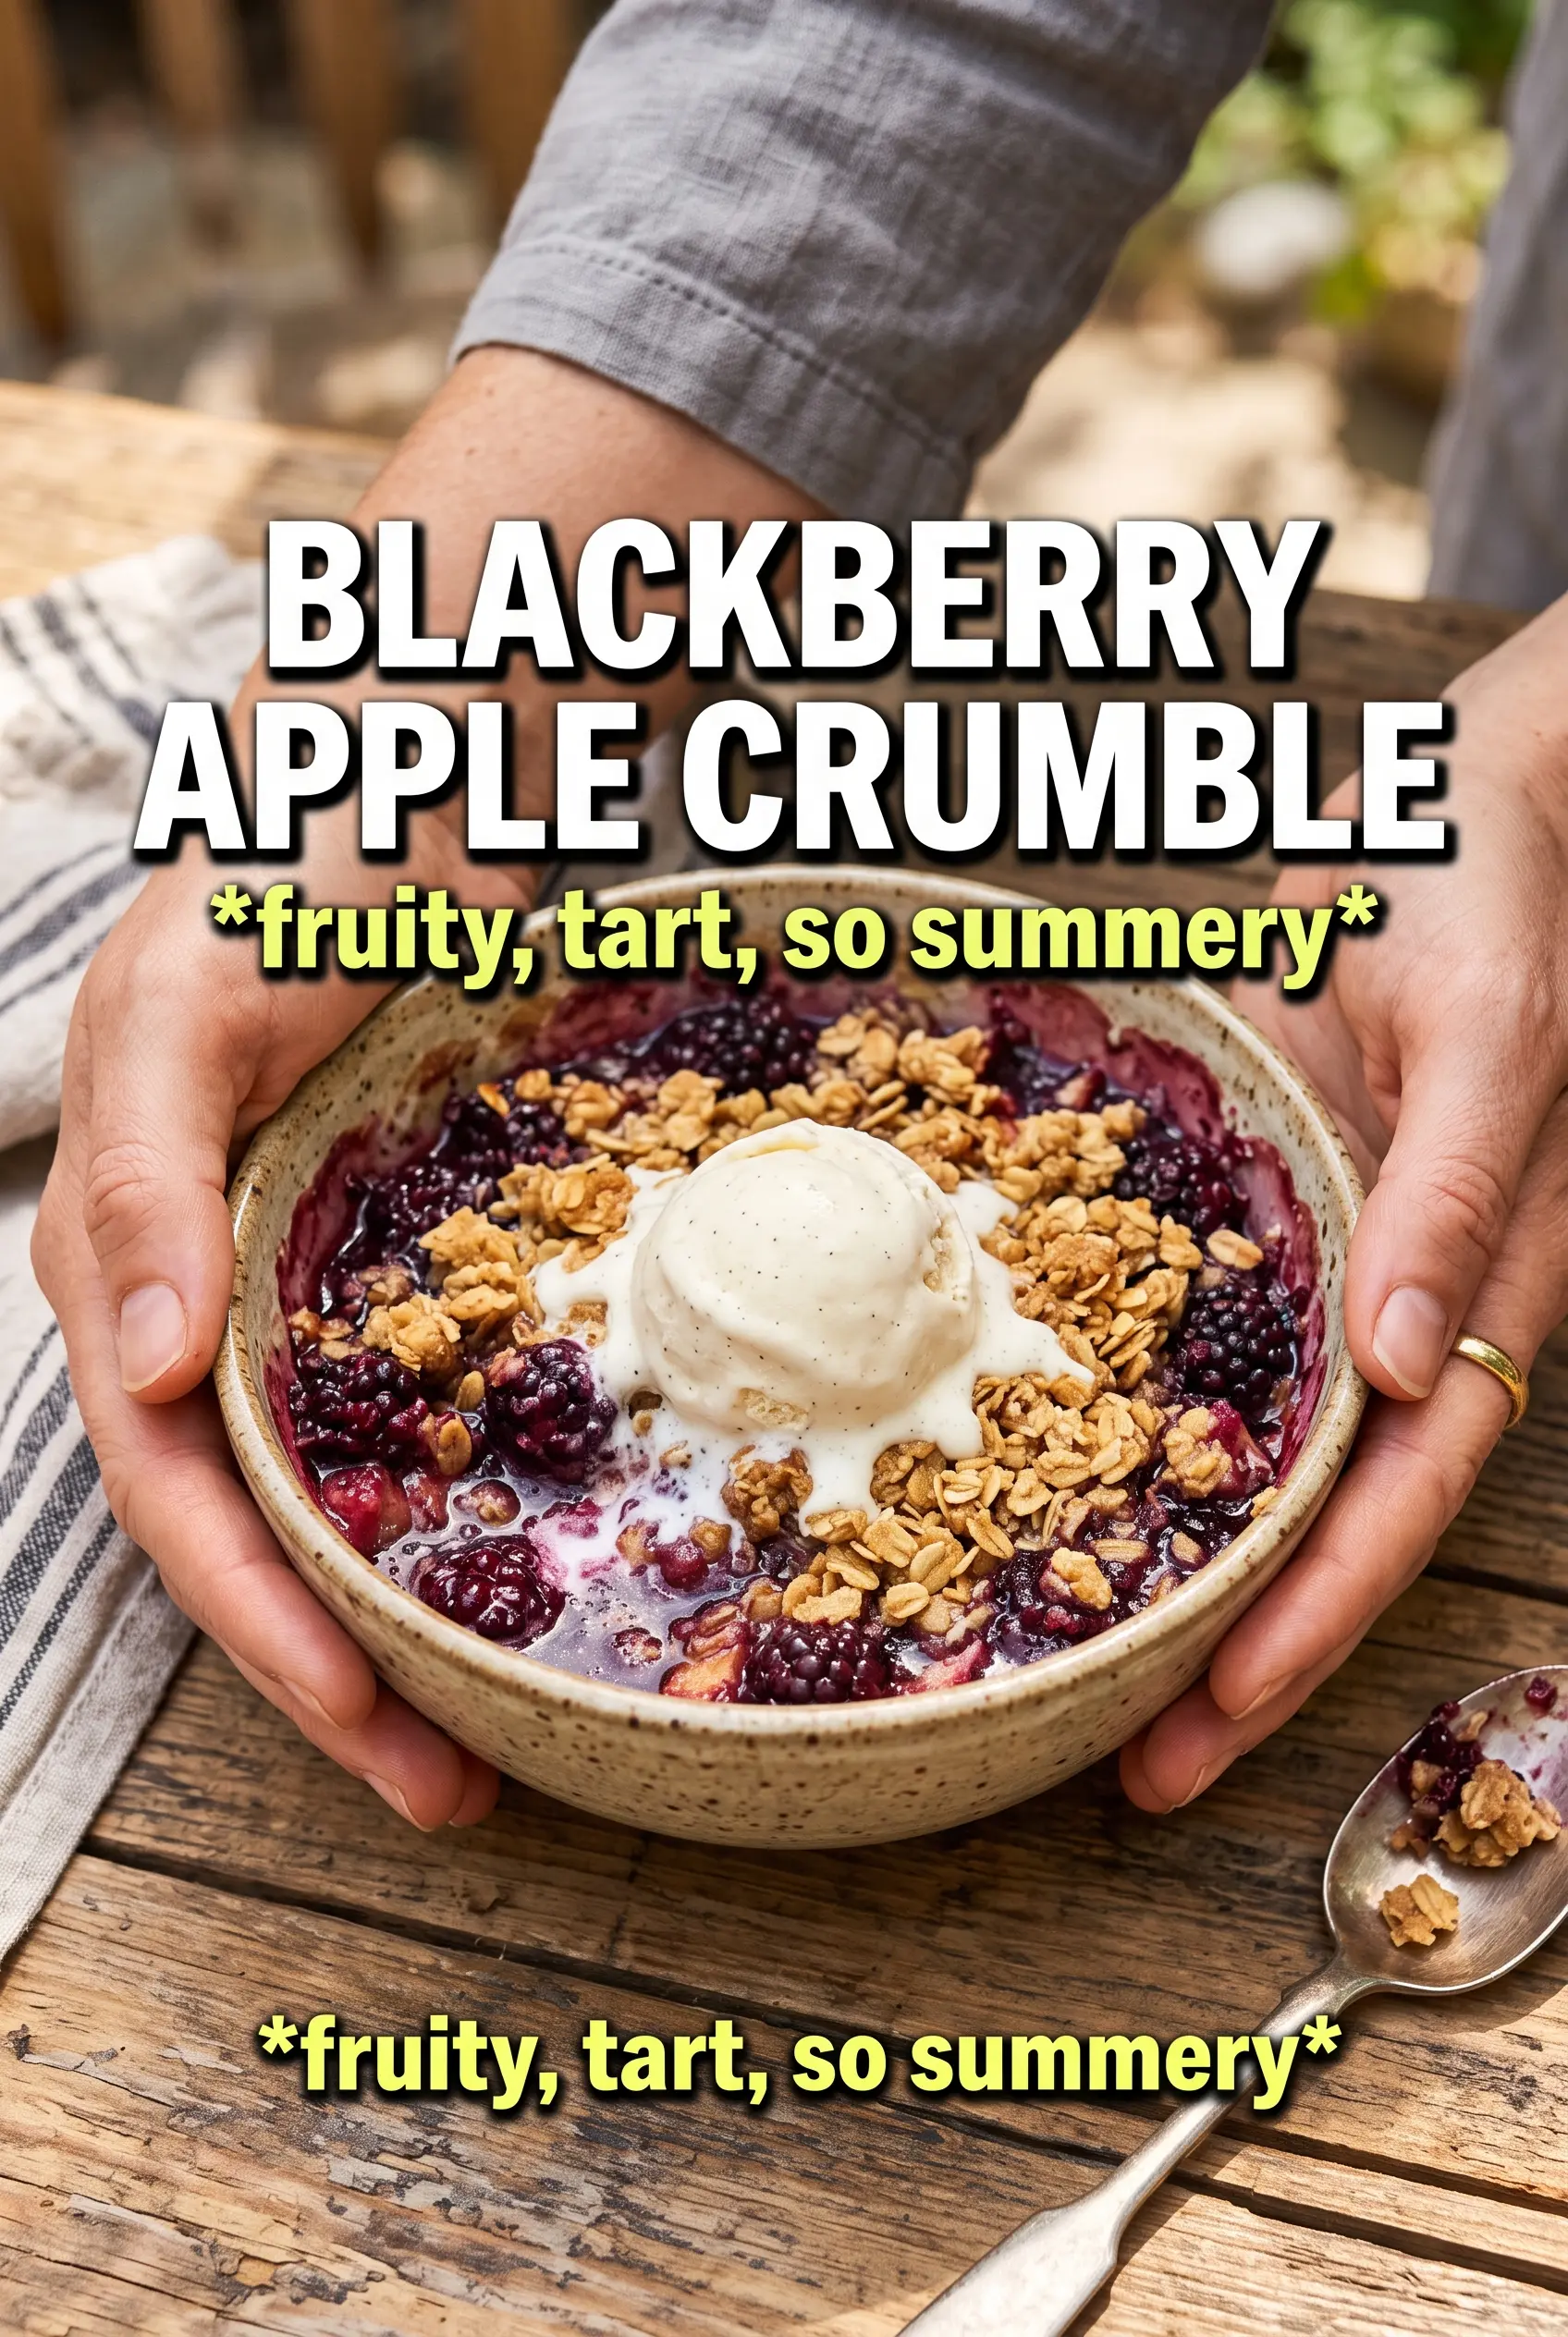
Blackberry Apple Crumble
Ingredients
Equipment
Method
- Preheat the oven to 375F and grease a 9x13 baking dish.
- Toss the apple slices and blackberries with granulated sugar, cornstarch, lemon juice, and cinnamon, then spread them evenly in the dish.
- Combine the flour, rolled oats, brown sugar, cinnamon, and salt, then cut in the cold butter until the mixture looks clumpy.
- Scatter the crumble topping over the fruit so it’s evenly covered.
- Bake for 35-40 minutes at 375F until the topping is golden and the fruit is bubbling at the edges.
- Rest the crumble for 10 minutes so the filling sets slightly, then serve with double cream or vanilla ice cream.