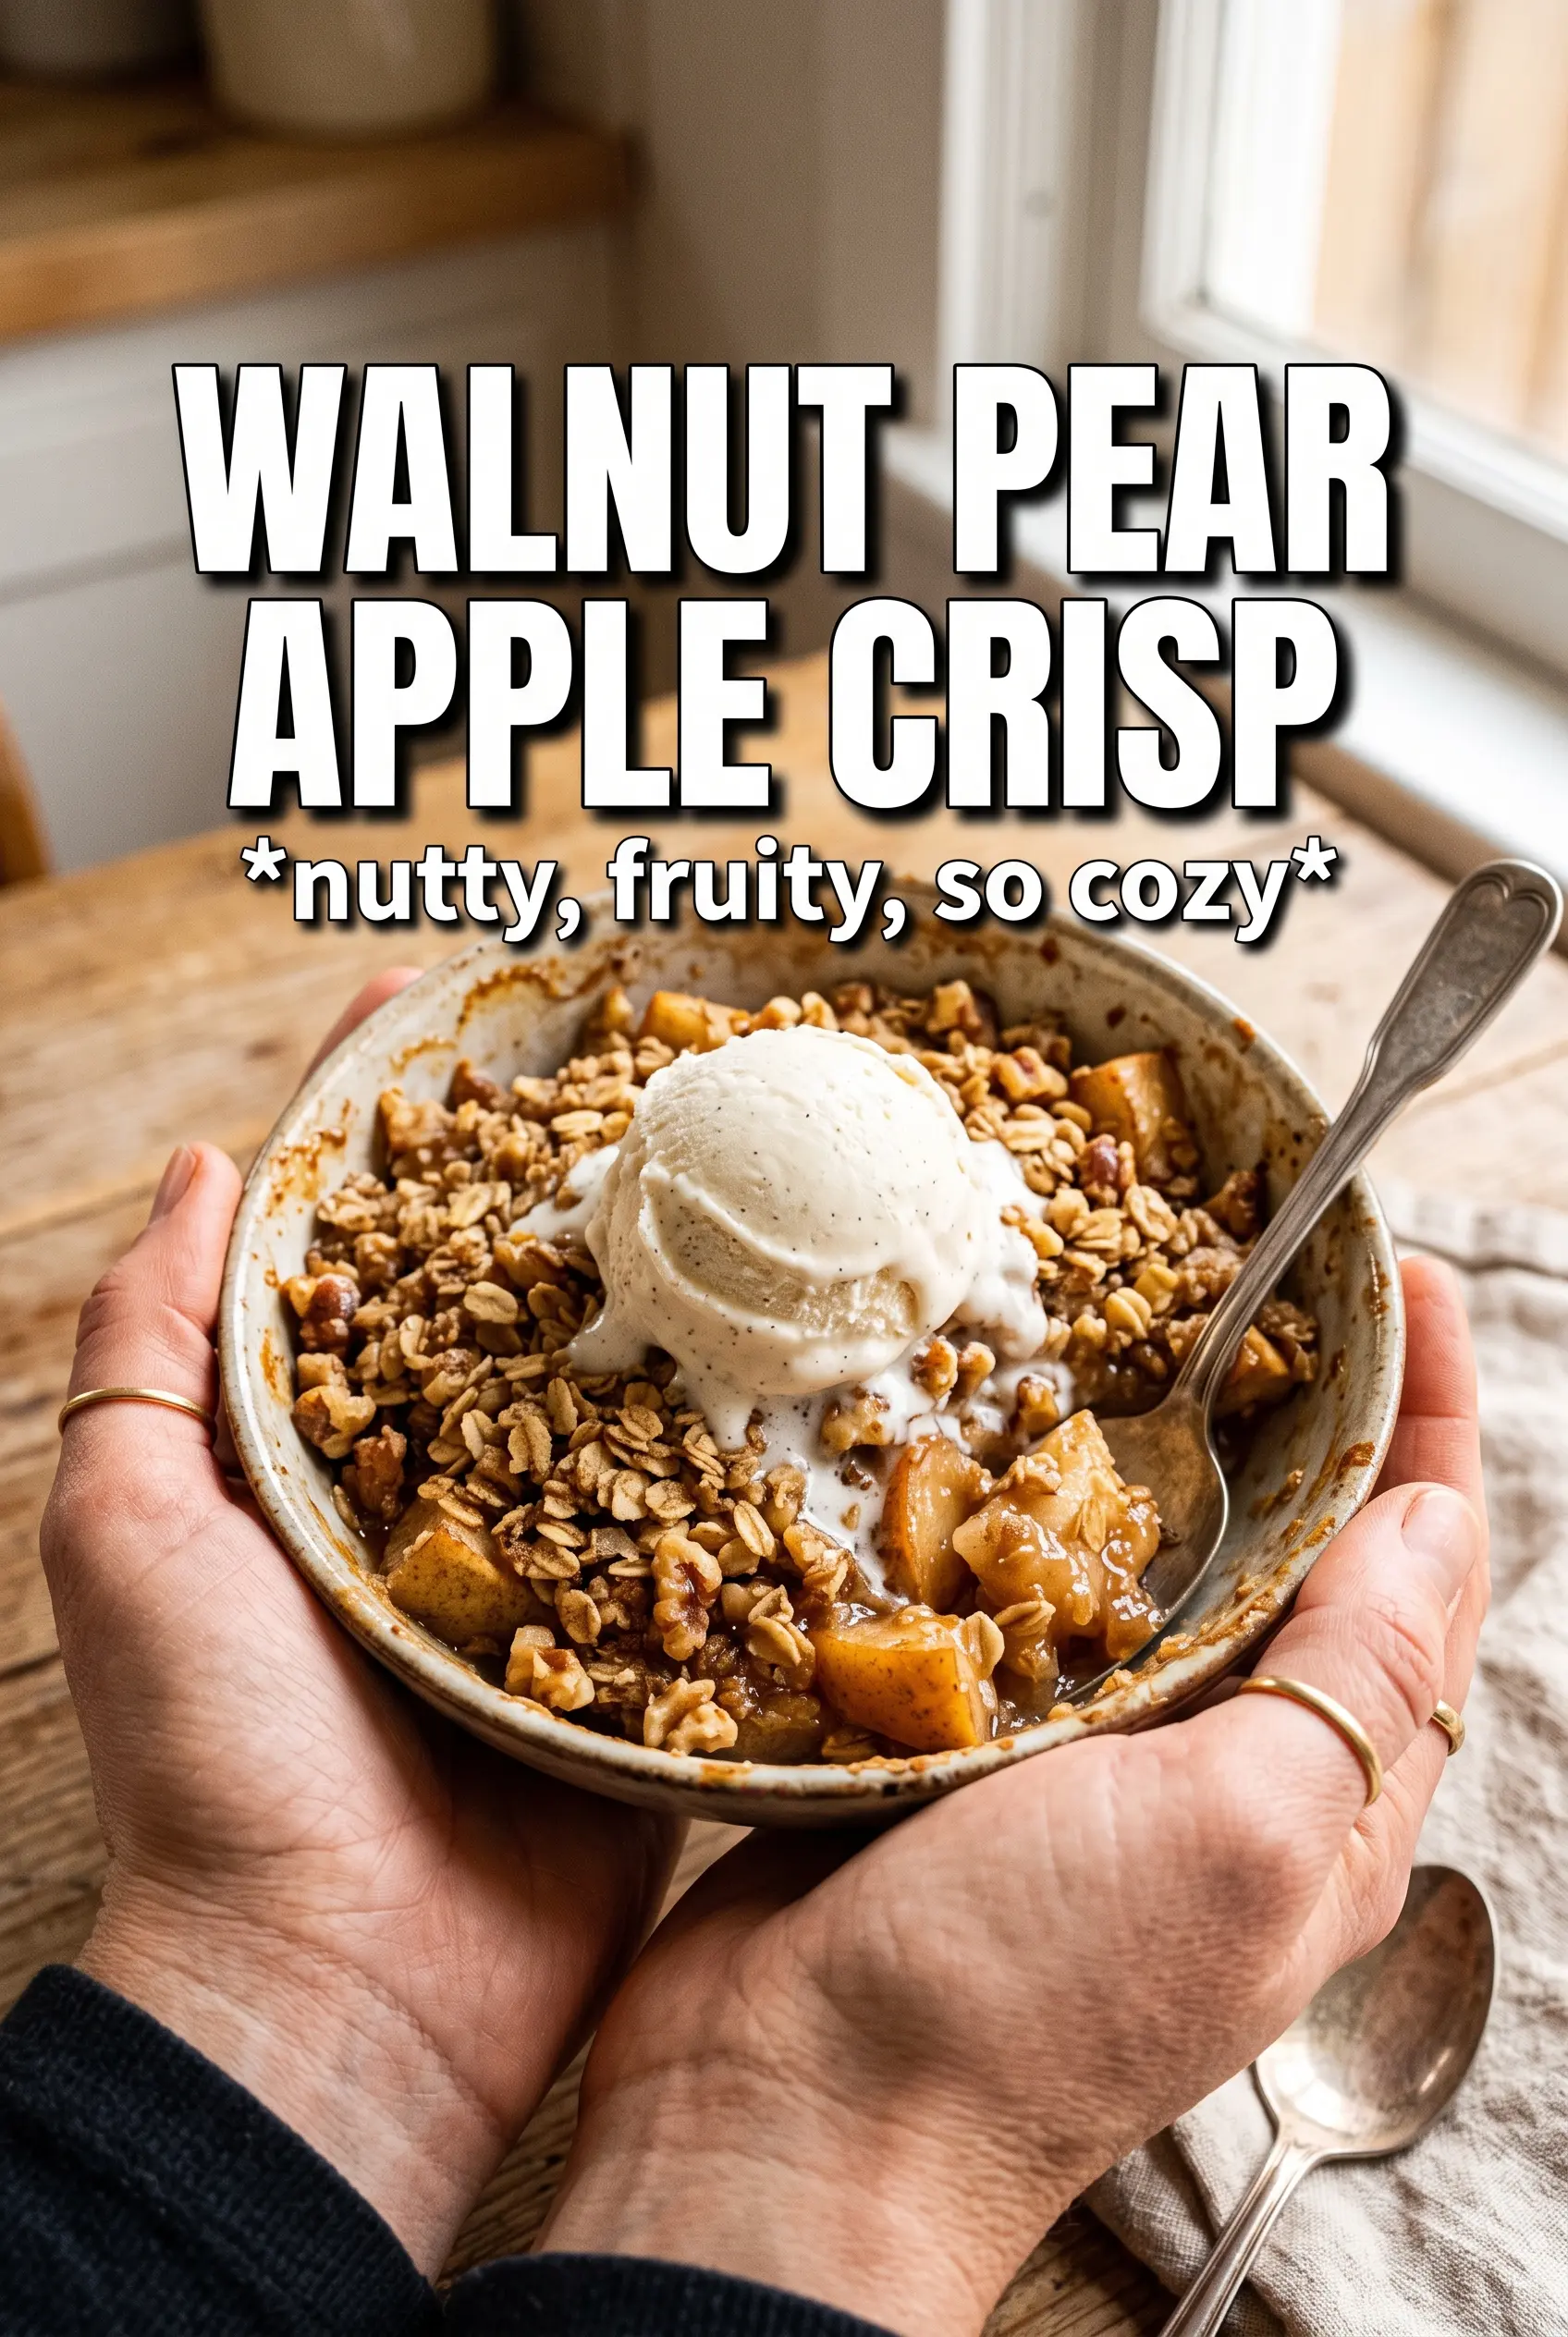
Walnut pear apple crisp lands in the bowl with that rare combination of bubbling fruit and a topping that stays crumbly instead of turning soft. The pears melt into the apples, the cinnamon and ginger keep the filling from tasting flat, and the walnuts bring a toasted, almost buttery bite that makes each spoonful feel finished. It’s the kind of dessert that disappears fast because it tastes old-fashioned in the best possible way, with just enough texture to keep every bite interesting.
The trick here is balance. Apples bring structure, pears bring juiciness, and the mix of brown sugar, cornstarch, and lemon juice keeps the filling sweet but not syrupy. For the topping, cold butter is nonnegotiable; if it softens too much before baking, you lose those chunky crumbles and end up with a dense layer instead of a crisp one. The walnuts also matter more than people expect, since they toast right on top and give the whole dessert a deeper, richer flavor.
Below, I’ll show you how to keep the fruit tender without turning it mushy, which apples hold up best, and how to adapt this crisp if you want to swap the nuts or make it a little more pantry-friendly.
The topping stayed crisp even after sitting for a bit, and the pears baked down into the apples so the filling was sweet but not mushy. I used extra walnuts because I love the crunch and it came out perfect.
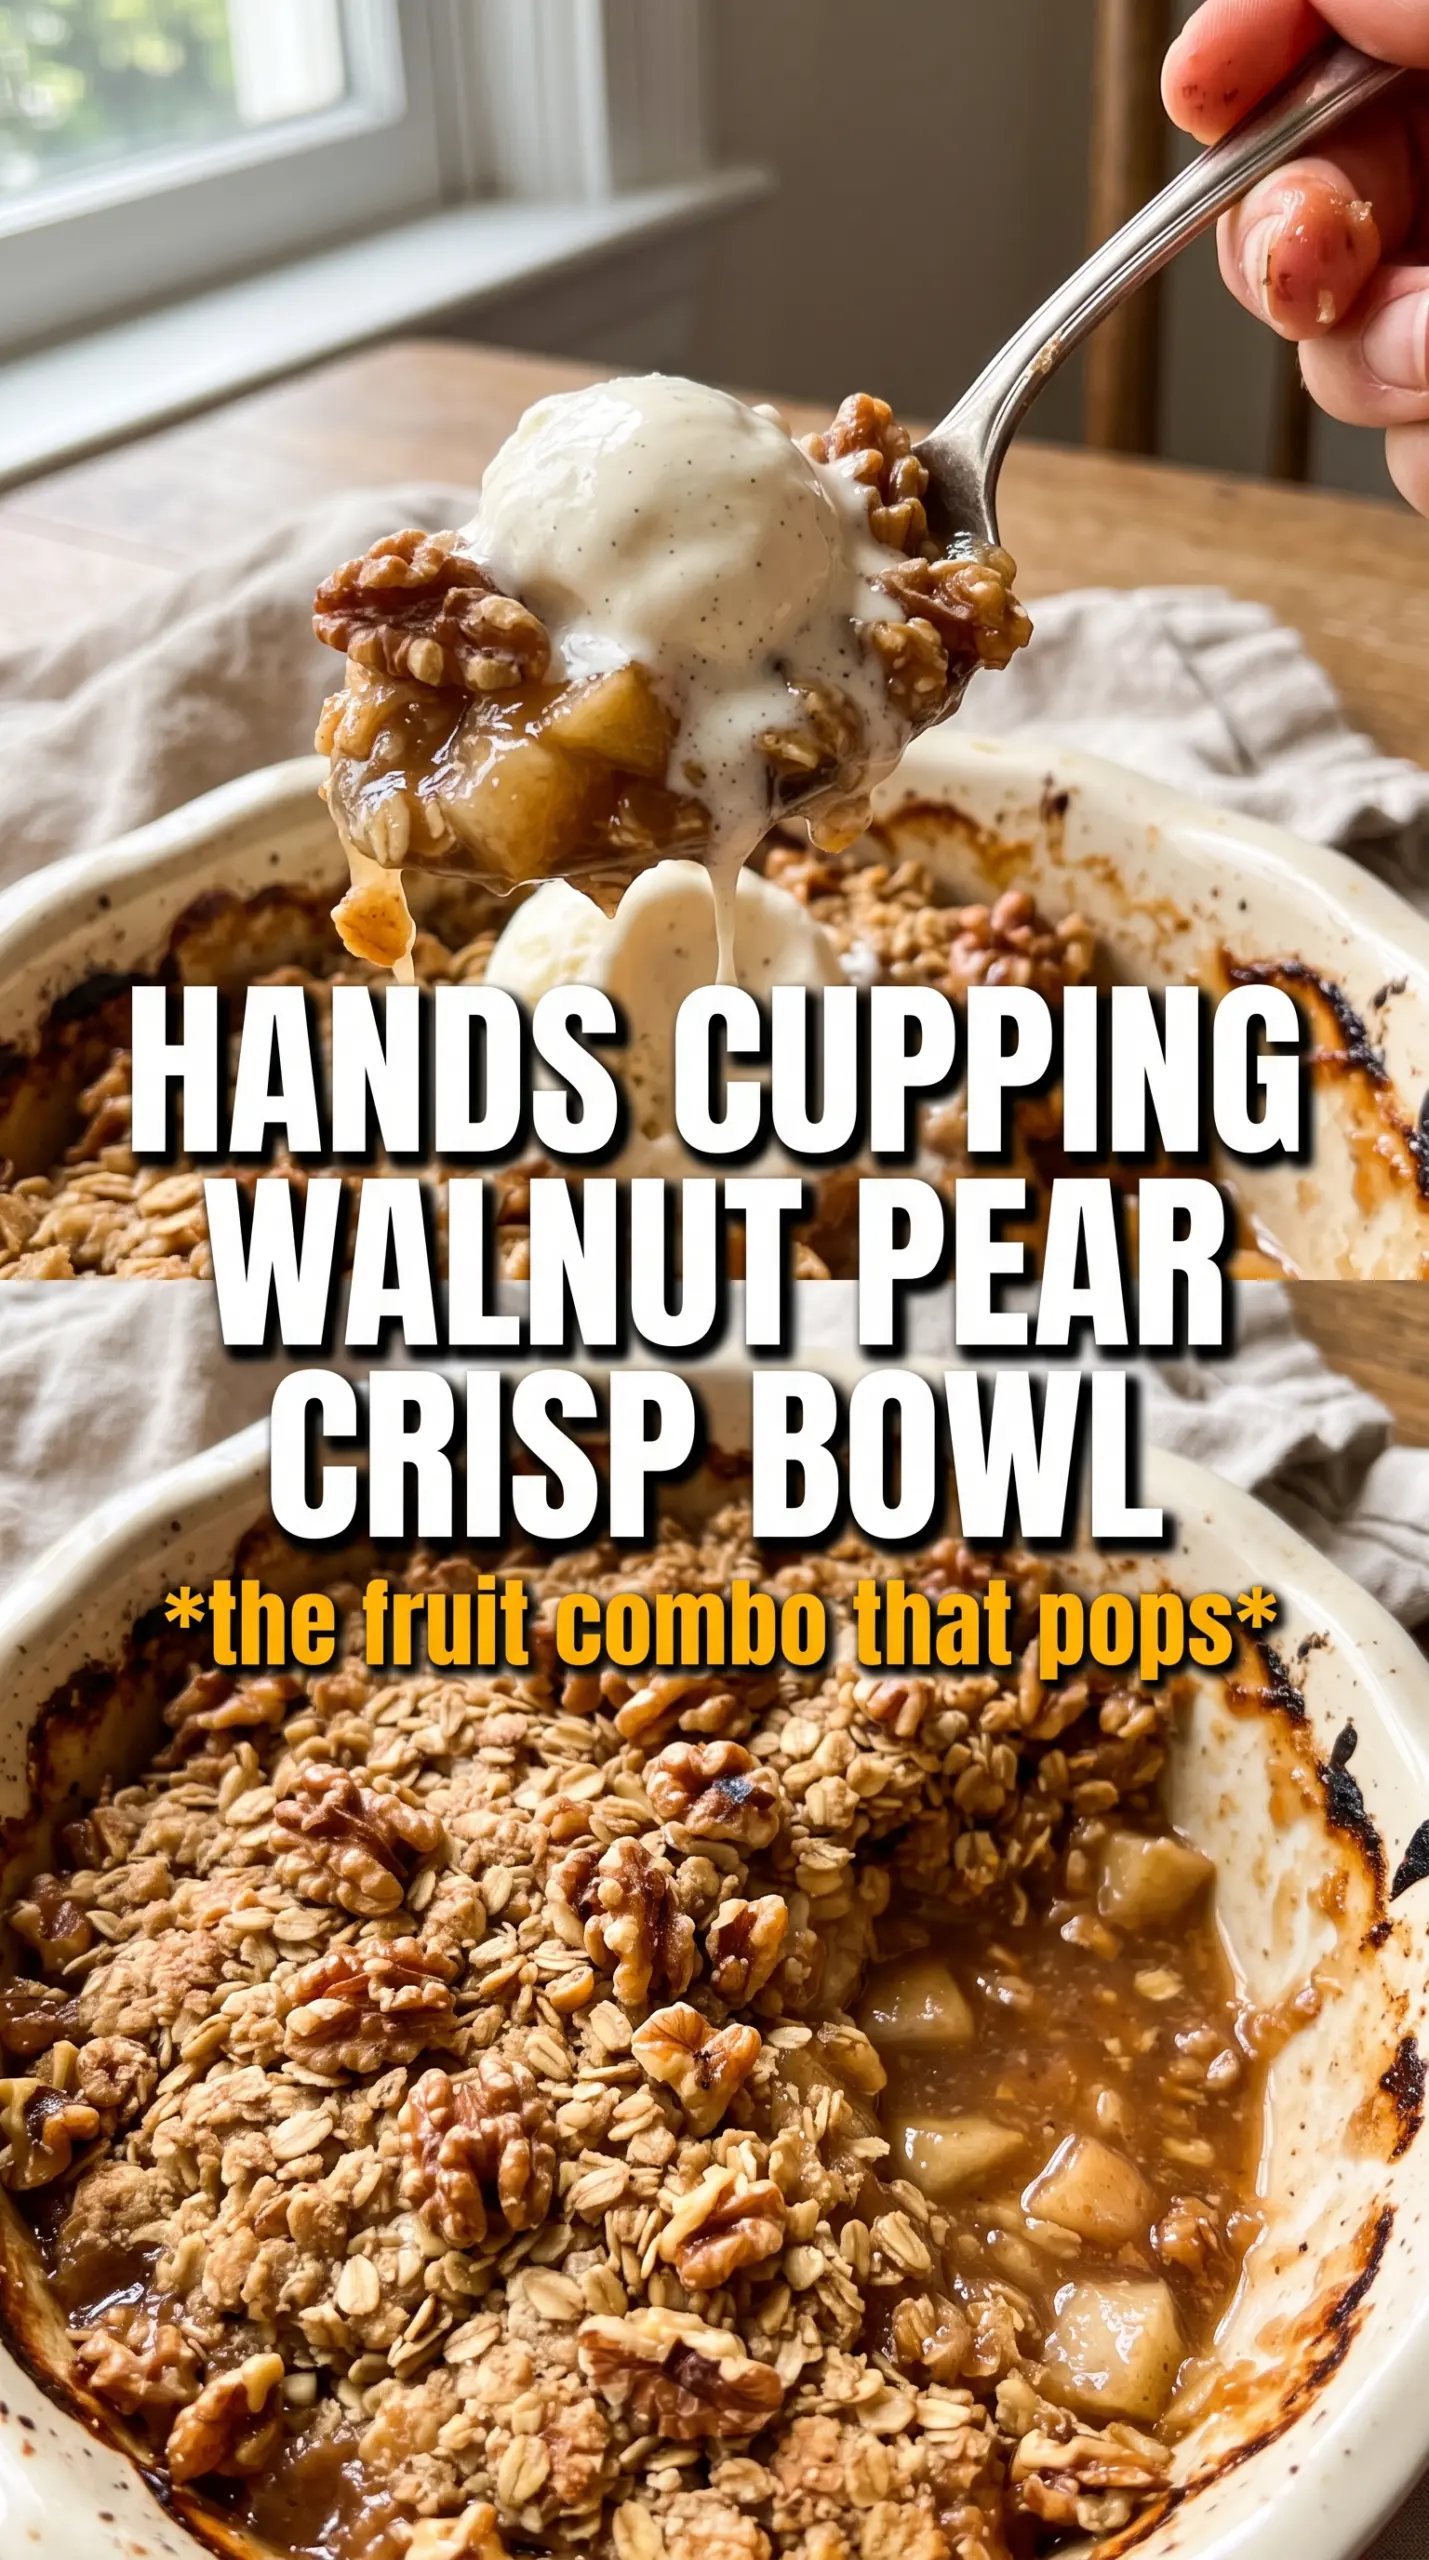
Love the golden walnut crumble and bubbling pear-apple filling? Save this crisp for the next time you want a cozy dessert with real texture.
The Secret to Keeping the Filling Thick Instead of Soupy
The filling looks simple, but crisp fillings go wrong in a very specific way: the fruit releases juice faster than the starch can catch it. Pears are especially juicy, and if you slice them too thin, they collapse before the apples have a chance to hold their shape. That’s why this version leans on cornstarch and a short rest after baking. The starch thickens the juices as the crisp bakes, then finishes setting as the dessert cools.
The other thing that matters is the sugar balance. Pears taste sweeter than apples, so the mix of white sugar and brown sugar keeps the filling bright without making it cloying. Lemon juice is there for more than flavor. It keeps the fruit tasting fresh and helps the filling stay lifted instead of dull and heavy.
What Each Ingredient Is Actually Doing in This Crisp
- Apples — These give the crisp structure. Use a firm baking apple like Honeycrisp, Braeburn, or Granny Smith if you want slices that hold up instead of turning to applesauce.
- Pears — Pick ripe pears that still feel slightly firm near the stem. If they’re too soft, they disappear into the filling; if they’re underripe, they stay grainy.
- Cornstarch — This is what turns the fruit juices into a glossy filling instead of a puddle. Flour can work in a pinch, but it won’t set as cleanly and the filling will look cloudier.
- Walnuts — They add crunch and a toasty flavor that sits nicely against the sweet fruit. Chop them coarsely so you still get little pockets of nutty bite in the topping.
- Cold butter — This is what creates the crumbly texture. If the butter warms up too much before baking, the topping bakes up sandy instead of forming crisp, craggy clusters.
- Rolled oats — These give the topping its sturdy, rustic texture. Quick oats can work, but they’ll make the topping denser and less chunky.
Building the Crumble So It Stays Crisp
Start with the fruit in the dish
Toss the sliced apples and pears with both sugars, cinnamon, ginger, cornstarch, and lemon juice until every slice looks lightly coated. Spread them in an even layer in the baking dish so the fruit cooks at the same pace. If the fruit is piled too high in the center, the top can brown before the middle starts bubbling.
Cut the butter in until the topping clumps
Mix the oats, flour, brown sugar, cinnamon, salt, and walnuts first, then work in the cold butter until the mixture looks like chunky wet sand with some larger clumps. Those bigger clumps are what you want. If everything turns into a uniform paste, the topping bakes up hard instead of crisp.
Bake until the fruit is visibly bubbling
Scatter the crumble over the fruit and bake until the top is deeply golden and the filling is bubbling up around the edges and through the center, about 40 to 45 minutes. The bubbling matters more than the clock, because it tells you the cornstarch has cooked through. Pull it too early and the juices stay thin.
Let it sit before serving
Give the crisp about 10 minutes to rest after it comes out of the oven. That short pause lets the filling thicken just enough so it scoops cleanly instead of running across the plate. It also keeps the fruit from scorching anyone who dives in too fast.
Three Ways to Adapt This Crisp Without Losing the Good Parts
Make it gluten-free
Swap the all-purpose flour for a good 1:1 gluten-free baking blend. The topping will still crumble nicely, though it may be a little more delicate when you scoop it. Keep the oats certified gluten-free if cross-contamination matters.
Make it dairy-free
Use a plant-based butter block instead of regular butter. Stick with a firm one, not a spread from a tub, because you need the fat to stay cold and cut into the dry ingredients. The texture stays close to the original if you keep the butter substitute cold.
Add a little more spice
If you want a warmer finish, add a pinch of nutmeg or cardamom to the fruit mixture. Cardamom leans floral and bright; nutmeg leans deeper and more classic. Either one works best in a small amount so the apples and pears still stay in charge.
Use a different nut
Pecans are the closest swap if you don’t have walnuts. They give a softer, sweeter crunch and brown a little faster, so keep an eye on the top during the last 10 minutes. Almonds work too, but the flavor will be less buttery and more toasty.
Storage and Reheating
- Refrigerator: Store covered for up to 4 days. The topping softens a little, but the flavor stays good.
- Freezer: It freezes well after baking. Cool completely, wrap tightly, and freeze for up to 2 months. Thaw in the fridge before reheating so the filling warms evenly.
- Reheating: Warm in a 325F oven until the center is hot and the topping re-crisps, usually 15 to 20 minutes for individual portions or longer for the full dish. The biggest mistake is microwaving it too long, which turns the topping soft and the fruit watery.