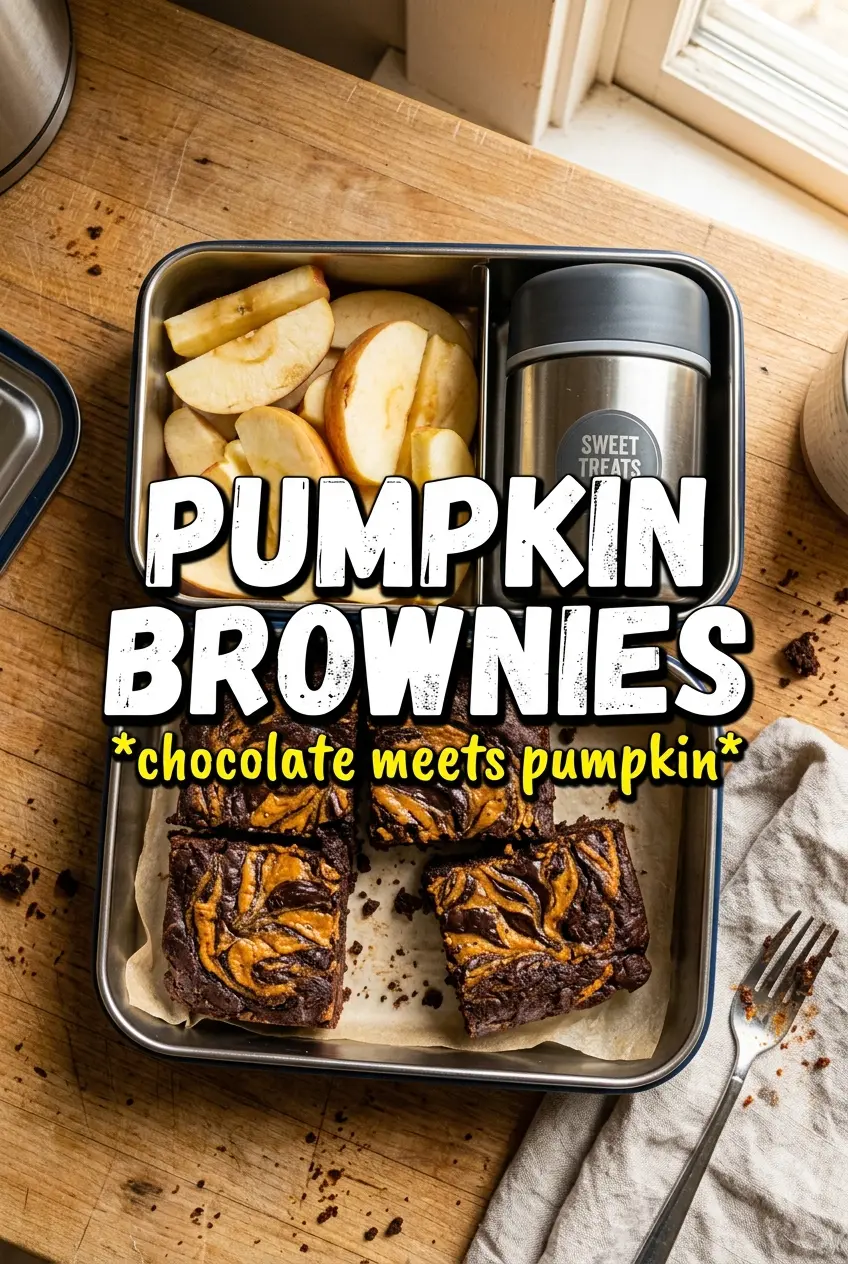
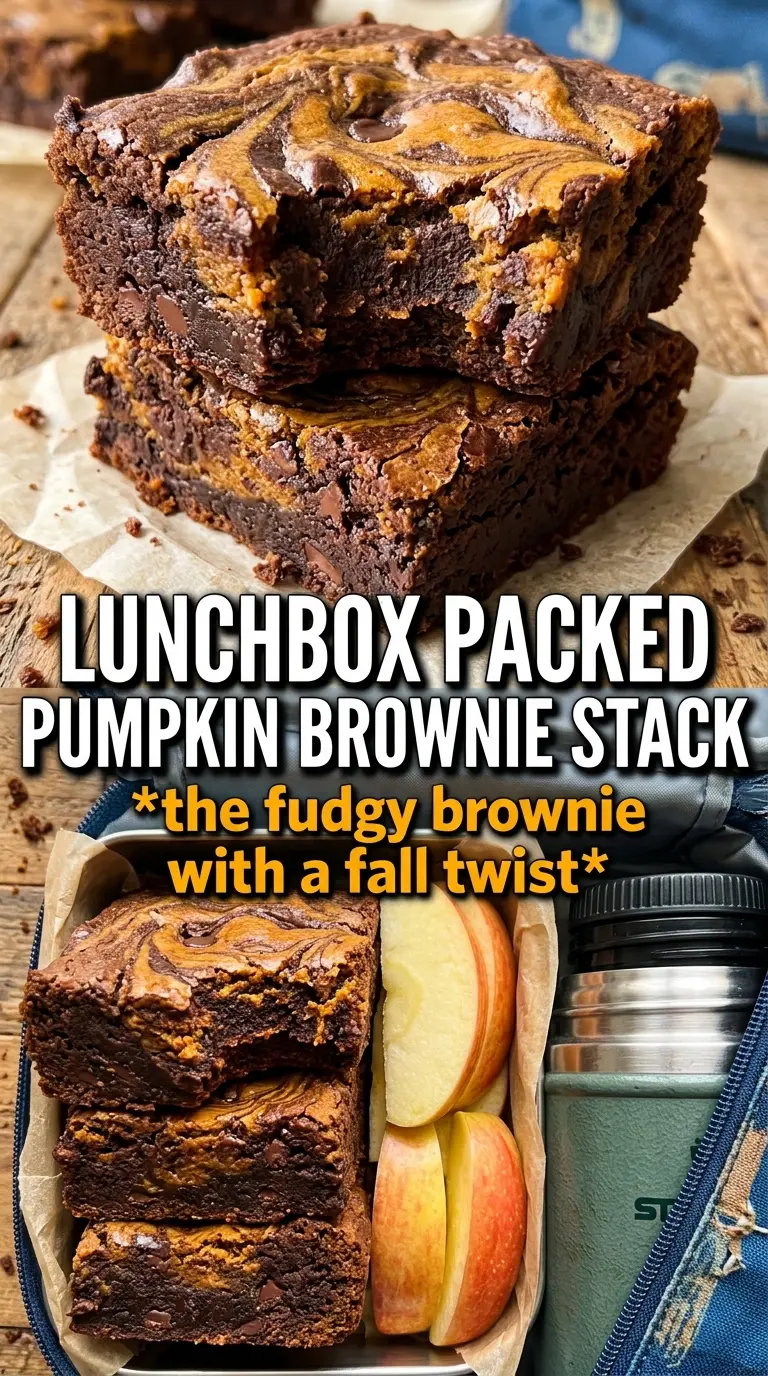
Pumpkin brownies land in that sweet spot between fudgy and soft, with a deep chocolate base and a creamy pumpkin swirl that bakes up like the best part of a cheesecake bar. The contrast is what keeps people coming back: crackly edges, a dense middle, and those marbled ribbons of spiced pumpkin on top. They slice cleanly once cooled, which matters more than it sounds when you want neat squares instead of a warm pan that falls apart.
The brownie batter starts with melted butter and dark chocolate, which gives you a denser, richer crumb than cocoa alone. Cooling that mixture for a few minutes before adding the eggs keeps the batter glossy instead of scrambling the eggs, and the two sugars help with both chew and that shiny top. The pumpkin layer uses cream cheese for body, so it stays creamy instead of sinking into the brownies or baking up dry.
Below, I walk through the part that matters most: how to swirl just enough for a marbled top without dragging the pumpkin layer too deep into the batter. There’s also a note on storage, because these brownies taste even better after a night in the fridge.
The brownie layer came out fudgy and not cakey at all, and the pumpkin swirl stayed creamy on top instead of disappearing into the batter. I baked mine right at 34 minutes and the center set up perfectly after cooling.
Save these pumpkin brownies for the kind of dessert that gives you a fudgy chocolate base and a marbled pumpkin cheesecake top in one pan.
The Swirl Matters More Than the Mix-In
The biggest mistake with pumpkin brownies is treating the pumpkin layer like a topping that can just sit on top untouched. If you don’t swirl it lightly into the brownie batter, the two layers bake into a hard divide, and the top can look patchy instead of marbled. If you overdo it, though, the brownie base gets muddied and you lose that clean contrast between dark chocolate and spiced pumpkin.
The right swirl is a few slow passes with a knife or skewer, just enough to pull some of the pumpkin mixture into the brownie batter without fully blending it. You’re aiming for visible ribbons and pockets, not a uniform orange-brown batter. That pattern also helps the pumpkin layer set in creamy streaks instead of sinking.
- Butter and dark chocolate — This is the backbone of the brownie layer. The butter keeps the crumb tender, and the chocolate gives you a deeper, richer base than cocoa alone. Use good dark chocolate here; the flavor shows.
- Cream cheese — It gives the pumpkin swirl its cheesecake-like body. Full-fat cream cheese works best because it bakes up smooth and stable. Low-fat versions can turn loose or watery.
- Pumpkin puree — Use plain pumpkin puree, not pumpkin pie filling. Pie filling is already sweetened and spiced, which throws off the balance of the swirl and can make it too soft.
- Cocoa powder — Natural or Dutch-process both work, but Dutch-process will give you a darker, smoother chocolate flavor. If you only have natural cocoa, the brownies still bake up rich and fudgy.
What Each Ingredient Is Actually Doing in This Recipe
- Primary ingredient (the star) — Quality matters most. Choose the best you can find.
- Cooking medium (oil, butter, or broth) — This carries flavors and prevents dryness.
- Seasonings (salt, pepper, spices, herbs) — Layer flavors so nothing overpowers. Build depth gradually.
- Aromatics (garlic, onion, herbs) — Cook with fat to bloom flavors. Become the foundation.
- Supporting ingredients — Complement the main ingredient without overpowering it.
- Sauce or liquid (if applicable) — Brings flavors together. Balance richness with acid.
- Acid (lemon, vinegar, wine, or other) — Brightens and prevents flat-tasting results.
- Final finish (garnish, glaze, or sauce) — Prevents one-dimensional taste and adds visual appeal.
Building the Brownie Base Before the Pumpkin Goes On
Melt the chocolate without rushing it
Warm the butter and chopped chocolate together until the chocolate is just melted and the mixture looks smooth and glossy. If the butter is bubbling hard, the chocolate can seize or the mixture can separate, which makes the batter grainy later. Let it sit for about 10 minutes so it’s warm, not hot, before the eggs go in.
Whisk for that shiny top
Stir in the granulated sugar and brown sugar first, then add the eggs and vanilla until the batter looks thick and satiny. This is where the crackly top starts. If you under-mix here, the brownies still taste good, but they won’t get that shiny finish on top.
Fold in the dry ingredients just until they disappear
Add the flour, cocoa powder, and salt and fold only until no dry streaks remain. Overmixing at this stage develops too much structure and pushes the brownies toward cakey instead of fudgy. The batter should look dense and spreadable, not fluffy.
Drop, swirl, and stop
Spread the brownie batter into the pan, then beat the pumpkin layer until completely smooth and dollop it over the top in thick spoonfuls. Drag a knife through in long, shallow passes. If you keep swirling after the pattern looks good, the layers blur together and the marbled top disappears.
Bake until the center is just set
Pull the pan when the edges look set and a toothpick comes out with moist crumbs, not wet batter. The middle should still have a slight jiggle when you nudge the pan. It will finish setting as it cools, and that’s what keeps the texture fudgy instead of dry.
How to Adapt These Pumpkin Brownies Without Losing the Fudgy Center
Gluten-Free Brownies With the Same Dense Bite
Replace the all-purpose flour with a 1:1 gluten-free baking blend that includes xanthan gum. The brownies stay fudgy, but the structure can be a touch softer, so let them cool all the way before cutting. Skip single-ingredient swaps like almond flour here; they change the texture too much for this formula.
Dairy-Free Version That Still Bakes Up Rich
Use a plant-based butter that bakes well and a dairy-free cream cheese substitute for the swirl. The brownie layer will still be dense and chocolatey, though the pumpkin top may be a little softer than the original. Choose a dairy-free cream cheese with a thick texture, not a whipped spread.
Extra-Spiced Pumpkin Swirl
If you want the pumpkin layer to stand out more, add an extra 1/2 teaspoon of pumpkin pie spice and a pinch of cinnamon. That gives you a more aromatic top without making the whole pan taste like spice cake. Don’t add more pumpkin puree unless you also increase the cream cheese, or the swirl can turn loose.
Storage and Reheating
- Refrigerator: Store in an airtight container for up to 5 days. The pumpkin swirl firms up in the fridge, which makes the texture even richer and cleaner when sliced.
- Freezer: These freeze well. Wrap individual squares tightly and freeze for up to 2 months, then thaw overnight in the refrigerator so the swirl doesn’t weep.
- Reheating: Eat them cold, room temperature, or warmed for 10 to 15 seconds in the microwave. Longer heating can make the pumpkin swirl soften too much and the brownie base lose that fudgy chew.