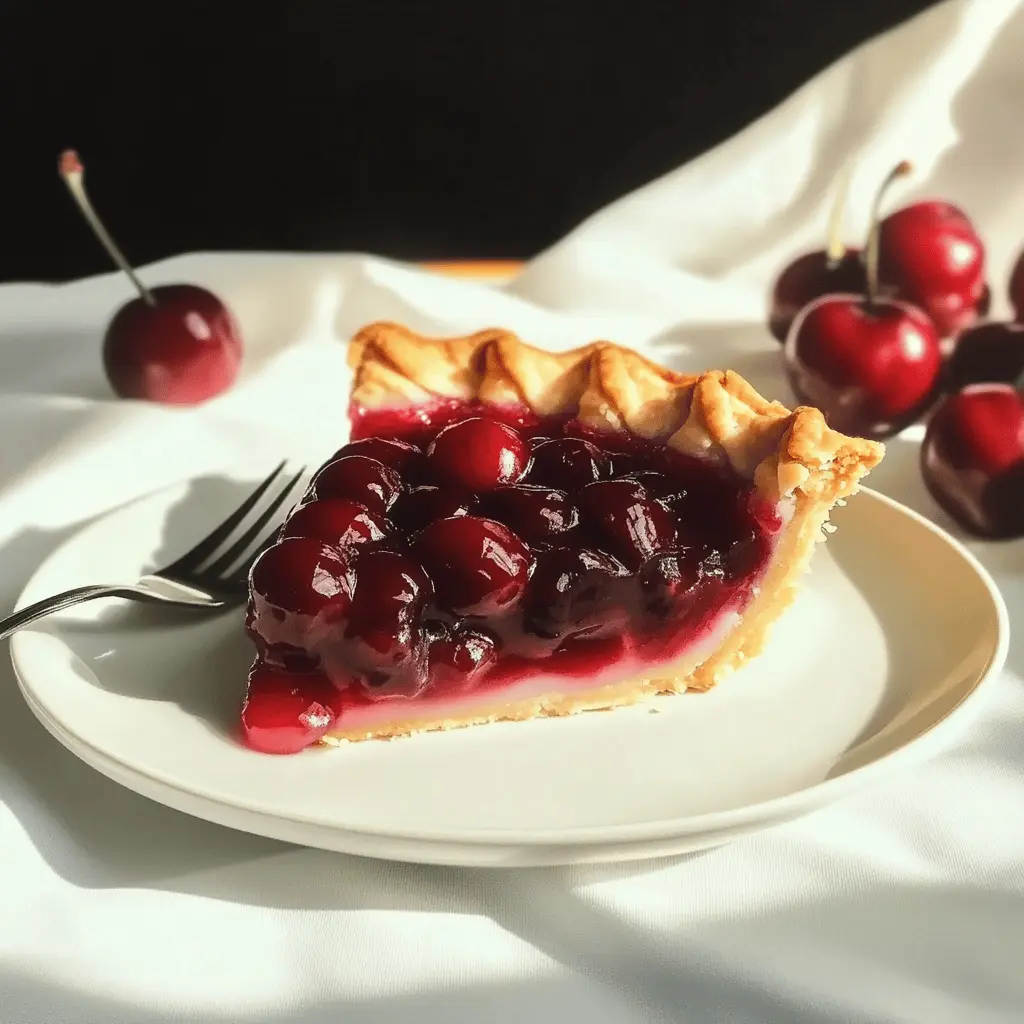
This easy homemade cherry pie is a sweet tribute to Grandma! With juicy cherries and a flaky crust, it’s like a hug from the oven. You can even use fresh or frozen cherries!
Baking this pie reminds me of summer days with Grandma in the kitchen. The smell is so inviting that even the neighbors will want a slice! Just bake, share, and enjoy!
Key Ingredients & Substitutions
Cherries: Fresh tart cherries are wonderful, but frozen cherries work just as well! They save time and offer great flavor. If you can’t find tart cherries, sweet cherries can work, but you might want to adjust the sugar down slightly.
Granulated Sugar: This adds sweetness to the pie. If you’re looking to reduce sugar, you could opt for a natural sweetener like honey or maple syrup, but check the conversions!
Cornstarch: This helps thicken the pie filling. If you need a gluten-free alternative, try tapioca starch. Just use the same amount as cornstarch.
Almond Extract: This is optional but enhances the cherry flavor beautifully. If you don’t have it, vanilla extract is a good substitute.
Pie Crust: A homemade crust can be the best, but store-bought saves time. If you’re gluten-free, there are great gluten-free pie crusts available too.
How Do You Get a Perfect Crust Without Burning It?
Getting the crust just right takes a bit of timing and technique. Here’s how to ensure it’s beautifully golden without burning:
- Pre-bake the bottom crust for 5-7 minutes before adding the filling. This helps it stay crunchy.
- Use a pie shield or aluminum foil around the edges if they brown too quickly while baking.
- Keep an eye on the pie towards the end of baking. If it’s browning too much, cover the edges with foil for the last few minutes.
Easy Homemade Grandma’s Sweet Cherry Pie
Ingredients You’ll Need:
For the Filling:
- 2 ½ cups fresh or frozen tart cherries, pitted
- 1 cup granulated sugar
- 3 tablespoons cornstarch
- 1 tablespoon lemon juice
- ½ teaspoon almond extract (optional but recommended)
- ¼ teaspoon ground cinnamon
- 1 tablespoon butter, cut into small pieces
For the Crust:
- 1 double pie crust (homemade or store-bought, enough for top and bottom crust)
- 1 egg, beaten for egg wash
- Sugar for sprinkling on the crust
How Much Time Will You Need?
This recipe takes about 20 minutes to prep and about 50 minutes to bake. Don’t forget to allow the pie to cool for at least 2 hours to set the filling. So, you’re looking at a total of about 3 hours for the entire process, but most of that is hands-off time!
Step-by-Step Instructions:
1. Preheat the Oven:
First things first! Preheat your oven to 425°F (220°C) to make sure it’s nice and hot for the pie.
2. Prepare the Filling:
In a large bowl, combine your cherries, sugar, cornstarch, lemon juice, almond extract, and cinnamon. Stir gently until everything is well mixed and the cornstarch is dissolved. This is where the magic begins, so don’t rush it!
3. Prepare the Pie Crust:
Roll out the bottom crust and place it into a 9-inch pie plate. Don’t worry if it’s not perfect, just make sure it covers the bottom and edges!
4. Add the Filling:
Pour the cherry mix into your prepared crust. To make it extra flavorful, dot the top of the filling with small pieces of butter—this adds richness!
5. Add the Top Crust:
Roll out your top crust and place it over the cherries. You have two choices here: cover it completely and cut slits for steam to escape or create a pretty lattice top by weaving strips of dough. Either looks great!
6. Seal the Edges:
Trim any excess dough hanging over the edges. Crimp the edges to seal them properly. Brush the top crust with the beaten egg for a lovely golden finish, and sprinkle a little sugar on top for some sparkle.
7. Bake:
Pop the pie into the oven for 20 minutes at 425°F (220°C). After that, lower the temperature to 350°F (175°C) and continue to bake for another 25-30 minutes. You’ll know it’s ready when the crust is golden brown and the cherry filling is bubbling!
8. Cool:
This is the hardest part—allow the pie to cool for at least 2 hours. This allows the filling to set up nicely and makes for easier slicing.
9. Serve:
Slice up the pie and serve it warm or at room temperature. It’s delicious with a scoop of whipped cream or vanilla ice cream on top!
Enjoy your delicious homemade cherry pie, just like Grandma’s! It’s sure to bring back sweet memories and create new ones!

FAQ for Easy Homemade Grandma’s Sweet Cherry Pie
Can I Use Frozen Cherries Instead of Fresh?
Absolutely! Frozen tart cherries work wonderfully in this recipe. Just make sure to thaw them before mixing them with the other ingredients to avoid excess moisture in the pie.
What Can I Use Instead of Cornstarch?
If you don’t have cornstarch on hand, you can substitute it with an equal amount of tapioca starch or flour. Keep in mind that flour may make the filling slightly less glossy.
How Long Does the Cherry Pie Last?
Leftover pie can be stored in the fridge for up to 3-4 days. Make sure to cover it with plastic wrap or foil to keep it fresh. You can also freeze it for up to 3 months; just let it thaw overnight in the fridge before reheating.
Can I Make This Pie Ahead of Time?
Yes, you can prepare the pie a day in advance! Just bake it as instructed and let it cool completely before covering it and placing it in the refrigerator. Reheat in the oven before serving for that fresh-baked taste.