Golden, crackly crescent layers over a cool, creamy cheesecake center make these Sopapilla Cheesecake Bars the kind of dessert that disappears fast from a potluck table. The top bakes into a crisp, cinnamon-sugar shell, while the filling stays rich and smooth enough to slice cleanly after chilling. That contrast is the whole point, and it’s what makes these bars worth keeping in the regular dessert rotation.
The trick is treating the layers separately instead of trying to mix everything together. The bottom crescent dough bakes into a sturdy base, the cream cheese filling gets beaten until completely smooth so it doesn’t bake up grainy, and the top layer gets brushed with butter before the cinnamon sugar goes on. That last step matters more than it looks like it should; it helps the topping brown evenly and gives the bars that bakery-style crunch.
Below you’ll find the small details that keep the filling from cracking, the crust from getting soggy, and the bars from falling apart when you cut them. I’ve also included a few swaps for making them fit what you have on hand without losing the texture that makes them good.
The cream cheese layer turned out perfectly smooth, and the cinnamon sugar topping baked into a crisp little crust instead of getting soggy. I chilled them overnight and the squares cut clean with no mess.
Save these Sopapilla Cheesecake Bars for the nights when you want a creamy cheesecake dessert with a crisp cinnamon-sugar lid.
The Reason the Cheesecake Stays Smooth Under the Crust
The filling in these bars behaves best when the cream cheese starts fully softened and the eggs go in one at a time. Cold cream cheese leaves little lumps that never quite disappear, and once those lumps bake, they look like curdled bits in the middle of an otherwise silky slice. Beating after each egg helps the batter stay emulsified instead of thinning out all at once.
The other thing that matters here is restraint. You want the cheesecake layer set at the edges and still slightly wobbly in the center when it comes out of the oven. If you wait for the center to look fully firm, it usually means the bars are already overbaked, which turns the filling dense and can make the top crack as it cools.
What Each Layer Is Doing in These Bars
The dough, filling, and topping each have a job, and switching any one of them changes the whole dessert. Crescent roll dough is important because it bakes up with that soft, buttery chew and enough structure to hold the cheesecake layer without turning heavy. Puff pastry won’t behave the same way here; it puffs too dramatically and won’t give you the same tender base and lid.
- Crescent roll dough — This is the shortcut that gives the bars their signature texture. It bakes into a golden, slightly flaky layer that still slices cleanly after chilling. If you use a different canned dough, pick one that bakes soft rather than bread-like.
- Cream cheese — Full-fat cream cheese gives the filling its body and tang. Lower-fat versions can work, but they’re looser and more likely to weep after baking.
- Cinnamon sugar — The small amount in the crust and topping keeps the bars tasting like sopapilla instead of plain cheesecake. The sugar on top also helps the buttered dough brown.
- Caramel sauce — Warm caramel adds the glossy finish that pulls the whole dessert together. Homemade or jarred both work; the main thing is to drizzle it after baking so it stays on top instead of soaking into the crust.
Building the Layers Without Letting the Filling Leak
Pressing the Bottom Crust
Start by pressing the first sheet of crescent dough into an even layer in a greased 9×13-inch pan. Seal the seams as best you can so the filling doesn’t slip through and pool at the bottom. A light dusting of cinnamon sugar over the base adds flavor, but don’t overload it or the crust can turn wet in spots.
Mixing the Cheesecake Filling
Beat the cream cheese and sugar until the mixture looks completely smooth and glossy before the eggs go in. Add the eggs one at a time and stop to scrape the bowl, because streaks of unmixed cream cheese show up as pale swirls in the baked bars. Stir in the vanilla and cinnamon at the end so the batter stays thick and even.
Sealing With the Top Layer
Lay the second sheet of crescent dough over the filling and press it gently into place. It doesn’t need to look perfect; once it bakes, the seams and little wrinkles turn into the crisp top people love. Brush the surface with melted butter before the cinnamon sugar goes on, because dry dough just browns unevenly and tastes flatter.
Baking, Cooling, and Cutting Clean Squares
Bake until the top is deep golden and the center has only a slight jiggle when you nudge the pan. Drizzle the caramel sauce while the bars are still warm so it settles into the top without sinking through. Then let the pan cool all the way and refrigerate it for at least two hours before cutting; that chill time is what gives you neat, bakery-style squares instead of a messy pan of filling.
How to Adapt Them for Different Kitchens and Schedules
Dairy-Free Version With a Softer Set
Use dairy-free cream cheese and a plant-based butter substitute, but expect a slightly softer filling and a less tangy finish. Chill the bars a little longer before cutting, since dairy-free fillings usually need more time to firm up.
Gluten-Free Swap That Still Slices Well
Use a gluten-free crescent-style dough if you can find one, or a gluten-free pie crust pressed thin into both layers. The texture won’t be quite as flaky, but you’ll still get a sturdy base and a crisp top if you bake until the surface is deeply golden.
Extra Cinnamon for a Stronger Sopapilla Flavor
If you want the cinnamon to stand out more, add a little extra to the filling and increase the cinnamon sugar on top by a teaspoon or so. That pushes the bars closer to the classic sopapilla flavor without changing the structure of the dessert.
Storage and Reheating
- Refrigerator: Store covered for up to 4 days. The top will soften a little, but the bars stay sliceable and taste even better after the cinnamon and caramel settle in.
- Freezer: These freeze well. Cut into squares, wrap tightly, and freeze for up to 2 months. Thaw in the fridge so the filling doesn’t turn watery.
- Reheating: Serve chilled or let a square sit at room temperature for 10 to 15 minutes. If you warm them, do it briefly and gently; too much heat makes the cheesecake layer loosen and the topping lose its crisp edges.
Questions I Get Asked About This Recipe
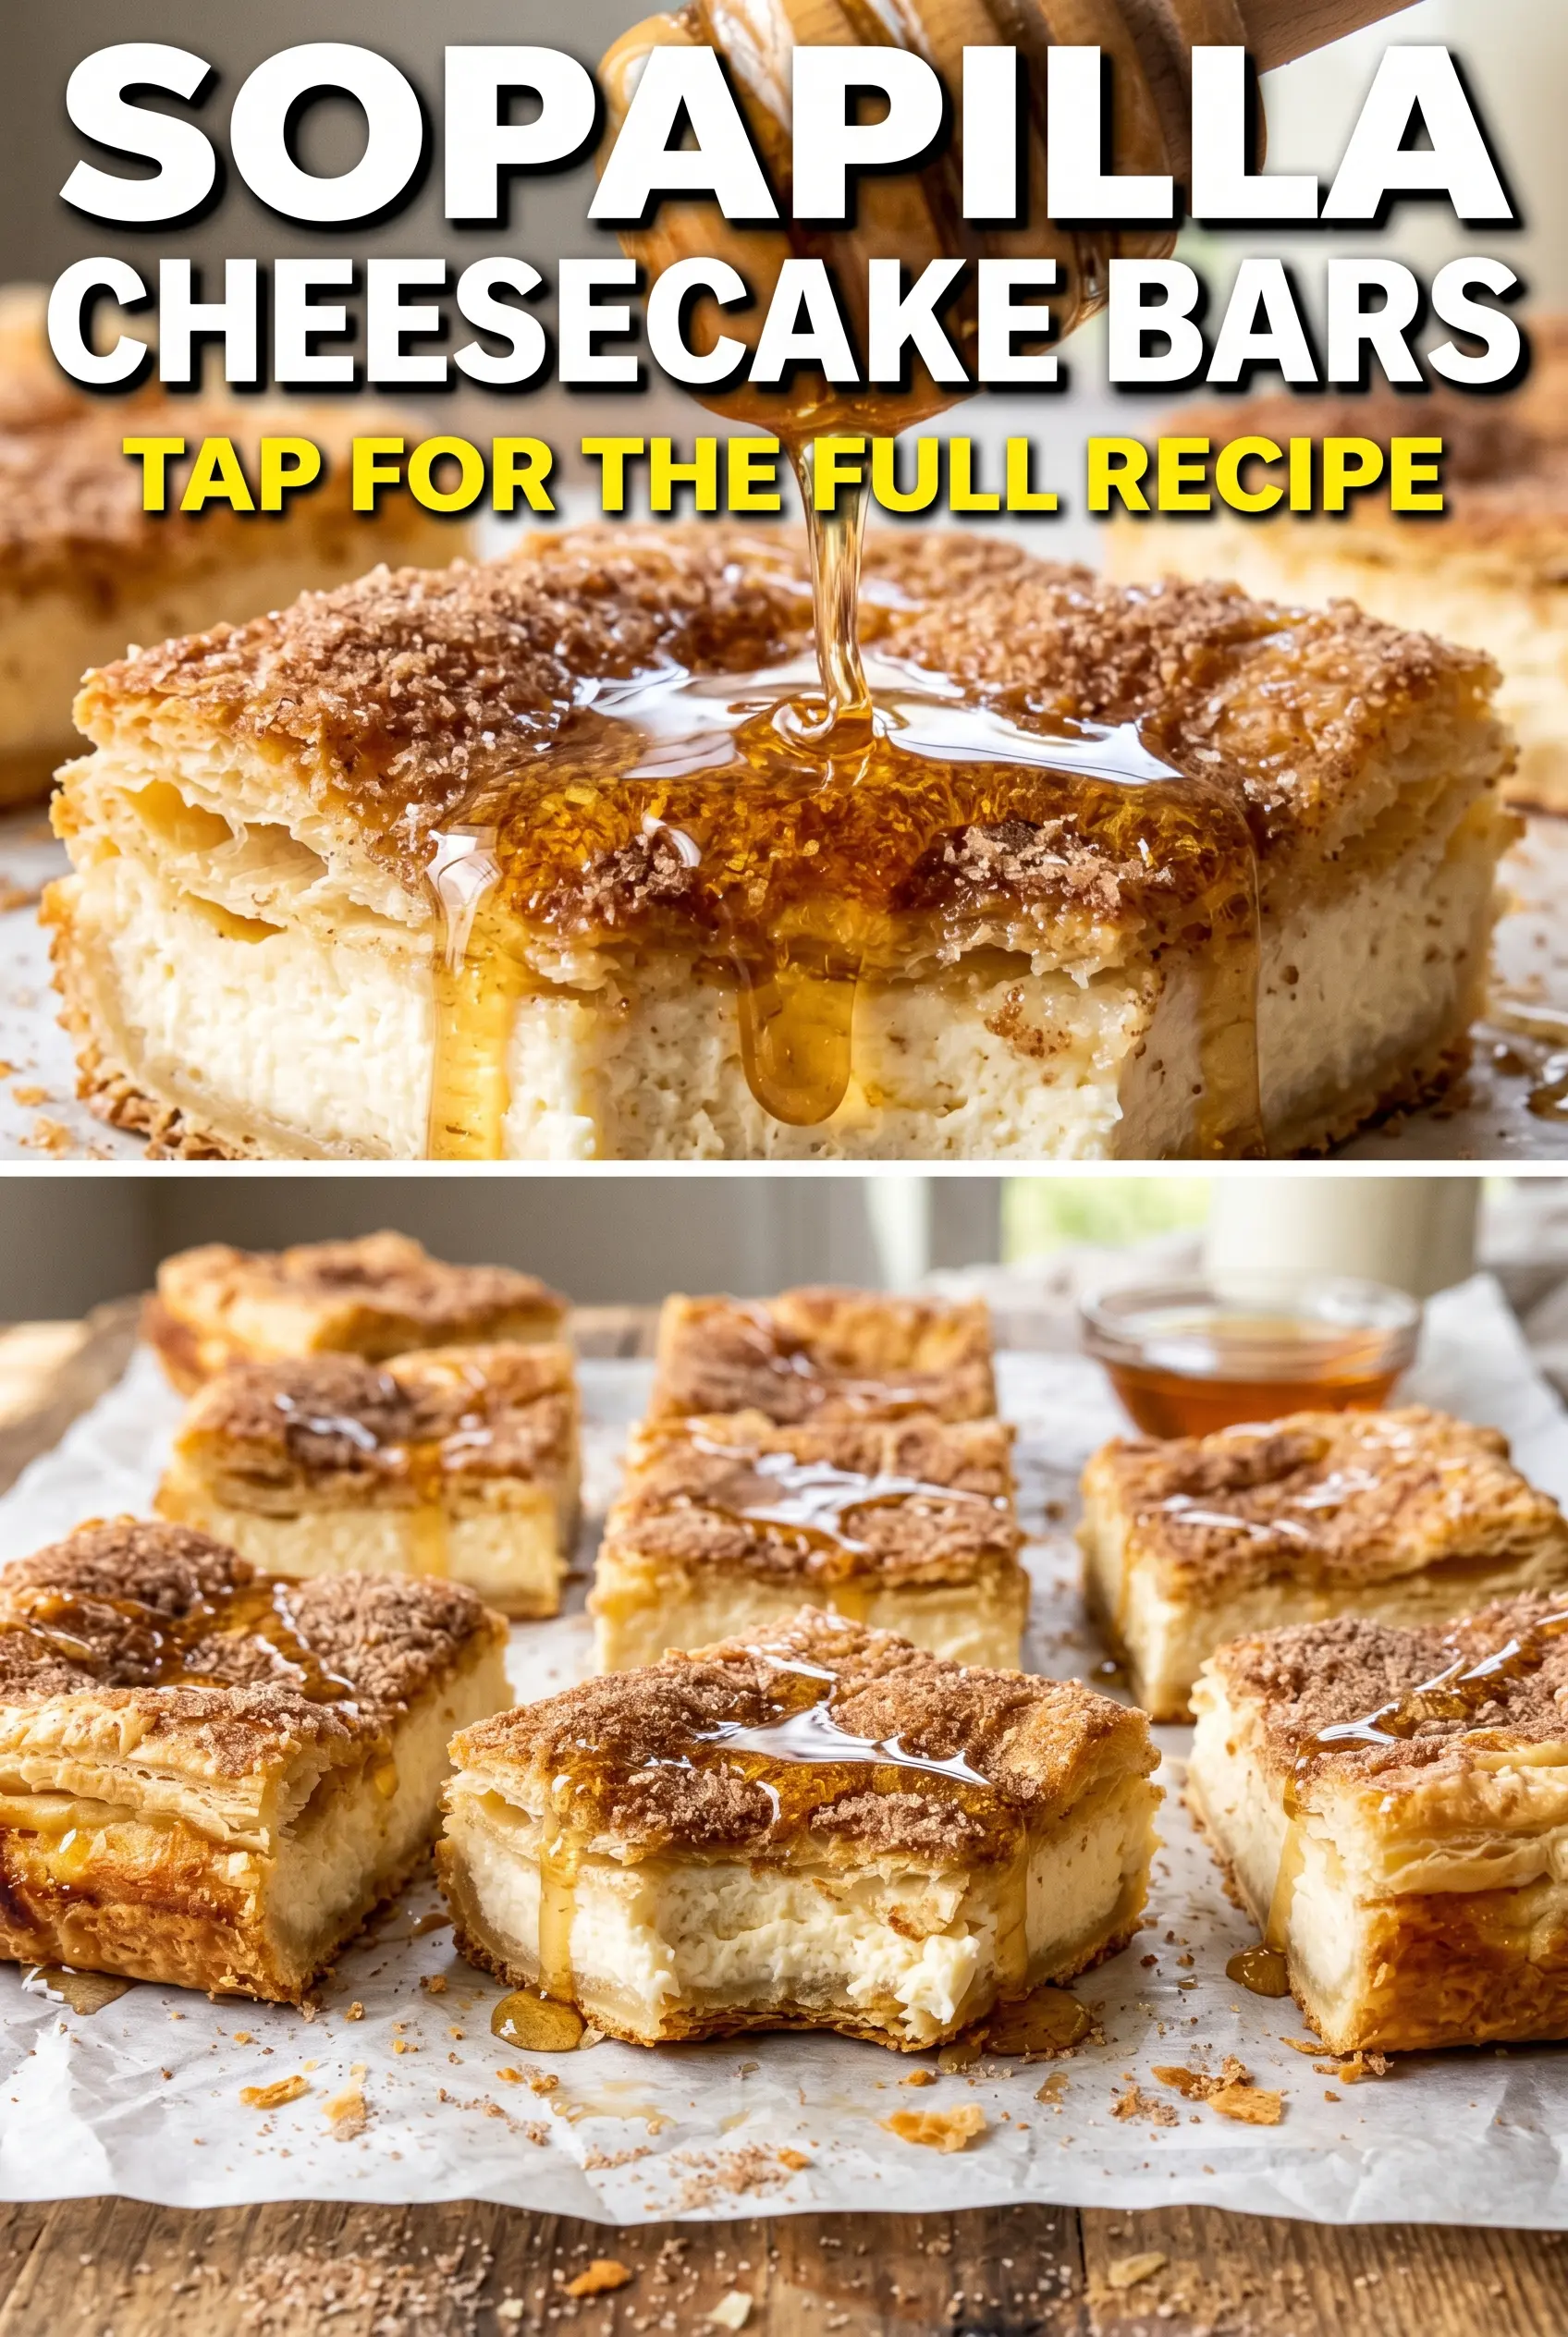
Sopapilla Cheesecake Bars
Ingredients
Equipment
Method
- Preheat oven to 350°F. Grease a 9x13 baking dish, then press the first can of crescent roll dough into the bottom and spread evenly like a crust.
- Mix 1 tbsp sugar and 1/2 tsp cinnamon, then sprinkle lightly over the dough for even coverage with visible flecks.
- Beat softened cream cheese and 1 cup sugar until creamy and smooth with no lumps. Add eggs one at a time, beating well after each addition so the mixture looks glossy.
- Stir in vanilla extract and 1/2 tsp cinnamon, then pour the filling over the prepared crust and tap the pan gently to settle the layer.
- Press the second can of crescent roll dough over the cheesecake filling, sealing it lightly at the edges so it stays in place.
- Brush the top dough with melted butter, then sprinkle a cinnamon-sugar mix made from 2 tbsp sugar and 1 tsp cinnamon for a crisp, speckled finish.
- Bake for 30-35 minutes at 350°F, until the crescent topping is golden and the cheesecake is set but slightly jiggly in the center. Look for a firm edge with a gentle wobble at the middle.
- Drizzle warm caramel sauce over the bars for a glossy ribbon effect.
- Cool completely at room temperature, then refrigerate for at least 2 hours before cutting into squares so the layers slice cleanly.