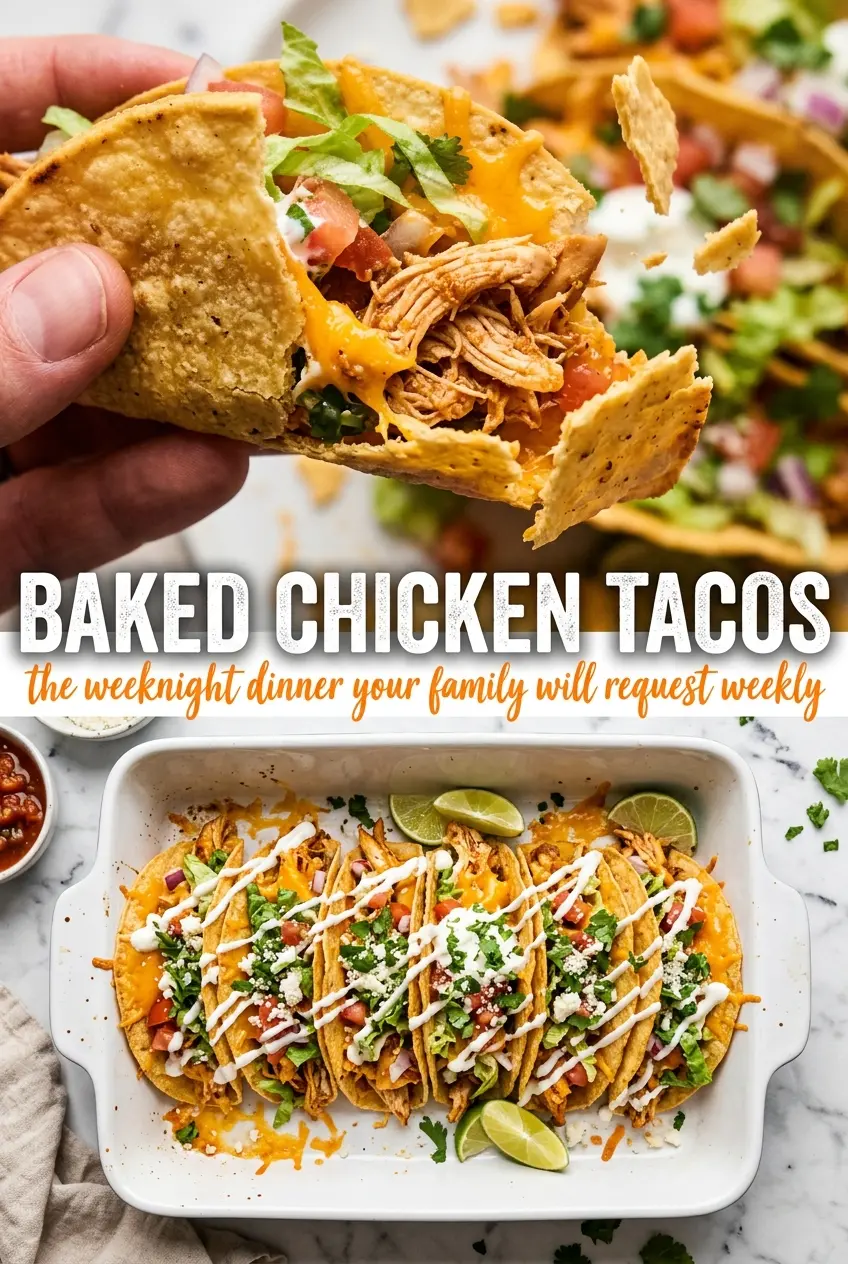
Crispy baked chicken tacos give you that crackly shell, juicy seasoned filling, and all the fresh toppings without standing over a pot of oil. The tortilla edges toast up enough to hold their shape, the chicken stays tender, and every bite gets a mix of warm spice, cool lettuce, and melty cheese. They’re the kind of weeknight taco that disappears fast because they eat like something from a good taqueria, but they come together with plain pantry ingredients.
The trick is treating each part separately. The chicken gets cooked and shredded first so it can be tucked into the shells without making them soggy, and the tortillas need a quick bake to get crisp before they’re filled. Corn tortillas work best here because they hold that sturdy taco shape and bring the right flavor, while a light spray of oil helps them brown instead of drying out. Once they come out of the oven, you’ve got a clean, sturdy base for whatever toppings you like.
Below, I’ve included the little details that keep the shells crisp, plus the swaps I use when I want to stretch the filling or make the tacos a little lighter.
The tortillas crisped up in the oven and held the chicken without cracking, which never happens when I pan-fry them. I also liked that the filling stayed juicy after shredding, and the lime at the end made the whole thing taste fresh.
Crispy baked chicken tacos with juicy shredded filling are perfect for taco night when you want crunch without frying.
The Crispy Shell Trick That Keeps Baked Tacos from Going Soft
The biggest mistake with baked tacos is filling the shells too early. Once chicken and toppings sit inside a warm tortilla, the steam starts softening the shell from the inside out. That’s why the tortillas need to bake on their own first until they’re lightly browned and rigid enough to hold the filling without collapsing.
Corn tortillas are the right choice here because they crisp instead of turning leathery the way some flour tortillas can in this setup. A quick spray of oil is enough to encourage browning; too much oil makes the shells greasy before they ever get crisp. If your tortillas crack while shaping, warm them for a few seconds in the microwave under a damp paper towel, and they’ll bend instead of snapping.
What the Chicken, Tortillas, and Toppings Are Doing Here
- Chicken breasts — Lean chicken breast shreds cleanly and soaks up seasoning well. If you want a little more richness, boneless thighs work too, but they’ll make the filling softer and a bit juicier.
- Taco seasoning — This does the heavy lifting on flavor, so use a blend you already like. If yours is salt-heavy, season the chicken lightly at the start and adjust at the end after shredding.
- Corn tortillas — These are what make the baked shells worth it. Fresh tortillas crisp best, while older ones can crack; if they’re a little dry, warm them first so they flex before baking.
- Olive oil and cooking spray — The olive oil keeps the chicken from drying out in the skillet, and the spray helps the tortillas brown in the oven. You need both for the best texture, not just one or the other.
- Fresh toppings — Lettuce, tomato, cilantro, salsa, and lime are what keep the tacos from tasting heavy. The chicken brings the warmth, but the toppings give you freshness and contrast in every bite.
Cooking the Chicken First, Then Crisping the Shells
Season and Sear the Chicken
Coat the chicken breasts with taco seasoning, salt, and pepper, then cook them in olive oil over medium-high heat until they reach 165°F in the thickest part. You want steady browning on the outside and juicy meat inside, not aggressive heat that scorches the seasoning before the chicken cooks through. If the skillet starts smoking hard, lower the heat a notch; burnt spices will carry through the whole filling.
Shred While the Chicken Is Still Warm
Move the chicken to a cutting board and shred it while it’s hot enough to pull apart easily. Warm chicken shreds into finer pieces and mixes back together with the seasoning instead of drying out in big chunks. If it seems a little dry, a spoonful of the pan juices stirred back in will fix it fast.
Shape and Bake the Tortillas
Arrange the tortillas on a baking sheet and form them into taco shells before baking at 375°F until crisp and lightly browned, about 8 to 10 minutes. Watch the center ridge and the edges; they should feel set and dry, not pale or floppy. Pull them as soon as they hold their shape, because they can go from crisp to brittle if you leave them too long.
Fill Right Before Serving
Spoon the shredded chicken into the shells, then add lettuce, tomato, cheese, cilantro, sour cream, salsa, and a squeeze of lime. The order matters less than the timing: assemble after the shells come out of the oven so the bottom stays crisp. If you let them sit filled on a tray, the shell will steam and soften before dinner even starts.
How to Adjust These Baked Chicken Tacos for Different Nights
Make them dairy-free
Skip the cheese and sour cream, then lean on salsa, lime, avocado, and extra cilantro for finish. You’ll lose a little richness, but the tacos stay bright and crisp, and the chicken still carries the dish.
Use flour tortillas if that’s what you have
Flour tortillas can work, but they bake up softer and less shattery than corn. They’re easier to fold and less likely to crack, which is helpful for kids or bigger fillings, but the final taco will taste more like a soft baked shell than a crisp street-style taco.
Stretch the filling with beans or corn
Fold in drained black beans, pinto beans, or a handful of corn after shredding the chicken. That gives you more volume and a little extra texture without changing the taco structure, and it’s an easy way to feed more people from the same batch.
Storage and Reheating
- Refrigerator: Store the chicken and toppings separately for up to 3 days. The baked shells soften once they sit, so keep those in a dry container at room temperature if you plan to use them the same day.
- Freezer: The shredded chicken freezes well for up to 2 months. Freeze it plain or with a little of the pan juice, then thaw in the refrigerator before reheating. Don’t freeze assembled tacos; the shells lose their texture.
- Reheating: Warm the chicken in a skillet over low heat with a splash of water, or microwave it in short bursts until hot. Re-crisp the shells in a 375°F oven for a few minutes before filling them, since microwaving them will make them limp.
Answers to the Questions Worth Asking
Baked Chicken Tacos
Ingredients
Equipment
Method
- Season the chicken breasts with salt, pepper, and taco seasoning. Heat olive oil in a skillet and cook the chicken over medium-high heat until the internal temperature reaches 165°F.
- Continue cooking until browned and cooked through, about 6-8 minutes per side. When done, transfer to a plate and shred the cooked chicken.
- Preheat the oven to 375°F and spray a baking sheet with vegetable oil cooking spray. Form corn tortillas into taco shells and place them on the prepared sheet pan.
- Bake at 375°F for 8-10 minutes until crispy and lightly browned. Remove the shells and let them cool slightly so they hold their shape.
- Fill each tortilla shell with shredded chicken. Top with lettuce, tomatoes, shredded cheese, and cilantro.
- Finish each taco with sour cream and salsa, and serve with lime wedges on the side.