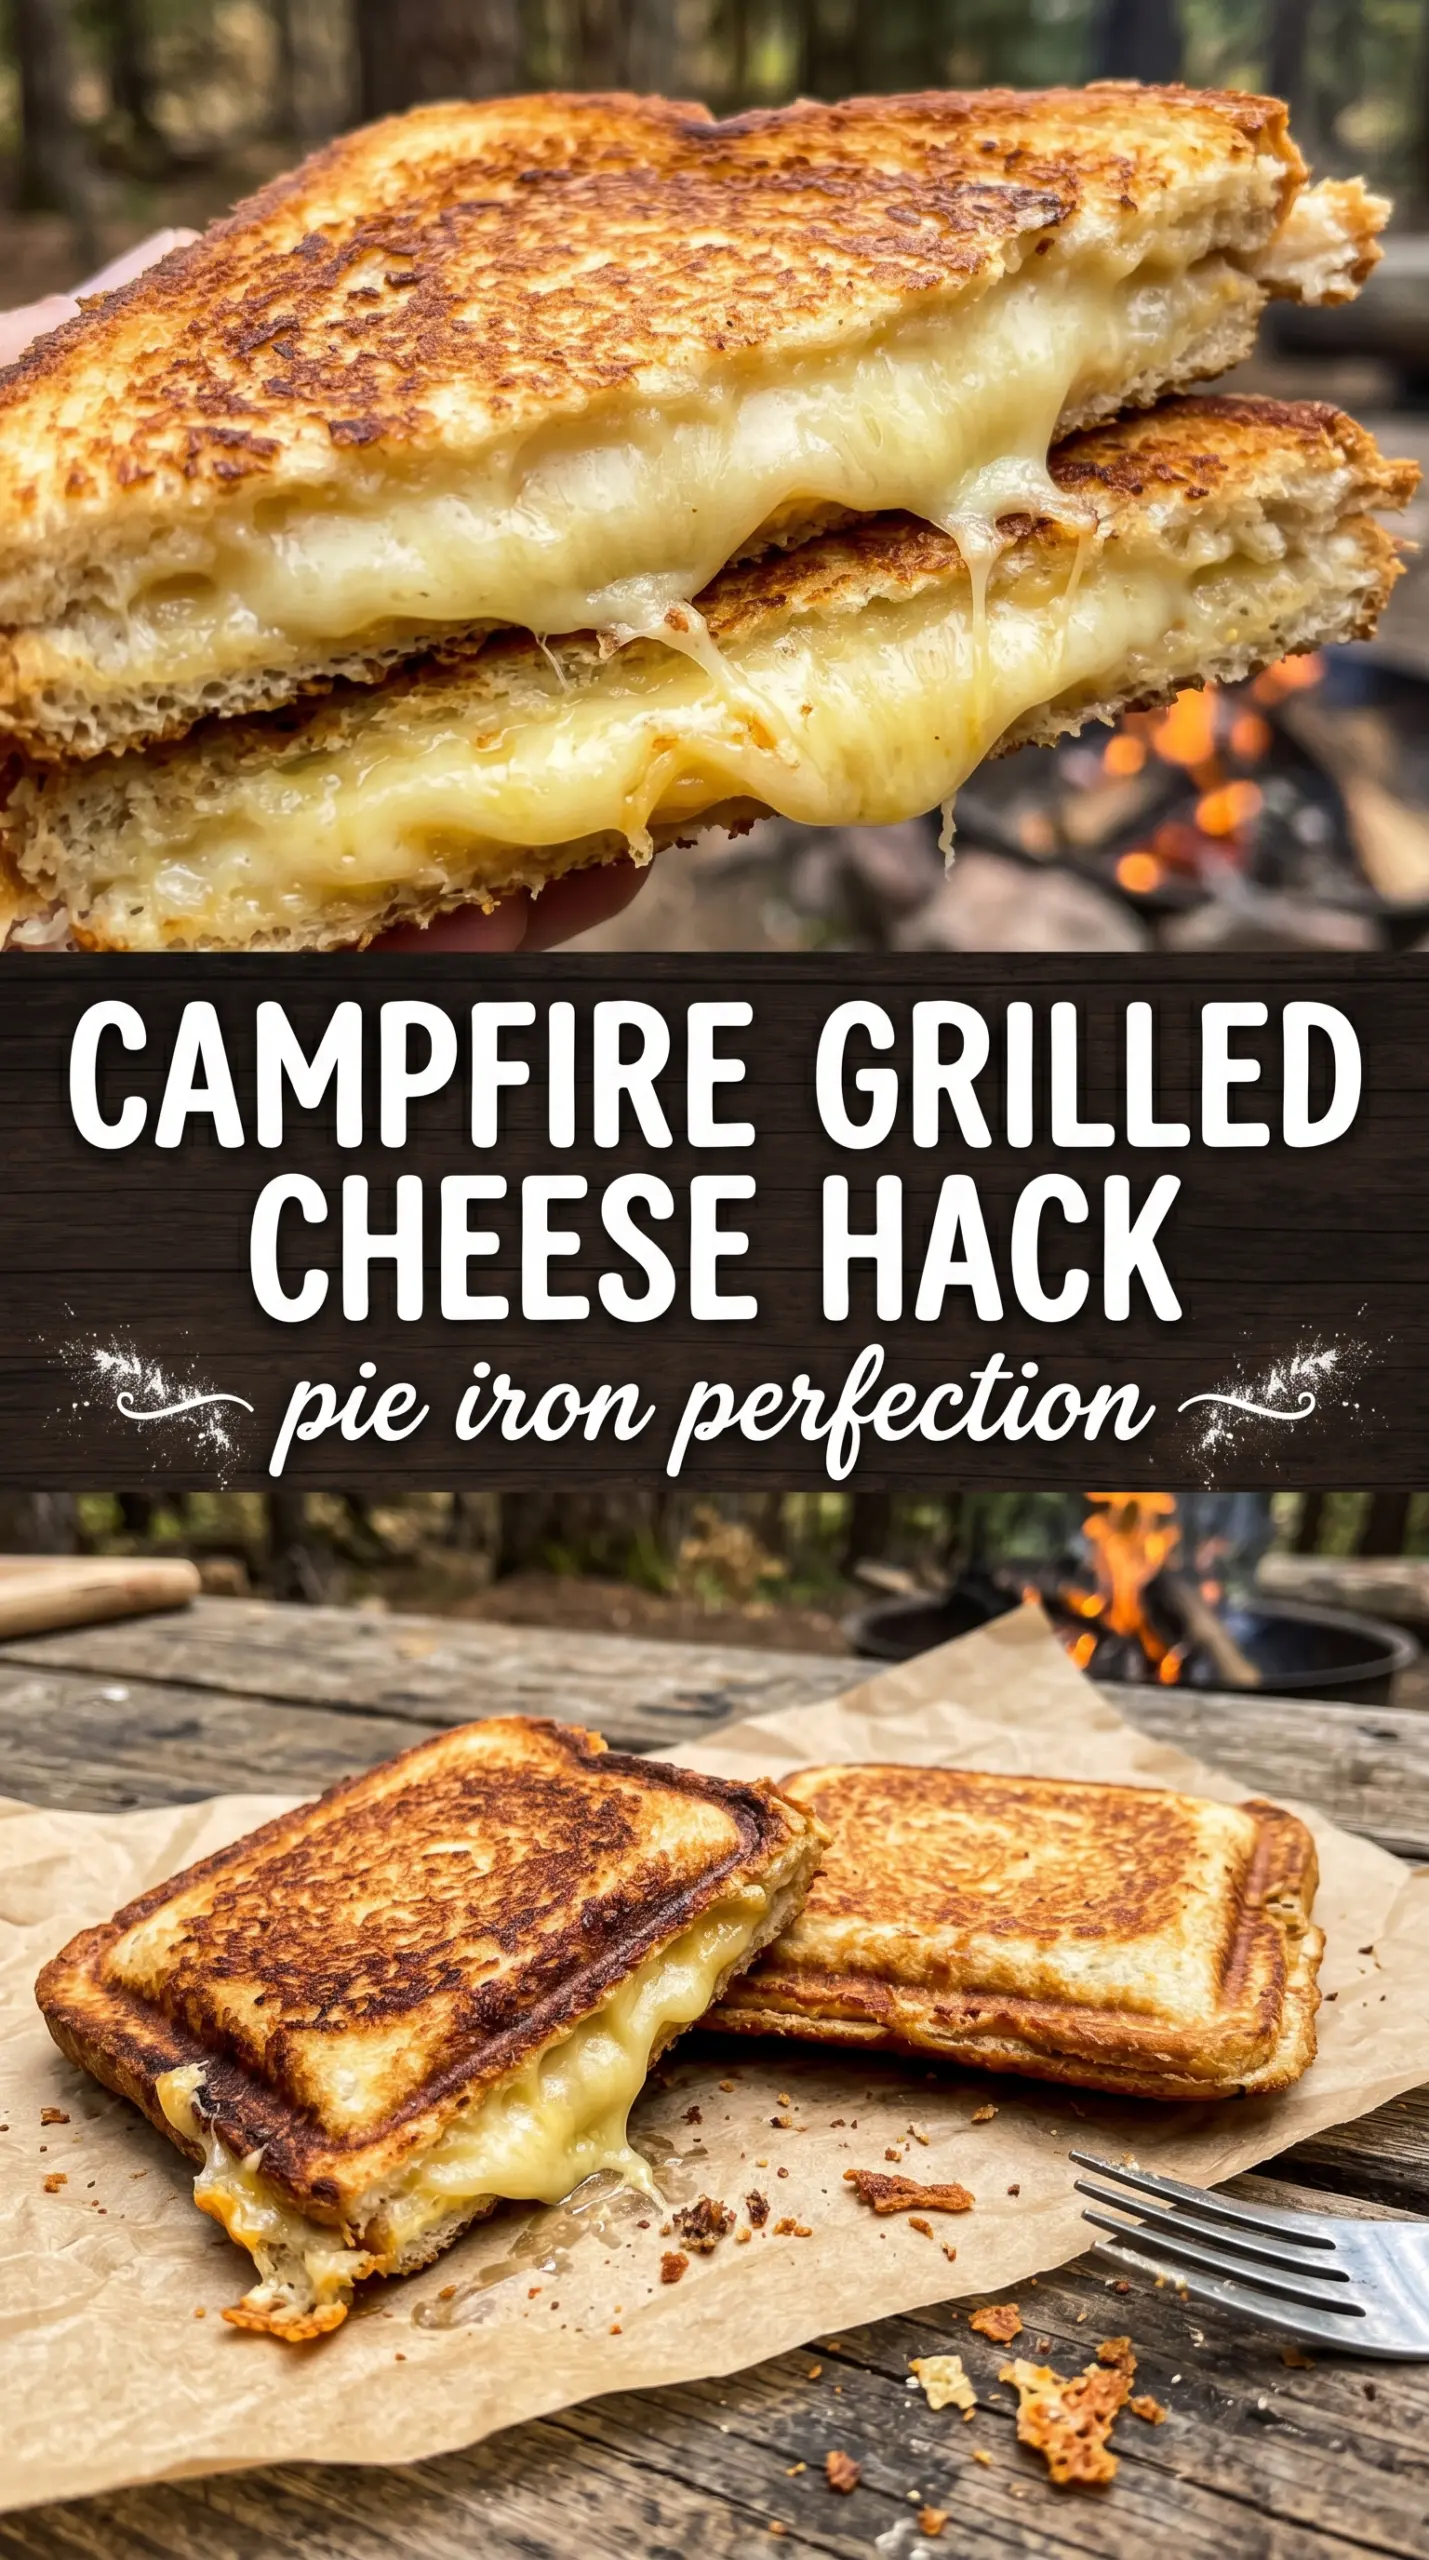
Campfire grilled cheese lands with the kind of crisp, buttery crust and molten center that makes people hover by the fire for “just one more bite.” The bread toasts into a deep golden shell while the cheese turns stretchy and glossy, and that contrast is exactly why this sandwich never gets old. It’s simple food, but when it’s done right, it tastes like the best part of a camping trip.
The trick is keeping the heat steady and moderate. Too much flame and the bread burns before the cheese has time to melt; too little and the sandwich dries out before it ever gets a proper crust. Butter on the outside gives you that even browning, and using sliced cheese instead of shredded helps the filling melt into one cohesive layer instead of escaping into the pan.
Below you’ll find the timing that keeps the bread from scorching, the best cheese choices for a clean melt, and a few practical swaps for when you’re cooking over a fire with whatever you packed.
The bread crisped up evenly on the grate and the cheese melted all the way through without oozing out everywhere. I used cheddar and Swiss together, and my kids asked for the same thing the next night around the fire.
Save this campfire grilled cheese for the nights when you want a crisp, buttery sandwich with a perfect cheese pull over the fire.
The Part Where the Bread Browns Before the Cheese Catches Up
The mistake most people make with grilled cheese over a fire is rushing the heat. Campfire cooking throws out hot spots everywhere, so the sandwich needs to sit over medium heat, not right over the fiercest flames. That gives the bread time to turn crisp and golden while the cheese melts all the way through instead of staying stubborn in the center.
If you’re using a grate, keep the sandwich moving to a cooler edge whenever the bottom starts darkening too quickly. In a cast iron skillet, the pan holds heat better, which makes the browning more even, but it also means the second side can go from perfect to burnt faster than you expect. The visual cue you want is a steady golden crust that releases easily from the pan or grate.
What the Cheese and Butter Are Each Doing Here
- Bread — A sturdy sandwich bread holds up best over open heat. Thin sandwich bread can work, but softer, richer loaves like white or brioche can brown faster, so watch them closely. The key is enough structure that the sandwich doesn’t collapse when you flip it.
- Cheese — American melts the smoothest, cheddar brings sharper flavor, and Swiss gives you a nuttier finish. A single cheese works fine, but a blend gives you better balance. Slice it if you can; slices melt more evenly than shredded cheese in a sandwich like this.
- Butter — Softened butter spreads in a thin, even layer and helps the bread brown without tearing. Cold butter leaves bare patches, and those spots toast unevenly. If you’re cooking for a crowd, softened margarine can stand in, but it won’t give quite the same flavor.
Building a Clean Melt Over Open Heat
Butter the Outside Generously
Spread butter on one side of each slice of bread, edge to edge. That outer layer is what makes the crust crisp and evenly browned, so don’t leave dry corners. If the butter is too cold, it drags the bread instead of coating it, which leads to patchy browning.
Stack the Sandwich Tight
Place the cheese between the unbuttered sides of the bread and press the sandwich together gently. A tight stack helps the cheese melt into one layer instead of sliding around when you flip. If the filling is hanging over the edges, trim it back a little so it doesn’t leak straight onto the heat.
Cook Low and Turn Once
Set the sandwiches on the grate or in the skillet over medium heat and let the first side cook for 4 to 5 minutes. You’re looking for a deep golden crust and cheese that starts to soften at the edges before you flip. If the bread is browning too fast, move it farther from the fire; if it’s pale after several minutes, the heat is too low and the cheese will finish before the bread does.
Finish When the Cheese Pulls Cleanly
Flip and cook the second side until it matches the first. Pull the sandwich from the heat when both sides are crisp and the cheese is fully melted, then cut it right away for the best cheese pull. Waiting too long after cooking lets the crust soften from trapped steam, so serve it hot.
How to Change This Up Without Losing the Campfire Magic
Sharp Cheddar and Swiss Blend
Use half cheddar and half Swiss if you want a sandwich with a little more depth. Cheddar gives you the familiar grilled cheese bite, while Swiss melts smoothly and keeps the filling from tasting one-note.
Dairy-Free Version
Use a good melting dairy-free cheese and a plant-based buttery spread. The texture will be a little softer and less stretchy than the classic version, but it still browns well if you keep the heat moderate and don’t rush the flip.
Extra-Crisp Skillet Sandwiches
A cast iron skillet gives you the most even crust, especially if the fire is uneven. The bread comes out more uniformly golden than it does directly on a grate, though you lose a little of that smoky edge from the open fire.
Make-Ahead Camping Lunch
You can butter and assemble the sandwiches at home, then wrap them tightly and chill them until you’re ready to cook. That saves time at camp, but the bread is best cooked the same day so it doesn’t dry out in the fridge.
Storage and Reheating
- Refrigerator: Store cooked sandwiches for up to 2 days. The crust softens as it sits, but the flavor holds up.
- Freezer: I don’t recommend freezing these. The bread gets soggy after thawing and the cheese loses that clean melt.
- Reheating: Warm in a skillet over low heat until the bread crisps again and the center loosens. The big mistake is microwaving it, which turns the crust chewy and makes the cheese separate.
Questions I Get Asked About This Recipe

Campfire Grilled Cheese
Ingredients
Equipment
Method
- Butter one side of each bread slice generously.
- Place cheese between two slices of bread with butter on the outside, pressing lightly so the filling stays together.
- Place the sandwiches on a campfire grate or in a cast iron skillet over medium heat.
- Cook for 4-5 minutes until the bread is golden brown and the cheese is visibly melting.
- Flip the sandwiches and cook for an additional 4-5 minutes until the second side is golden and the cheese fully melts.
- Remove from heat, cut in half, and serve hot.