Crunchy chips, seasoned taco meat, cool lettuce, and all the best taco salad toppings come together in one bag with almost no cleanup. The chip bag stays part of the meal, which means every bite picks up salty crumbs, melty cheese, and just enough salsa to keep things lively. It’s the kind of lunch or camp supper that feels playful without giving up the things people actually want: plenty of flavor, a little mess, and something filling enough to count as dinner.
The trick is keeping the hot and cold parts separate until the last minute. Warm taco meat goes in first, then lettuce and cheese, and the wet toppings go on top so the chips don’t turn soft before you eat. Doritos give you a sweeter, bolder finish, while Fritos bring a deeper corn flavor and hold up well under the toppings. If you’ve only had walking tacos at school fairs or cookouts, this version is the same idea done in a way that works just as well at home, at the campsite, or in the back of the truck before a ball game.
Below you’ll find the little details that keep the bags from falling apart, plus a few smart swaps for different diets and a few practical answers for make-ahead or camp-style serving.
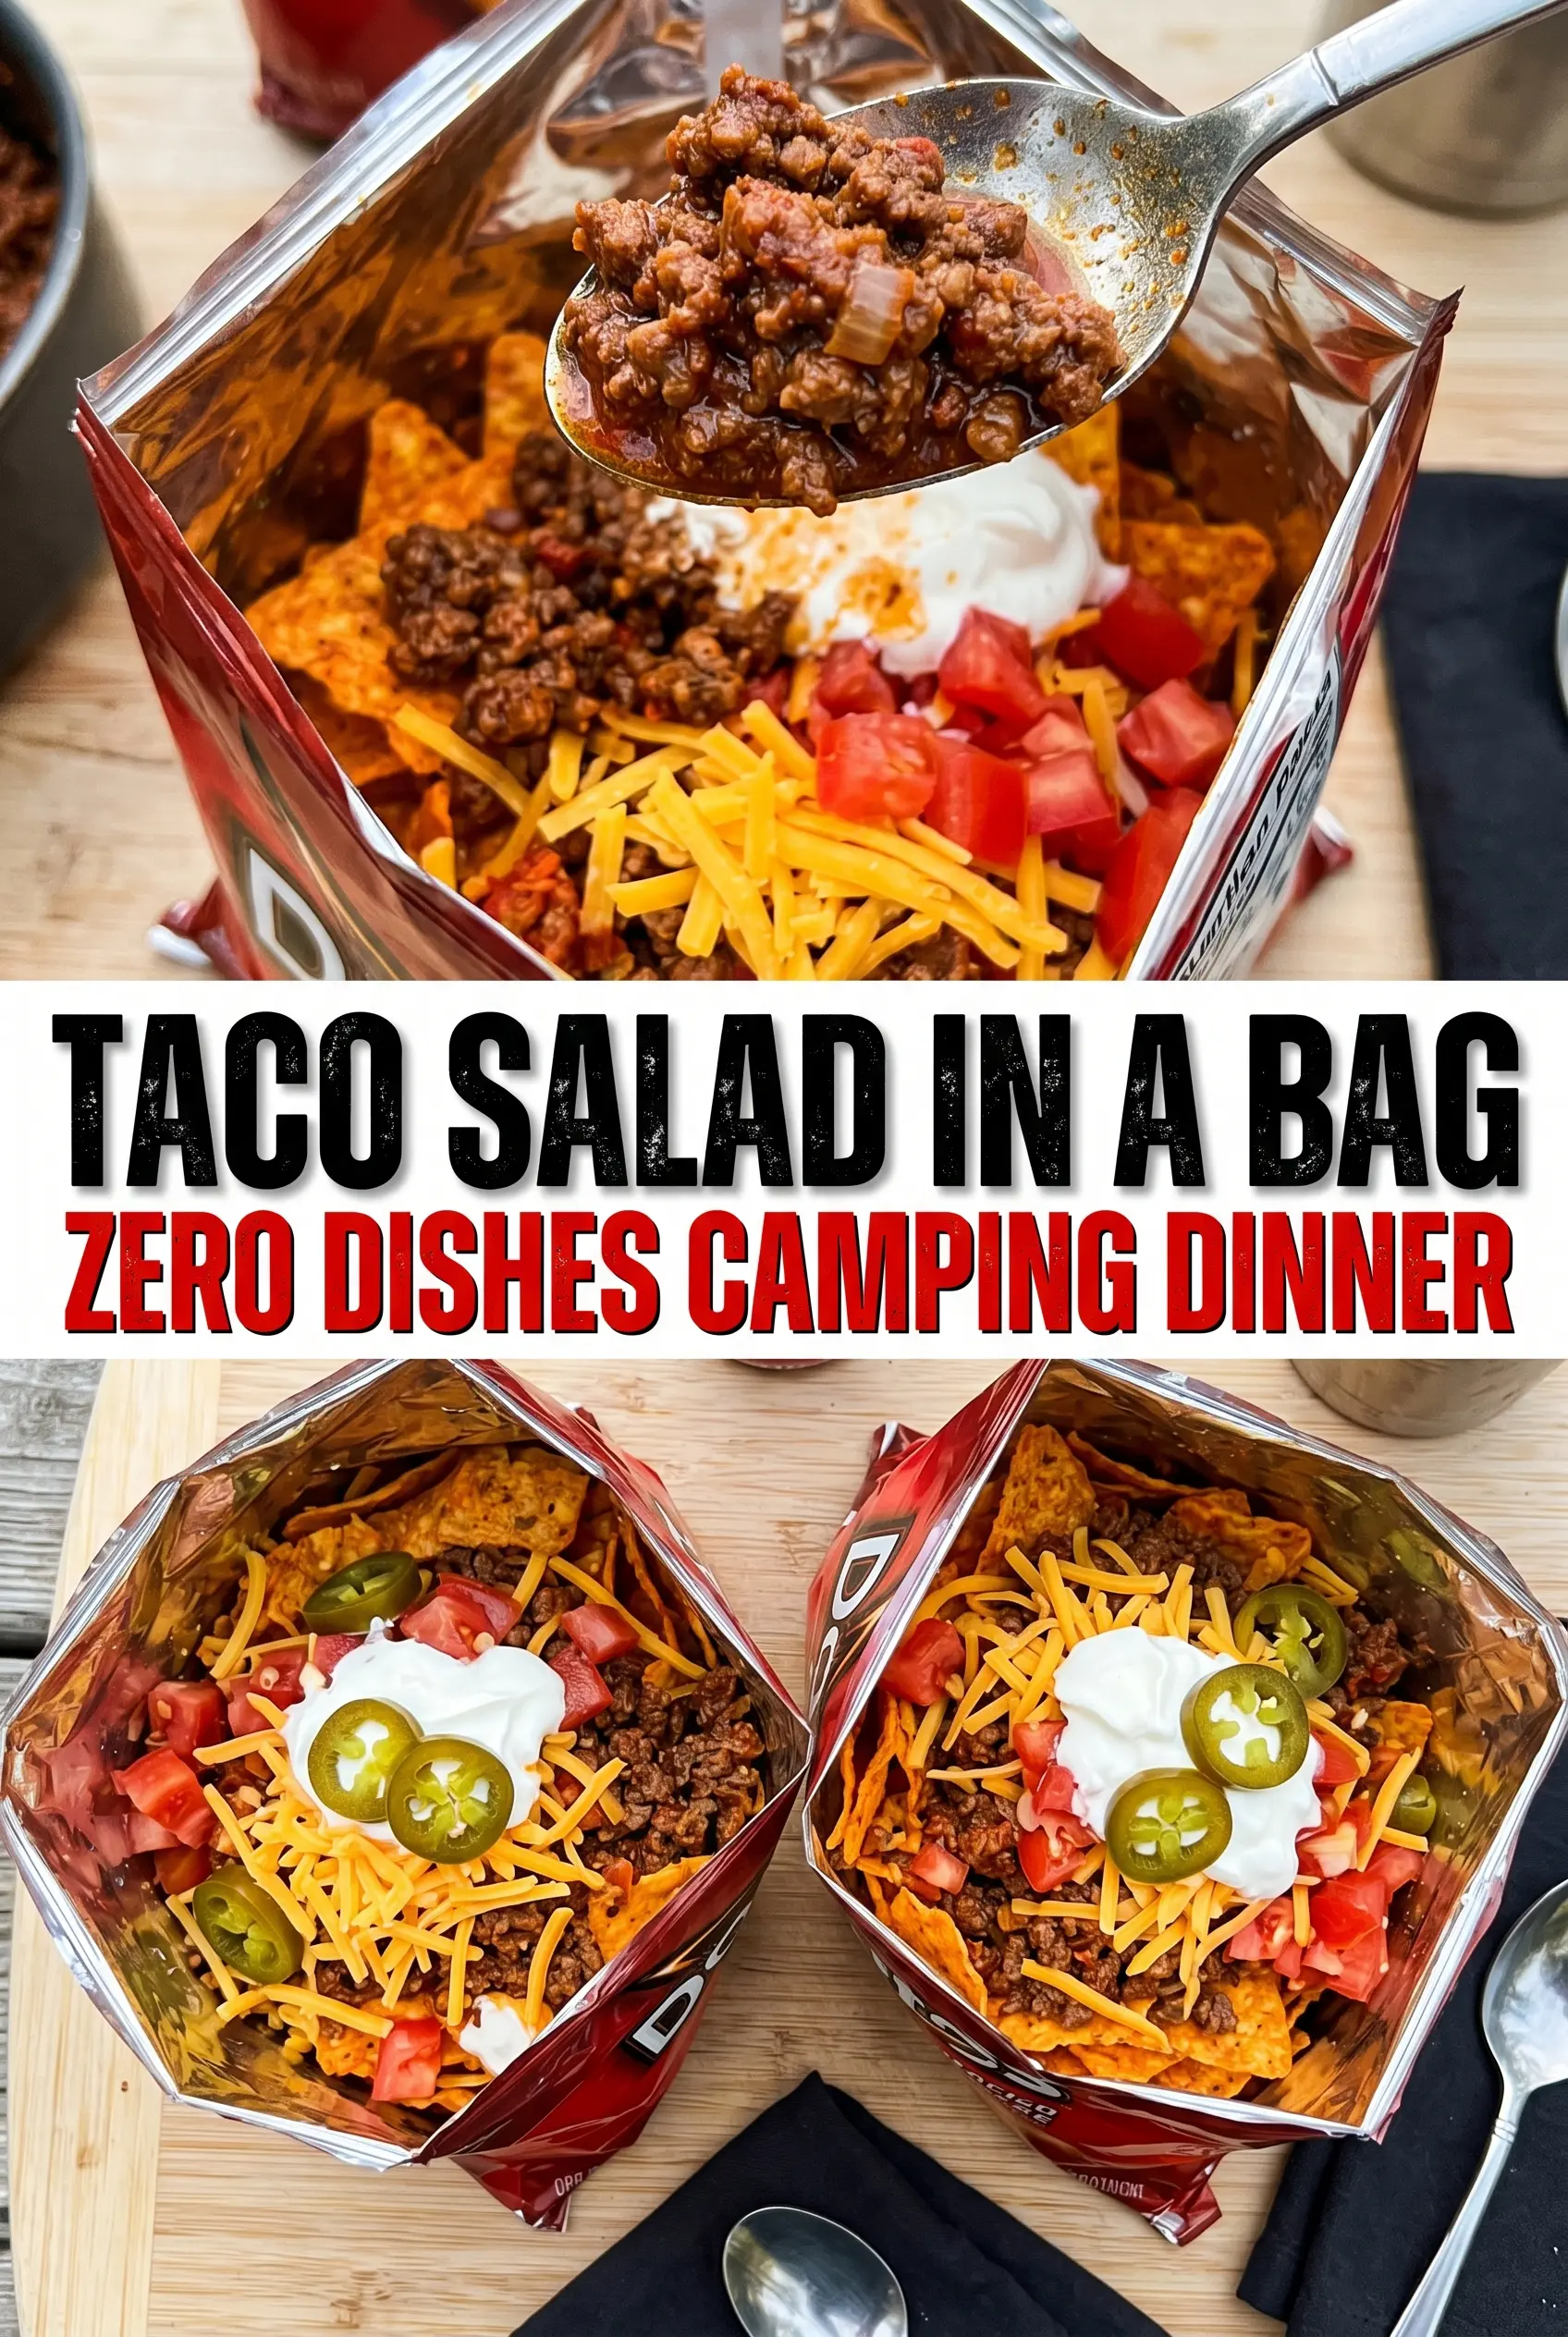
The taco meat stayed hot in the bag and the chips still had crunch at the bottom, even after we piled on sour cream and salsa. My kids thought eating dinner out of a chip bag was the best thing ever.
Love the crunchy, no-plate taco salad in a bag? Save it for the next camping lunch or easy weeknight dinner when you want zero dishes.
The Chip-Bag Trick That Keeps This Taco Salad Crunchy
The biggest failure with taco salad in a bag is soggy chips. Once the hot filling sits too long against the chips, the bottom starts to collapse and the whole thing turns soft fast. The fix is simple: build each bag right before serving and keep the wet toppings on top, not mixed through the meat.
Ground beef also needs to be cooked down until it’s no longer greasy before it goes into the bag. If the meat is too wet, that extra moisture migrates straight into the chips. Drain off the excess fat, season the beef while it’s still hot, and let the taco seasoning cling to the crumbles before you start layering.
- Chip choice — Doritos give you the most recognizable walking taco flavor and a stronger cheese note. Fritos are sturdier and taste a little more savory, which is useful if you want something that holds up a bit longer in the bag.
- Meat texture — Crumbled beef works better than large chunks because it settles evenly and doesn’t tear through the chips as aggressively when you eat it.
- Assembly timing — If you’re feeding a group, set everything out buffet-style and let each person build their own bag at the table. That keeps the chips crisp and makes the whole thing feel fresh.
What Each Topping Is Doing in the Bag

Chip bags are the container and the crunch, so individual bags matter here. A family-size bag won’t give you the same easy eat-out-of-the-bag setup, and the layers get harder to distribute evenly.
Taco seasoning is doing the heavy lifting on flavor, so use a brand you already like or a homemade blend with enough cumin and chili powder to make the beef taste like tacos, not just browned meat. If you want a lower-sodium version, homemade seasoning is the easiest place to control that.
Lettuce, tomatoes, sour cream, salsa, and olives bring the cold contrast that makes each bite taste like a taco salad instead of just seasoned chips with meat. Shred the lettuce fine enough that it tucks into the bag without springing back out, and dice the tomatoes small so they don’t flood the bottom.
Building the Meat Layer First
Spoon the warm taco meat into the bottom of each opened bag before anything else. That gives the chips a sturdy base instead of letting the lighter toppings crush them right away. If the beef is still dripping with fat, drain it first or the bag will soften from the bottom up.
Adding the Cold Layers
Pile on the lettuce and cheese next so they sit between the hot meat and the wetter toppings. The lettuce should stay cold and crisp, and the cheese softens just a little from the heat without fully melting. If you add salsa too early, the chips underneath start losing their snap.
Finishing Without Soggy Chips
Top each bag with sour cream, salsa, and olives right before eating. A small spoonful in each bite is enough; if you load the top with too much salsa, the chips at the edge soak up liquid faster than you can eat them. Hand out forks and let people eat from the bag so nothing gets overmixed.
How to Adapt This for Camps, Meatless Nights, and Bigger Crowds
Ground Turkey Instead of Beef
Use ground turkey if you want a lighter filling, but add a little oil to the pan because turkey can dry out faster than beef. The flavor is cleaner and less rich, so the seasoning needs to be fully bloomed in the skillet before you assemble the bags.
Vegetarian Walking Taco Bags
Swap the beef for seasoned black beans, pinto beans, or a plant-based crumble. Beans make the filling softer and a little more saucy, while crumbles keep the same taco-style texture as the original.
Dairy-Free Topping Swap
Skip the cheese and sour cream, then use a dairy-free shredded cheese and a thick salsa or avocado topping instead. You’ll lose a little creaminess, but the bag still eats like a loaded taco salad with plenty of contrast.
Camping-Style Make-Ahead Setup
Cook and season the meat ahead of time, then keep it in a tightly sealed container in a cooler or fridge until you’re ready to serve. Pack the toppings separately and open the chip bags only when the fillings are ready to go, which keeps the crunch intact even outdoors.
Storage and Reheating
- Refrigerator: Store the taco meat separately for up to 4 days. Keep the lettuce, tomatoes, cheese, and chips in separate containers so nothing turns limp.
- Freezer: The seasoned beef freezes well for up to 2 months. Thaw it in the fridge overnight before reheating.
- Reheating: Warm the meat in a skillet over medium-low heat or in the microwave until hot. Don’t reheat the chips or assemble the bags ahead of time, since the texture goes downhill fast once the filling touches the chips.
Answers to the Questions Worth Asking
Taco Salad In A Bag
Ingredients
Equipment
Method
- Cook ground beef in a cast iron skillet over campfire until browned, stirring occasionally for even cooking, about 10 minutes. Season with taco seasoning and mix until the beef is fully coated.
- Open each chip bag by cutting along the top or side, keeping it wide enough to layer ingredients. Layer cooked taco meat, then shredded lettuce, then shredded cheese, then diced tomatoes into each bag.
- Top each filled bag with sour cream, salsa, and sliced black olives. Eat directly from the bag with a fork right away while the chips still have crunch.