Crispy-skinned chicken thighs with sticky, smoky barbecue glaze are the kind of dinner that disappears fast because they hit every good note at once: juicy dark meat, charred edges, and a sauce that cooks down into something glossy instead of slippery. Bone-in, skin-on thighs give you the margin you need on the grill, and they stay tender long enough to build that deep caramelized finish without drying out.
The trick here is timing the sauce for the last stretch, not the whole cook. Sugar in the glaze helps it brown and cling, but if it goes on too early it can scorch before the chicken is done. A little cider vinegar keeps the sauce from turning flat and one-note, while smoked paprika gives the glaze a deeper grill-house taste even if your barbecue sauce is mild.
Below, I’ve laid out the part that matters most: how to get the skin crisp before the sauce starts to darken, plus the small ingredient choices that change this from ordinary grilled chicken into something you’ll want to make again.
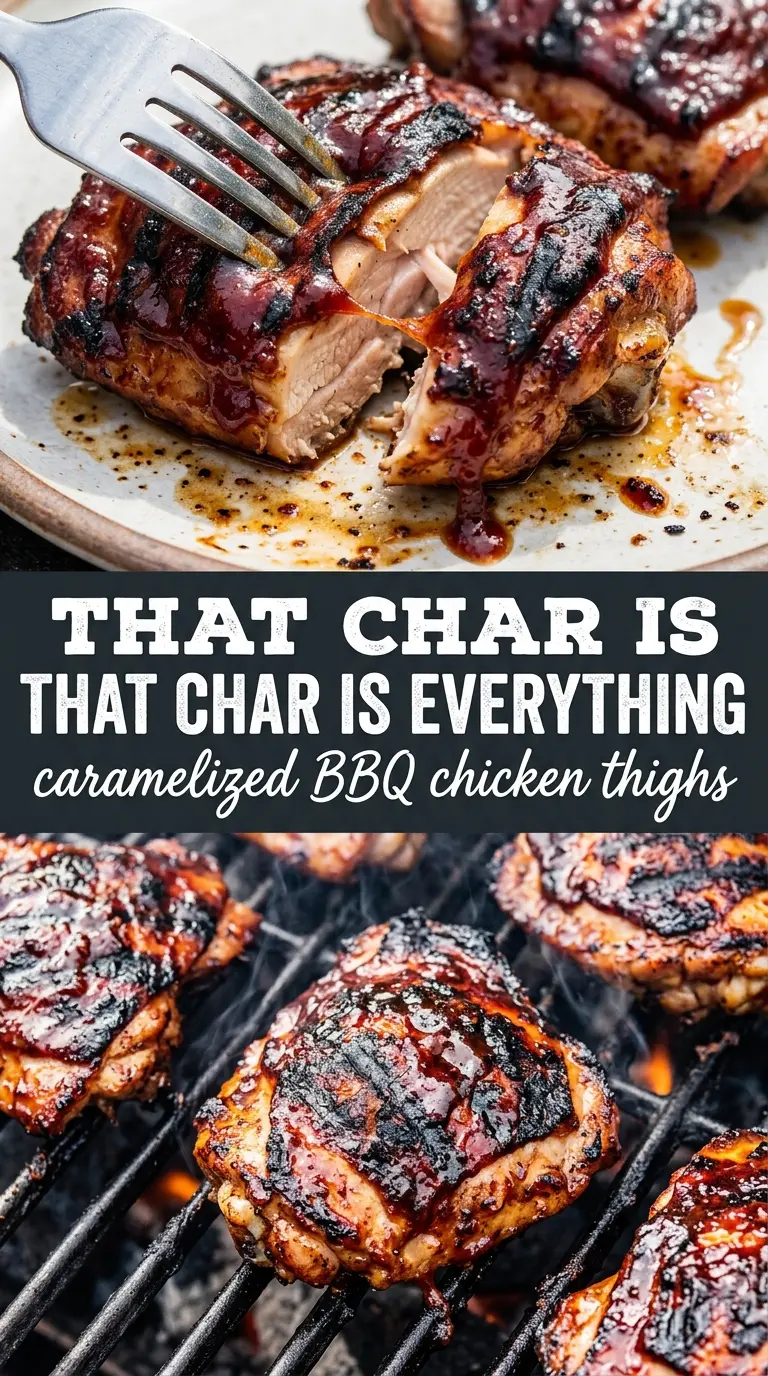
The skin got crisp before the sauce went on, and the glaze turned sticky and dark without burning. My husband kept sneaking pieces off the platter while I was still grilling the last batch.
Save these caramelized BBQ chicken thighs for the night you want crisp skin, smoky sauce, and an easy grill dinner that tastes like it took much longer.
The Secret to Crisp Skin Before the Sauce Goes On
Barbecue chicken goes wrong when the glaze starts too early. Sugar-heavy sauce burns before the thighs have time to cook through, and once that happens you get bitter spots instead of a lacquered finish. The better move is to build the skin first over steady medium heat, then brush on the sauce only after the chicken has some structure and the fat has rendered enough to crisp the surface.
Chicken thighs are forgiving, but they still need space on the grill. Crowding traps steam, which softens the skin and keeps the sauce wet instead of sticky. If your grill runs hot in one spot, move the thighs as needed so the sugar in the glaze can caramelize without blackening. The goal is a deep mahogany color and skin that still crackles a little when you cut into it.
What Each Ingredient Is Actually Doing in the Glaze
- Chicken thighs — Bone-in, skin-on thighs are the right cut here because the fat under the skin bastes the meat as it cooks. Breasts dry out before the sauce has a chance to caramelize, but thighs stay juicy and hold up to direct grill heat.
- BBQ sauce — Use a sauce you already like, because it becomes the main flavor. A thinner, sweeter sauce will darken faster, while a thicker sauce clings more aggressively; either works as long as you watch the last few minutes closely.
- Brown sugar — This helps the glaze turn sticky and burnished, but it also raises the burn risk, which is why it belongs in the late-stage sauce and not on the chicken from the start. Light or dark brown sugar both work; dark adds a deeper molasses note.
- Apple cider vinegar — This keeps the sauce from tasting heavy and one-dimensional. If you skip it, the glaze can turn cloying, especially after it reduces on the grill.
- Smoked paprika — This adds a smoky edge that tastes like the grill even if your barbecue sauce is mild. Regular paprika will work in a pinch, but it won’t give the same depth.
- Olive oil — A thin coating helps the skin brown evenly and keeps the seasoning from clumping. You don’t need much; too much oil can cause flare-ups and soften the crust.
How to Build the Glaze and Grill the Thighs Without Burning Them
Seasoning the Chicken
Pat the thighs dry first so the skin can start crisping instead of steaming. Coat them lightly with olive oil, then season with salt and pepper on both sides. If the skin is damp when it hits the grill, it will cling and pale instead of tightening into a clean, crackly surface.
Mixing the Sauce
Stir together the barbecue sauce, brown sugar, vinegar, and smoked paprika until the sugar dissolves as much as it can. The mixture should look smooth and glossy, not grainy. If it feels overly thick, a teaspoon of warm water loosens it just enough to brush easily, but don’t thin it so much that it runs off the chicken.
Grilling for Skin and Smoke
Start the thighs skin-side down over medium heat and leave them alone for 8 to 10 minutes. You’re listening for a steady sizzle, not an aggressive flare-up. When the skin lifts cleanly and has deep color, flip the thighs and keep grilling until the meat is nearly done. If the flames jump when the fat renders, shift the chicken to a cooler spot instead of chasing the fire with sauce.
Finishing With the Caramelized Glaze
Brush the thighs generously with sauce only after both sides have some color. Then grill a few minutes more on each side, basting again so the glaze thickens in layers instead of pooling. Pull the chicken when it reaches 165°F in the thickest part and the sauce looks sticky and dark, with little charred edges around the skin. Let it sit for a couple of minutes before serving so the juices settle and the glaze stays put.
How to Adjust These Caramelized BBQ Chicken Thighs for Different Grills and Diets
Oven Finish When the Weather Won’t Cooperate
If your grill is acting up, sear the thighs skin-side down in a hot oven-safe skillet, then move the pan to a 425°F oven until the chicken is nearly done. Brush on the sauce for the last few minutes under the broiler, watching closely because the sugar in the glaze can go from caramelized to burnt in a blink. You’ll lose a little of the live-grill flavor, but the skin can still get crisp and the glaze will set nicely.
Sugar-Free or Lower-Sugar Version
Use a no-sugar-added barbecue sauce and skip the brown sugar, or add just 1 teaspoon for a lighter glaze. The sauce won’t thicken quite as aggressively, so brush on thinner layers and let each one set before adding the next. The result is less sticky but still smoky and bold.
Gluten-Free Check
This recipe is naturally close to gluten-free, but the barbecue sauce is the place to double-check. Some brands use soy sauce, malt, or other thickeners that aren’t safe for every diet. Pick a labeled gluten-free sauce and the rest of the recipe stays exactly the same.
Bone-In Chicken Thighs Without the Skin
You can cook skinless thighs the same way, but you’ll lose the crisp texture that makes this version stand out. Brush them with a little extra oil at the start so they don’t dry out, and expect the sauce to cling a little less dramatically. The flavor will still be there; the finish just won’t have that crackly top.
Storage and Reheating
- Refrigerator: Store leftovers in an airtight container for up to 4 days. The skin will soften in the fridge, but the flavor stays strong.
- Freezer: Freeze cooked thighs for up to 2 months, tightly wrapped and sealed. The sauce freezes well, though the skin won’t come back crisp after thawing.
- Reheating: Reheat uncovered in a 350°F oven until hot, then finish under the broiler for a minute or two to wake up the glaze. Microwaving makes the skin rubbery, which is the fastest way to lose the best part of this dish.
Answers to the Questions Worth Asking

Caramelized BBQ Chicken Thighs
Ingredients
Method
- Season the chicken thighs with salt, pepper, and olive oil.
- Mix BBQ sauce, brown sugar, apple cider vinegar, and smoked paprika until uniform.
- Preheat the grill to medium heat.
- Grill the chicken skin-side down for 8-10 minutes until the skin looks deeply golden and crispy with visible grill marks.
- Flip the chicken and grill for another 8-10 minutes until browned.
- Brush generously with BBQ sauce and grill for 5 more minutes per side, basting frequently, until the sauce looks glossy and caramelized with dark sticky spots.
- Continue grilling until the internal temperature reaches 165°F and the sauce is caramelized.