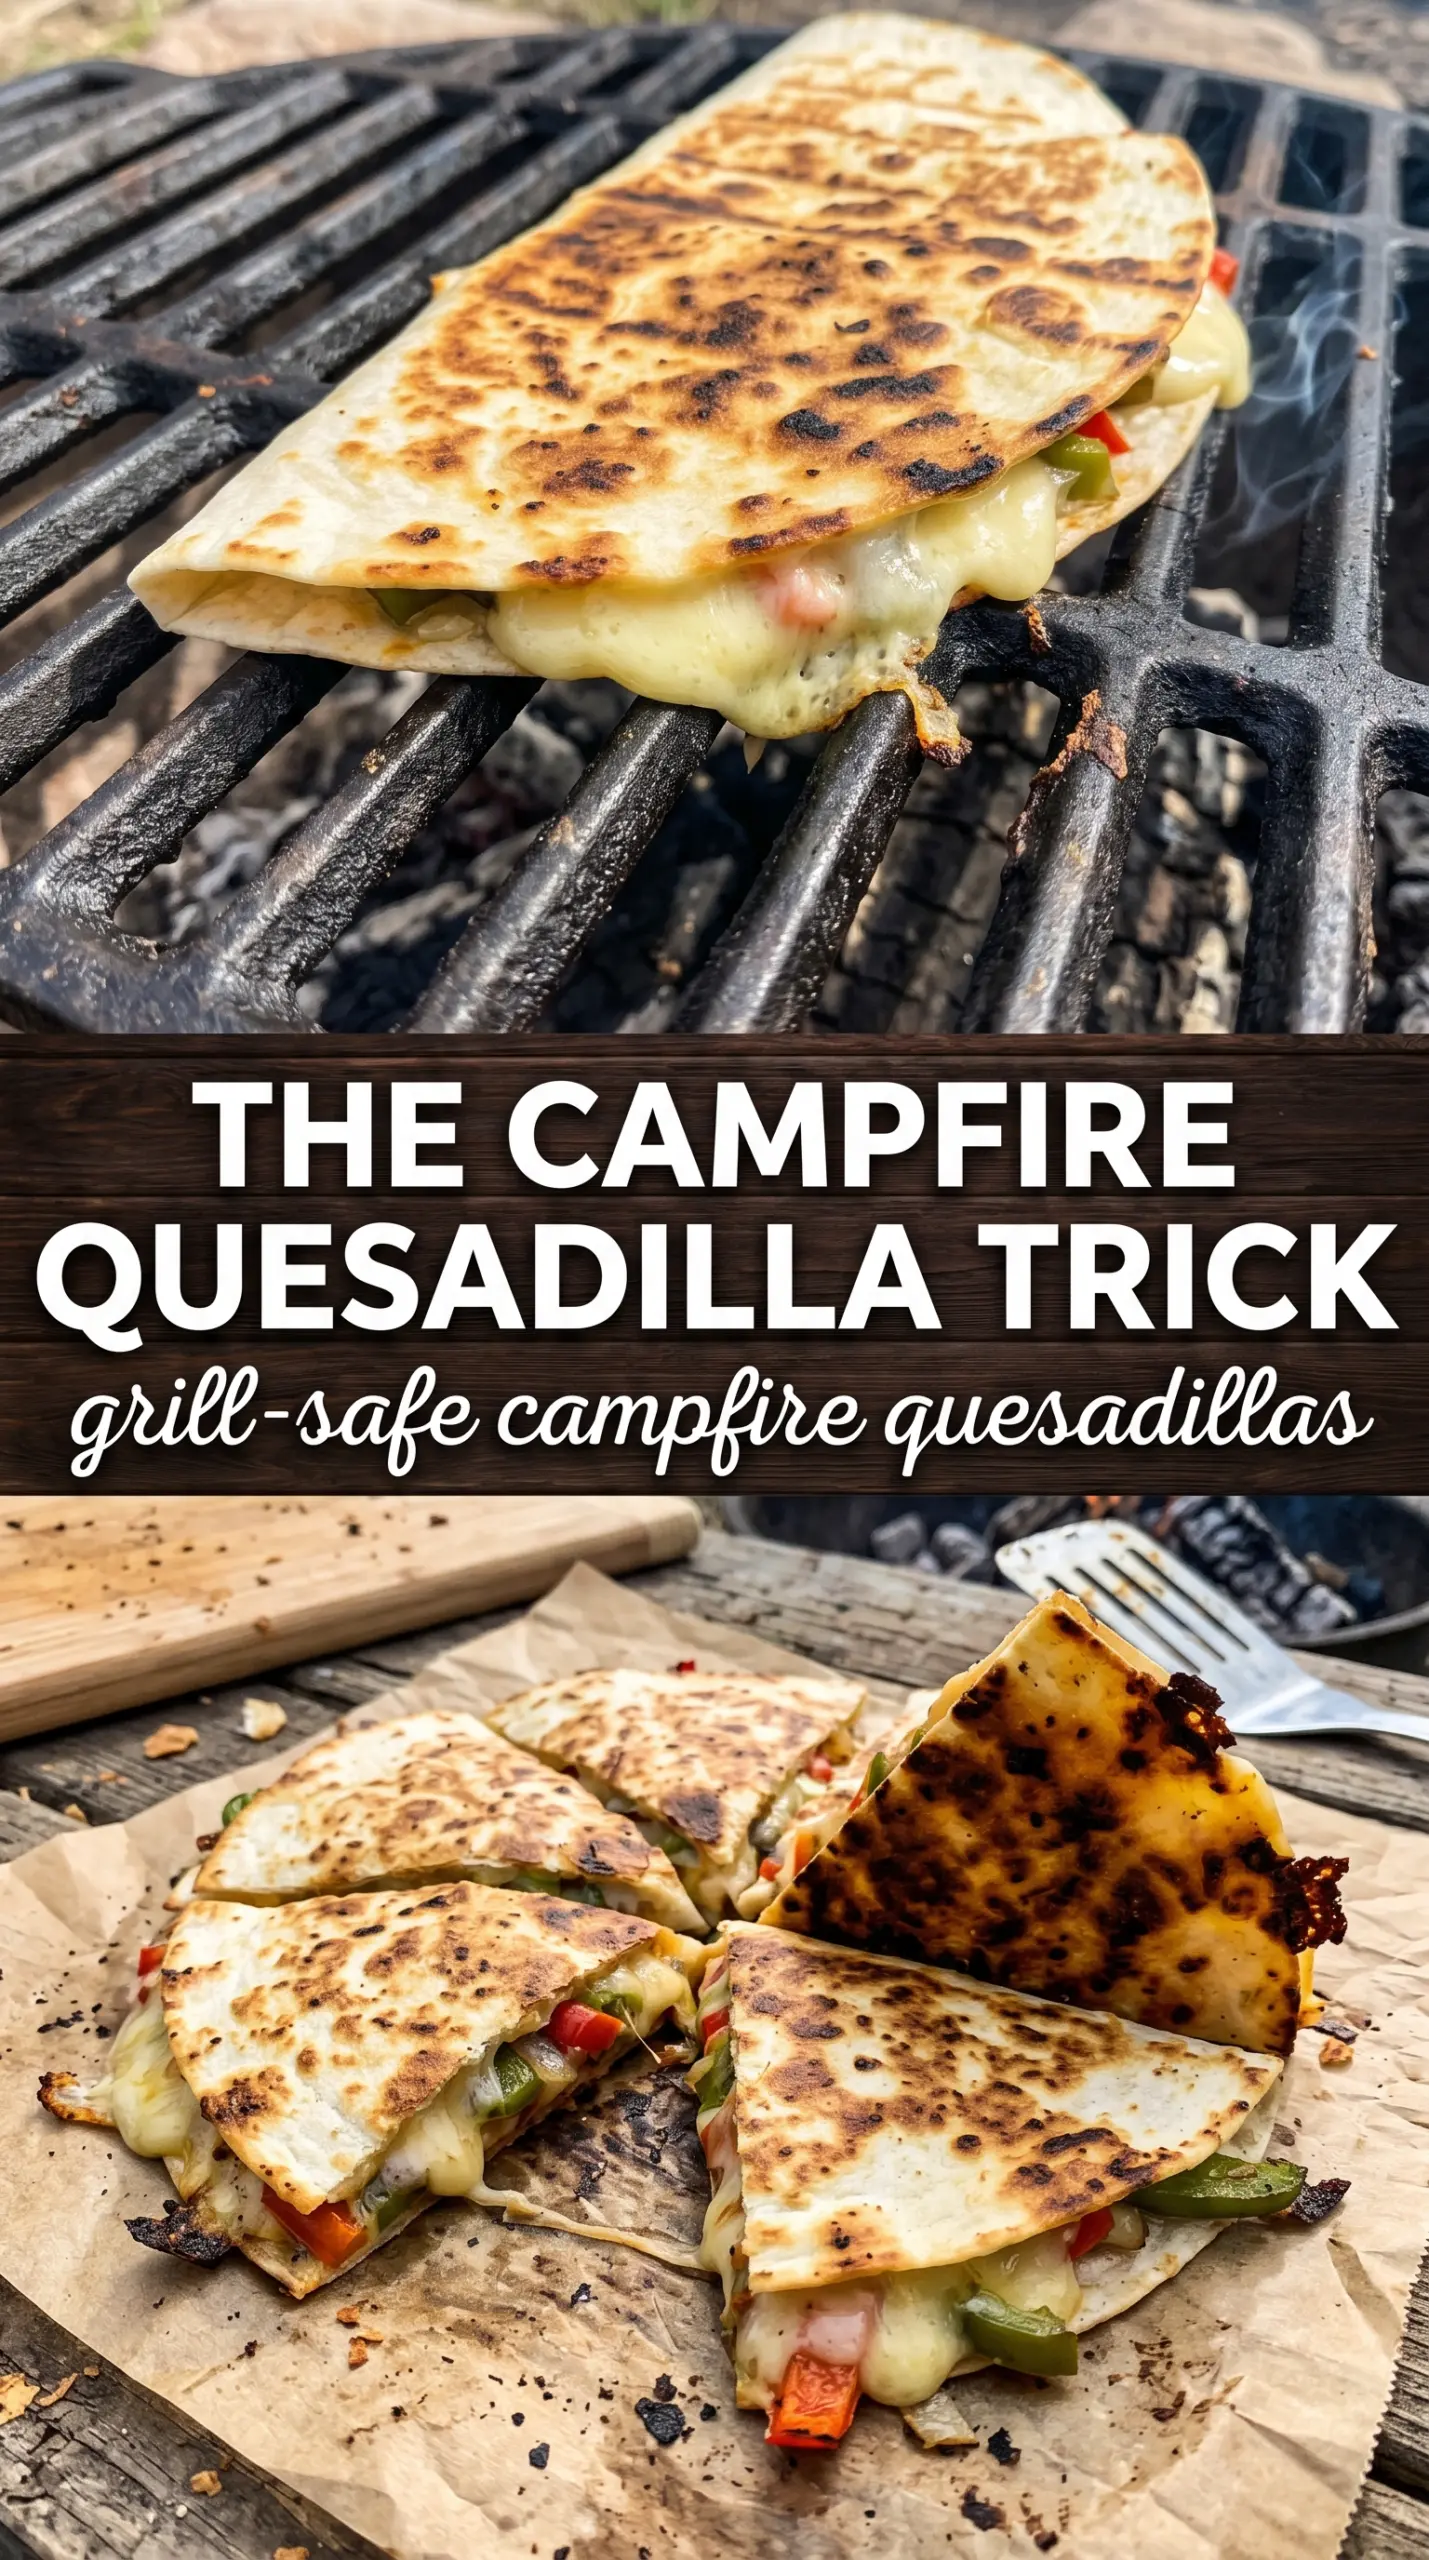
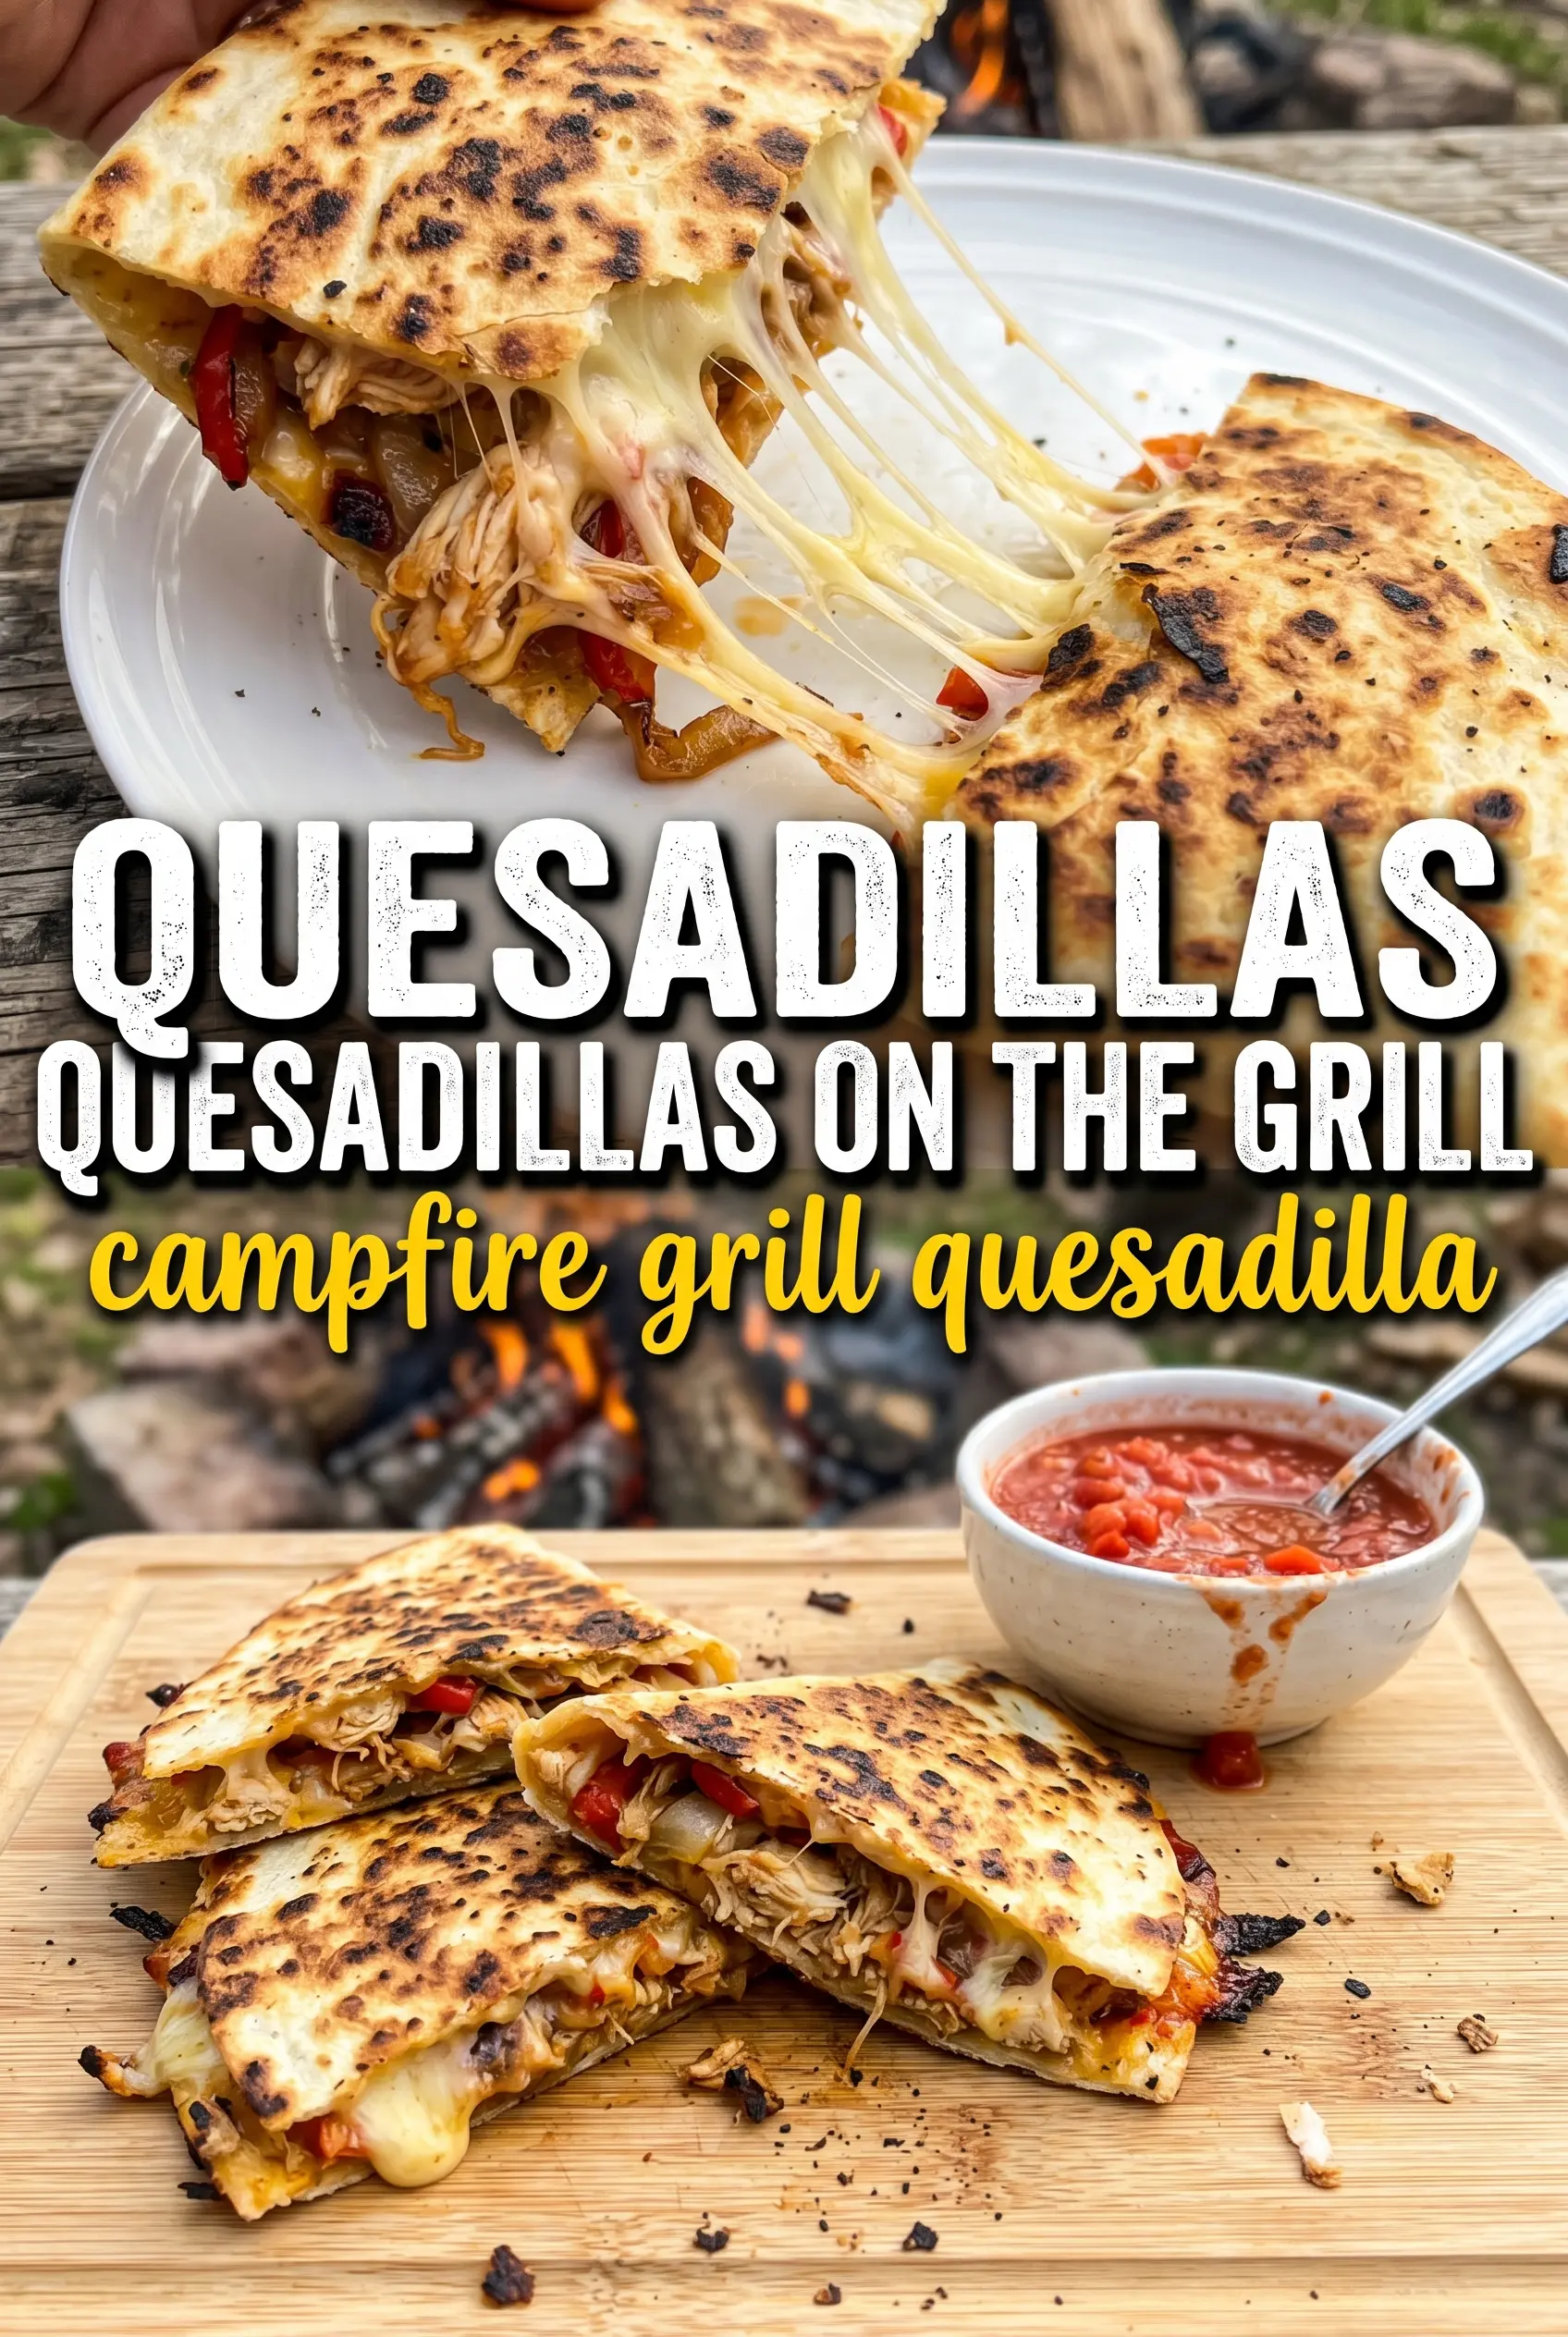
Grilled campfire quesadillas hit that sweet spot between practical and craveable: crisp tortillas, molten cheese, and smoky edges that taste like the fire did half the work. They cook fast, feed a crowd without much fuss, and land on the table with the kind of melted cheese pull that gets everyone standing a little too close to the skillet.
The trick is keeping the filling simple enough to heat through before the tortillas overbrown. A shredded Mexican cheese blend melts smoothly, cooked chicken keeps the filling hearty without adding extra moisture, and the peppers, onion, and jalapeño bring enough bite to keep each wedge from tasting flat. I also like using butter or oil on the cooking surface, because it gives the tortillas a deeper color and helps them release cleanly when it’s time to flip.
Below, I’ll walk you through the small details that keep the quesadillas crisp instead of soggy, plus a few easy ways to adapt them for different eaters and different campfire setups.
The tortillas got beautifully crisp over the fire, and the cheese melted all the way through without spilling everywhere. I loved how the jalapeño and bell pepper kept each wedge from feeling heavy.
Love the smoky grill marks and gooey cheese in these campfire quesadillas? Save this one for your next camping dinner or backyard fire night.
The Trick to Keeping Campfire Quesadillas Crisp, Not Soggy
The biggest failure point with grilled quesadillas is loading them up with too much filling before the cheese has a chance to bind everything together. When that happens, the tortillas brown before the center melts, and you end up with a messy middle and a limp exterior. The fix is simple: keep the filling in a thin, even layer and let the cheese touch both tortillas so it acts like glue.
Cast iron gives you the most control over campfire heat, but a grill grate works too if the fire is steady and the grate is hot enough to sizzle on contact. If the surface is only warm, the tortillas dry out before they take on color. You want a quick, even sear that gives you grill marks or a deep golden crust while the cheese turns fully molten.
What Each Filling Is Doing Here
- Flour tortillas — Large flour tortillas hold up best over the fire because they’re flexible and brown evenly. Smaller tortillas work, but they give you less room for filling and are harder to flip without spilling.
- Mexican cheese blend — This is the ingredient that makes the quesadilla feel complete. A pre-shredded blend is convenient, but if you grate your own, it melts a little smoother because there’s no anti-caking powder in the way.
- Cooked shredded chicken — Using pre-cooked chicken keeps the filling from overcooking while the tortillas crisp. Rotisserie chicken is the easiest swap, and it’s perfect here as long as you shred it small enough to spread evenly.
- Bell pepper, onion, and jalapeño — These add color, crunch, and a little heat without making the quesadilla wet. Dice the onion fine so it softens quickly, and slice the jalapeño thin if you want the heat to spread more evenly.
- Butter or oil — This is what keeps the tortillas from sticking to a hot skillet or grate and helps the outside crisp before the cheese runs out. Butter gives a richer finish; oil is steadier over a live fire.
Building the Quesadilla Over Live Heat
Heating the Surface First
Set your cast iron skillet directly over the campfire or place a grill grate over steady coals, then let the surface get hot before the tortillas go on. If you start on a cool pan, the tortilla dries out before it browns, and the cheese takes too long to melt. A drop of butter or oil should sizzle right away but not smoke aggressively.
Layering for Even Melt
Lay down one tortilla and spread the cheese evenly across it, then add the chicken, peppers, onion, and jalapeño in a thin layer. Keep the fillings away from the outer edge so they don’t spill when you press the top tortilla down. The cheese should be the most generous layer, because it helps everything fuse as it melts.
Flipping Without Losing the Filling
Cook for 3 to 4 minutes on the first side until the bottom tortilla is deep golden and the cheese has started to soften. Slide a spatula all the way underneath before you flip, and turn it in one confident motion instead of hesitating halfway. If the quesadilla tears, the heat is probably too high or the tortilla was overloaded.
Finishing the Melt
Cook the second side for another 3 to 4 minutes until the second tortilla is crisp and the cheese is fully melted through. Press down gently with the spatula once or twice so the layers bond, but don’t smash it flat or the filling will squeeze out. Pull it off the heat as soon as it’s golden; letting it sit too long over the fire turns the tortilla hard instead of crisp.
How to Adapt These for Different Camps and Different Eaters
Dairy-Free Quesadillas
Use a dairy-free shreddable cheese that melts well and brush the tortillas with oil instead of butter. The texture will be a little less stretchy than the original, but the outside still gets crisp and the filling stays satisfying.
Vegetarian Campfire Quesadillas
Skip the chicken and add extra peppers, onions, and a handful of black beans if you want more heft. The beans add a softer, heartier filling, but drain them well or they’ll make the tortillas slippery.
No Campfire, Just a Stovetop
A cast iron skillet on the stove gives you the same crisp edges and melted center with less guesswork. Keep the burner at medium, not high, so the tortillas brown at the same pace the cheese melts.
Storage and Reheating
- Refrigerator: Store cooled quesadillas in an airtight container for up to 3 days. The tortillas soften a bit in the fridge, but they crisp back up well.
- Freezer: These freeze well if you wrap wedges tightly and freeze them in a single layer first. For best texture, freeze before adding salsa or sour cream.
- Reheating: Reheat in a skillet over medium-low heat or in a 375°F oven until the center is hot and the outside crisps again. The common mistake is blasting them in the microwave, which makes the tortillas rubbery and pulls steam into the filling.
Answers to the Questions Worth Asking
Grilled Campfire Quesadillas
Ingredients
Equipment
Method
- Heat a cast iron skillet over the campfire until it’s hot enough to sizzle a tortilla surface, or place a grill grate directly over the flame.
- Arrange your toppings and fillings so you can work quickly once the tortillas hit the hot surface.
- Place one tortilla on the hot cooking surface and quickly add half the cheese, then scatter on shredded chicken, bell pepper, onion, and jalapeños.
- Top with the second tortilla and press down gently to help the layers stick together as the cheese starts to melt.
- Cook for 3-4 minutes per side, until the outside turns golden with grill marks and the cheese melts and oozes slightly at the edges.
- Remove the quesadilla from heat, let it cool for a moment so the cheese sets slightly, then cut into wedges.
- Serve hot with salsa, sour cream, and guacamole.