Cheesy baked spaghetti in a Dutch oven turns a simple campfire dinner into something people circle back for before the pan is even empty. The pasta stays saucy, the cheese melts into a golden cap, and the whole thing scoops out in thick, comforting portions that hold together instead of sliding all over the plate.
The trick is getting the spaghetti coated before it goes into the Dutch oven. Once the pasta is mixed with the beef, sauce, and some of the mozzarella, it bakes into one cohesive dish instead of a dry tangle on the bottom and a layer of cheese on top. The covered Dutch oven traps heat and keeps the sauce from tightening up too fast, which matters more than it sounds when you’re cooking over coals.
Below, I’ve included the campfire cues that tell you when the cheese is melted all the way through, plus a few easy ways to adapt this for a crowd or a different protein. If you’ve had campfire pasta turn gummy or scorch before, the process notes will help with that too.
The cheese browned on top without drying out underneath, and the spaghetti stayed saucy even after it sat for a few minutes. I used a little extra sauce and it came out perfect for our camping group.
Save this campfire spaghetti bake for the nights when you want a bubbling Dutch oven pasta with almost no cleanup.
The Reason This Pasta Doesn’t Turn Dry in the Dutch Oven
Campfire pasta fails when the heat is too direct or the noodles go into the pot without enough moisture around them. The Dutch oven doesn’t behave like a kitchen casserole dish. Coals on the lid and underneath create a strong top-and-bottom heat source, so the dish needs enough sauce to stay supple while the cheese melts.
That’s why the pasta gets mixed with the sauce before baking, instead of being layered dry and expecting the heat to work its way through. The beef adds body, the sauce keeps the spaghetti from clumping, and the cheese on top finishes the dish without turning the whole pan into a dense brick.
- Covered baking matters — the lid traps steam and protects the spaghetti from drying out before the cheese has time to melt.
- Coals on top and bottom — even heat is what gives you that bubbly, evenly heated finish instead of scorched edges and a cold center.
- Let it rest — those 5 minutes help the sauce settle back into the pasta so the first scoop doesn’t run everywhere.
What Each Ingredient Is Doing in the Campfire Spaghetti Bake
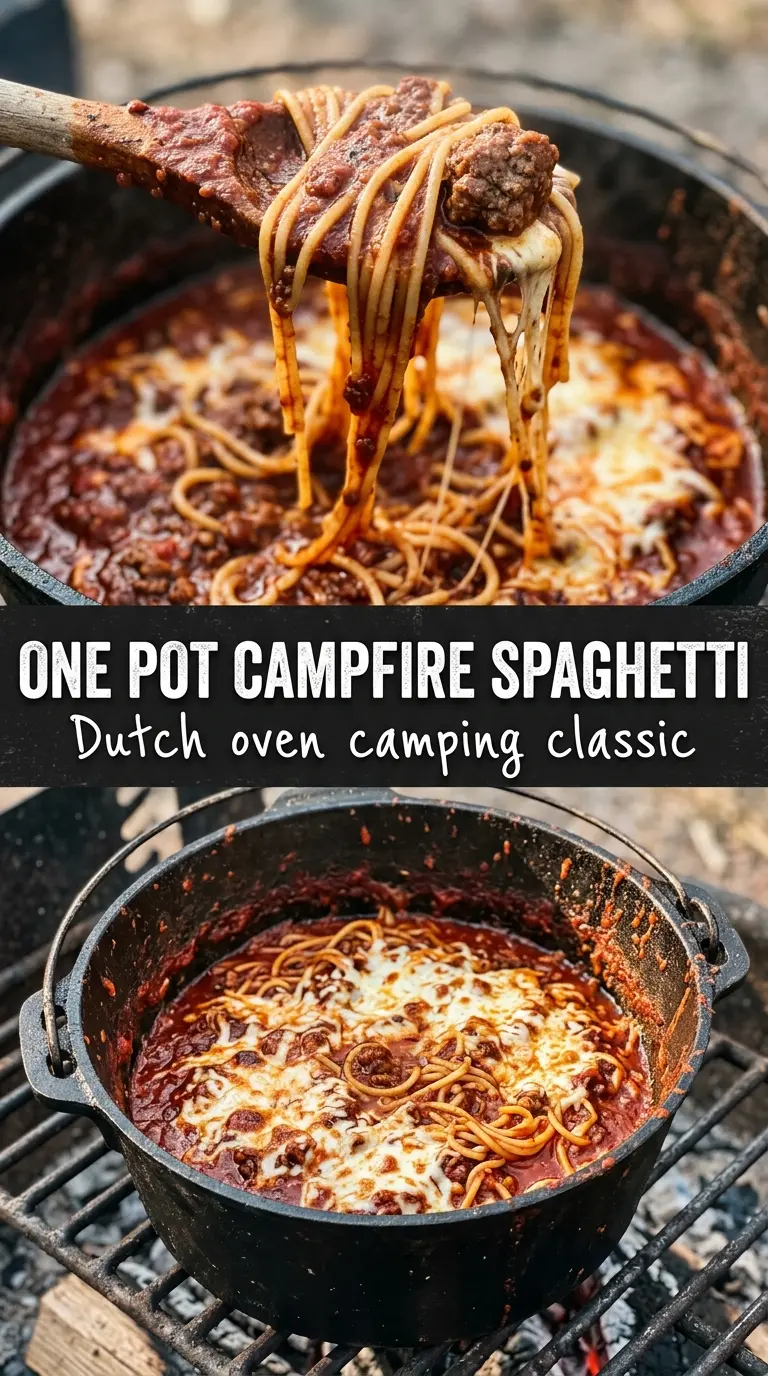
- Ground beef — gives the bake its savory base and enough fat to carry the sauce. If you use a very lean beef, expect a slightly drier filling unless you add a splash of olive oil or a little extra sauce.
- Jarred spaghetti sauce — this is doing the heavy lifting for moisture and seasoning. A thicker sauce works best here because it clings to the pasta instead of puddling at the bottom of the Dutch oven.
- Cooked spaghetti — it should be cooked just to al dente before mixing. If it’s overcooked going in, it’ll soften too much while it bakes and lose the structure that makes this dish scoop cleanly.
- Mozzarella and Parmesan — mozzarella gives you the stretchy, melted top, while Parmesan adds sharper flavor and helps the surface brown a little under the lid. Pre-shredded mozzarella works fine, but a fresher shred melts a bit smoother.
- Italian seasoning and garlic powder — these round out the jarred sauce without requiring a full spice cabinet at camp. The garlic powder matters more than it looks on paper; it gives the sauce a cooked-in depth that reads like more effort than it takes.
Getting the Heat Right Before the Cheese Goes On
Browning the Beef Over the Fire
Cook the ground beef in a skillet over campfire heat until it’s no longer pink and the browned bits start sticking lightly to the pan. That’s flavor, not a problem. Drain off the excess fat so the bake doesn’t end up greasy, but leave enough moisture that the meat still looks juicy rather than dry and crumbled.
Mixing the Pasta Before It Bakes
Combine the cooked spaghetti with the beef, sauce, half the mozzarella, Italian seasoning, and garlic powder while the mixture is still warm. Warm pasta absorbs sauce better than cold pasta, and that helps the whole dish bake evenly instead of setting in separate layers. If it looks a little loose at this stage, that’s good; the cheese will tighten it as it melts.
Building the Dutch Oven Layer
Spray the Dutch oven so the sauce doesn’t weld itself to the cast iron, then spread the pasta mixture into an even layer. Top it with the remaining mozzarella and the Parmesan, keeping the cheese all the way to the edges so the whole surface gets that melted finish. If the middle is mounded too high, the top browns before the center is hot.
Cooking Until Bubbly and Rested
Set the Dutch oven over the coals and add coals to the lid so the cheese melts from above and below at the same time. Cook for 30 to 35 minutes until the cheese is fully melted and the edges are bubbling. If the top is done early but the center still looks tight, the heat was too high; pull a few coals away and give it a few more minutes. Let it stand for 5 minutes before serving so the cheese settles and the slices hold together better.
How to Adapt This for Different Camps and Different Eaters
Swap the Beef for Italian Sausage
Use mild or hot Italian sausage in place of the ground beef for a richer, more seasoned bake. Sausage brings more fat and spice, so the result tastes a little bolder and less neutral. Drain it well after browning or the finished dish can turn oily.
Make It Meatless Without Losing Body
Replace the beef with sautéed mushrooms, crumbled plant-based ground, or a mix of both. Mushrooms give you a darker, woodsy flavor that fits camp cooking well, though you’ll need a bit more seasoning because they don’t bring the same salt and savoriness as beef.
Use Gluten-Free Pasta With a Shorter Bake
A sturdy gluten-free spaghetti works here, but it softens faster than regular pasta. Cook it just until barely al dente, then keep an eye on the Dutch oven so it doesn’t turn mushy while the cheese melts.
How to Stretch It for a Bigger Crowd
This recipe scales cleanly if your Dutch oven has room. Add an extra half jar of sauce and a bit more cheese when you increase the pasta, because the extra noodles need more moisture to stay tender over campfire heat.
Storage and Reheating
- Refrigerator: Store leftovers in an airtight container for up to 4 days. The pasta will firm up as it chills, but it holds up well.
- Freezer: This freezes well for up to 2 months. Portion it into containers before freezing so it reheats more evenly.
- Reheating: Warm it covered in a skillet with a splash of sauce or water over low heat, or reheat in the oven until hot through. The common mistake is blasting it on high heat, which dries the noodles before the center warms up.
Answers to the Questions Worth Asking
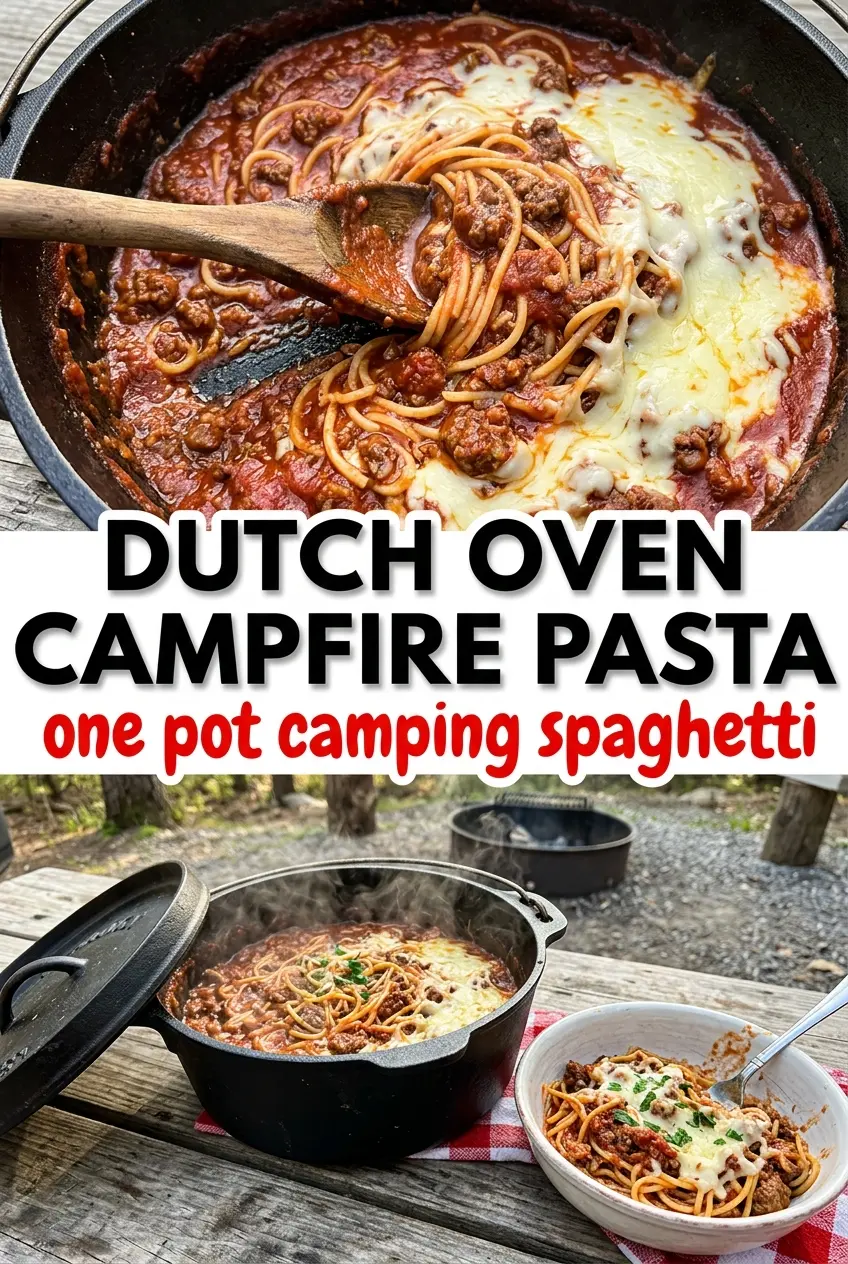
Campfire Spaghetti Bake
Ingredients
Equipment
Method
- Brown ground beef in a cast iron skillet over the campfire for 8-12 minutes, stirring until fully cooked. Drain excess fat so the sauce stays thick.
- In a large mixing bowl, combine cooked spaghetti, browned beef, spaghetti sauce, 1 cup mozzarella, Italian seasoning, and garlic powder. Stir until every strand is coated and glossy.
- Spray a Dutch oven with cooking spray, then add the spaghetti mixture and spread it into an even layer. Keep the surface level for even bubbling.
- Top with the remaining 1 cup mozzarella and the grated Parmesan so the bake has a cheesy layer. Cover the Dutch oven with its lid.
- Place the Dutch oven on campfire coals with additional coals on top of the lid and cook for 30-35 minutes. Bake until the cheese is melted and visibly bubbly with golden spots.
- Let the baked spaghetti cool for 5 minutes before serving. The cheese will set slightly and slice more cleanly.