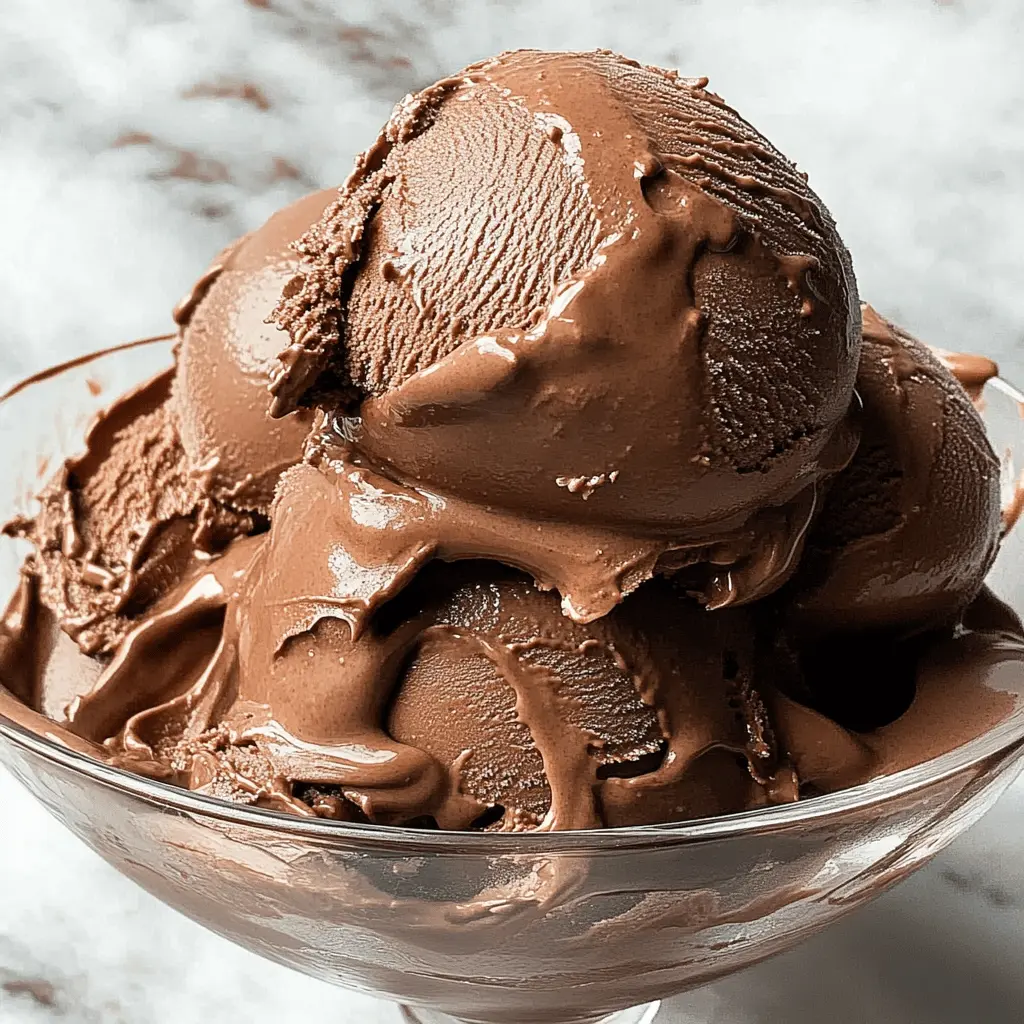
This creamy homemade chocolate ice cream is a dream for chocolate lovers! With just a few simple ingredients, you can whip up a smooth and rich treat that beats store-bought any day.
Making ice cream at home feels like magic! Just blend, freeze, and enjoy. I love scooping it into a bowl and adding sprinkles for extra fun—it’s a sweet little moment in every scoop! 🍦
Key Ingredients & Substitutions
Heavy Cream: This ingredient gives the ice cream its creamy texture. If you’re looking for a lighter option, you can use half-and-half, but the ice cream won’t be as rich. Spoiling your ice cream? Try not to skip this ingredient!
Whole Milk: Whole milk provides creaminess too. You can substitute with any milk you have on hand, like 2% or almond milk, but it will alter the texture slightly. For a richer taste, you could even use additional heavy cream!
Cocoa Powder: Unsweetened cocoa is essential for that deep chocolate flavor. If you want a lighter chocolate taste, you can use Dutch-process cocoa. Just remember that Dutch cocoa has a different flavor profile that’s smoother.
Bittersweet Chocolate: This chocolate adds depth to the ice cream. If you prefer a sweeter flavor, you might choose semisweet chocolate instead. You can also use dairy-free chocolate for a vegan option!
What is the Key to Getting the Right Texture?
The most crucial technique for smooth ice cream is tempering the egg yolks. This process gently warms the yolks so they won’t scramble when mixed with the hot chocolate mixture.
- First, warm the chocolate mixture on medium heat so it’s hot but not boiling.
- When you mix it with the yolks, do it gradually while whisking constantly. This brings the yolks to temperature safely.
- Cooking the mixture until it thickens (around 170-175°F or 77-80°C) is key! It should coat the back of your spoon. This makes sure your ice cream isn’t icy!
Best Creamy Homemade Chocolate Ice Cream
Ingredients You’ll Need:
- 2 cups heavy cream
- 1 cup whole milk
- 3/4 cup granulated sugar
- 1/2 cup unsweetened cocoa powder
- 5 large egg yolks
- 4 ounces bittersweet or semisweet chocolate, finely chopped
- 1 teaspoon pure vanilla extract
- Pinch of salt
How Much Time Will You Need?
This delightful chocolate ice cream recipe will take about 30 minutes of active preparation time. Additionally, you will need to chill the mixture for at least 4 hours (or overnight), and then freeze it for another 2-4 hours after churning. Overall, plan for about 8 hours from start to delicious scoops!
Step-by-Step Instructions:
1. Create the Base Mixture:
In a medium saucepan, combine the heavy cream, whole milk, cocoa powder, and half of the granulated sugar. Heat over medium heat, stirring occasionally. You want it warm enough that the sugar dissolves, but don’t let it boil.
2. Melt the Chocolate:
Once the mixture is warm, remove it from the heat. Add the finely chopped chocolate and stir until it’s completely melted and your mixture is smooth and shiny. This adds a rich chocolate flavor!
3. Whisk the Egg Yolks:
In a separate bowl, use a whisk to combine the egg yolks with the remaining sugar. Beat them until the mixture is pale in color and slightly thickened, which makes a lovely custard base.
4. Temper the Egg Yolks:
Now, slowly pour the warm chocolate mixture into the egg yolks, whisking constantly. This is called tempering and prevents the eggs from scrambling. It’s a crucial step to achieve creamy ice cream!
5. Cook the Mixture:
Return the entire mixture back to the saucepan on low heat. Using a wooden spoon or spatula, stir constantly until the mixture thickens and coats the back of the spoon (it should reach about 170-175°F or 77-80°C). Do not let it boil!
6. Final Touches:
Once thickened, take it off the heat. Stir in the vanilla extract and a pinch of salt to enhance the flavors. Your ice cream custard is nearly ready!
7. Strain for Smoothness:
Pour the custard through a fine mesh strainer into a clean bowl. This step removes any lumps and keeps your ice cream silky smooth.
8. Chill and Set:
Cover the custard with plastic wrap, pressing it directly onto the surface to avoid a skin from forming. Chill in the refrigerator for at least 4 hours, but overnight is even better!
9. Churn the Ice Cream:
Once chilled, pour the custard into your ice cream maker. Churn according to the manufacturer’s instructions until it becomes a soft-serve consistency.
10. Freeze Until Firm:
Transfer the ice cream to an airtight container and freeze for an additional 2-4 hours until firm. This helps it stabilize and become scoopable!
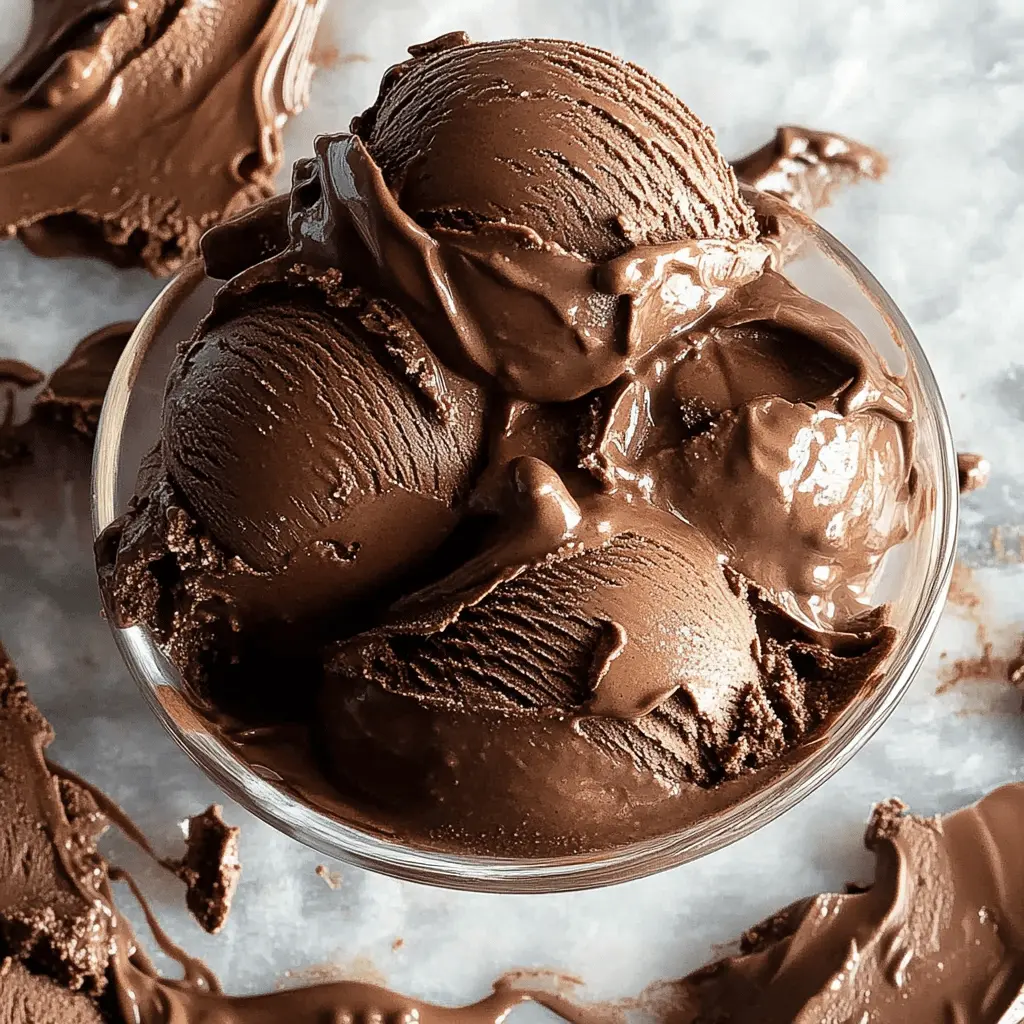
11. Scoop and Enjoy!
When ready to enjoy, scoop generous servings of your creamy homemade chocolate ice cream into bowls or cones. Add toppings, if desired, and savor every delicious bite!
FAQ for Homemade Chocolate Ice Cream Recipe
Can I Substitute the Heavy Cream?
Yes! If you want a lighter version, you can use half-and-half instead of heavy cream. However, keep in mind that the texture may not be as rich and creamy. Avoid using non-dairy milk, as it may not yield the same results!
How Can I Make This Recipe Vegan?
To make vegan chocolate ice cream, substitute the heavy cream and milk with full-fat coconut milk or any dairy-free milk of your choice. Replace the egg yolks with 1/4 cup of cornstarch mixed with 1/4 cup of water as a thickener. You can use vegan chocolate to keep it completely plant-based!
What If I Don’t Have an Ice Cream Maker?
No problem! Pour the chilled custard into a shallow dish and place it in the freezer. Stir vigorously every 30 minutes for about 3-4 hours until it reaches a creamy consistency. It will take a bit longer, but you’ll still end up with delicious ice cream!
How to Store Leftover Ice Cream?
Store any leftover chocolate ice cream in an airtight container in the freezer. It should remain fresh for up to 2 weeks. To soften, let it sit at room temperature for a few minutes before scooping!