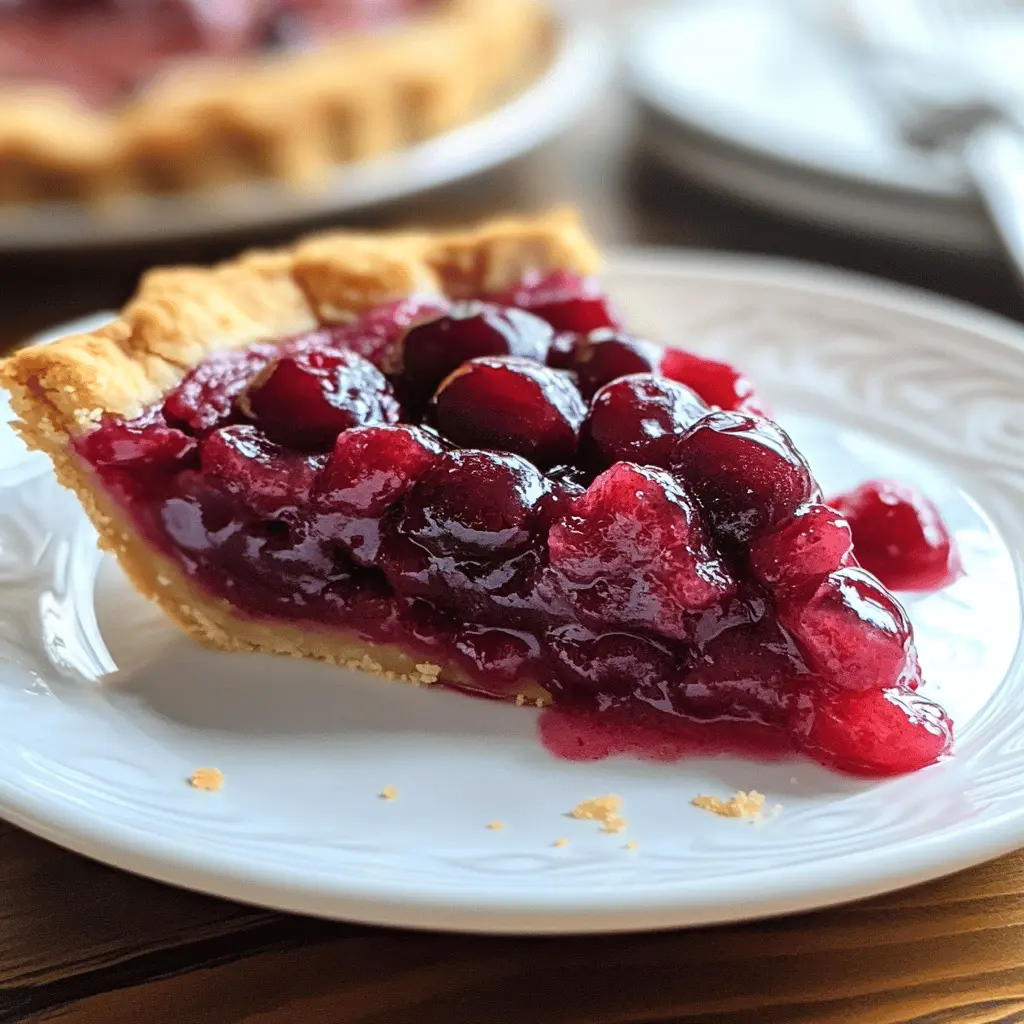
This homemade cherry pie is a slice of happiness! With sweet, juicy cherries wrapped in a flaky crust, it’s perfect for family gatherings or just a cozy night in.
I love how easy it is to whip up this pie. Just mix the cherries, sugar, and a bit of spice, and you’ll have everyone asking for seconds! Who can resist a warm slice with ice cream? 🍦
Key Ingredients & Substitutions
Cherries: Fresh cherries are wonderful, but frozen cherries work just as well. They’re great if cherries aren’t in season. Just make sure to thaw and drain any excess juice before using.
Sugar: Adjust the sugar based on your taste and how tart the cherries are. If you like it less sweet, start with 1 cup and add more if needed.
Cornstarch: This thickens the filling nicely. If you don’t have cornstarch, you can substitute with equal amounts of flour, but it won’t be as thick.
Almond Extract: This adds a lovely nutty flavor. If you’re not a fan, feel free to skip it or substitute with vanilla extract for a different twist.
Butter: Dotting with butter adds richness to the filling. You can also use coconut oil if you’re looking for a dairy-free option.
How Can I Achieve a Flaky Crust?
Getting a flaky pie crust can be tricky but it’s all about handling the dough gently and keeping it cold. Here are some tips:
- Keep your butter cold! Use chilled butter and try not to overwork the dough.
- Handle the dough as little as possible. Overworking creates tough crusts.
- Let the pie crust chill for at least 30 minutes before baking. This helps it hold its shape.
- Don’t skip the slits in the top crust. They allow steam to escape, keeping your crust from getting soggy.
With these tips, you’ll have a beautifully flaky crust to complement your cherry filling!
Easy Best Homemade Cherry Pie Recipe
Ingredients You’ll Need:
- 4 cups fresh or frozen pitted cherries
- 1 to 1¼ cups granulated sugar (adjust to taste based on cherry sweetness)
- 1/4 cup cornstarch
- 1 tbsp lemon juice
- 1/2 tsp almond extract (optional, enhances cherry flavor)
- 1/4 tsp ground cinnamon (optional)
- 1 tbsp butter, cut into small pieces
- 1 package refrigerated pie crusts or homemade pie crust for top and bottom
How Much Time Will You Need?
This cherry pie takes about 20 minutes to prepare and 1 hour to bake. After that, let it cool for at least 2 hours to set. So overall, you’re looking at around 3 hours from start to enjoying a slice of delicious cherry pie!
Step-by-Step Instructions:
1. Preheat the Oven:
First things first, set your oven to 425°F (220°C) so it’s hot and ready for baking your cherry pie.
2. Prepare the Cherry Filling:
In a large bowl, mix together your pitted cherries, sugar, cornstarch, lemon juice, almond extract, and ground cinnamon. Gently toss everything until the cherries are well coated in the sweet mixture.
3. Prepare the Pie Crust:
Roll out one of your pie crusts carefully and lay it in a 9-inch pie dish. Don’t forget to trim off any excess crust to make it fit nicely.
4. Fill the Pie:
Next, pour your delicious cherry filling into the crust, making sure to spread it out evenly. For extra flavor, dot the filling with little pieces of butter.
5. Cover the Pie:
Roll out the second pie crust and place it over the cherry filling. You can completely cover it or create a fun lattice pattern by cutting strips and weaving them over the top.
6. Seal and Create Ventilation:
Trim and crimp the edges of the pie crust to seal it shut. Don’t forget to cut a few small slits in the top crust so steam can escape while baking!
7. Optional Touch:
If you want a beautiful golden crust, brush the top with a bit of milk and sprinkle some sugar on it for that perfect finishing touch.
8. Bake the Pie:
Pop the pie into your preheated oven and bake for 15 minutes. Then, reduce the temperature to 350°F (175°C) and bake for an additional 35-45 minutes, until the crust is golden brown and you see bubbly filling through the slits.
9. Let it Cool:
Once baked, remove your pie from the oven and let it cool for at least 2 hours. This allows the filling to set and makes slicing easier!
10. Serve and Enjoy:
Slice the pie and serve it warm or at room temperature. It’s especially delightful with a scoop of vanilla ice cream on top!
Enjoy your delicious homemade cherry pie with a flaky crust and a sweet, juicy filling!

FAQ for Easy Best Homemade Cherry Pie Recipe
Can I Use Frozen Cherries Instead of Fresh?
Absolutely! Frozen cherries work perfectly in this recipe. Just make sure to thaw them and drain any excess juice to avoid a watery filling.
How Can I Make the Pie Less Sweet?
If you prefer a less sweet pie, start with 1 cup of sugar and taste the filling before baking. You can add more sugar if needed, depending on the tartness of your cherries.
Can I Pre-Make This Pie and Freeze It?
Yes! You can assemble the pie and freeze it before baking. Just wrap it tightly in plastic wrap and foil. When ready to bake, don’t thaw; just pop it into the oven and add about 15 minutes to the baking time.
What’s the Best Way to Reheat Leftovers?
To reheat leftover cherry pie, you can either microwave a slice for about 30-60 seconds or cover the whole pie with foil and warm in a preheated oven at 350°F (175°C) for about 15-20 minutes, until warmed through.