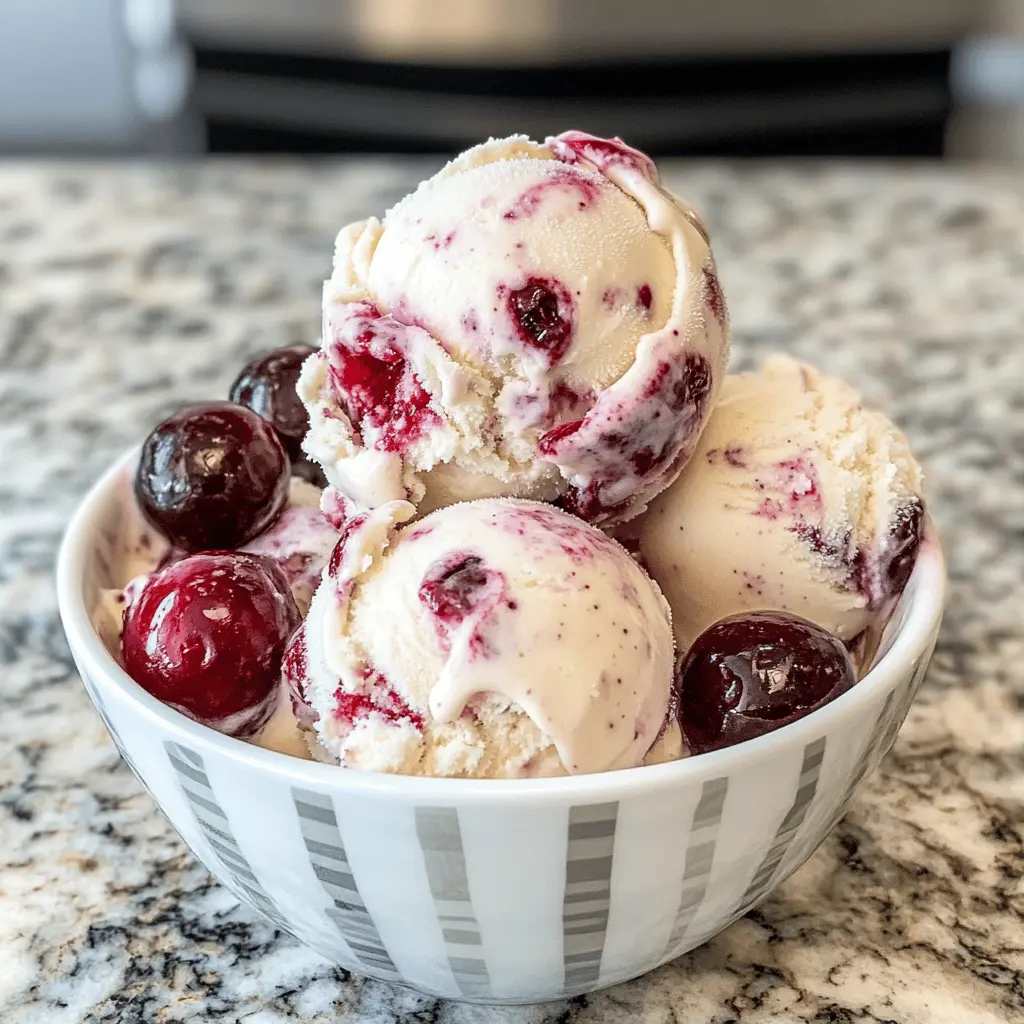
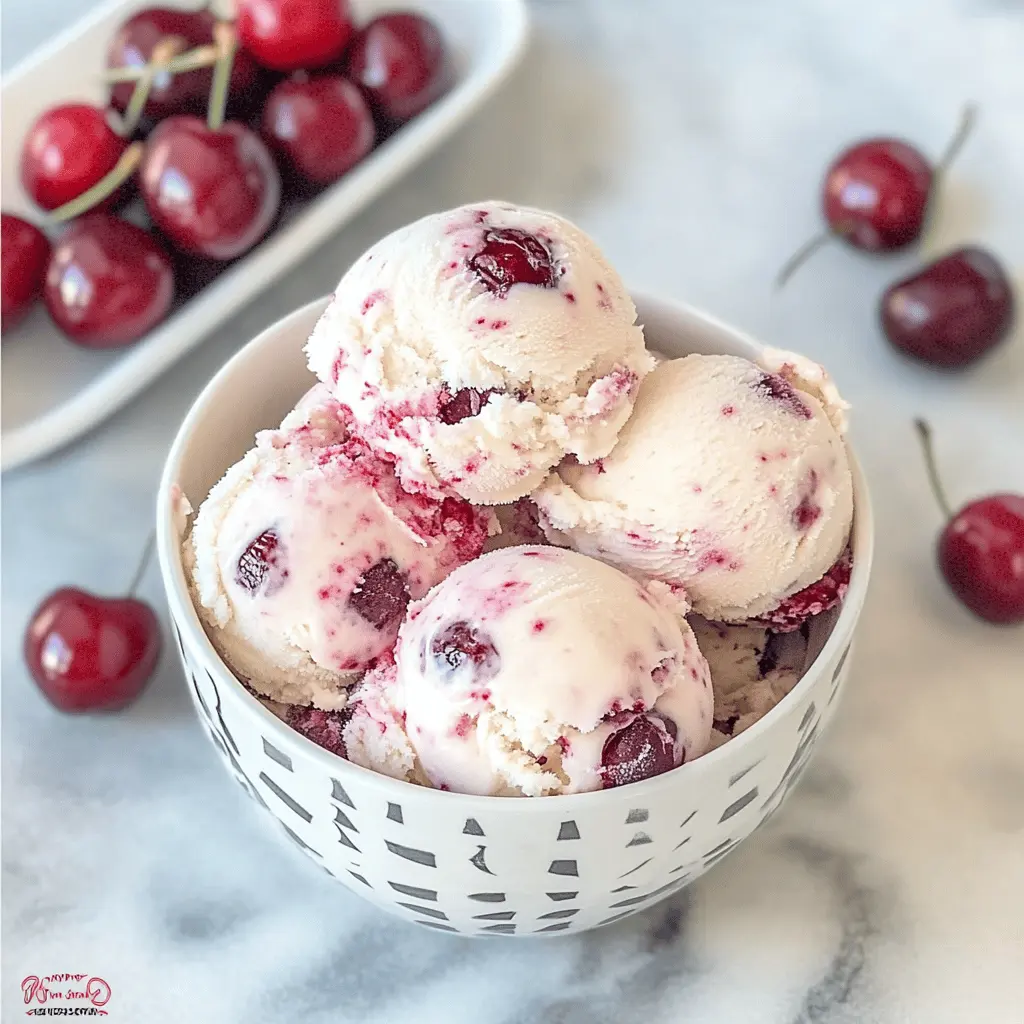
This Easy Homemade Cherry Vanilla Ice Cream is a sweet treat you can whip up in no time! With juicy cherries and creamy vanilla, it’s the perfect summer delight.
You won’t believe how simple this is! Just mix, freeze, and scoop. I love to enjoy it topped with extra cherries—because, why not? 🍒
Making ice cream at home is fun and rewarding. I often make a big batch, so I have some to share (or not!). Who can resist this lovely flavor combo?
Key Ingredients & Substitutions
Heavy Cream: This ingredient makes the ice cream rich and creamy. If you’re looking for a lighter option, you can substitute half-and-half, though the texture will be less rich.
Whole Milk: It adds a smoothness and balances the richness of the cream. You can use 2% milk if that’s what you have, but avoid skim milk for this recipe as it won’t give the same result.
Cherries: Fresh cherries give a vibrant taste, but frozen cherries work well too. If cherries aren’t available, strawberries or raspberries could be fun substitutes for a fruity twist!
Vanilla Extract: Use pure vanilla extract for the best flavor. If you’re out, a vanilla bean or vanilla bean paste can also add that lovely aroma.
Cherry Juice or Liqueur: This is optional. You can skip it or substitute with a splash of cranberry juice for a different flavor. Just be mindful of the extra sweetness.
How Do I Get My Ice Cream to the Perfect Consistency?
A common challenge in making ice cream at home is achieving that soft, scoopable texture. When you churn the mixture, air gets incorporated, which is crucial. Follow these tips:
- Churn in the ice cream maker until it resembles soft-serve. This usually takes about 20-25 minutes.
- After churning, transfer the ice cream to a container and press it down to avoid air pockets.
- For firmer ice cream, freeze for 2-4 hours. Cover the surface with plastic wrap before sealing the lid to prevent ice crystals.
Patience is key! Leave it to freeze long enough so it reaches that ideal scoopable texture.
Easy Homemade Cherry Vanilla Ice Cream
Ingredients You’ll Need:
- 2 cups heavy cream
- 1 cup whole milk
- 3/4 cup granulated sugar
- 1 tablespoon pure vanilla extract
- 1 1/2 cups fresh or frozen cherries (pitted and chopped if fresh)
- 2 tablespoons cherry juice or cherry liqueur (optional, for extra flavor)
- 1 tablespoon lemon juice (to enhance cherry flavor)
- Pinch of salt
How Much Time Will You Need?
This recipe takes about 30 minutes of hands-on time for mixing and churning, plus an additional 2-4 hours in the freezer to set. Perfect for a warm day when you crave something refreshing and homemade!
Step-by-Step Instructions:
1. Mix the Creamy Base:
In a medium mixing bowl, whisk together the heavy cream, whole milk, sugar, vanilla extract, and a pinch of salt. Make sure the sugar is completely dissolved for that smooth texture we all love!
2. Prepare the Cherry Mixture:
In a small saucepan, combine the cherries, cherry juice (or liqueur if you’re using it), and lemon juice. Heat this mixture over medium heat for about 5 minutes, stirring occasionally. You want the cherries to soften a bit and for it to thicken slightly. Once done, remove it from heat and let it cool completely.
3. Combine Mixtures:
After the cherry mixture has cooled, gently stir it into the cream mixture until well combined. The cherries should be spread evenly throughout!
4. Churn the Ice Cream:
Pour the entire mixture into your ice cream maker. Churn it according to the manufacturer’s instructions, which usually takes about 20-25 minutes. You want it to reach a soft-serve consistency.
5. Freeze the Ice Cream:
Once churned, transfer the ice cream into a freezer-safe container. For a firmer texture, place it in the freezer for at least 2-4 hours before you scoop. If you plan to store it longer, make sure to cover it with plastic wrap before sealing the container.
6. Serve and Enjoy:
When you’re ready to enjoy, scoop the ice cream into bowls. Don’t forget to top with extra fresh cherries if you like! This delightful cherry vanilla treat is now ready for you and your loved ones!
Enjoy your creamy, fruity homemade cherry vanilla ice cream—a perfect way to cool down on warm days! 🍦
FAQ for Easy Homemade Cherry Vanilla Ice Cream
Can I Use Different Types of Cherries?
Absolutely! You can use fresh, frozen, or even jarred cherries. If using frozen, there’s no need to thaw them first; just chop and add directly to the mixture. Keep in mind that jarred cherries may contain added sugar, so you might want to adjust the sugar in the recipe accordingly.
How Long Can I Store the Ice Cream in the Freezer?
Your homemade cherry vanilla ice cream can be stored in the freezer for up to 2 weeks. For the best texture, store it in an airtight container and press a piece of plastic wrap directly onto the surface of the ice cream to prevent freezer burn.
Can I Substitute the Heavy Cream?
Yes, you can use a combination of half-and-half and whole milk for a lighter version, but the texture will be less creamy. For vegan alternatives, try coconut cream and almond milk, keeping in mind it will alter the flavor and consistency slightly.
What If I Don’t Have an Ice Cream Maker?
No worries! You can still make ice cream without an ice cream maker. Pour the mixed ingredients into a shallow baking dish and place it in the freezer. Every 30 minutes, stir the mixture with a fork to break up any ice crystals. Repeat this process for about 3-4 hours until it’s fully set.