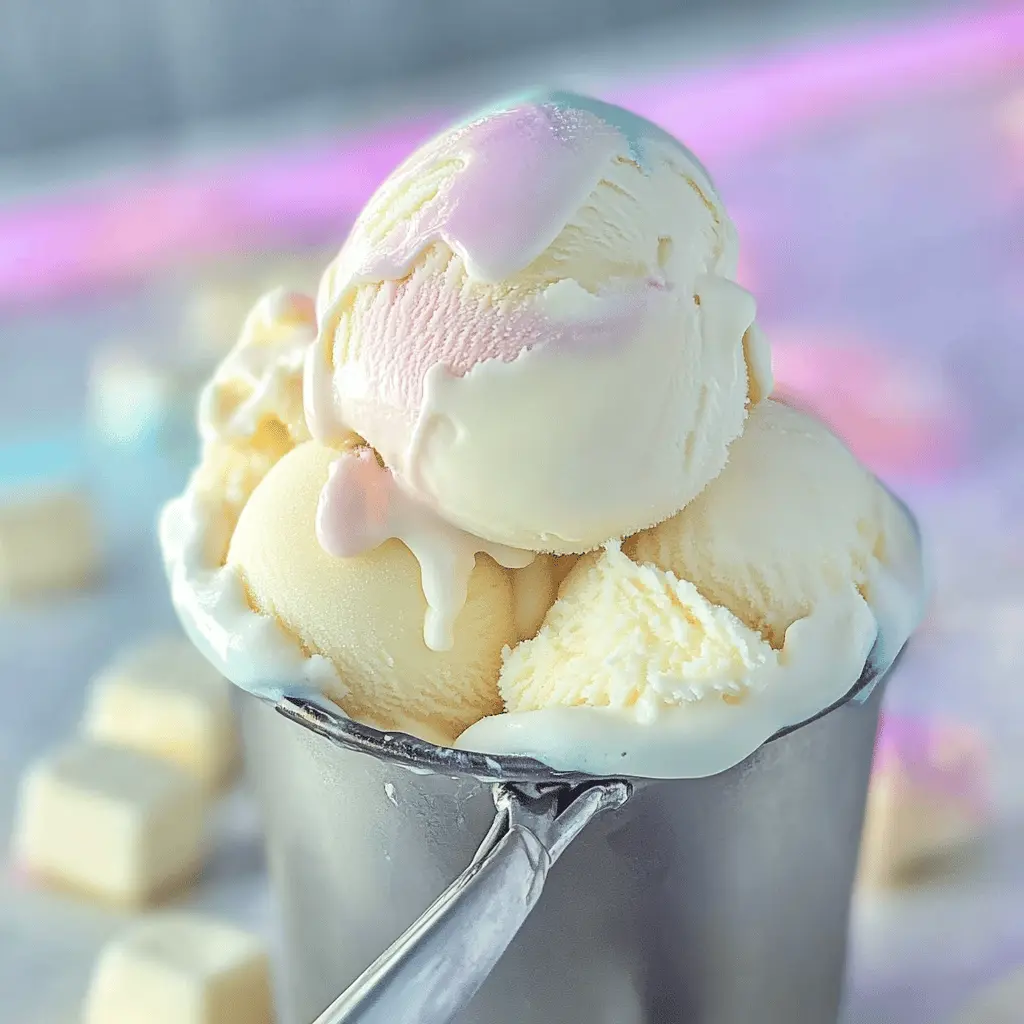
This Easy Homemade Marshmallow Ice Cream is a fun and sweet treat! With fluffy marshmallows and creamy goodness, it’s perfect for hot days and ice cream lovers!
Making this ice cream is a breeze. Just mix, freeze, and enjoy! I love to top it with chocolate sauce—what’s better than that? It’s like a marshmallow party in every bite! 🍦
Key Ingredients & Substitutions
Heavy Whipping Cream: The star of the show! Cold heavy cream helps create a rich and creamy texture. If you’re looking for a lighter version, you can try using half-and-half, but the creaminess won’t be quite the same.
Whole Milk: Whole milk adds a nice creaminess to the ice cream. If you want a dairy-free option, consider almond or oat milk—just know it might change the flavor a little!
Marshmallow Creme/Fluff: This ingredient gives that nostalgic toasted marshmallow flavor. If you can’t find it, you can substitute with whipped topping as an alternative, but the taste will differ slightly.
Vanilla Extract: A must for flavor! If you’re out of vanilla, almond extract can be an interesting substitute—just use a smaller amount, as it has a stronger flavor.
How Do I Toast Marshmallows for the Best Flavor?
Toasting marshmallows adds an amazing depth of flavor to your ice cream. Here’s how to do it right!
- Use a kitchen torch for precision, or place them under a broiler for quick results. Either way, keep a close eye on them!
- Once they’re golden brown but not burnt, take them out. Let them cool for a few minutes before using them as a garnish.
Having toasted marshmallows on top not only elevates the look but also enhances the flavor experience. Enjoy making this fun treat!
Easy Homemade Toasted Marshmallow Ice Cream
Ingredients You’ll Need:
- 2 cups heavy whipping cream, cold
- 1 cup whole milk, cold
- 1 cup marshmallow creme or fluff
- 1 tsp vanilla extract
- Pinch of salt
- Large marshmallows (for toasting and garnish)
- Waffle cones (optional, for serving)
How Much Time Will You Need?
This delicious ice cream takes about 15-20 minutes of active prep time, and then you’ll need to freeze it for at least 4-6 hours. Plan ahead so you can savor this delightful treat later on!
Step-by-Step Instructions:
1. Toast the Marshmallows:
Start by toasting a few large marshmallows using a kitchen torch or under the broiler. Keep a close eye on them as they turn golden brown. Once toasted, set them aside to cool for garnish later. This will add a wonderful flavor to your ice cream!
2. Whip the Cream:
In a large bowl, pour the cold heavy whipping cream. Use a hand mixer or a stand mixer to whip the cream until stiff peaks form. This means the cream will hold its shape and look fluffy—perfect for your ice cream base!
3. Mix the Base Ingredients:
In another bowl, combine the cold whole milk, marshmallow creme, vanilla extract, and a pinch of salt. Mix until everything is smooth and well combined. This mixture is where all the marshmallow magic happens!
4. Fold the Whipped Cream:
Next, gently fold the whipped cream into the marshmallow milk mixture. Use a spatula and carefully combine them until just mixed. Be gentle so you don’t deflate the whipped cream; we want that light and airy texture!
5. Freeze the Mixture:
Pour the combined mixture into a freezer-safe container. Smooth the top with a spatula and cover with a lid or plastic wrap. Pop it into the freezer and let it freeze for at least 4-6 hours, or until it’s firm enough to scoop.
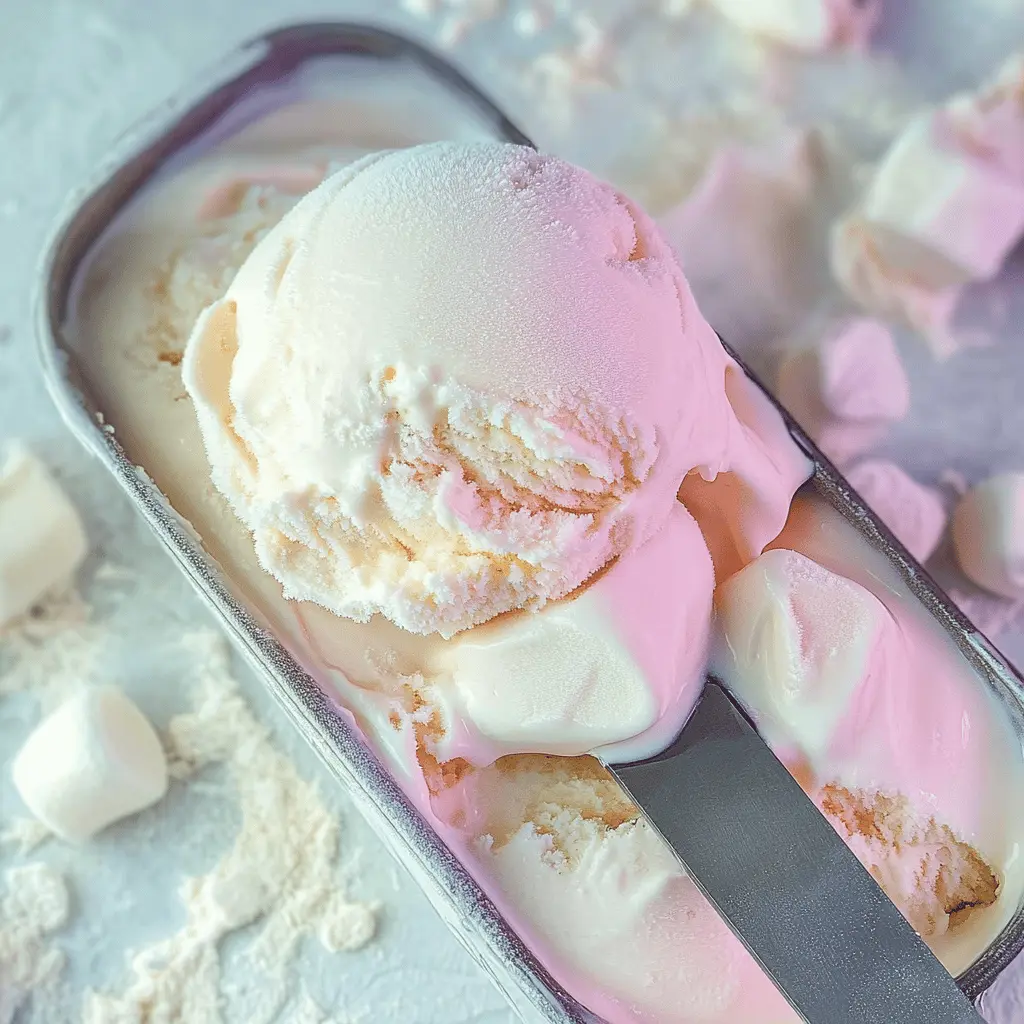
6. Serve and Enjoy:
Once frozen, scoop your delightful marshmallow ice cream into your favorite waffle cones or bowls. For an extra special touch, top each serving with one of the toasted marshmallows. Enjoy your creamy, fluffy, toasted marshmallow ice cream!
This no-churn recipe is simple and yields an indulgent treat reminiscent of campfire nights. Dig in and relish every bite!
Frequently Asked Questions (FAQ)
Can I Use Low-Fat Milk Instead of Whole Milk?
While you can use low-fat milk, it may result in a less creamy texture. For the best flavor and richness in your ice cream, whole milk is recommended.
How Do I Store Leftover Ice Cream?
You can store any leftover ice cream in an airtight container in the freezer. To maintain the best texture, cover the surface of the ice cream with plastic wrap before sealing it. It should last for up to 2 weeks, but for the freshest taste, eat it sooner!
Can I Make This Recipe Without Marshmallow Creme?
Yes, you can! If you don’t have marshmallow creme, you can substitute it with a combination of melted marshmallows (about 1 cup) and a bit of sugar to maintain the sweet flavor. Just be sure to let them cool slightly before mixing into the milk.
How Can I Make This Recipe Dairy-Free?
You can make a dairy-free version by using coconut cream instead of heavy whipping cream and almond or oat milk in place of whole milk. Check that your marshmallow fluff is also dairy-free for a delicious alternative!