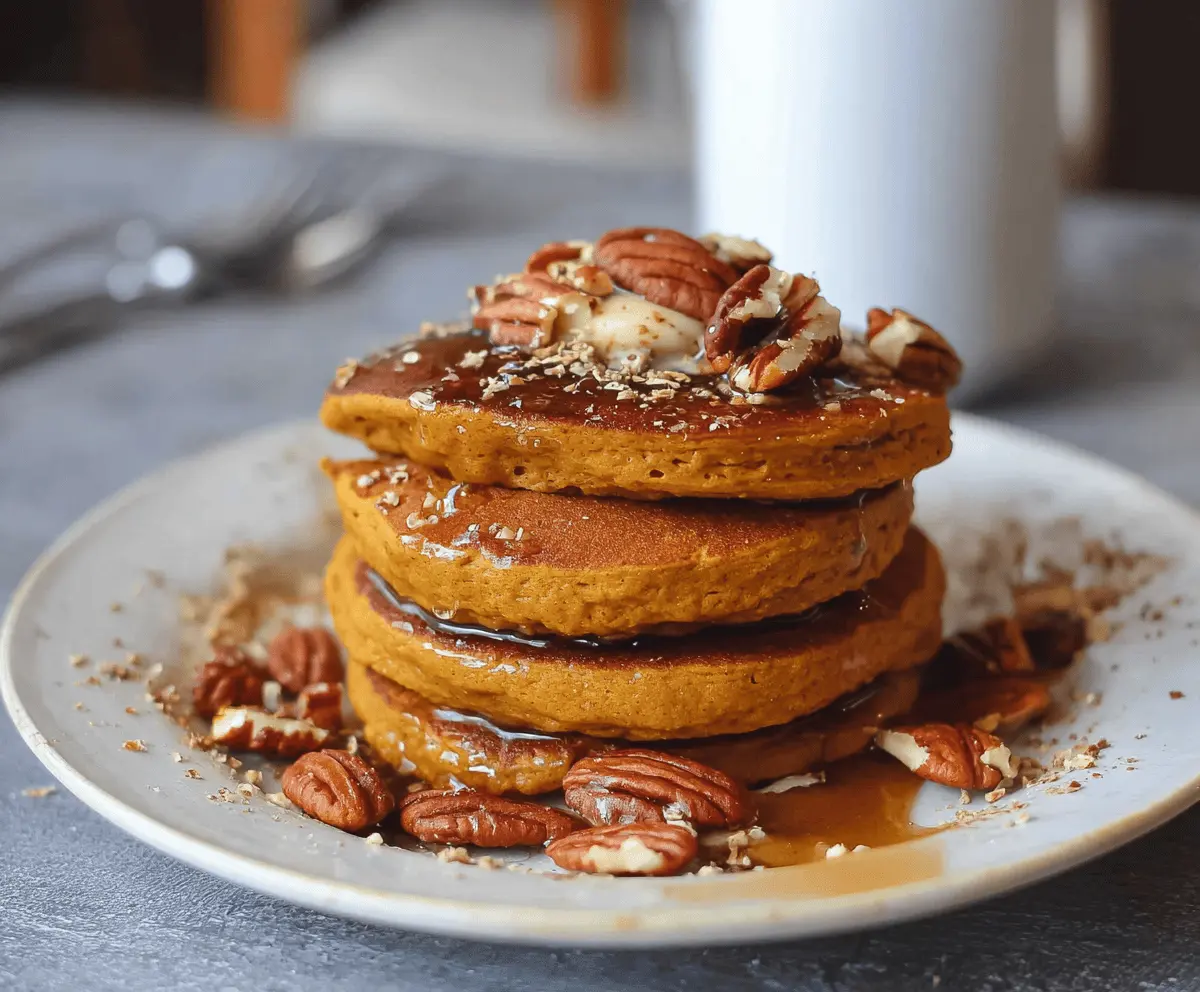
These vegan pumpkin pancakes are fluffy and packed with warm spices. They’re perfect for breakfast on chilly mornings, bringing a cozy fall vibe any day!
Who doesn’t love pancakes that smell like a fall festival? I love topping these with maple syrup and extra pumpkin seeds for a fun crunch. Give them a try, and you’ll be hooked! 🎃
Key Ingredients & Substitutions
Pumpkin Puree: You can use canned pumpkin puree for convenience, but fresh pumpkin is a tasty alternative if you have time. Just bake or steam the pumpkin, then blend it until smooth.
Plant-Based Milk: I usually go for almond milk, but soy or oat milk works just as well. If you’re nut-free, stick to soy or oat. Each type adds a different flavor, so choose what you like best!
Maple Syrup: While maple syrup adds a great flavor, you can swap it for agave syrup or brown sugar. Just remember, sugar will change the consistency a bit, so keep an eye on your batter.
Flour: All-purpose flour is great, but whole wheat flour gives a nuttier taste and is healthier. You could also use gluten-free flour blends if that’s your preference. Just check the package for baking ratios.
Spices: Feel free to adjust the spices according to your taste. Add more cinnamon or nutmeg for stronger flavors, or try adding a pinch of allspice for something different!
How Do You Make Vegan Buttermilk?
Creating vegan buttermilk is easy! Just combine plant-based milk with an acid like apple cider vinegar or lemon juice. This helps create that light and fluffy texture in your pancakes:
- Measure 1 cup of plant-based milk.
- Add 1 tablespoon of apple cider vinegar or lemon juice.
- Stir and let it sit for 5 minutes before adding to your pancake batter.
Don’t skip this step! It helps the pancakes rise and become fluffy. It’s a small change that makes a big difference!
What’s the Best Way to Cook Pancakes Without Burning Them?
Cooking pancakes can be tricky! Here’s how to get them golden and cooked through without burning:
- Use medium heat and allow your skillet to warm up gradually.
- Grease the skillet lightly with oil or vegan butter right before pouring in the batter.
- When bubbles start forming on the surface of the pancakes and the edges look set, it’s time to flip!
- Cook the second side for about 2 minutes until golden. If you notice browning too fast, adjust the heat down a little.
Cooking at medium heat helps ensure the inside cooks through before the outside burns. Happy flipping!
Vegan Pumpkin Pancakes
Ingredients You’ll Need:
Basic Ingredients:
- 1 cup pumpkin puree (canned or homemade)
- 1 cup plant-based milk (almond, soy, oat, or your choice)
- 2 tablespoons maple syrup (plus extra for serving)
- 1 tablespoon apple cider vinegar or lemon juice (to make vegan buttermilk)
Dry Ingredients:
- 2 cups all-purpose flour (or whole wheat flour for a healthier option)
- 2 teaspoons baking powder
- 1/2 teaspoon baking soda
- 1 teaspoon ground cinnamon
- 1/2 teaspoon ground nutmeg
- 1/4 teaspoon ground ginger
- 1/4 teaspoon ground cloves
- 1/2 teaspoon salt
Flavor Enhancers:
- 1 teaspoon vanilla extract
For Cooking:
- Vegan butter or oil, for cooking
Optional Toppings:
- Chopped pecans
- Chia seeds
- Powdered sugar
How Much Time Will You Need?
This delicious breakfast takes about 10 minutes to prepare and about 15-20 minutes to cook, making it a great choice for a cozy morning. Total time: roughly 30-35 minutes, and then you’ll be enjoying a stack of fluffy pumpkin pancakes!
Step-by-Step Instructions:
1. Make the Vegan Buttermilk:
In a small bowl, combine the plant-based milk with the apple cider vinegar or lemon juice. Stir it gently and let the mixture sit for 5 minutes. This will create a vegan buttermilk that makes your pancakes extra fluffy.
2. Whisk the Dry Ingredients:
In a large mixing bowl, whisk together the flour, baking powder, baking soda, cinnamon, nutmeg, ginger, cloves, and salt. Make sure everything is nicely combined so your pancakes rise evenly when cooked!
3. Mix the Wet Ingredients:
In another medium bowl, mix the pumpkin puree, maple syrup, vanilla extract, and the vegan buttermilk. Stir until the mixture is smooth and free of lumps.
4. Combine Wet and Dry Ingredients:
Pour the wet mixture into the dry ingredients and stir gently. Be careful not to overmix; it’s okay if the batter has a few lumps. This helps keep the pancakes fluffy!
5. Heat the Skillet:
Heat a non-stick skillet or griddle over medium heat. Lightly grease it with vegan butter or oil to prevent sticking. You want it hot enough that the batter sizzles a little when it hits the pan.
6. Cook the Pancakes:
Pour about 1/4 cup of batter for each pancake onto the skillet. Cook for about 2-3 minutes, or until bubbles form on the surface and the edges look set. Carefully flip the pancake and cook for another 2 minutes until it’s golden brown.
7. Repeat Cooking:
Continue using the remaining batter, adjusting the heat if necessary to avoid burning. You may need to grease the skillet again for each batch.
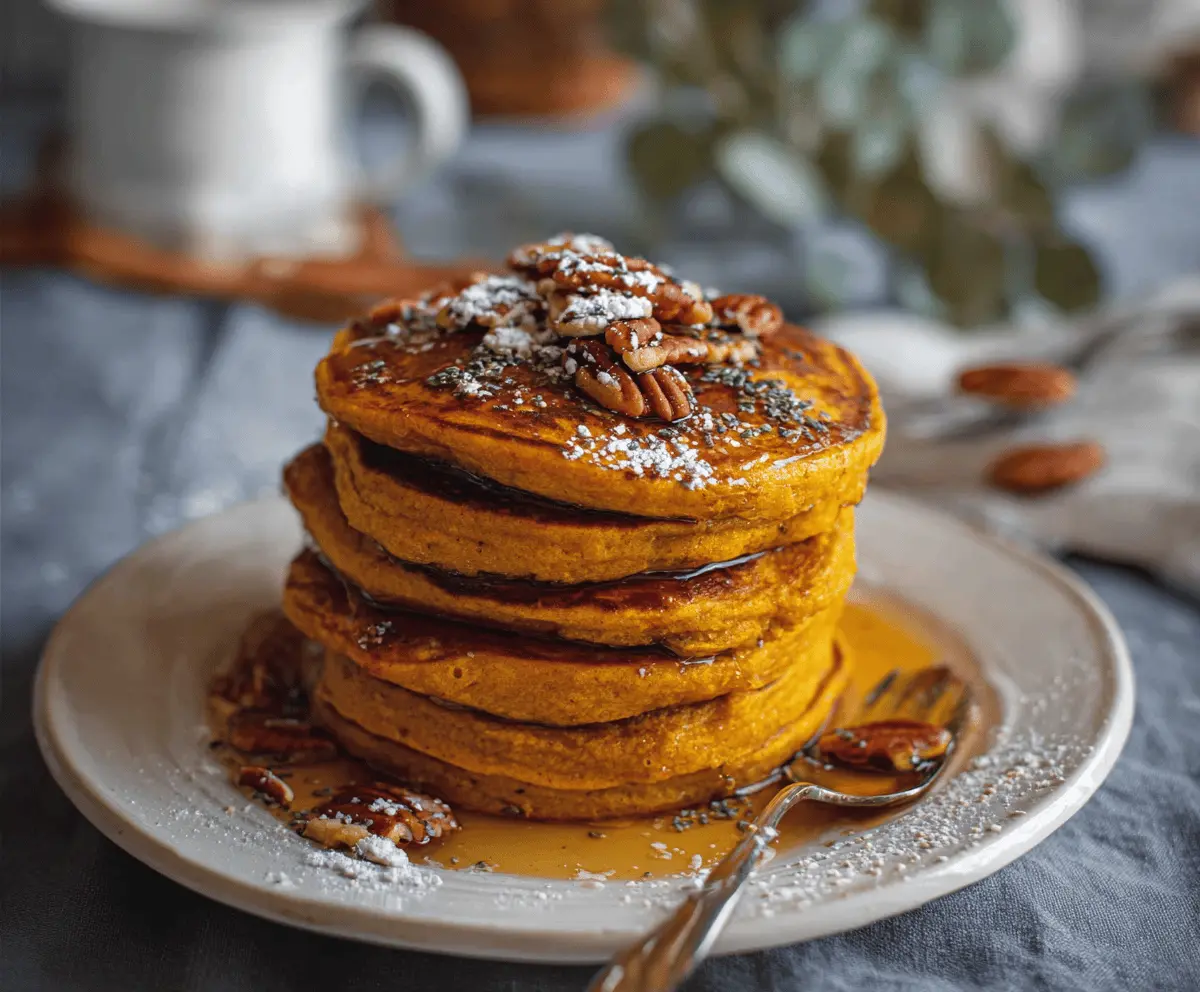
8. Serve and Enjoy:
Stack your pancakes on a plate and serve them warm. Top them with maple syrup, chopped pecans, chia seeds, and a dusting of powdered sugar for an extra special treat. Enjoy every delicious bite!
Your pancakes are ready to brighten up your day. Happy eating! 🥞
Can I Use Fresh Pumpkin Instead of Canned?
Absolutely! If you’re using fresh pumpkin, make sure to cook it first—either by steaming or roasting. Once it’s soft, blend it until smooth before measuring out 1 cup for the recipe.
What Can I Use Instead of Maple Syrup?
If you don’t have maple syrup, agave syrup or brown sugar works perfectly! Just remember that brown sugar may make the batter a bit thicker, so adjust the liquid slightly if needed.
How Should I Store Leftover Pancakes?
Store leftover pancakes in an airtight container in the fridge for up to 3 days. To reheat, you can pop them in the toaster or microwave for a quick snack!
Can I Freeze These Pancakes?
Yes, these pancakes freeze wonderfully! Once fully cooled, stack them with parchment paper in between and place them in a freezer-safe bag or container. They can last up to 2 months. Just reheat them in a toaster or microwave when you’re ready to enjoy!