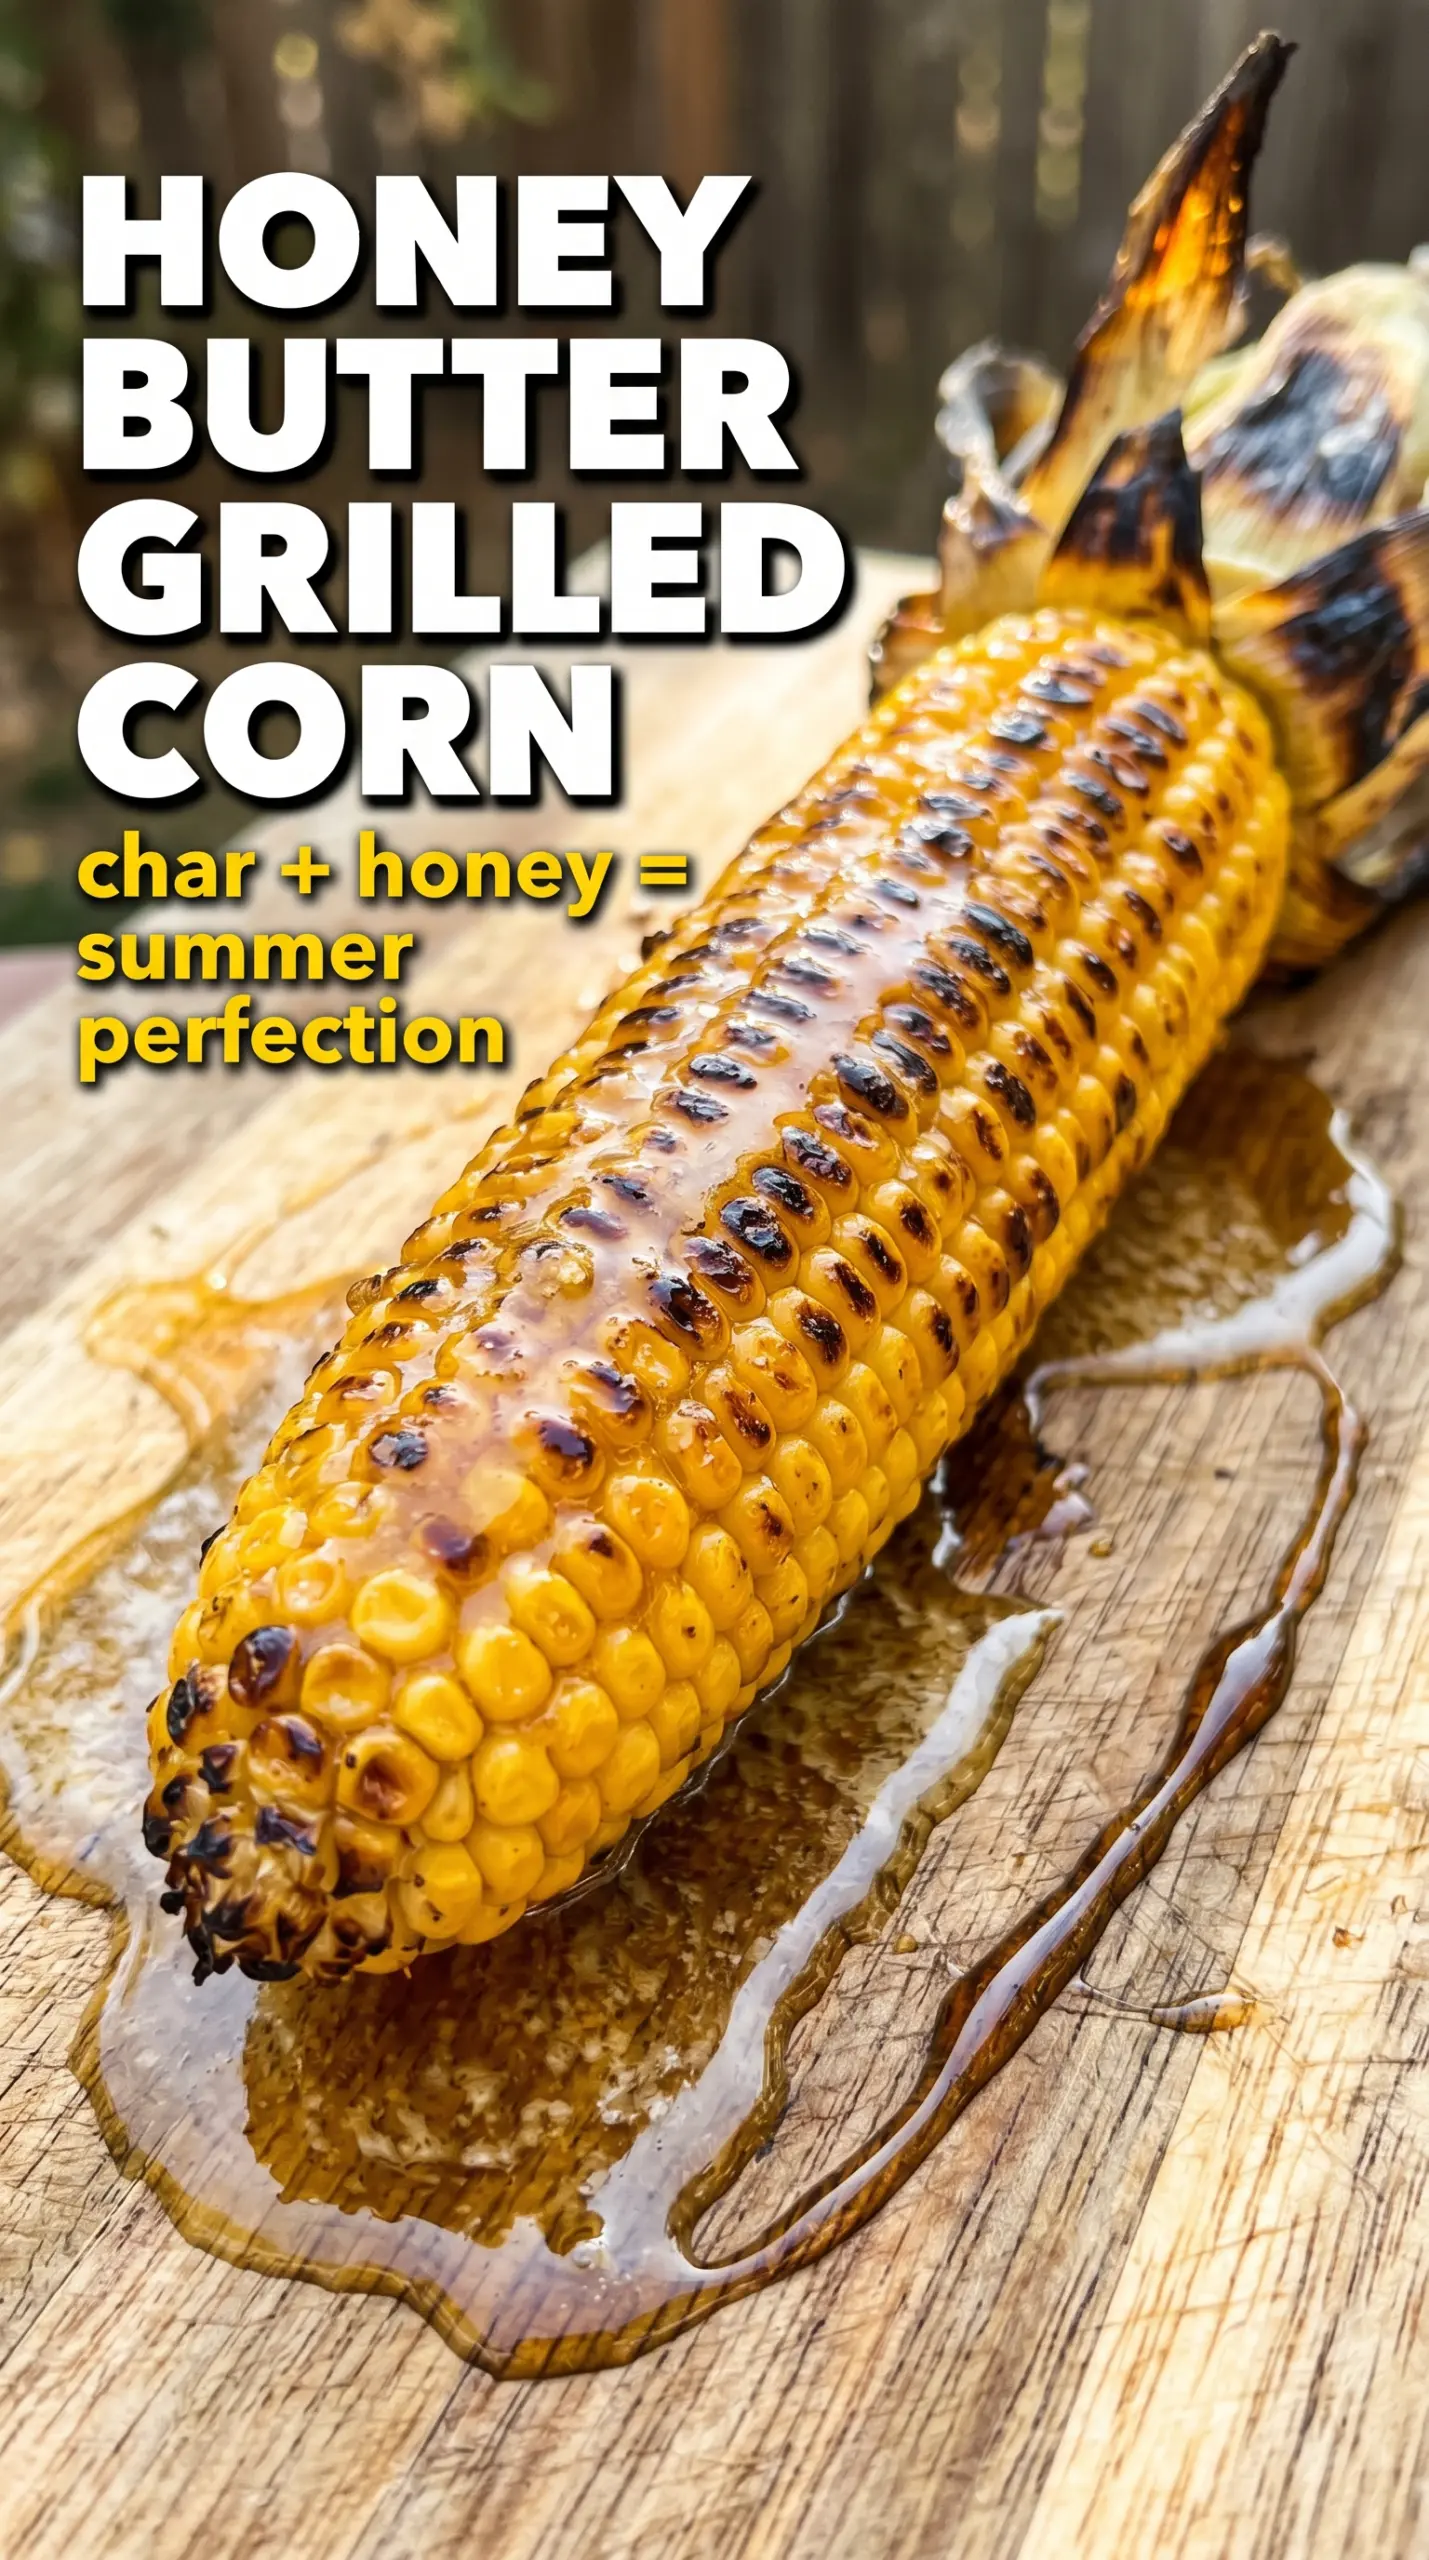
Honey butter grilled corn lands with the kind of sweet-smoky bite that makes people hover by the grill for “just one more ear.” The kernels stay juicy, but the direct heat gives them little blistered edges and a deep char that keeps the honey from tasting flat. That glossy finish is the whole point here: rich butter, a thin layer of honey, and enough grill time to turn ordinary corn into the side dish everyone reaches for first.
The trick is not drowning the corn before it hits the grates. A light first coat protects the kernels and helps them pick up color, then the rest of the honey butter goes on near the end so it stays fragrant instead of burning. Smoked paprika gives the glaze a quiet campfire note, and a little garlic powder keeps the sweetness from taking over.
Below you’ll find the exact grill timing that gets tender kernels without turning them mushy, plus a few smart swaps if you’re cooking for a crowd or need to work with what you already have in the pantry.
The honey butter caramelized beautifully and the corn stayed juicy all the way through. I loved that the smoked paprika gave it that little extra something without making it taste spicy.
Honey butter grilled corn is at its best fresh off the grill, with those caramelized edges and glossy glaze still warm.
The Fastest Way to Lose the Char on Grilled Corn
Corn turns disappointing fast when the grill is too cool or the glaze goes on too early. If the heat isn’t high enough, the ears steam and soften instead of picking up those dark, sweet edges. If the honey butter sits on the corn for the whole cook, the sugars can scorch before the kernels have a chance to tenderize.
The answer is simple: start with a light coating, then finish with the rest of the glaze near the end. That keeps the honey in the sweet spot where it caramelizes instead of burning. Turning the corn every couple of minutes also helps the whole ear pick up color evenly, so you don’t end up with one blackened side and one pale side.
- Medium-high heat gives the kernels enough direct contact to blister.
- Butter carries the honey and helps the seasoning cling to the corn.
- Smoked paprika adds depth without overpowering the sweetness.
- Late brushing protects the glaze from burning while still building that shiny finish.
What Each Ingredient Is Doing in This Dish
Corn on the cob is the backbone here, and fresh ears matter because the kernels are naturally juicy and plump. Older corn still works, but the kernels won’t pop as cleanly when they hit the heat. Husked corn grills directly and gets those better char marks; if you leave the husks on, you lose some of the caramelized surface.
Unsalted butter gives the glaze body and helps it cling. Melted butter also carries the smoked paprika and garlic powder evenly, which matters because dry seasonings don’t distribute well in honey alone. If you only have salted butter, use it and go lighter on the added salt.
Honey is what creates the lacquered finish, but it needs the butter to keep it from turning sticky and harsh. Runny honey is fine here. Thick crystallized honey should be warmed just enough to blend smoothly, not boiled.
Smoked paprika and garlic powder do the quiet work of making the corn taste grilled even before it gets near the flames. If you swap in regular paprika, you’ll lose the smoky note, so add a tiny pinch of cumin or a few extra char marks to compensate. Fresh thyme or parsley at the end adds brightness and keeps the glaze from tasting heavy.
The Two Minutes That Decide the Finish
Mixing the Glaze
Whisk the melted butter, honey, smoked paprika, garlic powder, salt, and pepper until the mixture looks smooth and glossy. If the honey sits in streaks, it won’t coat the corn evenly, and some ears will end up sweeter than others. This is a small bowl job, but it sets up the whole recipe. The glaze should drip slowly off the brush, not run off like soup.
Building the First Layer
Brush the corn with about half the honey butter before it goes on the grill. That thin coat helps the seasonings cling and gives the kernels a head start on color without flooding them with sugar. The corn should look lightly lacquered, not dripping. Too much glaze at this stage can flare up and scorch before the kernels soften.
Turning for Even Char
Grill the ears over medium-high heat for 10 to 15 minutes, turning every 2 to 3 minutes so the heat works around the whole cob. You’re looking for tender kernels with freckles of deep brown and a few blackened spots at the edges. If the corn is browning too fast, move it to a slightly cooler part of the grill, but don’t drop the heat so low that it starts steaming.
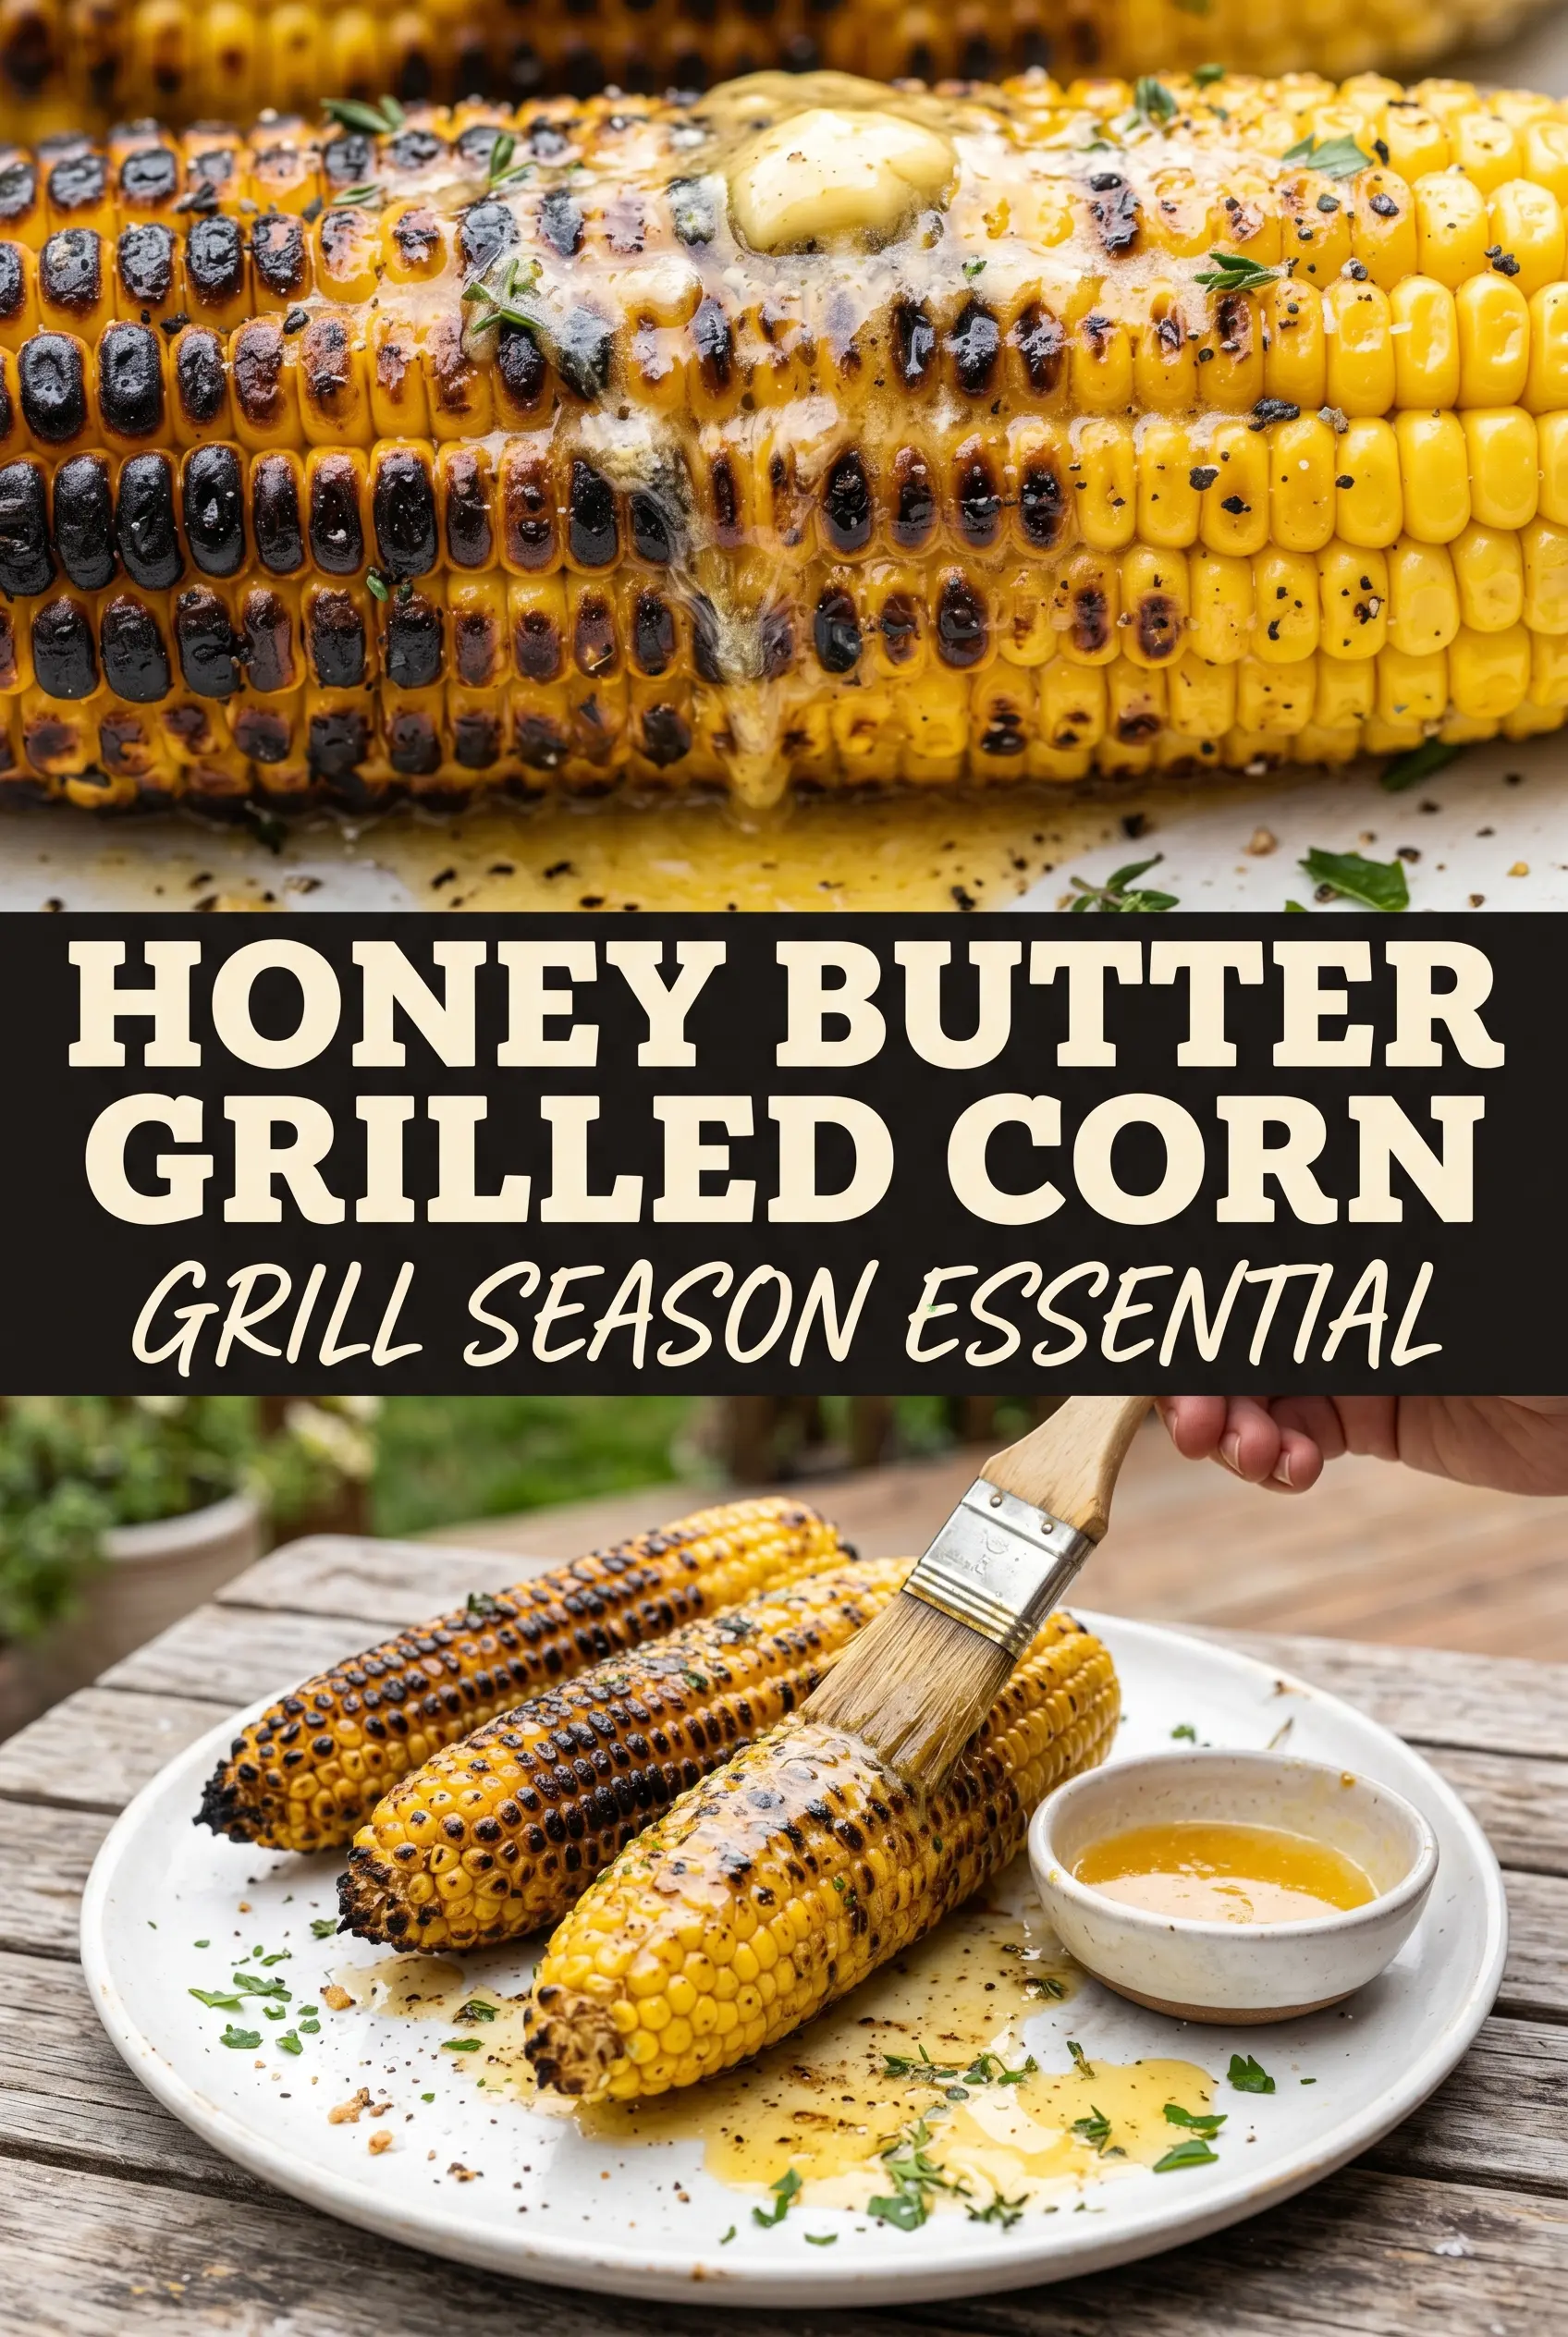
Finishing with the Remaining Glaze
Brush on the rest of the honey butter during the last 5 minutes of cooking. That’s the window where the glaze can cling, caramelize, and stay glossy instead of burning off. Pull the corn once the kernels are tender when pierced and the edges look crisp and deeply colored. Garnish right away so the herbs stay fresh and the glaze doesn’t set before serving.
Three Ways to Bend This Recipe Without Breaking It
Dairy-Free Honey Grilled Corn
Use a neutral dairy-free butter substitute that melts cleanly, not a spread that’s packed with water. You’ll still get the gloss and the sweet-salty coating, though the finish will be a touch lighter and less rich than the original.
Spicier BBQ-Style Corn
Add a pinch of cayenne or chipotle powder to the glaze if you want a little heat with the sweetness. Chipotle gives a deeper smoky note, while cayenne keeps the flavor cleaner and sharper.
No Grill? Use a Cast-Iron Pan
A hot cast-iron skillet gives you similar char marks if you rotate the ears and keep the heat steady. You won’t get the open-fire smokiness, but you will still get caramelized kernels and a shiny glaze that clings well.
How to Make It for a Crowd
Double the glaze and keep the cooked corn loosely tented with foil for a few minutes while you finish the remaining ears. If the glaze thickens in the bowl, warm it briefly so it brushes on smoothly instead of clumping.
Storage and Reheating
- Refrigerator: Store leftover corn in an airtight container for up to 3 days. The glaze will firm up, and the kernels lose a little of their snap, but the flavor stays good.
- Freezer: Freezing isn’t the best move here. Corn can be frozen off the cob, but the honey butter coating gets watery when thawed and the texture softens too much.
- Reheating: Warm the corn gently in a 325°F oven or wrapped on the grill over low heat until heated through. High heat will dry out the kernels and can burn the honey on the outside before the center is warm.
Answers to the Questions Worth Asking
Honey Butter Grilled Corn
Ingredients
Equipment
Method
- Preheat the grill to medium-high heat with the lid closed until hot.
- Whisk melted butter, honey, smoked paprika, garlic powder, salt, and black pepper together in a small bowl until glossy.
- Brush the corn generously with half the honey butter mixture.
- Grill the corn for 10–15 minutes, turning every 2–3 minutes so char forms on multiple sides.
- Brush the corn with the remaining honey butter during the last 5 minutes so it sets into a shiny glaze.
- Remove the corn when kernels are tender and the edges look caramelized with visible char.
- Garnish with fresh thyme or parsley and serve immediately for best glaze sheen.