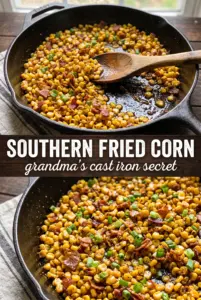
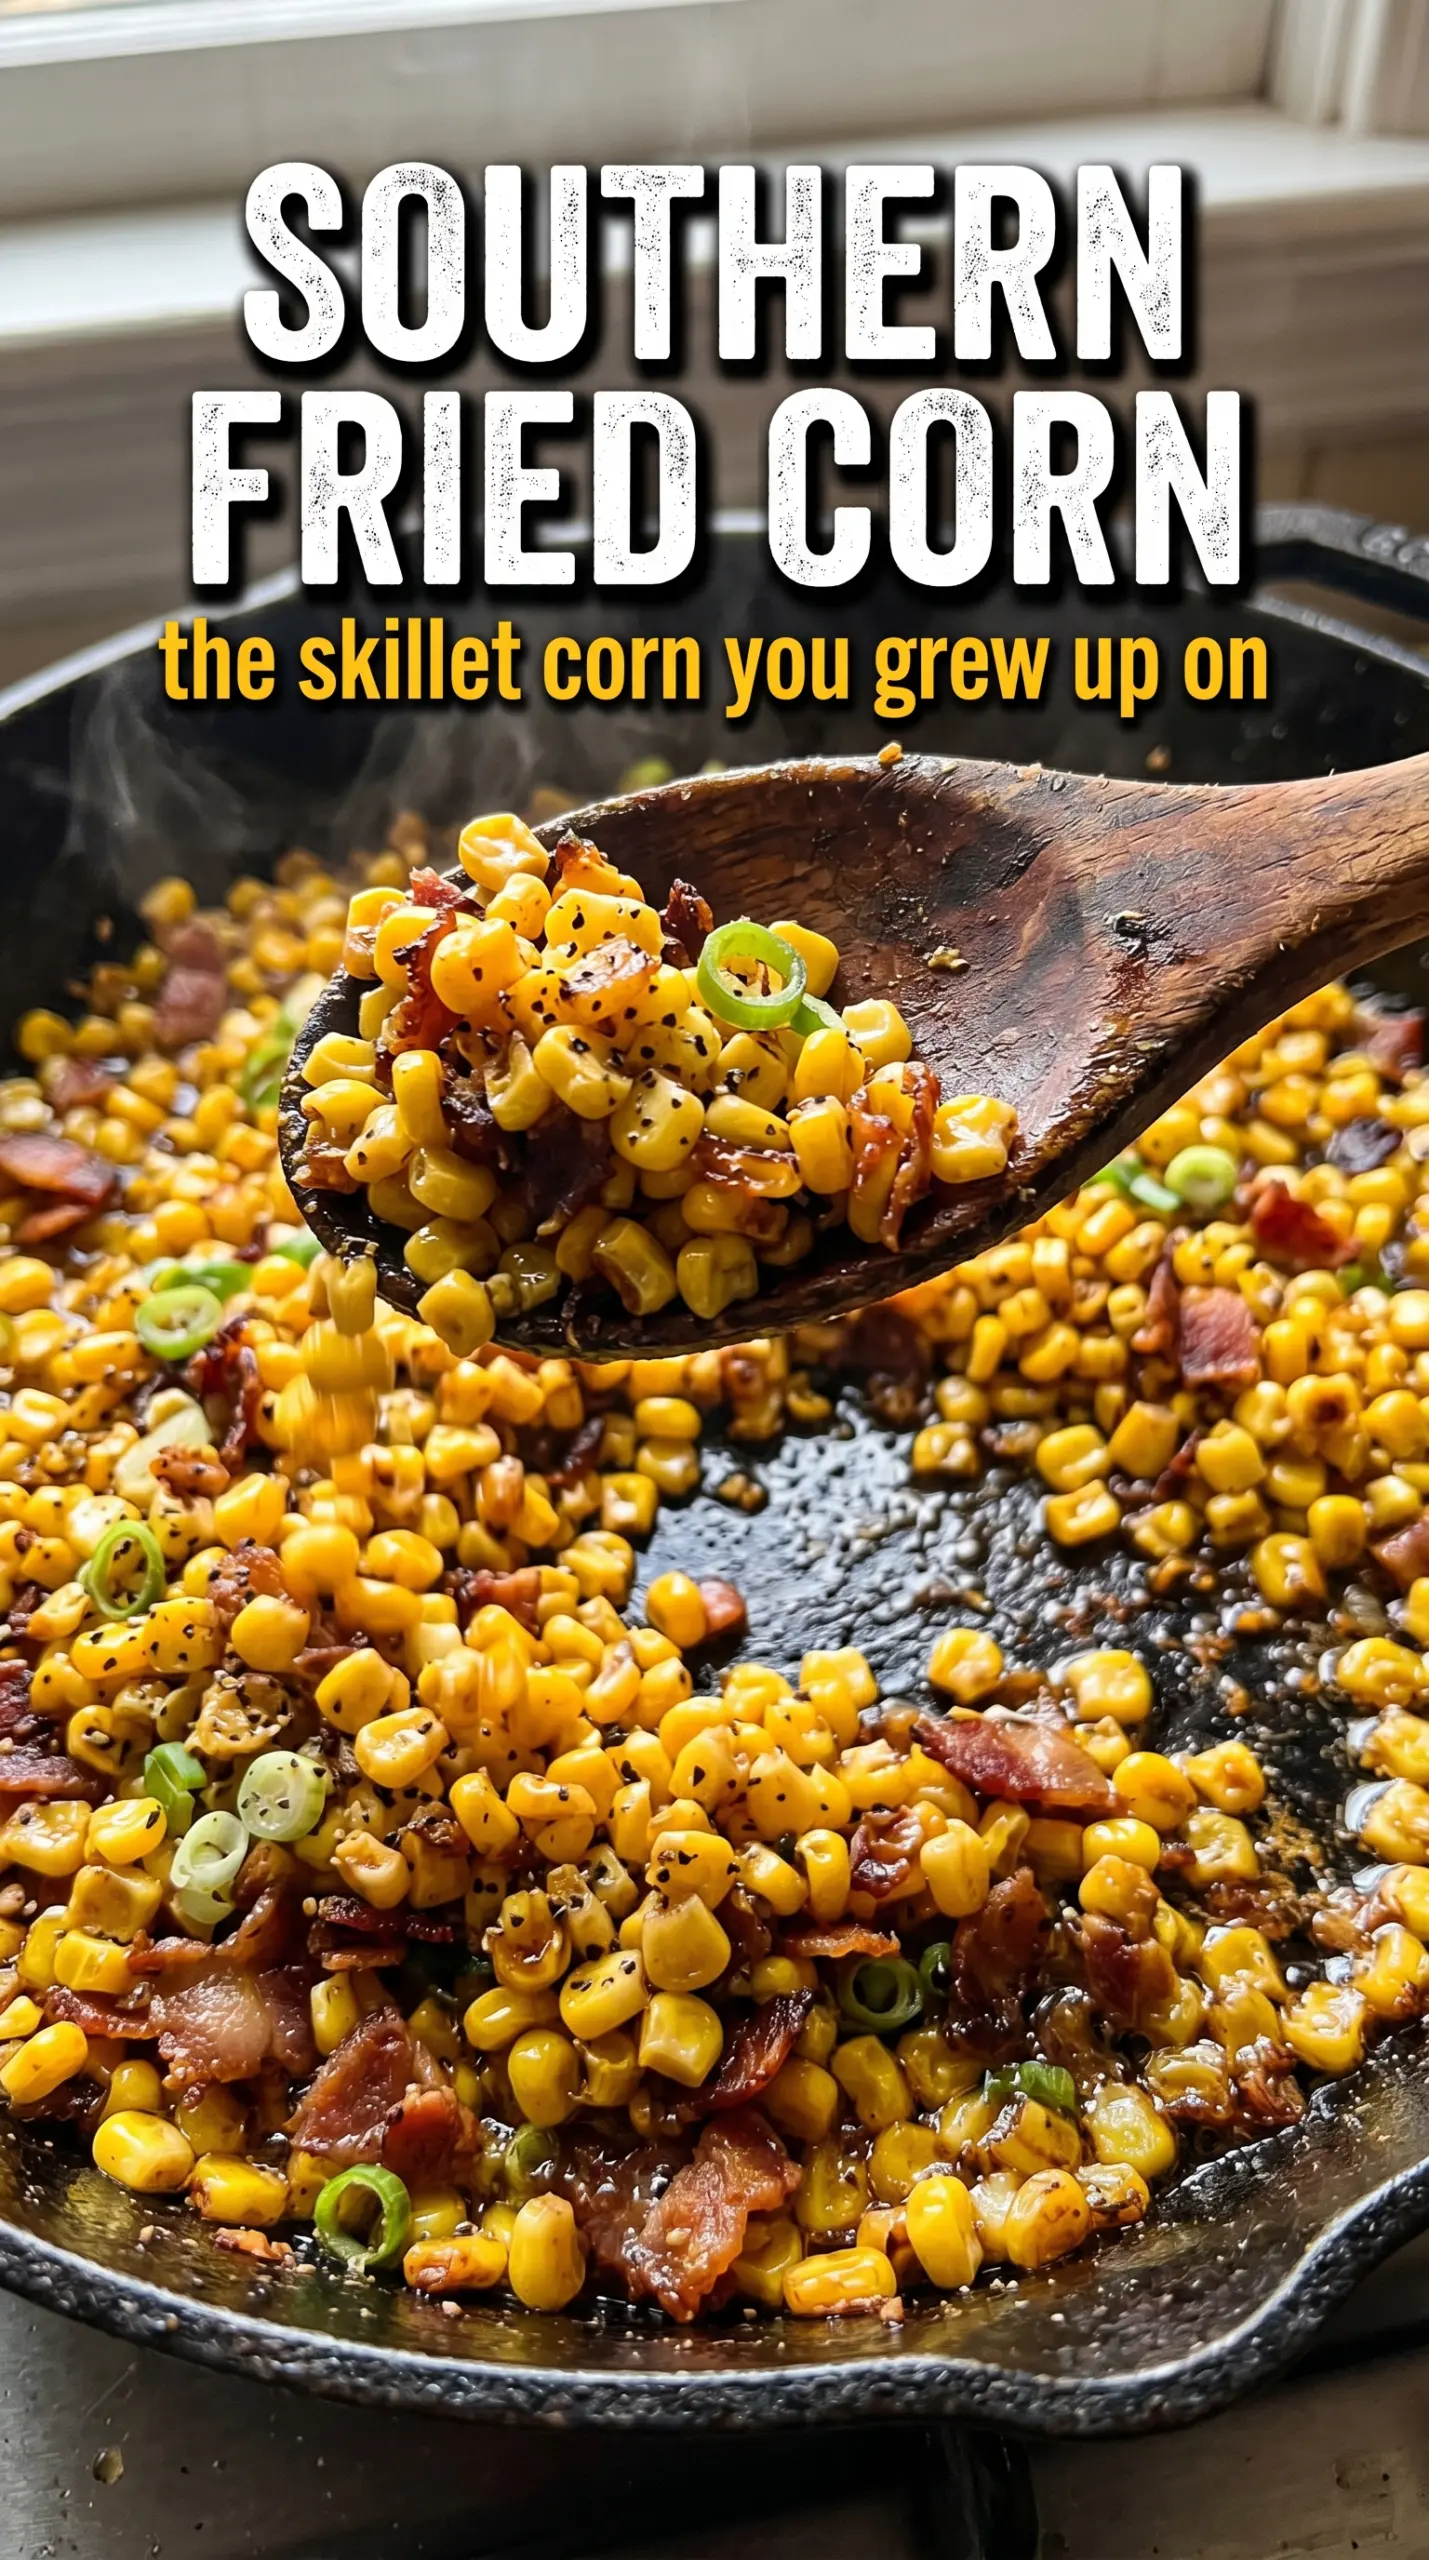
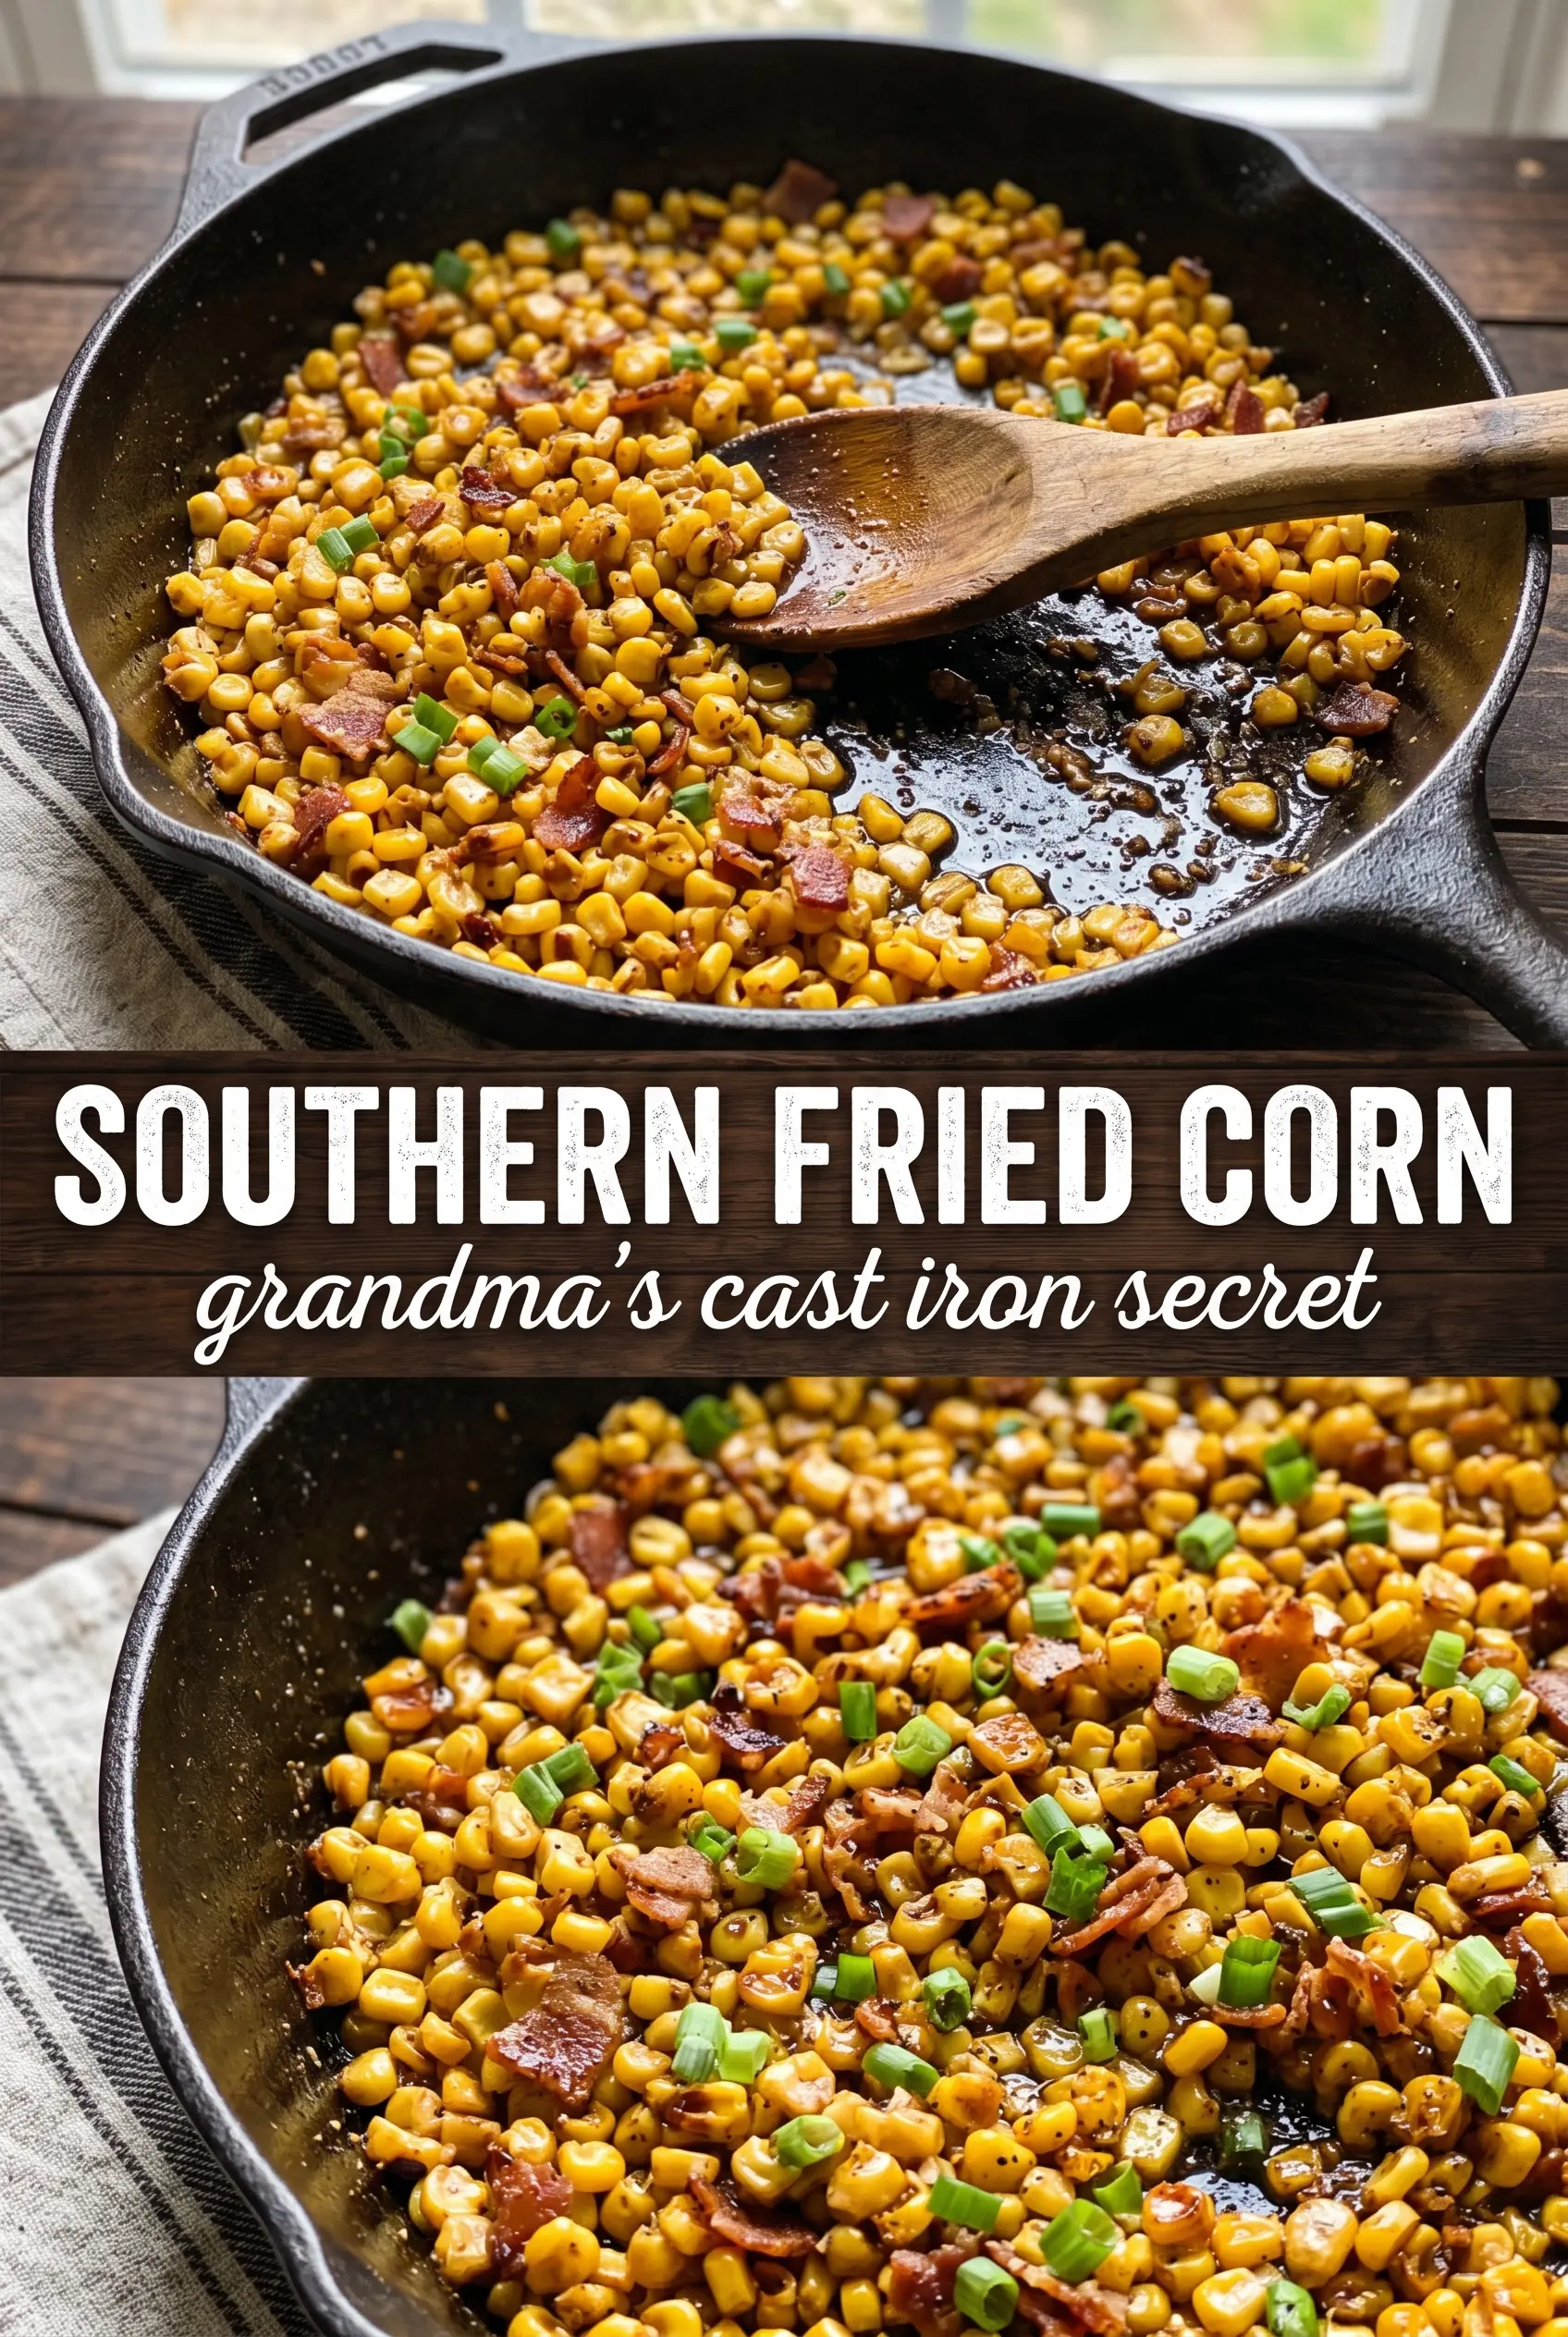
Golden corn kernels in a cast iron skillet, slicked with bacon drippings and finished with a little cream, have a way of disappearing faster than anything else on the table. This version lands right in that sweet spot between fresh and rich: the corn stays tender with a little bite, the pan sauce turns glossy instead of watery, and the bacon gives each spoonful a smoky edge that keeps it from tasting one-note.
What makes it work is using the corn three ways. The kernels bring texture, the scraped cobs bring milk and starch, and the heavy cream finishes the pan without turning it into chowder. The skillet matters too. A wide cast iron pan gives the corn enough contact with the heat to caramelize instead of steam, which is where a lot of fried corn goes wrong.
Below, I’ll walk through the part that matters most: how to keep the corn from turning bland or soupy. I’ve also included a few smart swaps, including what to do if you only have frozen corn or want to skip the bacon without losing that savory depth.
The corn got those little browned edges I never seem to get in a regular skillet, and the cream at the end made it glossy without turning it heavy. My husband kept sneaking spoonfuls straight from the pan.
Save this Southern Fried Corn for the nights when you want a skillet side with bacon, cream, and real corn flavor in every bite.
The Secret to Southern Fried Corn That Stays Creamy, Not Soupy
The mistake most people make is adding all the liquid too early and then walking away. Corn releases water as it cooks, and if you don’t give that moisture time to reduce, the skillet never gets a chance to concentrate the flavor. You end up with pale kernels floating in thin juice instead of a pan that clings to the spoon.
The other thing that matters is heat control. Medium heat gives the corn enough time to soften and caramelize without scorching the bacon drippings or breaking the cream at the end. Stir often, but not constantly. You want the kernels to sit against the hot pan long enough to pick up a little color before you move them around again.
- Bacon drippings — This is the backbone of the dish. They bring salt, smoke, and enough fat to coat the kernels so they fry instead of dry out. If you skip the bacon, use butter plus a small splash of neutral oil so the pan still has enough fat to carry the corn.
- Scraped corn milk — Don’t leave this in the cobs. When you scrape the ears after cutting off the kernels, you pull out the milky starch that thickens the skillet naturally. That’s what keeps the finished dish glossy without needing flour.
- Heavy cream — It goes in at the end for body, not as the main liquid. Half-and-half works in a pinch, but the sauce will be lighter and less rich. Add it only after the corn is tender so it finishes the dish instead of simmering away.
- Fresh corn — Fresh ears give you the best texture and the most natural sweetness. Frozen corn can work, but thaw it first and cook off the extra moisture before adding the cream, or the skillet will turn watery. Canned corn won’t give you the same bite or starch.
What Each Ingredient Is Actually Doing in This Corn Dish
- Fresh corn (the star vegetable) — Use the freshest corn available. Peak season (summer) tastes best.
- Butter (the flavor carrier) — This clings to corn and carries seasonings. Room temperature spreads easier.
- Seasonings (salt, pepper, spices) — Apply generously. Build flavor boldly so it stands out.
- Optional cheese (cotija, parmesan, or cheddar) — This adds umami depth. Crumble for even distribution.
- Acid (lime juice or vinegar) — This prevents the dish from tasting one-dimensional. Essential for fresh flavor.
- Herbs and aromatics (cilantro, garlic, or chili powder) — These add personality. Balance so nothing overpowers.
- Proper cooking (gentle heat, don’t overboil) — Overcooked corn becomes mushy. Stop while still tender-crisp.
- Grilling or foil method (if using) — This adds flavor through caramelization. Creates smokiness and depth.
How to Build the Skillet So the Corn Fries Instead of Boiling
Render the Bacon First
Cook the chopped bacon over medium heat until the pieces are crisp and the fat in the skillet looks clear and shimmering. If the bacon stays pale, the pan never gets enough savory depth; if it burns, the drippings turn bitter and every other ingredient tastes flat. Lift the bacon out and leave the fat behind. That is the base of the whole dish.
Soften the Onion in the Drippings
Add the butter and diced onion to the skillet and cook until the onion turns translucent and soft around the edges. You’re not browning it hard here. You just want to take the raw bite out and let it absorb the bacon flavor. If the pan looks dry, the onion will start to catch; add a small extra knob of butter rather than increasing the heat.
Fry the Corn Until It Starts to Thicken
Stir in the corn kernels, scraped milk, sugar, salt, and pepper, then cook over medium heat for 10 to 12 minutes. The kernels should look glossy and a few should pick up little browned spots on the edges. If the skillet starts pooling with liquid, keep cooking until it reduces before you move on. This is the point where the dish stops tasting like plain corn and starts tasting like Southern fried corn.
Finish With Cream and Bring It All Together
Pour in the heavy cream and stir for about 2 minutes, just until the sauce looks rich and coats the kernels. Don’t let it boil hard at this stage or it can tighten too much and lose that silky finish. Add the bacon back in at the end so it stays crisp, then top with chives and serve straight from the skillet while the sauce is still glossy.
What to Change When You Need a Different Version
Make It Without Bacon
Use 2 tablespoons butter plus 1 tablespoon neutral oil in place of the bacon drippings. You’ll lose the smoky edge, so add a small pinch of smoked paprika if you want that background note back. The texture stays the same, and the corn still fries properly because the fat in the pan is what matters most.
Use Frozen Corn When Fresh Isn’t in Season
Thaw the corn first and pat it dry so you don’t steam the skillet. Frozen corn won’t give you the scraped-cob milk, so the sauce won’t thicken quite as naturally; let it cook a couple extra minutes before adding the cream. The flavor is still good, just a little less sweet and less layered than fresh.
Dairy-Free Version
Swap the butter for more bacon drippings or a neutral oil, and replace the heavy cream with unsweetened coconut cream or a plain dairy-free cooking cream. Coconut cream adds body, but it brings its own flavor, so use it only if you’re fine with a slight coconut note. The dish still turns rich, just a little less classic.
Storage and Reheating
- Refrigerator: Store leftovers in an airtight container for up to 3 days. The sauce will thicken as it chills.
- Freezer: It freezes, but the cream can separate a bit and the corn softens. Freeze only if you need to, and reheat gently rather than expecting the texture to stay perfect.
- Reheating: Warm it slowly in a skillet over low heat with a splash of water, milk, or cream. High heat is what makes the sauce split and turns the corn tough around the edges.
Questions I Get Asked About This Recipe
Southern Fried Corn
Ingredients
Equipment
Method
- Cook the chopped bacon in a large cast iron skillet over medium heat until crispy, then remove it with a slotted spoon and set aside, leaving the drippings in the pan.
- Add the butter and diced onion to the drippings and cook for 3–4 minutes until the onion is softened and fragrant, scraping up any browned bits.
- Add the corn kernels and the milk scraped from the cobs, then stir in the sugar, salt, and black pepper until evenly combined.
- Cook over medium heat for 10–12 minutes, stirring frequently, until the corn is tender and the natural starch thickens the mixture into a glossy, slightly creamy consistency.
- Pour in the heavy cream and stir for 2 minutes until the sauce turns rich and glossy with a smooth texture.
- Top with the reserved bacon and fresh chives and serve directly from the skillet.