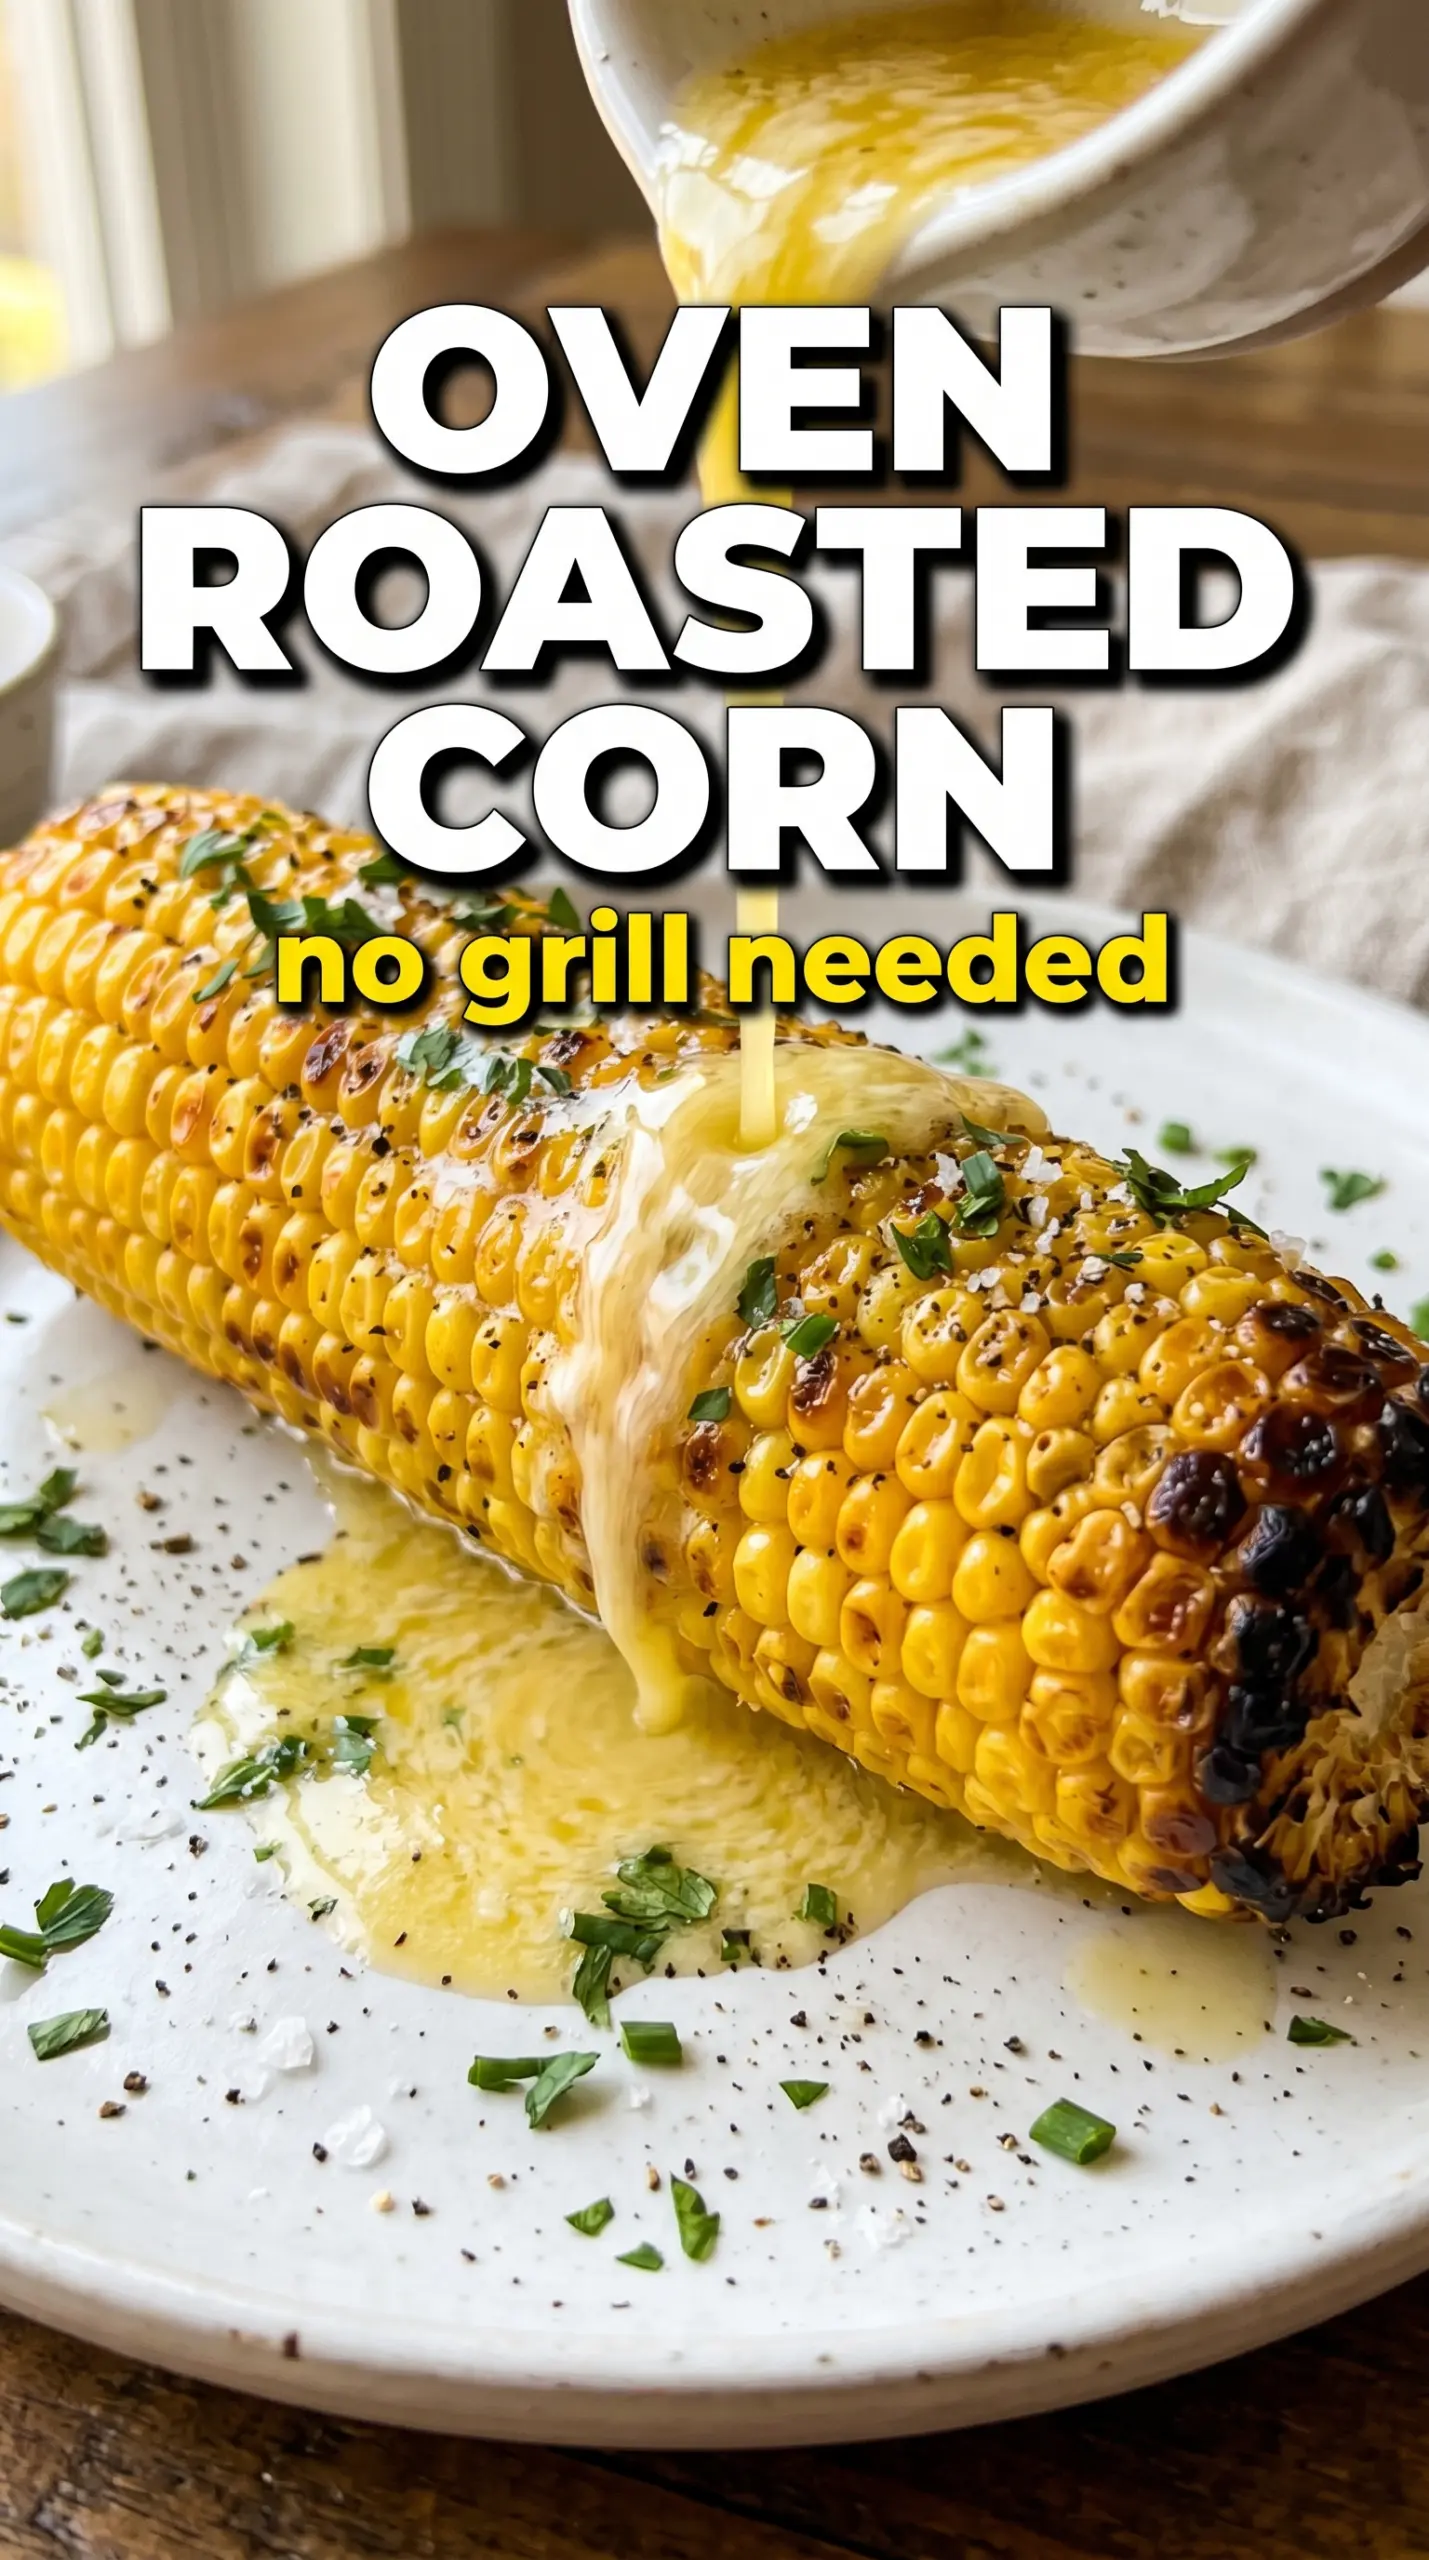
Oven roasted corn on the cob comes out with blistered kernels, deep sweetness, and just enough char to make each bite taste bigger than it should. The oven does what a grill does best when you don’t have one handy: it concentrates the corn’s natural sugar and gives the edges that golden, toasted snap. Finished with melting herb butter, it lands somewhere between weeknight simple and cookout-worthy.
The trick is using high heat and giving the ears space on the pan. If the corn sits too close together, it steams instead of roasts, and you lose that caramelized surface. A thin coat of oil or melted butter helps the kernels color instead of drying out, and the quick turn halfway through keeps the browning even.
Below, you’ll find the exact timing that gives you tender corn with browned spots, plus a small butter finish that makes the whole thing taste finished, not plain.
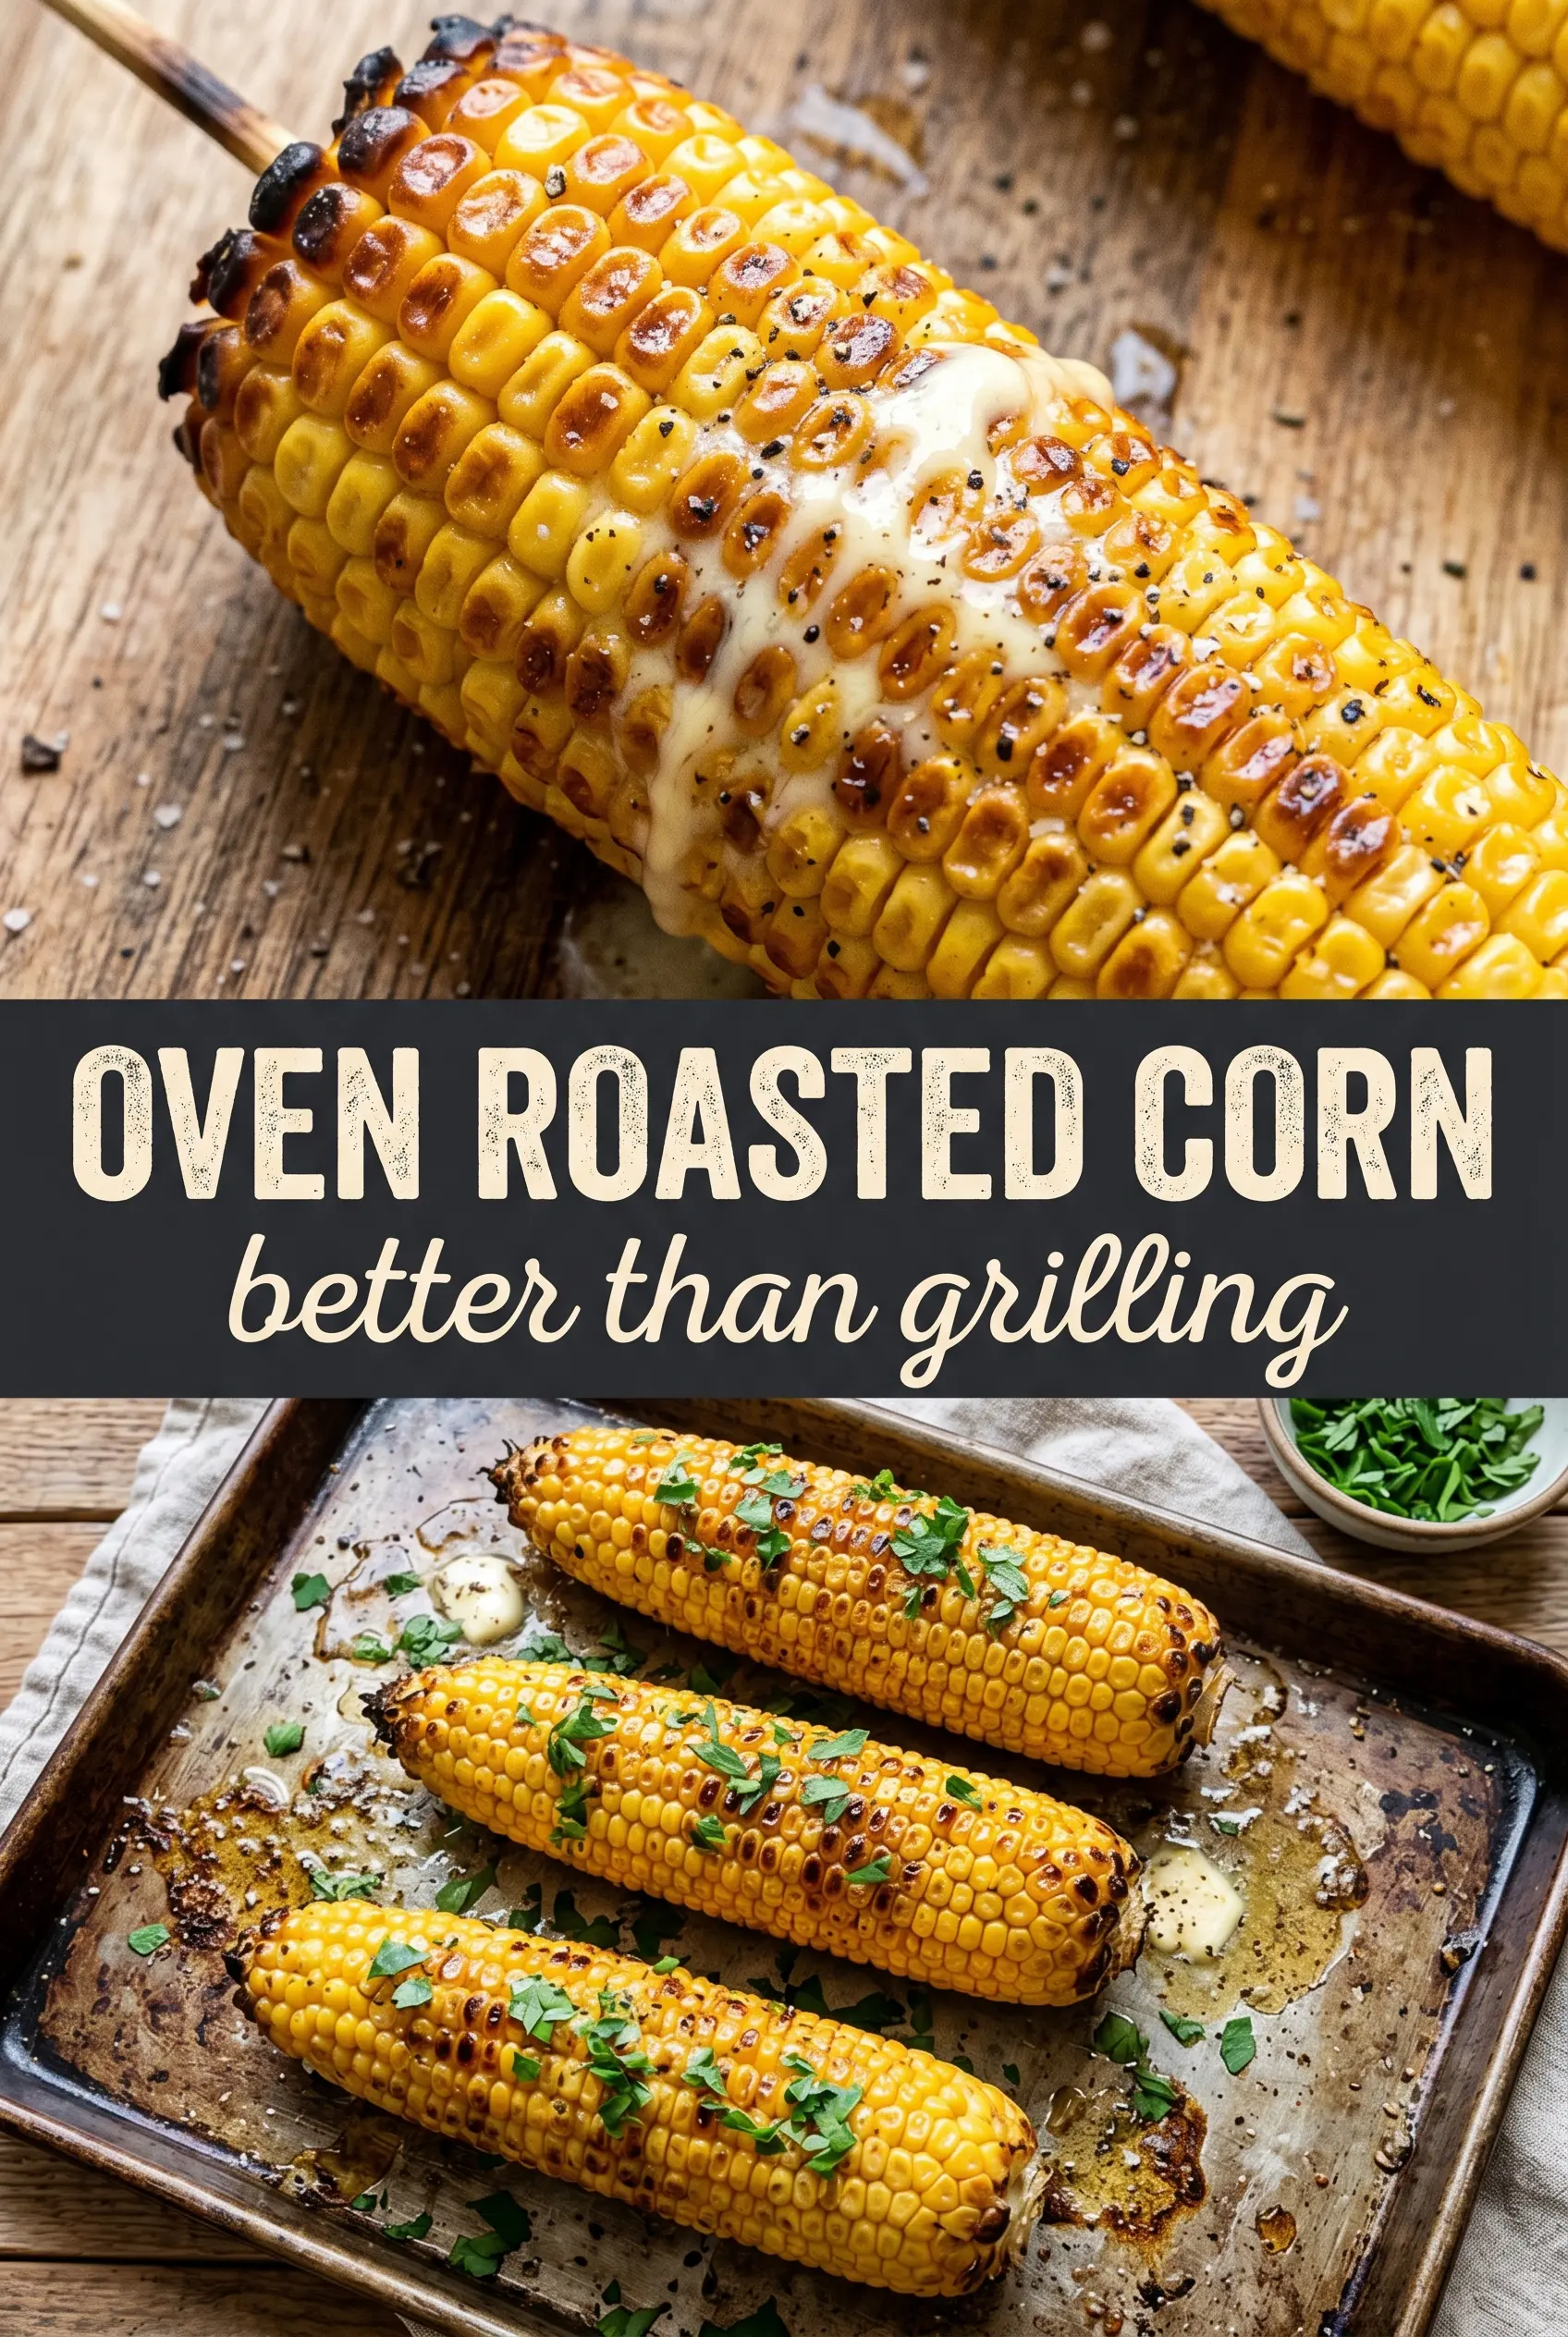
The kernels got those little browned blisters I never get on the stovetop, and the garlic herb butter melted into every row. I used the foil-lined pan and cleanup was nothing.
Oven roasted corn on the cob with blistered kernels and herb butter
The Reason Oven Corn Gets Sweet Instead of Watery
Corn turns watery when the heat is too low or the pan is overcrowded. In both cases, steam builds around the ears before the kernels have a chance to brown, and you end up with soft corn that tastes flat. Roasting at 425°F gives the kernels enough direct heat to blister before the sugars drift out.
The other mistake is adding too much fat too early. You want a thin coating, not a slick pan of oil, because excess fat can keep the kernels from taking on those browned spots. Turning the corn once halfway through is enough; if you keep fussing with it, the ears lose the chance to sit against the hot pan long enough to color properly.
What the Butter, Oil, and Seasoning Are Actually Doing Here
The corn itself does the heavy lifting, so choose ears that feel full and heavy with tight husks if you’re buying fresh. Fresh corn gives you the sweetest result, but this method still works with ears that have been picked a day or two earlier. If your corn is older, the oven’s high heat helps pull some life back into it, though it won’t taste as juicy as peak-season corn.
- Olive oil or melted butter — This is what helps the kernels roast instead of dry out. Olive oil gives the cleanest browning, while melted butter adds a little more richness but can brown faster, so keep an eye on the color.
- Softened butter with parsley and garlic powder — This is the finish that makes the corn taste complete. Softened butter spreads over hot corn in a thick layer and melts into the crevices; if you use cold butter, it sits on top in chunks instead of coating the kernels.
- Flaky sea salt — Use this at the end, not at the start. A finishing salt gives little bursts of saltiness on the surface, which matters more here because the corn is naturally sweet and benefits from contrast.
- Garlic powder — Fresh garlic would burn on the hot corn and taste harsh. Garlic powder gives steady flavor without taking over the sweetness of the corn.
How to Roast the Corn So the Kernels Blister, Not Dry Out
Preheat the Pan Space
Set the oven to 425°F and line your baking sheet with foil for easier cleanup. The corn needs direct hot air and a little contact with the pan, so don’t crowd the ears; leave enough room for the heat to move around them. If the pan is packed tight, the corn steams and stays pale.
Coat and Season Evenly
Rub each ear with olive oil or melted butter, then season with salt and black pepper. You want a light, even sheen over the kernels, not puddles of fat. Uneven coating gives you patchy browning, and too much seasoning before roasting can make the surface taste muddy instead of sweet.
Roast Until the Kernels Spot and Color
Place the corn directly on the baking sheet and roast for 20 to 25 minutes, turning once halfway through. You’re looking for golden spots, some deeper brown blistering, and kernels that smell sweet and toasted. If the corn still looks pale after 25 minutes, give it a few more minutes rather than forcing it with extra butter; the color has to happen in the oven.
Finish While It’s Hot
Mix the softened butter with parsley and garlic powder while the corn roasts, then spoon or pat it over the corn as soon as it comes out. Hot corn melts the butter into the kernels and carries the herbs better than warm corn ever will. Finish with flaky sea salt right away so it sticks to the melted butter instead of sliding off.
Three Ways to Make This Corn Work for Your Table
Dairy-Free Version With the Same Roast
Use olive oil for roasting and finish with a dairy-free butter alternative or a drizzle of extra olive oil mixed with parsley and garlic powder. You’ll keep the same browned kernels and herby finish, but the result will taste a little lighter and less rich than the butter version.
Extra-Sweet Corn With a Little Heat
Add a pinch of smoked paprika or cayenne to the herb butter. The spice doesn’t overpower the corn; it cuts through the sweetness and gives the finish more depth. This works best if you like corn that tastes more savory than buttery.
How to Scale It for a Crowd
Roast the corn on two sheet pans instead of stacking it on one. Crowding is the fastest way to lose browning, so using two pans keeps the ears in a single layer and gives you better color on every cob. Rotate the pans halfway through if your oven has hot spots.
Storage and Reheating
- Refrigerator: Store leftover corn in an airtight container for up to 3 days. The kernels will lose a little snap, but the flavor stays good.
- Freezer: You can freeze the kernels cut off the cob, but whole roasted cobs don’t reheat well from frozen. If you want to freeze it, slice the kernels off first and pack them tightly.
- Reheating: Warm the corn in a 350°F oven wrapped loosely in foil for 8 to 10 minutes, or until hot. The biggest mistake is using the microwave too long, which makes the kernels rubbery and wipes out the roasted texture.
Questions I Get Asked About This Recipe
Oven Roasted Corn on the Cob
Ingredients
Equipment
Method
- Preheat the oven to 425°F and line a baking sheet with foil so the corn chars without sticking.
- Rub each ear of corn with olive oil or melted butter, then season all over with salt and black pepper.
- Place the corn directly on the baking sheet and roast for 20–25 minutes, turning once halfway, until the kernels are golden and blistered in spots.
- While the corn roasts, mix the softened butter with the chopped parsley and garlic powder until evenly combined.
- Remove the corn from the oven and immediately top each ear with a generous pat of herb butter so it melts into the hot kernels.
- Finish with flaky sea salt and serve right away for the best texture.