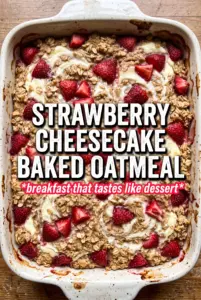
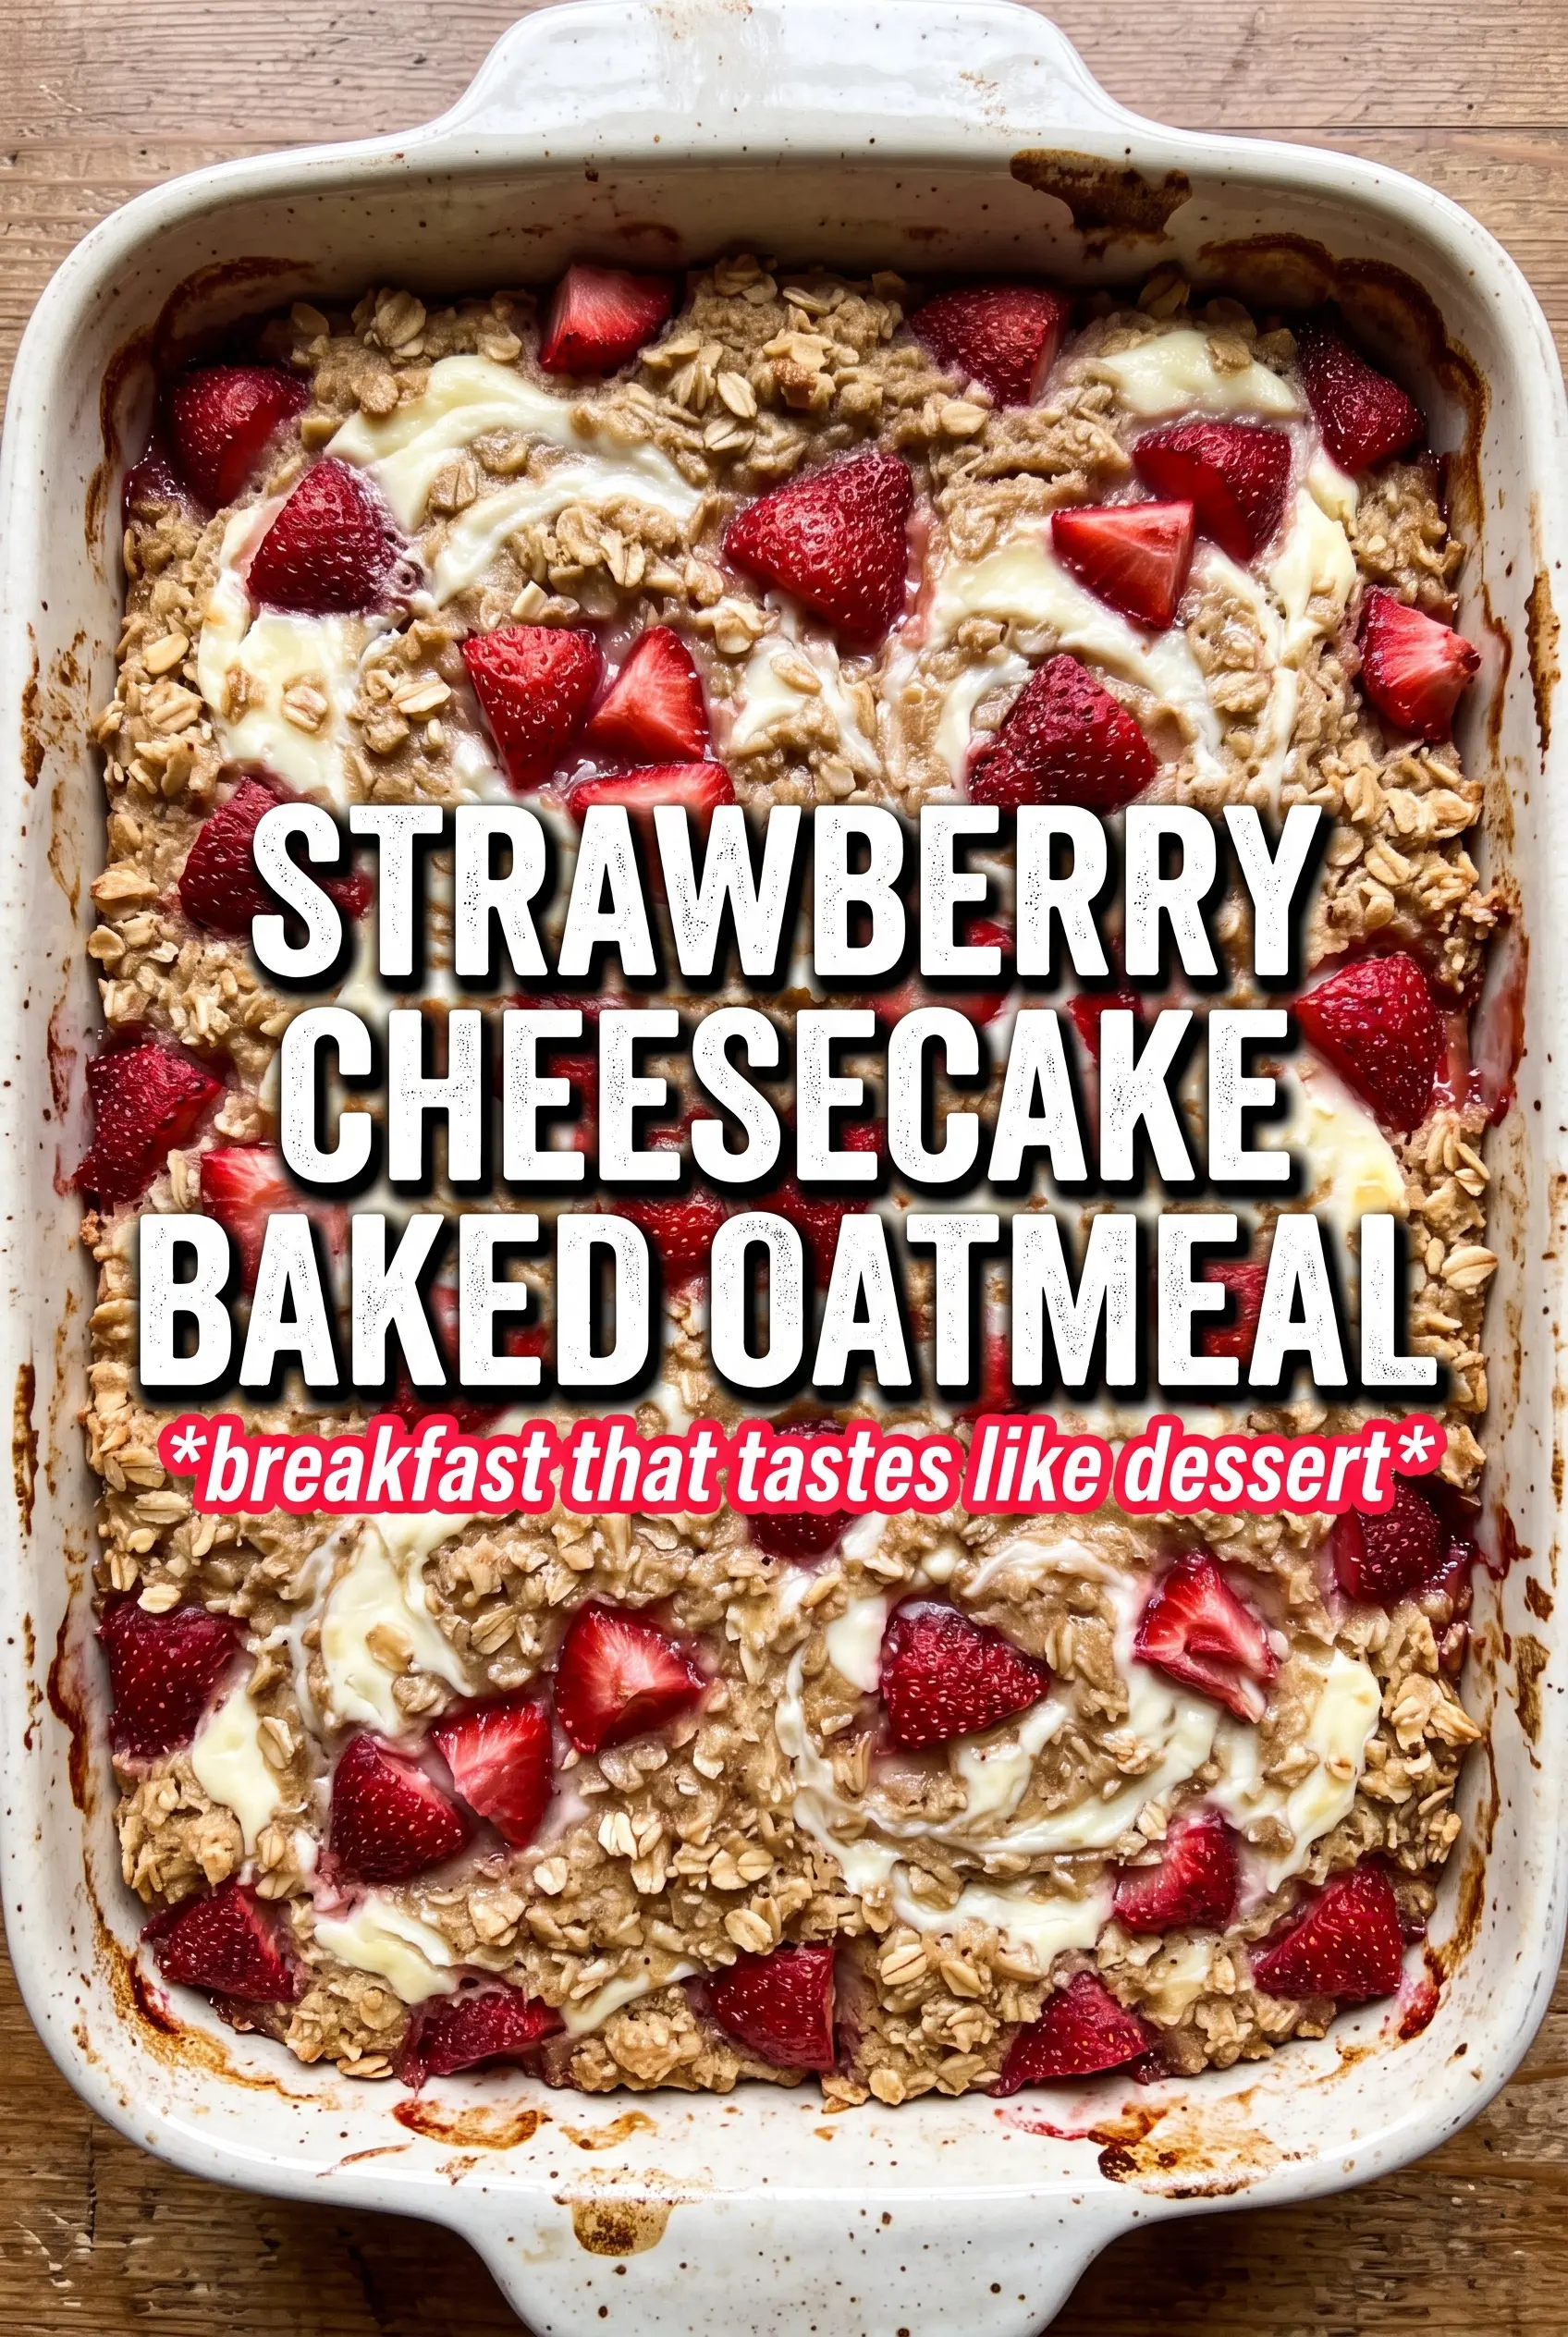
Strawberry cheesecake baked oatmeal lands in that sweet spot between cozy breakfast and something that feels a little special without asking much from you in the morning. The oats bake up soft and custardy underneath, the strawberries turn jammy at the edges, and the cream cheese swirl melts into little tangy ribbons across the top. It slices neatly, scoops beautifully, and tastes like the kind of breakfast that gets people out of bed without complaints.
The key is keeping the oat mixture loose enough to bake into a tender spoonable texture instead of a dry breakfast brick. Eggs give it structure, milk keeps the oats hydrated, and the cream cheese swirl adds the cheesecake note without needing a separate crust or filling. Stir the strawberries in gently so they stay visible instead of disappearing into pink mush, and use softened cream cheese so the swirl stays marbled instead of clumping.
Below, I’ve included the little details that matter most: how to keep the center from turning gummy, which swaps work without ruining the texture, and how to store the leftovers so the texture still holds up the next day.
The oats baked up creamy instead of dry, and the cream cheese swirl stayed in these little tangy pockets that tasted just like cheesecake. I reheated a square the next morning and it was still soft, not rubbery.
Save this strawberry cheesecake baked oatmeal for a breakfast bake that feels special but still reheats well all week.
The Reason the Center Stays Creamy Instead of Turning Dense
Most baked oatmeal turns heavy when there’s too much oat and not enough liquid, or when it gets overbaked until all the moisture disappears. This version stays tender because the eggs and milk form a custard-like base that sets in the oven instead of drying out on the way there. The strawberries add moisture too, but the real trick is stopping the bake when the center is just set and still soft under the spoon.
That matters even more once the cream cheese goes in. If the swirl is too cold, it won’t marbel properly. If the oven runs too hot, the top sets before the middle has a chance to finish, and you end up with a dry edge and a gummy center. The goal is a golden top with a soft, spoonable middle that still holds together.
What Each Ingredient Is Actually Doing in This Dish
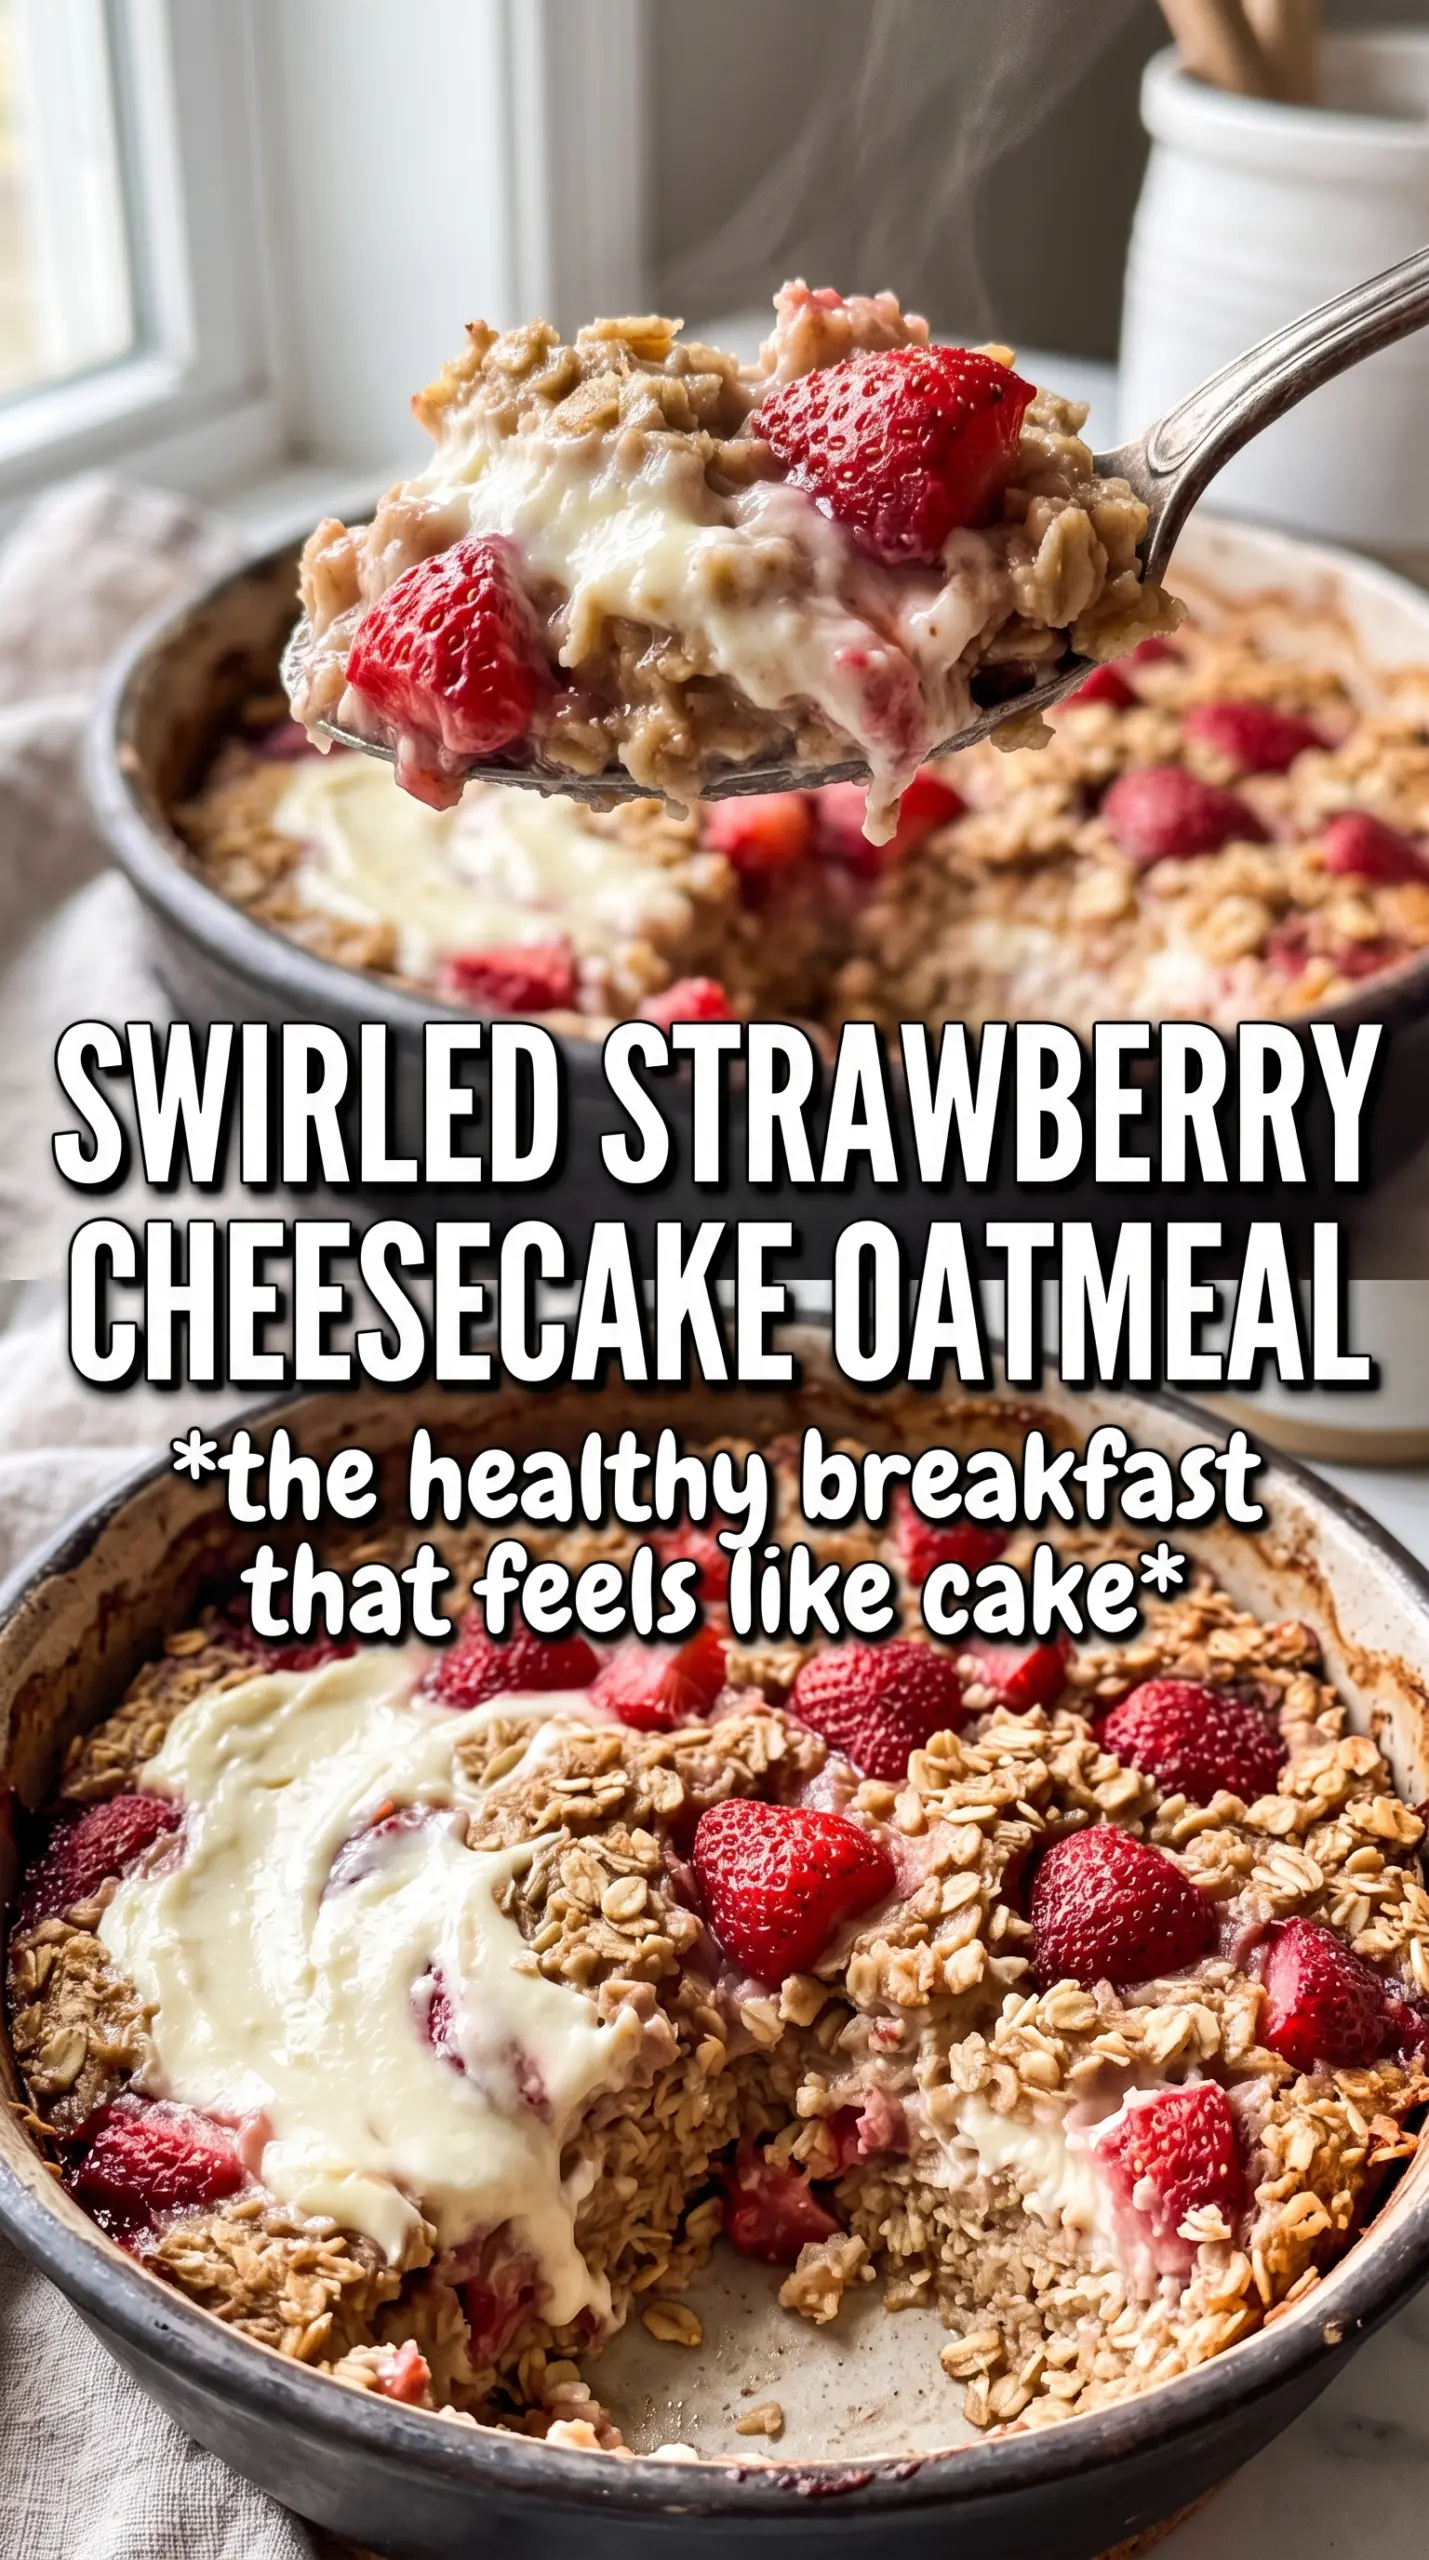
- Rolled oats — These hold their shape better than quick oats and give the bake that hearty, spoonable texture. Quick oats will work in a pinch, but the finished dish will be softer and a little more pudding-like.
- Milk — This hydrates the oats so they can bake through without staying dry in the middle. Any dairy or unsweetened non-dairy milk works here, though richer milks give a creamier result.
- Eggs — They’re the structure in the pan. Without them, the oatmeal won’t slice or scoop the same way, and the center can fall apart once it cools.
- Honey or maple syrup — This sweetens the base and helps the top brown a little. Honey gives a slightly warmer flavor, while maple reads a bit softer and works well if that’s what you already have.
- Cream cheese — Use the real thing here. Low-fat cream cheese can work, but full-fat gives the best tang and the smoothest swirl, especially once it melts into the oatmeal.
- Fresh strawberries — Fresh berries keep their shape better than frozen ones, which release more liquid and can streak the batter. If you only have frozen, use them straight from the freezer and expect a softer, wetter bake.
Building the Bake So the Swirl Stays Visible
Mix the oat base first
Whisk the oats, milk, eggs, honey, vanilla, baking powder, cinnamon, and salt until everything looks evenly combined. You want the oats coated and suspended, not sitting in dry pockets at the bottom of the bowl. If the mixture looks thin, that’s fine; the oats absorb liquid as it bakes. Letting it sit for a minute or two before pouring gives the oats a head start on soaking.
Fold in the strawberries gently
Stir the sliced strawberries in with a light hand so they stay intact. If you mash them hard, they bleed into the batter and you lose the pockets of fruit that make each bite taste fresh. A few slices can sit on top too, where they caramelize a bit and look better after baking.
Swirl the cream cheese on top
Beat the softened cream cheese with honey and vanilla until it’s smooth enough to dollop. Drop it over the surface in spoonfuls, then drag a toothpick or skewer through it just enough to create ribbons. If you over-swirl, the cream cheese disappears into the oatmeal and you lose that cheesecake effect. The top should look marbled, not mixed.
Bake until the center just sets
Bake at 375°F until the top is golden and the center no longer looks wet in the middle, usually 30 to 35 minutes. The middle should jiggle only slightly when you nudge the pan. Pull it early rather than late; baked oatmeal finishes setting as it cools, and waiting for it to look completely firm usually means it’s already dry.
Three Ways to Adjust It Without Losing the Texture
Dairy-Free Version
Swap the milk for an unsweetened non-dairy milk and replace the cream cheese with a dairy-free cream cheese block that softens well. The bake still holds together, but the swirl will be a little less tangy and a touch softer once warmed. Choose a brand that bakes smoothly, not one that stays crumbly.
Higher-Protein Breakfast
Use higher-protein milk, then serve each portion with plain Greek yogurt on the side or on top after baking. Stirring protein powder directly into the batter usually makes the oatmeal drier, so I’d skip that unless you’re willing to add extra milk. The texture stays best when you boost protein at serving time instead of forcing it into the batter.
Frozen Strawberry Swap
Frozen strawberries work when fresh ones aren’t available, but don’t thaw them first. Stir them in frozen so they don’t bleed too much juice into the batter, and expect the bake to need a few extra minutes. The result is a little softer and more jammy, which still tastes good, just less defined.
Make-Ahead Breakfast Squares
Bake the oatmeal a day ahead, cool it fully, and cut it into squares once chilled. The texture firms up overnight, which makes it easier to portion for meal prep. Reheated squares hold their shape better than freshly baked ones that are still soft from the oven.
Storage and Reheating
- Refrigerator: Store covered for up to 4 days. The oats firm up a bit as they chill, but the texture stays pleasant.
- Freezer: Freeze individual portions wrapped well for up to 2 months. Thaw overnight in the fridge before reheating so the center warms evenly.
- Reheating: Warm in the microwave in short bursts with a splash of milk on top, or cover and reheat in a 325°F oven. Don’t blast it on high heat or the eggs can turn rubbery while the edges dry out.
Answers to the Questions Worth Asking
Strawberry Cheesecake Baked Oatmeal
Ingredients
Equipment
Method
- Preheat the oven to 375°F and grease an 8x8 baking dish. Brush the dish evenly so the oatmeal releases cleanly.
- Mix rolled oats, milk, eggs, honey, vanilla, baking powder, cinnamon, and salt, then pour the mixture into the baking dish. Stir until no dry oat patches remain, then spread into an even layer.
- Fold the sliced strawberries gently into the oat mixture. Stop as soon as the strawberries are evenly distributed to keep them intact.
- Beat cream cheese, honey, and vanilla until smooth. The mixture should look glossy and spreadable for clean swirls.
- Dollop the cream cheese mixture over the top of the oats. Use spoonfuls across the surface so swirls form throughout.
- Use a toothpick or skewer to swirl the cream cheese into the surface. Pull through a few times in different directions for a marbled cheesecake look.
- Bake at 375°F for 30–35 minutes, until the center is set and the top is golden. Look for a lightly browned surface and slight jiggle that tightens as it cools.
- Serve warm with extra honey and fresh strawberries. Spoon scoops into bowls and drizzle honey right before eating.