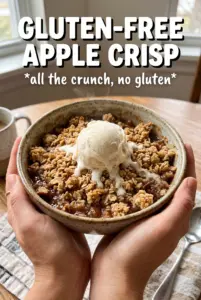
Warm cinnamon apples tucked under a golden, craggy oat topping are exactly what apple crisp should be, and this gluten-free version keeps every bit of that contrast intact. The filling turns jammy around the edges while the center stays spoonable, and the topping bakes into those crisp little clusters that hold their crunch even after it hits the fruit. It’s the kind of dessert that disappears fast because it tastes like you worked harder than you did.
The key is using a mix of certified gluten-free oats, almond flour, and a gluten-free flour blend so the topping lands somewhere between sandy and chunky. That combination gives you structure without turning the crumble dense or pasty. Cold butter matters here, too. Once it melts in the oven, those little butter pockets steam the topping from the inside and create the crisp edges you want.
Below, I’ll walk through the one part people rush most often — the topping texture — plus a few swaps that still keep the crisp bakes up with that buttery finish.
The topping came out crisp all over, even the middle, and the apples bubbled up thick instead of turning watery. I used Honeycrisp and let it rest ten minutes like you said — perfect with vanilla ice cream.
Save this gluten-free apple crisp for the nights when you want a bubbling fruit dessert with a buttery oat crumble and no one misses the flour.
The Part That Keeps Gluten-Free Apple Crisp Crisp
The biggest mistake with gluten-free crisp is treating the topping like a flour-only streusel. That usually gives you a sandy layer that bakes up flat, or worse, a topping that turns damp because the apples release their juice and there’s nothing sturdy enough to hold the texture. Here, the oats bring chew and structure, the almond flour adds richness, and the gluten-free blend helps bind the crumble into those nubby little clusters that brown well.
The other trap is overloading the pan with apple juice. Cornstarch solves that, but only if the filling has enough heat to activate it. That’s why the crisp needs the full bake time and a short rest after it comes out. If you cut it too early, the juices will look loose and thin. Ten minutes later, they settle into a glossy filling that coats the apples instead of running across the plate.
What Each Ingredient Is Actually Doing in This Dish
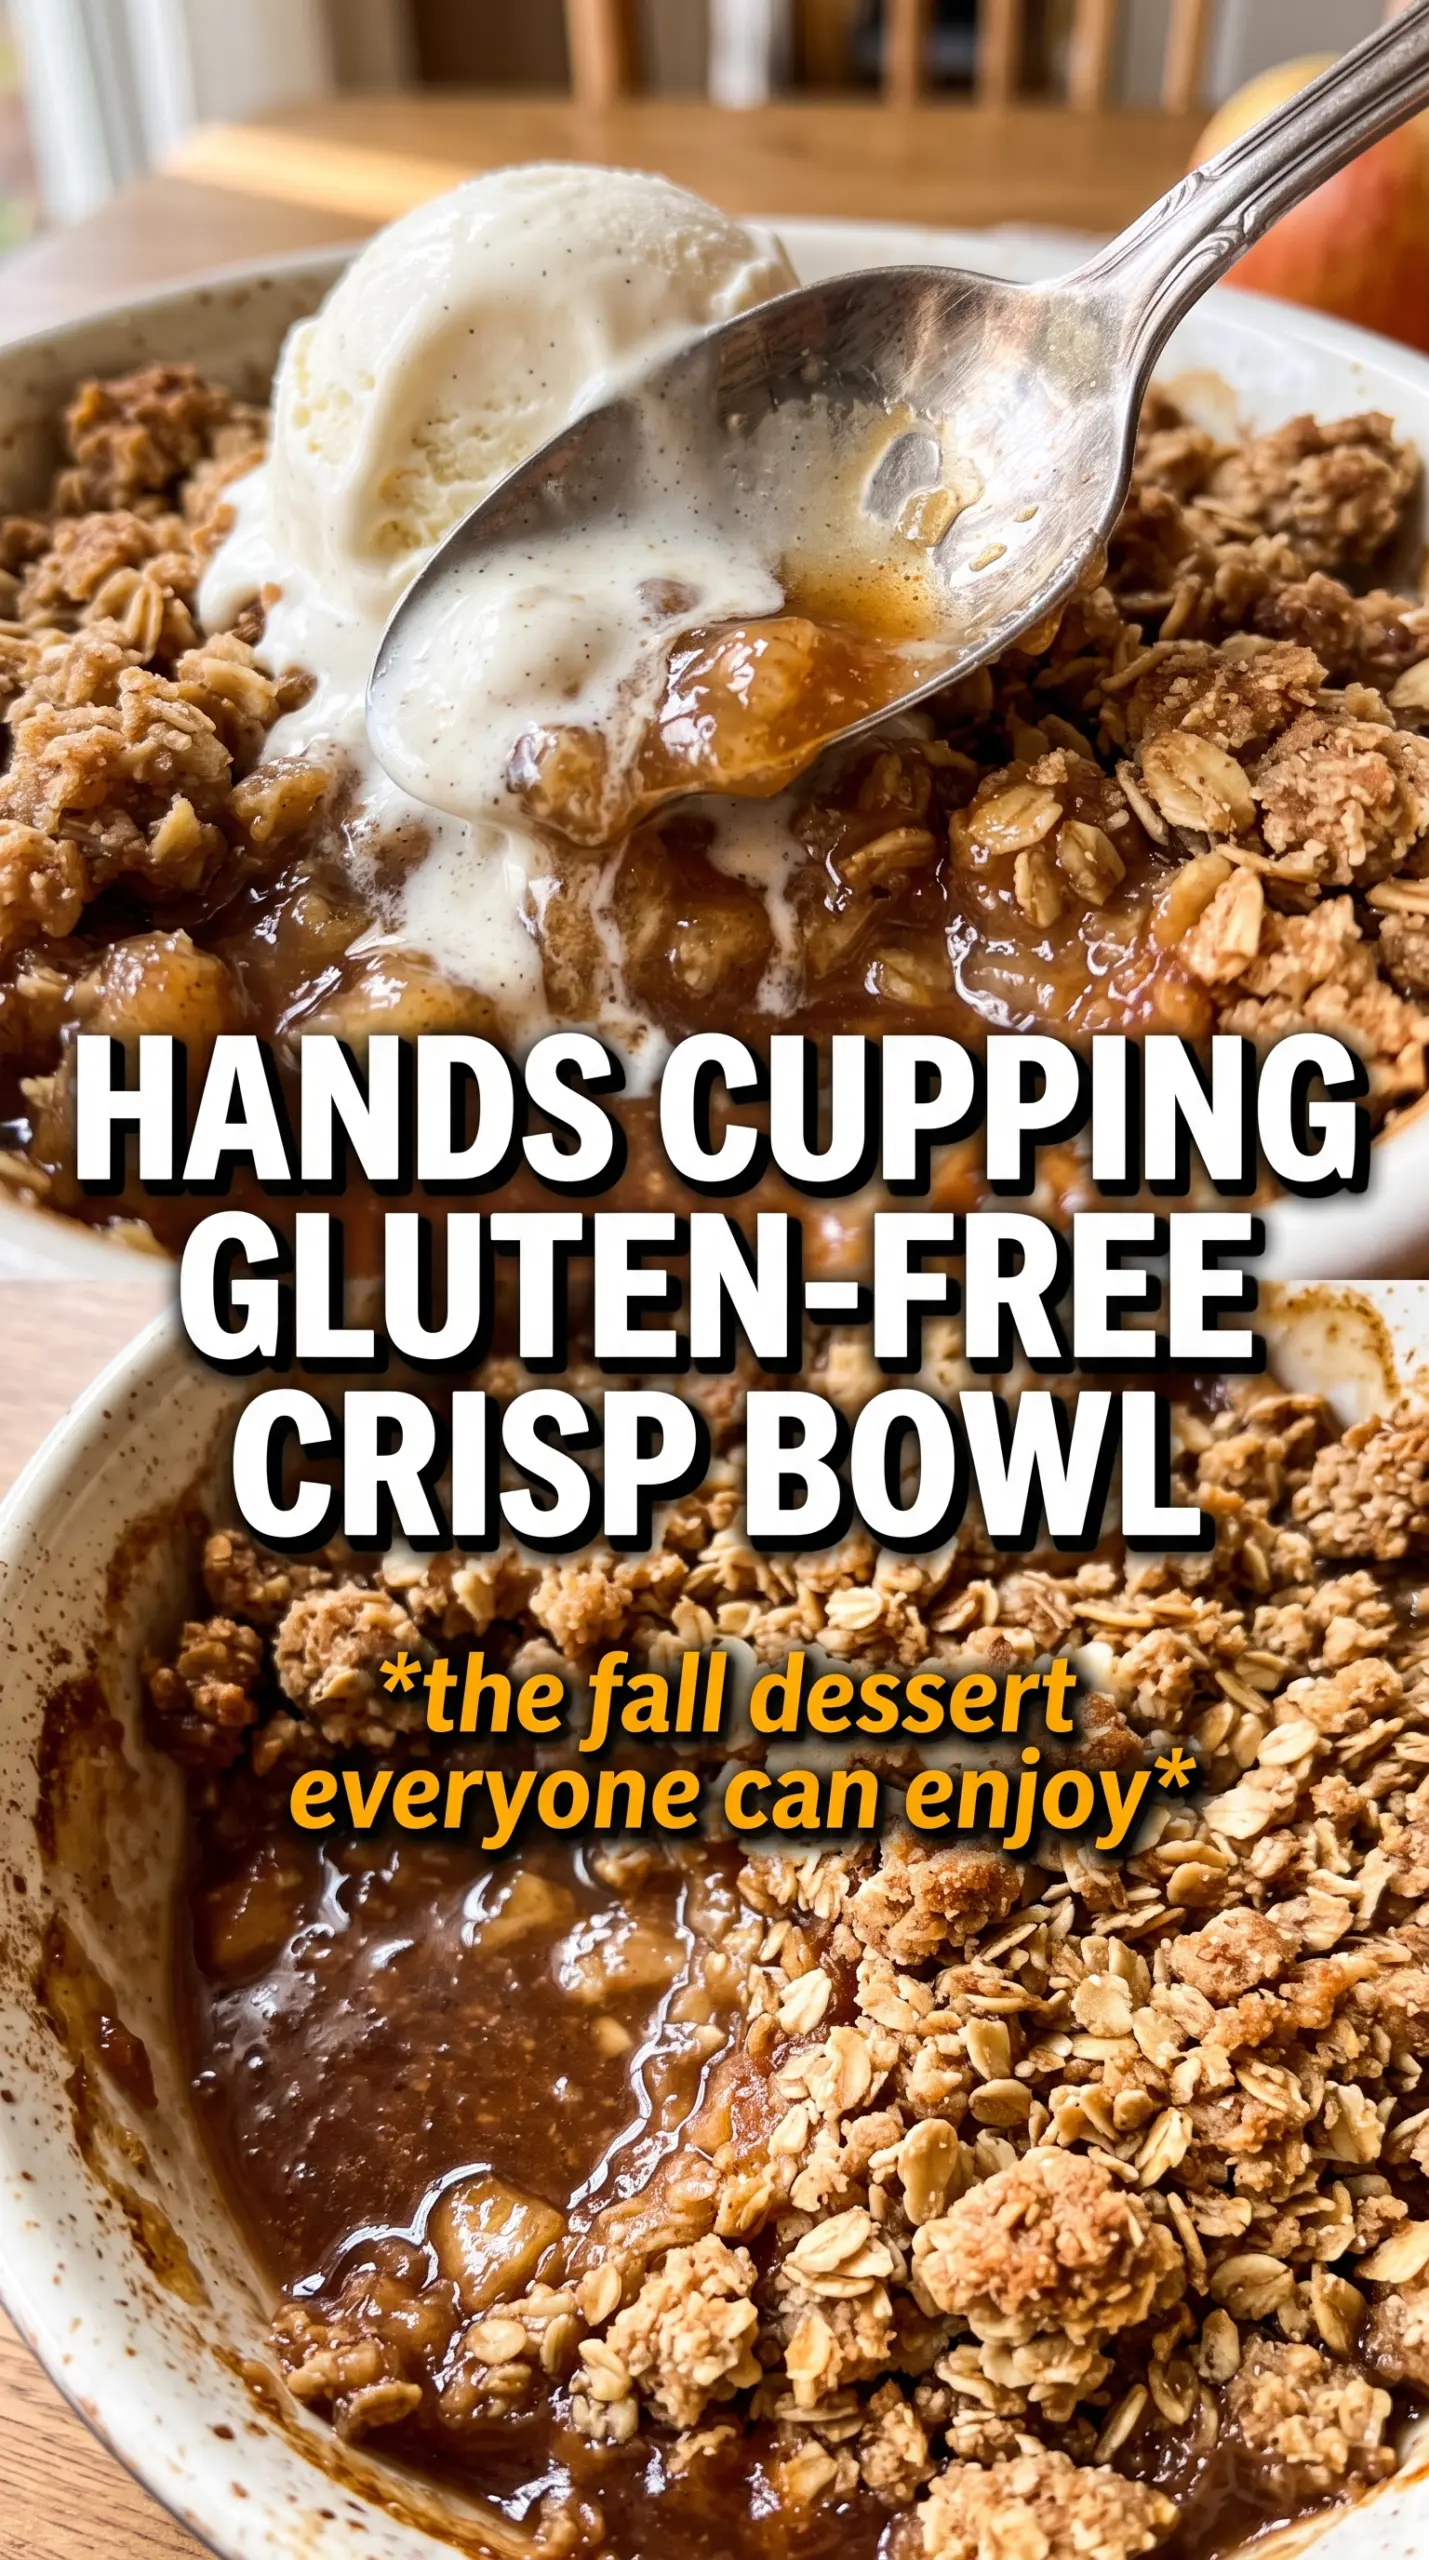
- Apples — Use a firm baking apple so the slices hold their shape. A mix of sweet and tart apples gives the best balance, but a single sturdy variety works fine if that’s what you have.
- Cornstarch — This is what thickens the fruit juices into a spoonable filling. Flour won’t give you the same clean set, and tapioca will make the filling a little more glossy and stretchy, which is fine if that’s the texture you prefer.
- Certified gluten-free rolled oats — These give the crumble its signature nubby texture. Old-fashioned oats work best here; quick oats can turn the topping a little dense, and standard oats aren’t safe unless they’re certified gluten-free.
- Almond flour — This adds tenderness and a lightly nutty flavor while helping the topping brown. You can swap in more gluten-free flour blend in a pinch, but the crumble will lose some of its richness and won’t taste quite as full.
- Gluten-free all-purpose flour blend — This helps the topping clump instead of falling apart into loose crumbs. Choose a blend that already includes xanthan gum if possible, since that gives the crisp a better hold without making it gummy.
- Cold butter — Cold butter is what creates the best crumble. If it softens too much before baking, the topping smears instead of clustering, and you lose those crisp edges.
How to Build the Crumble So It Bakes Into Clumps, Not Sand
Coating the Apples
Toss the sliced apples with sugar, cinnamon, nutmeg, cornstarch, and lemon juice until every piece is lightly coated. The sugar pulls out some juice, and the cornstarch catches it once the heat hits the pan. Spread the fruit in an even layer so the filling cooks at the same rate; if it’s piled high in one corner, the center will stay underdone while the edges go soft.
Cutting in the Butter
Combine the oats, almond flour, gluten-free flour blend, brown sugar, cinnamon, and salt, then work in the cold butter until the mixture forms chunky clumps. You want some pieces the size of peas and some smaller sandy bits. If everything looks like wet paste, the butter was too soft. If it stays powdery, pinch a few more butter pieces into the dry mix until it holds together when squeezed.
Baking Until the Filling Is Bubbling
Scatter the crumble over the apples in an even layer and bake until the top is deeply golden and the filling is actively bubbling around the edges and through the center. That bubbling is the sign that the cornstarch has thickened the juices. If the top browns before the fruit bubbles, tent it loosely with foil and keep baking until the filling catches up.
Letting It Rest Before Serving
Rest the crisp for 10 minutes before scooping. That short pause keeps the filling from running everywhere and gives the topping a chance to set into its crispest texture. Serve it warm with vanilla ice cream so the cold cream melts into the cinnamon apples and catches in all the crunchy bits.
Three Ways to Make This Crisp Fit Your Table
Dairy-Free Version
Swap the butter for a solid plant-based butter that works in baking. You’ll still get a crisp topping, though the flavor will be a little less rich and the clumps may brown a bit faster, so watch the last 10 minutes closely.
Nut-Free Adjustment
Replace the almond flour with more gluten-free all-purpose flour blend. The topping will be a little less tender and less aromatic, but it still bakes into a good crumble as long as you keep the butter cold and leave some chunky pieces in the mix.
Lower-Sugar Filling
Cut the granulated sugar in the apples to 1/4 cup if your fruit is already sweet. The crisp will still bake correctly because the apples bring their own juice, but the filling will taste cleaner and a little less syrupy.
Storage and Reheating
- Refrigerator: Store covered for up to 4 days. The topping softens a little in the fridge, but the flavor stays good.
- Freezer: It freezes well after baking. Cool completely, wrap tightly, and freeze for up to 2 months. Thaw overnight in the fridge before reheating.
- Reheating: Warm uncovered in a 350F oven until the filling is hot and the topping crisps back up, usually 15 to 20 minutes. The microwave will soften the crumble, so use the oven if you want that texture back.
Answers to the Questions Worth Asking
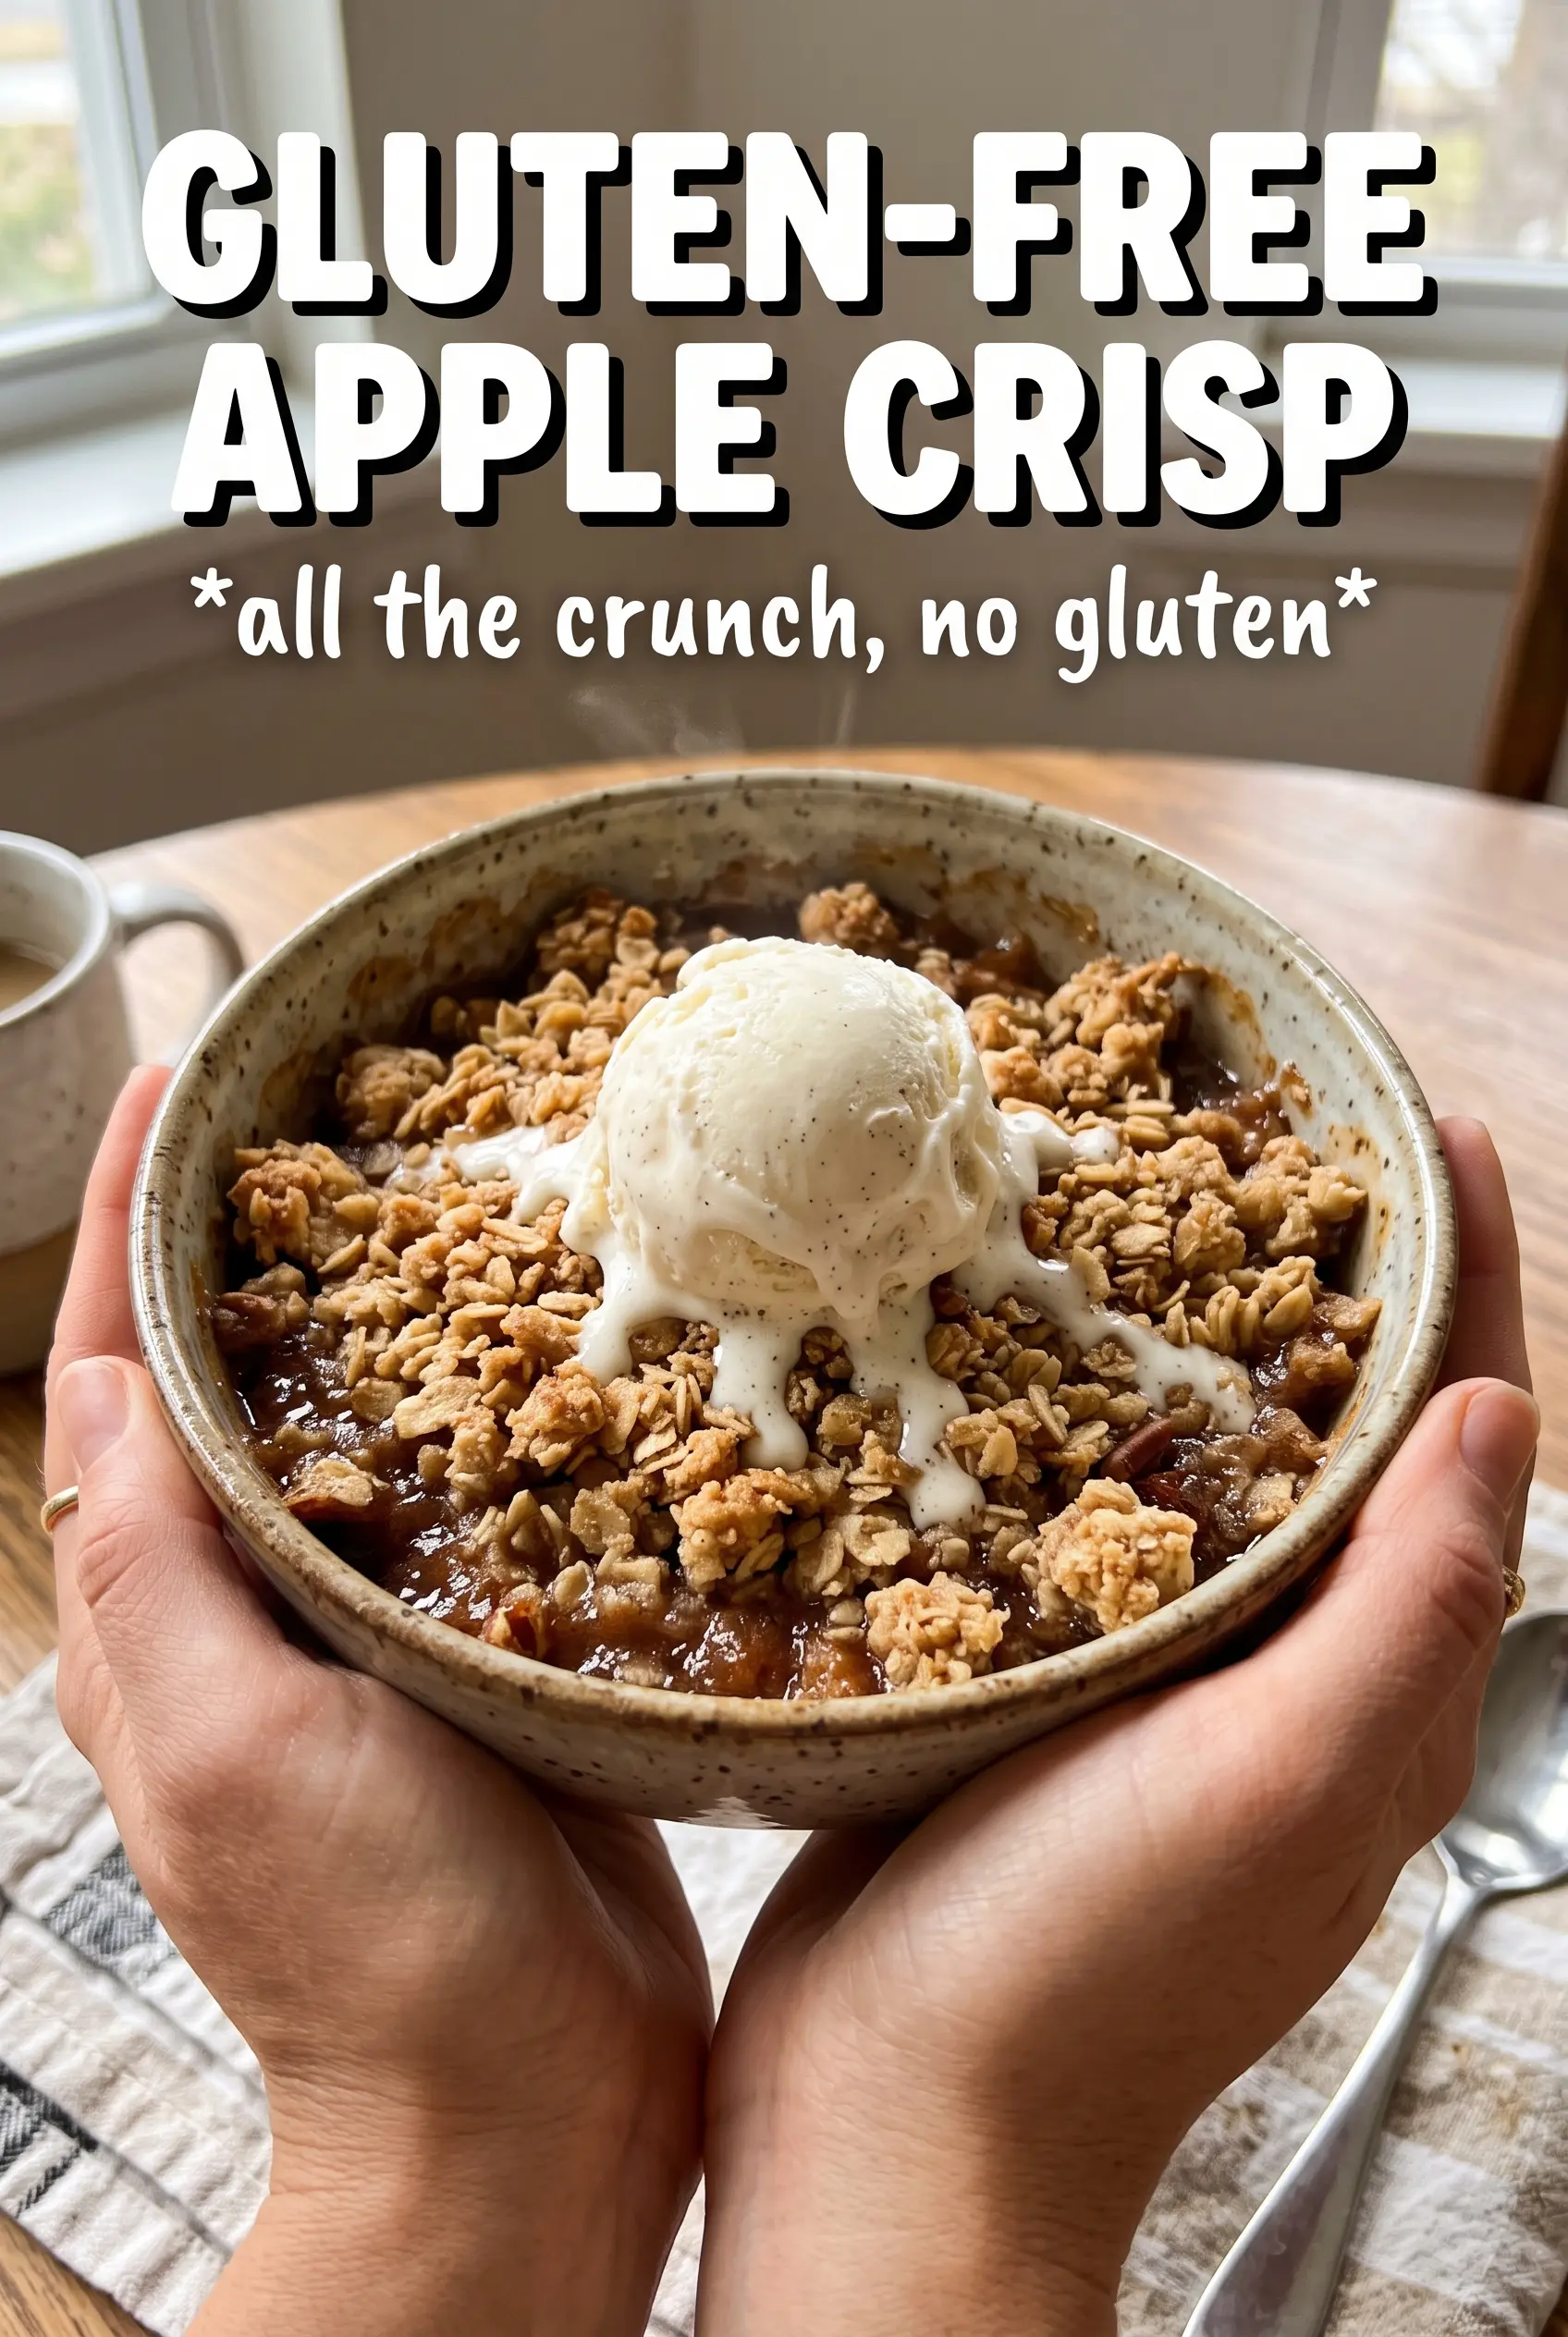
Gluten-Free Apple Crisp
Ingredients
Equipment
Method
- Preheat the oven to 375F and grease a 9x13 baking dish.
- Toss the apple slices with granulated sugar, cinnamon, nutmeg, cornstarch, and lemon juice, then spread them evenly in the dish.
- Combine the certified gluten-free rolled oats, almond flour, gluten-free all-purpose flour blend, brown sugar, cinnamon, and salt.
- Add the cold cubed unsalted butter and mix until chunky clumps form, with no dry pockets left.
- Scatter the crumble evenly over the apples so the filling bubbles through the top.
- Bake for 40-45 minutes at 375F until the topping is golden and the filling is bubbling at the edges.
- Rest the crisp for 10 minutes before serving so the juices thicken slightly.