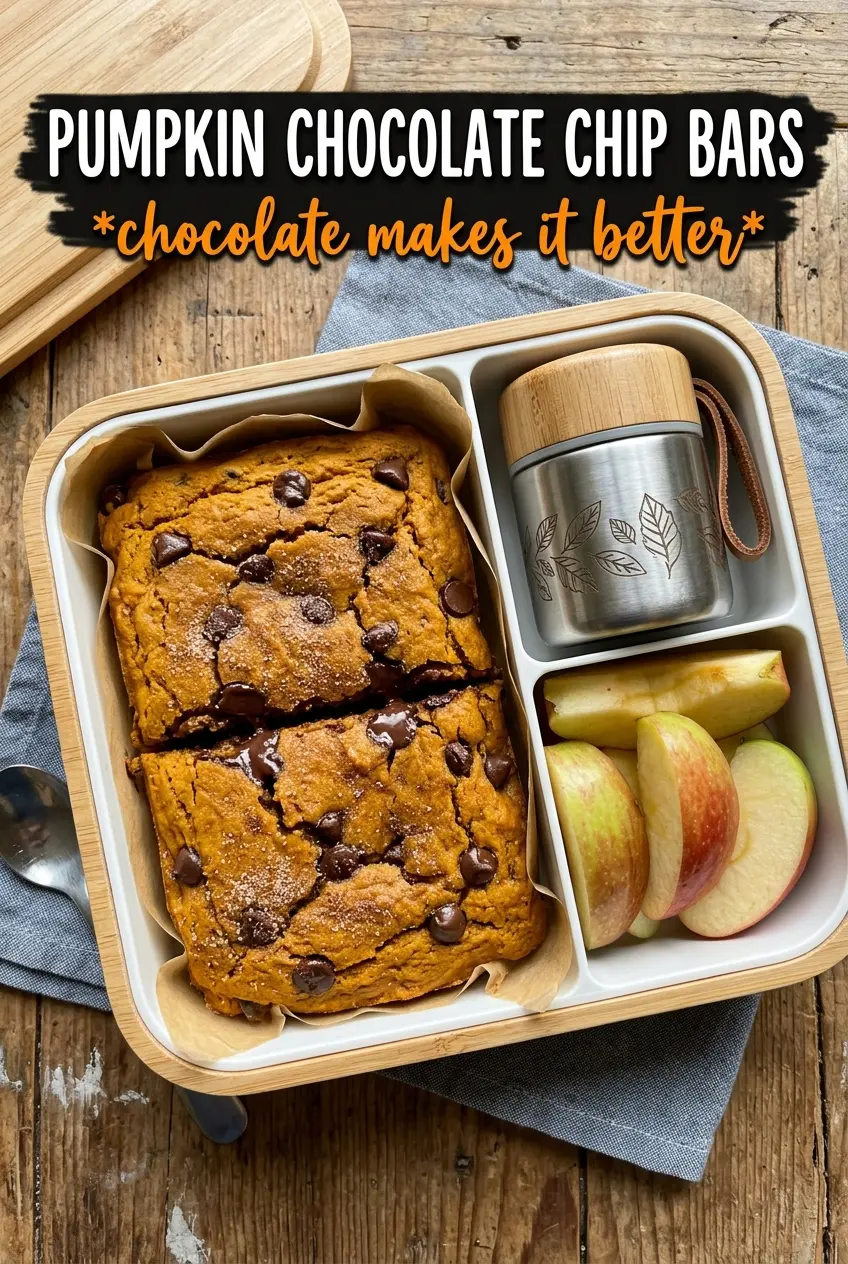
These pumpkin chocolate chip bars bake up soft, thick, and just cakey enough to hold a generous handful of chocolate in every bite. The edges set into a tender little crust while the center stays moist, which is exactly what you want from a bar that leans more plush than chewy. They slice cleanly once cooled, so you get neat squares instead of a crumbly mess, and the pumpkin keeps them tasting rich without turning heavy.
The trick here is balance. Pumpkin puree brings moisture, but the batter still needs enough structure from flour and eggs to set up properly in a 9×13 pan. A good dose of cinnamon and pumpkin pie spice gives the bars warmth without muting the chocolate, and folding the chips in at the end keeps them from sinking into one big layer at the bottom. The result is a pan of bars that tastes homey, but never bland.
Below, I’ll show you the small details that keep these bars from baking up gummy in the center or dry around the edges. The cooling step matters more than it looks, and there’s a simple reason for that.
I loved how these stayed soft but still cut into neat squares after cooling. The chocolate chips didn’t all sink, and the pumpkin spice came through without overpowering the chocolate.
Save these pumpkin chocolate chip bars for the days when you want a soft, spice-kissed dessert with plenty of chocolate in every square.
The Part That Keeps Pumpkin Bars Soft Instead of Gummy
Pumpkin bars go wrong when the batter is treated like cake batter and overmixed, or when they’re pulled before the center has actually set. Pumpkin puree holds a lot of moisture on its own, so once the dry ingredients go in, the goal is to stop as soon as the flour disappears. Stirring past that point builds unnecessary gluten and can make the bars dense and tight instead of tender.
Baking in a 9×13 pan also matters. A thinner layer bakes more evenly, which keeps the middle from staying wet while the edges dry out. If the top looks set and a toothpick comes out with a few moist crumbs, that’s the sweet spot. Clean and dry usually means you’ve already gone a little too far.
What Each Ingredient Is Doing in These Bars
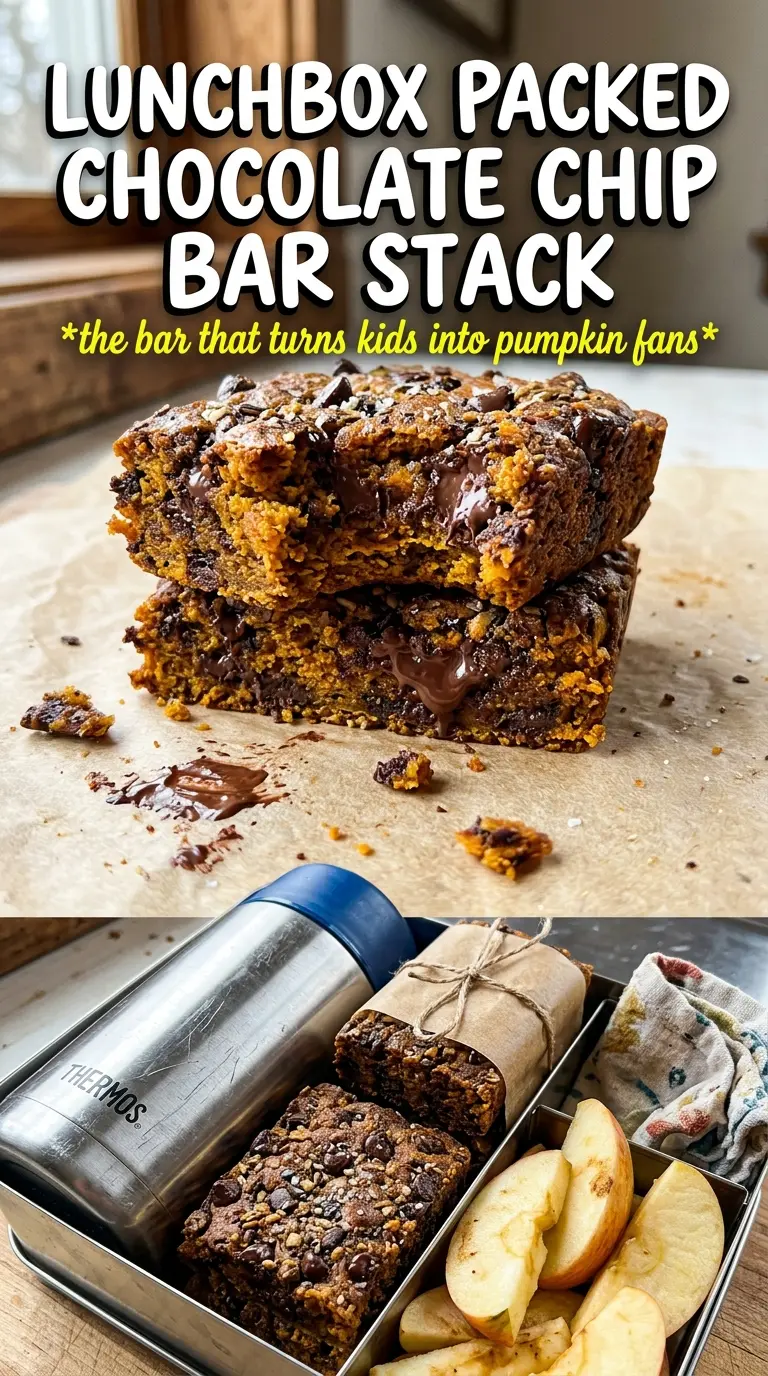
- Pumpkin puree — This gives the bars their moisture, color, and that soft, plush crumb. Use plain pumpkin puree, not pumpkin pie filling, which is already sweetened and spiced.
- Brown sugar plus granulated sugar — Granulated sugar sweetens cleanly, while brown sugar adds a little depth and helps the bars stay tender. If you only have all granulated sugar, the bars will still work, but they’ll taste a bit flatter.
- Vegetable oil — Oil keeps the texture soft even after the bars cool completely. Melted butter brings more flavor, but it also firms up more as it cools, so the texture shifts.
- Chocolate chips — Semi-sweet chips balance the sweet pumpkin base best. Milk chocolate makes the bars sweeter; dark chocolate works if you want a sharper contrast.
- Pumpkin pie spice and cinnamon — These warm the batter and keep it from tasting one-note. Cinnamon alone can work in a pinch, but the spice blend gives more dimension without extra effort.
Mixing the Batter Without Overworking It
Whisk the Wet Ingredients Until Smooth
Start by whisking the pumpkin, both sugars, oil, eggs, and vanilla until the mixture looks glossy and even. You’re not trying to whip air into it; you just want the sugars dissolved enough that the batter bakes up evenly. If you see streaks of egg white, keep whisking before moving on.
Fold the Dry Ingredients in Just Until the Flour Disappears
Add the flour mixture and stir with a spatula only until no dry pockets remain. The batter will look thick, and that’s normal. If you keep stirring after that point, the bars can turn tough instead of soft, and the crumb loses that tender, close texture.
Scatter the Chocolate So It Stays in the Bars
Fold in most of the chocolate chips, then save the rest for the top. The chips on top give you those melted pockets and a better-looking surface, while the chips inside keep every bite balanced. Spread the batter evenly into the pan so the center doesn’t dome too much and bake slower than the edges.
Cool Completely Before Cutting
Let the pan cool all the way down before slicing. Warm bars look tempting, but they’ll smudge and collapse because the crumb is still setting. Once cooled, they cut cleanly into tidy squares with defined edges and a soft middle.
How to Adapt These Bars for Different Kitchens and Cravings
Make Them More Chocolate-Forward
Swap in dark chocolate chips for half the semi-sweet chips. The bars will taste less sweet and a little richer, which works well if you want the pumpkin spice to sit behind the chocolate instead of leading the whole bite.
Dairy-Free Version
These are already naturally dairy-free as written, as long as your chocolate chips are dairy-free too. That makes the recipe easy to bake for mixed crowds without changing the texture at all.
Add a Little Crunch on Top
A handful of chopped walnuts or pecans can go over the top with the final layer of chocolate chips. The nuts bring contrast against the soft crumb, but keep the amount modest so the bars still slice neatly.
Storage and Reheating
- Refrigerator: Store in an airtight container for up to 5 days. The bars stay moist, but the chocolate firms up a bit once chilled.
- Freezer: They freeze well. Wrap individual bars tightly and store them in a freezer bag for up to 2 months.
- Reheating: Warm a bar in the microwave for 10 to 15 seconds if you want the chocolate soft again. Don’t overheat it or the crumb can turn rubbery.
Answers to the Questions Worth Asking
Pumpkin Chocolate Chip Bars
Ingredients
Equipment
Method
- Preheat oven to 350F and grease a 9x13 pan. Set up the pan so the batter can go in right after mixing.
- Whisk together all-purpose flour, pumpkin pie spice, cinnamon, baking soda, baking powder, and salt. Whisk until the dry mixture is evenly speckled.
- Whisk pumpkin puree, granulated sugar, brown sugar, packed, vegetable oil, eggs, and vanilla extract until smooth. Keep whisking until no sugar streaks remain.
- Fold dry ingredients into wet ingredients until just combined, then fold in 1-1/2 cups semi-sweet chocolate chips. Stop mixing as soon as no dry flour pockets are visible.
- Spread the batter evenly into the greased 9x13 pan. Smooth the top so it bakes uniformly.
- Scatter the remaining semi-sweet chocolate chips over the top. Aim for even coverage so you get chocolate pockets throughout.
- Bake at 350F for 25-30 minutes, until a toothpick comes out clean. Look for a set, slightly domed top with edges pulling away from the pan.
- Cool completely before cutting into bars. Wait until fully cool to slice clean bars with a tender crumb.