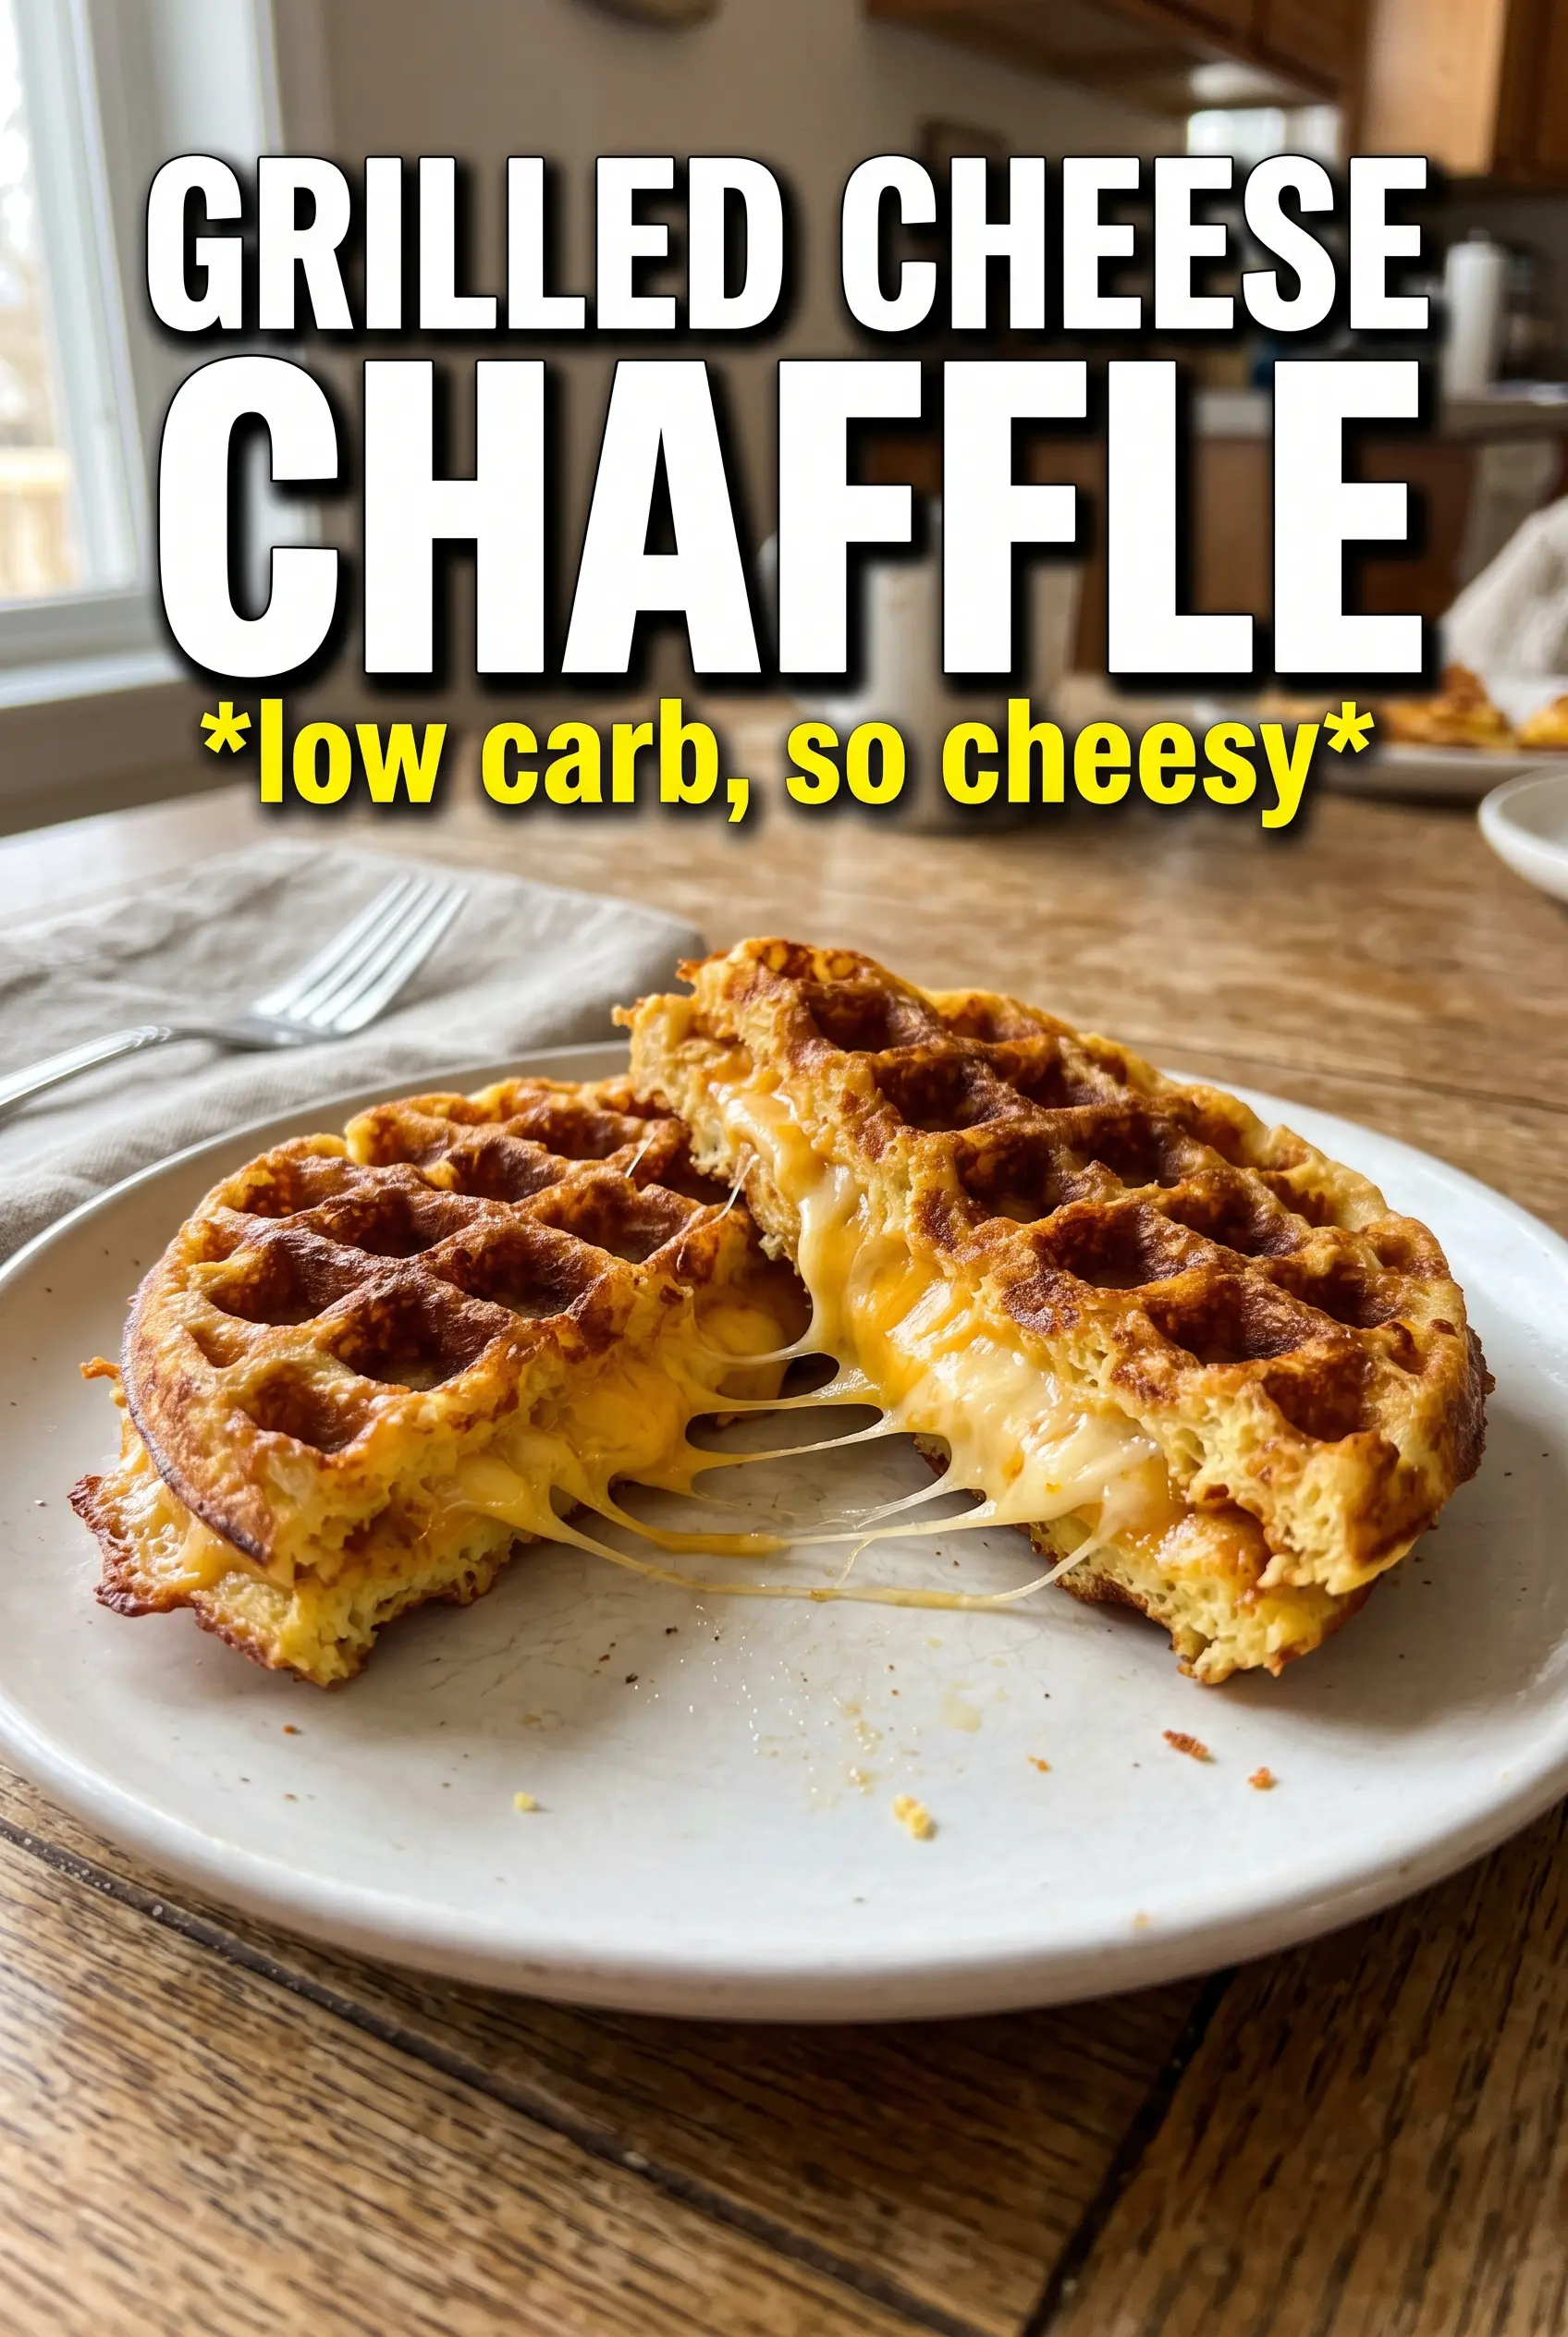
Golden on the outside, stretchy in the middle, and sturdy enough to hold a serious cheese pull, a grilled cheese chaffle gives you everything you want from a grilled cheese without the soggy bread problem. The chaffle bakes up crisp from the waffle maker, then gets pressed in a skillet until the cheddar melts into the center and the edges turn deep, buttery brown. It eats like a classic grilled cheese, but the texture lands somewhere between a waffle and a crisp-edged sandwich in the best possible way.
The trick here is keeping the chaffle batter simple and letting the waffle maker do the heavy lifting. Mozzarella gives the base structure, cream cheese softens the texture, and a little garlic powder keeps the egg from tasting flat. Once the chaffles are cooked, the sandwich only needs a short skillet finish to melt the filling without overcooking the exterior. That second heat step matters — it’s what turns two good chaffles into an actual grilled cheese.
Below, I’ve included the little details that keep the chaffles crisp, the filling melted, and the whole sandwich easy to flip. If you’ve ever had a chaffle go limp the minute cheese went inside, the process notes here will help.
The chaffles came out crisp and held up after the skillet step, and the cheddar melted all the way through without making the sandwich greasy. We dipped them in tomato soup and my kids asked for them again the next day.
Love the crispy, melty grilled cheese chaffle? Save it to Pinterest for the next tomato-soup night.
The Reason Chaffles Turn Soggy Before the Sandwich Even Starts
The biggest mistake with a grilled cheese chaffle is treating it like a bread replacement when it behaves more like a delicate cheese waffle. If the chaffle is undercooked, it stays soft in the middle and collapses once you add filling. If it’s overfilled or pressed too hard in the skillet, the steam has nowhere to go and the whole thing turns soft instead of crisp.
That’s why the waffle maker step matters more than people think. You want the chaffles golden, set, and dry enough to hold their shape before they ever meet the cheddar slices. The skillet finish is there for melting, not for cooking the chaffles from scratch.
- Mini waffle maker — A small waffle maker gives you thicker, sturdier chaffles than a full-size iron. The thicker shape holds up better once you add cheese and press the sandwich.
- Mozzarella — This is the structure cheese. It melts into a firm, crisp base instead of a loose omelet texture. Pre-shredded mozzarella works fine here.
- Cream cheese — This softens the egg mixture and helps the chaffles cook up less rubbery. Soften it first or it stays in little lumps.
- Sharp cheddar or American — Either one melts well, but American gives the smoothest pull and cheddar gives more bite. For the best balance, use one or the other, not a mix of dry, high-end cheeses that fight the melt.
- Butter for pressing — A thin coat in the skillet gives you the crisp, browned exterior. Too much butter turns the outside greasy before the center has a chance to melt.
What Each Ingredient Is Actually Doing in This Recipe

- Primary ingredient (the star) — Quality matters most. Choose the best you can find.
- Cooking medium (oil, butter, or broth) — This carries flavors and prevents dryness.
- Seasonings (salt, pepper, spices, herbs) — Layer flavors so nothing overpowers. Build depth gradually.
- Aromatics (garlic, onion, herbs) — Cook with fat to bloom flavors. Become the foundation.
- Supporting ingredients — Complement the main ingredient without overpowering it.
- Sauce or liquid (if applicable) — Brings flavors together. Balance richness with acid.
- Acid (lemon, vinegar, wine, or other) — Brightens and prevents flat-tasting results.
- Final finish (garnish, glaze, or sauce) — Prevents one-dimensional taste and adds visual appeal.
Building the Chaffle So It Stays Crisp After the Fill
Mix the batter without overworking it
Stir the eggs, mozzarella, softened cream cheese, and garlic powder until everything is evenly combined. The mixture should look thick and a little shaggy, not smooth like pancake batter. If the cream cheese is still cold, you’ll see little soft chunks, and those can leave uneven pockets in the finished chaffle.
Cook the chaffles until they’re set and golden
Preheat the mini waffle maker first, then spray it lightly with cooking spray. Divide the batter in half and cook each chaffle for 3 to 4 minutes, until the steam slows and the edges look deep golden. Pull them too early and they’ll bend when you try to build the sandwich.
Press the sandwich just long enough to melt the center
Place the cheddar between the two chaffles and move the sandwich to a buttered skillet over medium heat. Press gently, not aggressively, and cook for 2 to 3 minutes per side until the outside is crisp and the cheese is fully melted. If the skillet is too hot, the outside browns before the middle softens, so keep the heat at medium and let the cheese catch up.
How to Adapt This for Low-Carb, Dairy-Free, or a Different Cheese Pull
Extra-crispy chaffles
Cook the chaffles a little longer in the waffle maker until the steam nearly stops. That extra minute dries them out just enough to hold the sandwich without softening on contact with the filling.
Dairy-free version
Use dairy-free shredded mozzarella-style cheese and a plant-based cream cheese, then choose a meltable dairy-free sliced cheese for the filling. The texture will be a touch softer and less stretchy, but the sandwich still cooks up crisp if you keep the heat moderate.
Sharper cheese flavor
Swap the cheddar for a strong Swiss or pepper jack if you want more bite. Just avoid cheeses that crumble instead of melting smoothly, or you’ll lose the gooey center that makes this sandwich work.
Storage and Reheating
- Refrigerator: Store cooked chaffles and assembled sandwiches separately for up to 3 days. The chaffles soften a little in the fridge, so expect less crunch the next day.
- Freezer: The chaffles freeze well on their own. Cool them completely, freeze in a single layer, then bag them. I don’t recommend freezing the fully assembled sandwich because the filling can turn watery when thawed.
- Reheating: Reheat the chaffles or finished sandwich in a dry skillet over low to medium-low heat until the outside crisps again and the cheese warms through. The common mistake is using the microwave, which turns the chaffle rubbery almost immediately.
Questions I Get Asked About This Recipe
Grilled Cheese Chaffle
Ingredients
Equipment
Method
- Preheat a mini waffle maker and spray with cooking spray. Make sure it’s hot so the chaffles come out golden and set.
- Mix large eggs, mozzarella cheese, cream cheese, and garlic powder together until evenly combined. The batter should look thick and cohesive.
- Pour half the batter into the waffle maker, close, and cook for 3–4 minutes until golden and set. Look for crisp edges and a firm, non-wet center.
- Repeat with the remaining batter to make the second chaffle. Cook until both chaffles are uniformly golden.
- Sandwich sharp cheddar or American cheese between the two chaffles. Aim for an even layer so the cheese melts edge to edge.
- Cook the sandwich in a buttered skillet over medium heat, pressing gently, for 2–3 minutes per side. Flip when the exterior is golden and the cheese starts to fully melt.
- Slice and serve with tomato soup for dipping. Serve immediately so the cheese stays stretchy and the chaffle remains crisp.