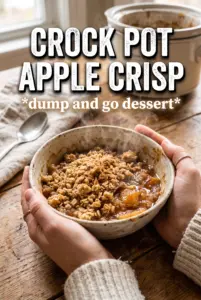
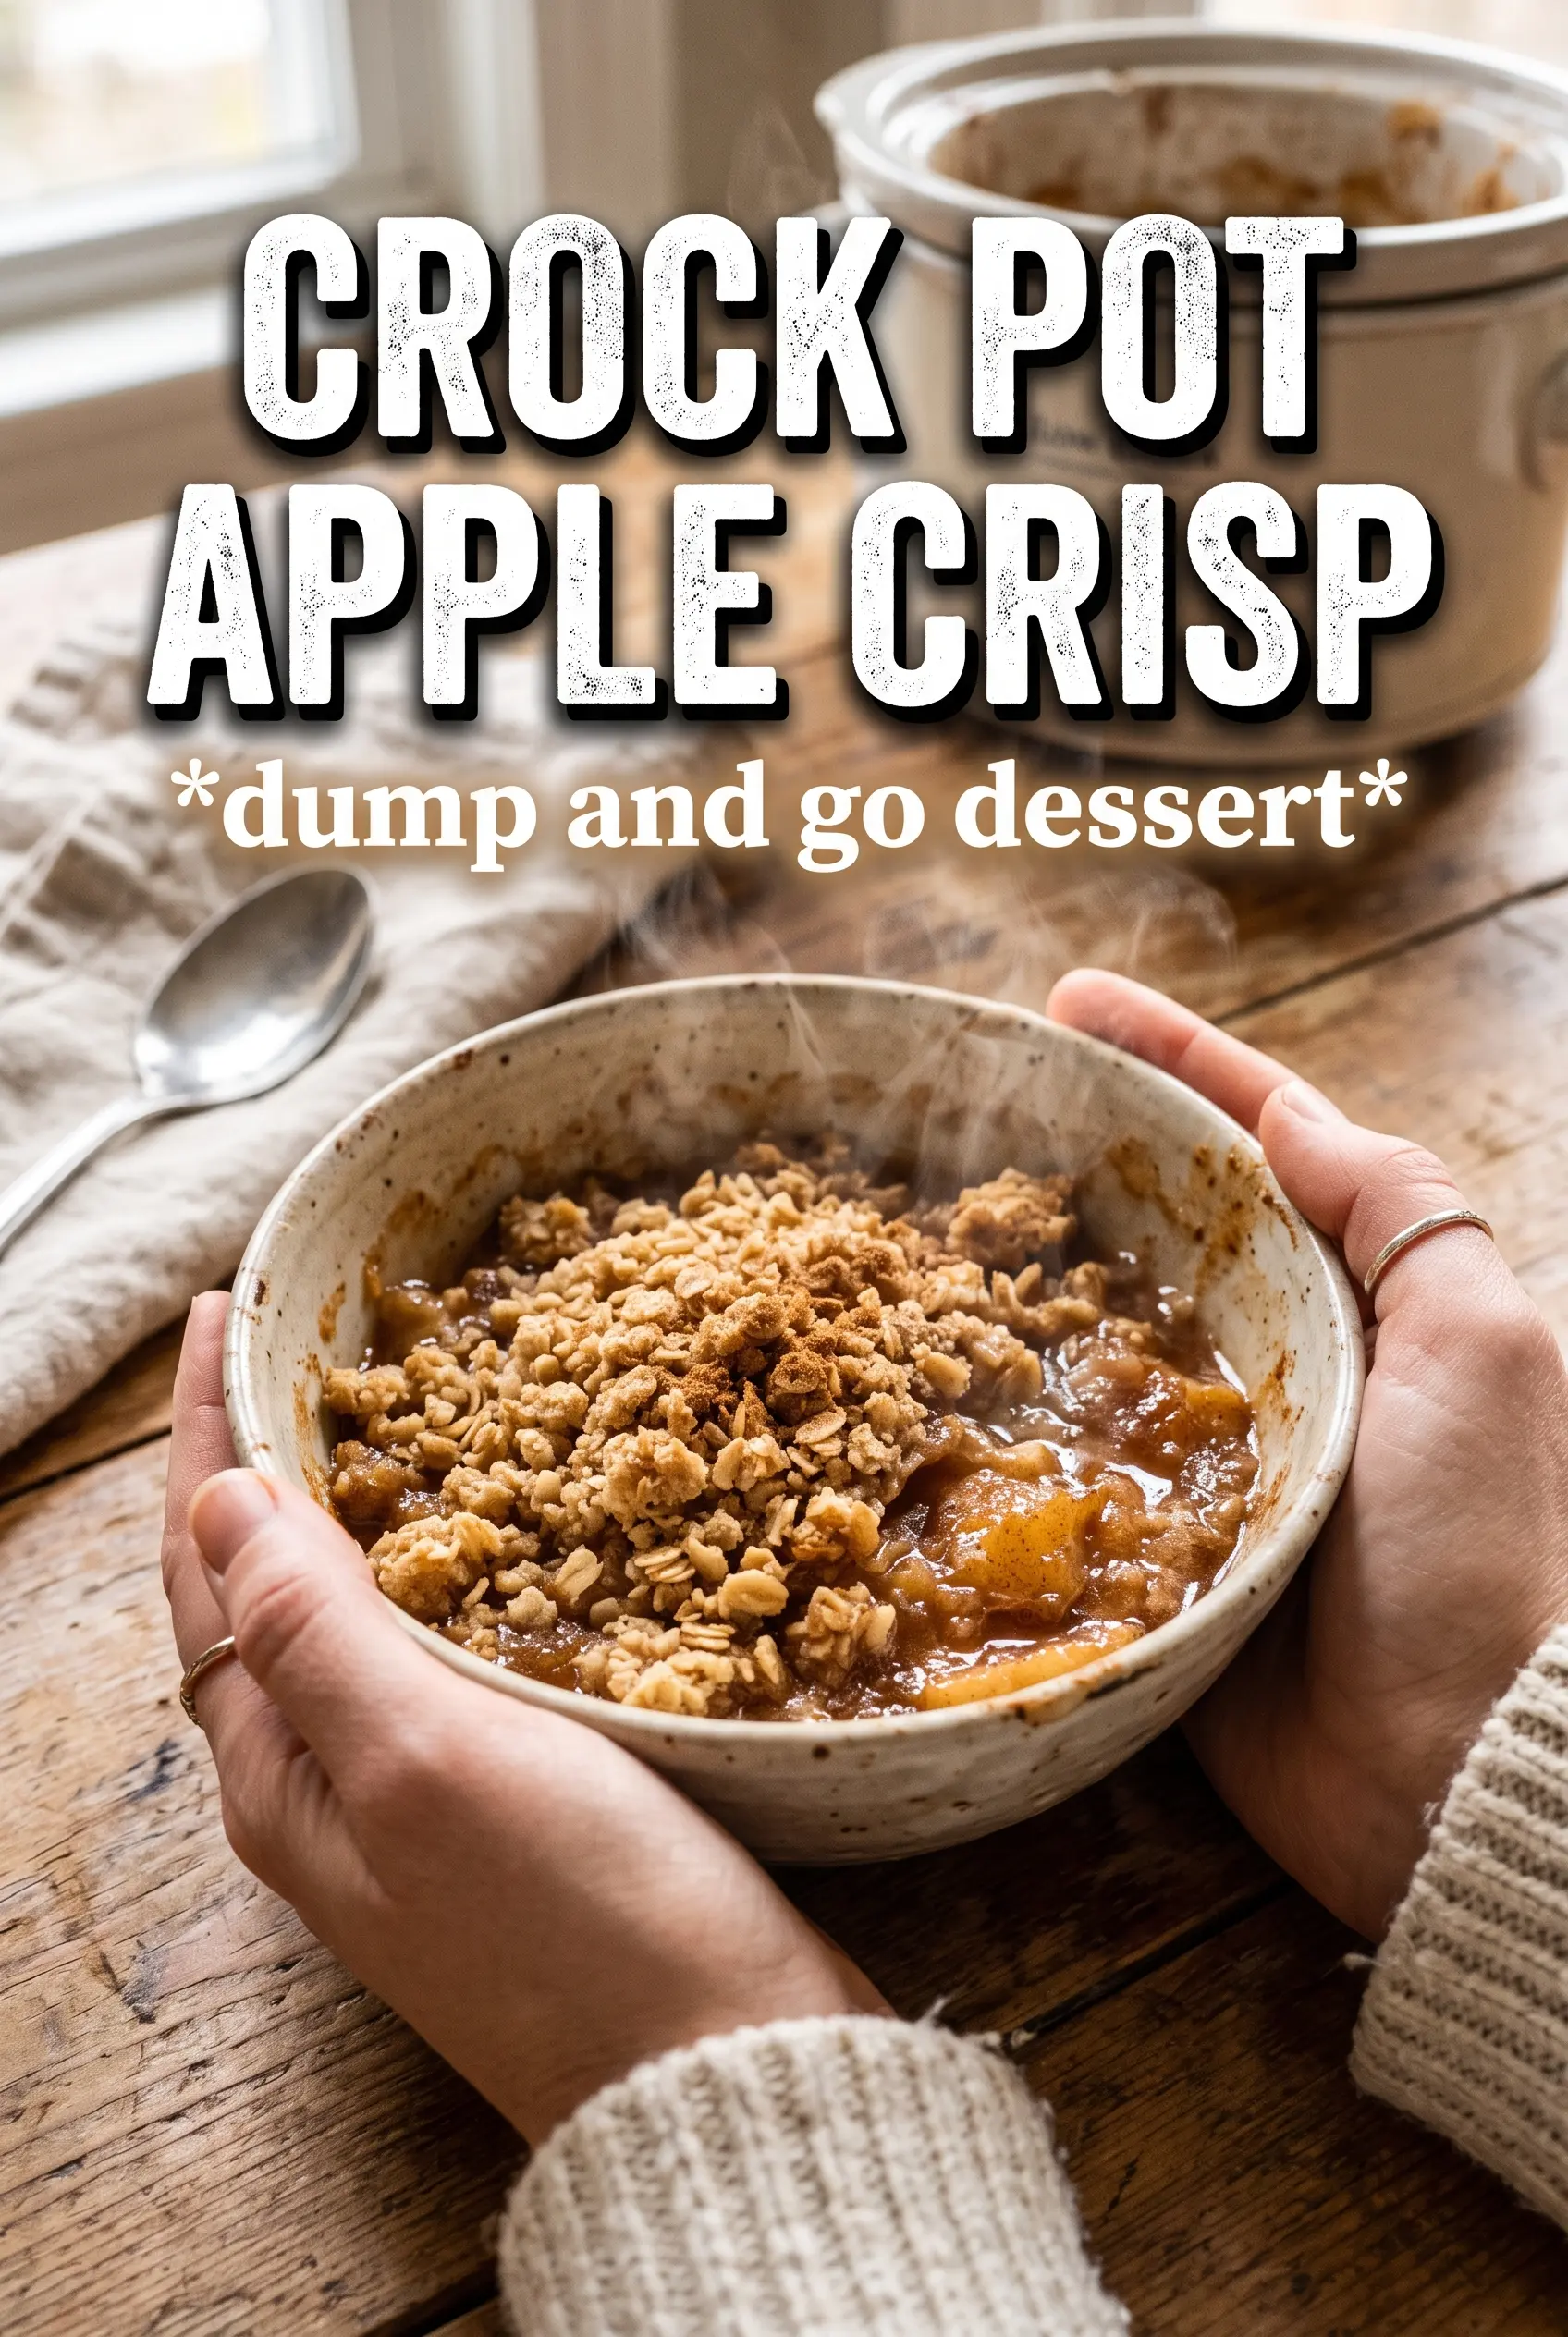
Crock Pot apple crisp gives you tender cinnamon apples and a buttery oat topping without turning on the oven. The slow cooker does the softening, so the fruit turns spoon-tender and saucy while the topping stays pleasantly craggy instead of sinking into the filling. Served warm with vanilla ice cream, it lands somewhere between a rustic dessert and the easiest kind of comfort food.
What makes this version work is the balance of moisture and restraint. The apples get tossed with just enough sugar, spice, and lemon juice to start releasing their juices, while the topping is mixed until it forms clumps that can sit on top without disappearing. The double layer of paper towels under the lid matters more than people think. It catches condensation before it drips back onto the crisp and turns the whole thing soft.
Below, I’ll walk through the part that keeps the topping from getting soggy, the ingredient swaps that still hold up, and the small finishing move that gives you a better crunch if you want it.
The apples came out perfectly tender and the topping stayed crumbly instead of getting mushy. I did the paper towel trick under the lid and it made a huge difference — even the edges kept a little crunch.
Love that buttery oat topping and tender apple filling? Save this Crock Pot apple crisp for the next time you want dessert with almost no hands-on work.
The Part That Stops Crock Pot Apple Crisp From Turning Watery
The biggest mistake with slow cooker apple crisp is treating it like an oven crisp. A slow cooker traps steam, and steam is the enemy of a topping that’s supposed to stay crisp. That’s why the paper towel layer under the lid matters so much. It catches the condensation before it drips back down and softens the oats.
The other thing worth paying attention to is the apple choice. You want apples that hold some shape as they cook, not ones that collapse into applesauce in less than an hour. If the fruit turns mealy or breaks down too fast, the topping ends up floating on a loose puddle instead of sitting over soft, tender slices.
Keep the topping scattered over the apples without stirring it in. The whole point is to let the buttered oats bake into a loose crust on top while the filling bubbles underneath.
What Each Ingredient Is Actually Doing in This Dish
- Apples — Six large apples give you enough fruit to build a thick layer that cooks down without disappearing. Tart-sweet baking apples like Granny Smith, Honeycrisp, or a mix of the two work best because they keep some structure. If your apples are very sweet already, lean toward the lower end of the sugar in the filling.
- Brown sugar in the filling — The brown sugar melts into the apple juices and gives the filling a deeper, almost caramel note. You can use all granulated sugar in a pinch, but the filling will taste flatter and less round.
- Lemon juice — This keeps the apples from tasting dull and helps the filling stay bright after a long cook. It doesn’t make the crisp taste lemony; it just wakes the apples up.
- Rolled oats — Old-fashioned oats hold their shape better than quick oats, which tend to turn pasty in the slow cooker. If quick oats are all you have, use them, but expect a softer, more compact topping.
- Butter — Melted butter is what helps the dry ingredients clump into a true crisp topping. Coconut oil can work for a dairy-free version, but it changes the flavor and the topping won’t taste as rich.
Building the Crisp in a Slow Cooker Without Losing the Crunch
Toss the Apples First
Combine the sliced apples with both sugars, cinnamon, nutmeg, and lemon juice until the fruit looks evenly coated and just a little glossy. That coating starts the juices moving so the filling cooks into a soft, spoonable layer instead of staying dry in the middle. If you skip this step and dump the apples in plain, the spices stay patchy and the texture can turn uneven.
Mix the Topping Until It Clumps
Stir the oats, flour, brown sugar, cinnamon, and salt together, then drizzle in the melted butter and work the mixture until it forms moist clumps. You’re not looking for a paste. You want rough crumbs that hold together when squeezed. If the topping looks sandy and dry, add a spoonful more melted butter; if it looks greasy, it was stirred too aggressively.
Cook Low and Keep the Lid Dry
Scatter the topping over the apples without stirring, then lay a double layer of paper towels under the lid. Cook on Low for about 2 1/2 to 3 hours, until the apples are tender when pierced and the topping looks set on top. If you open the lid too often, you’ll lose heat and lengthen the cooking time, and that extra steam works against the crisp topping.
Finish for a Deeper Crunch
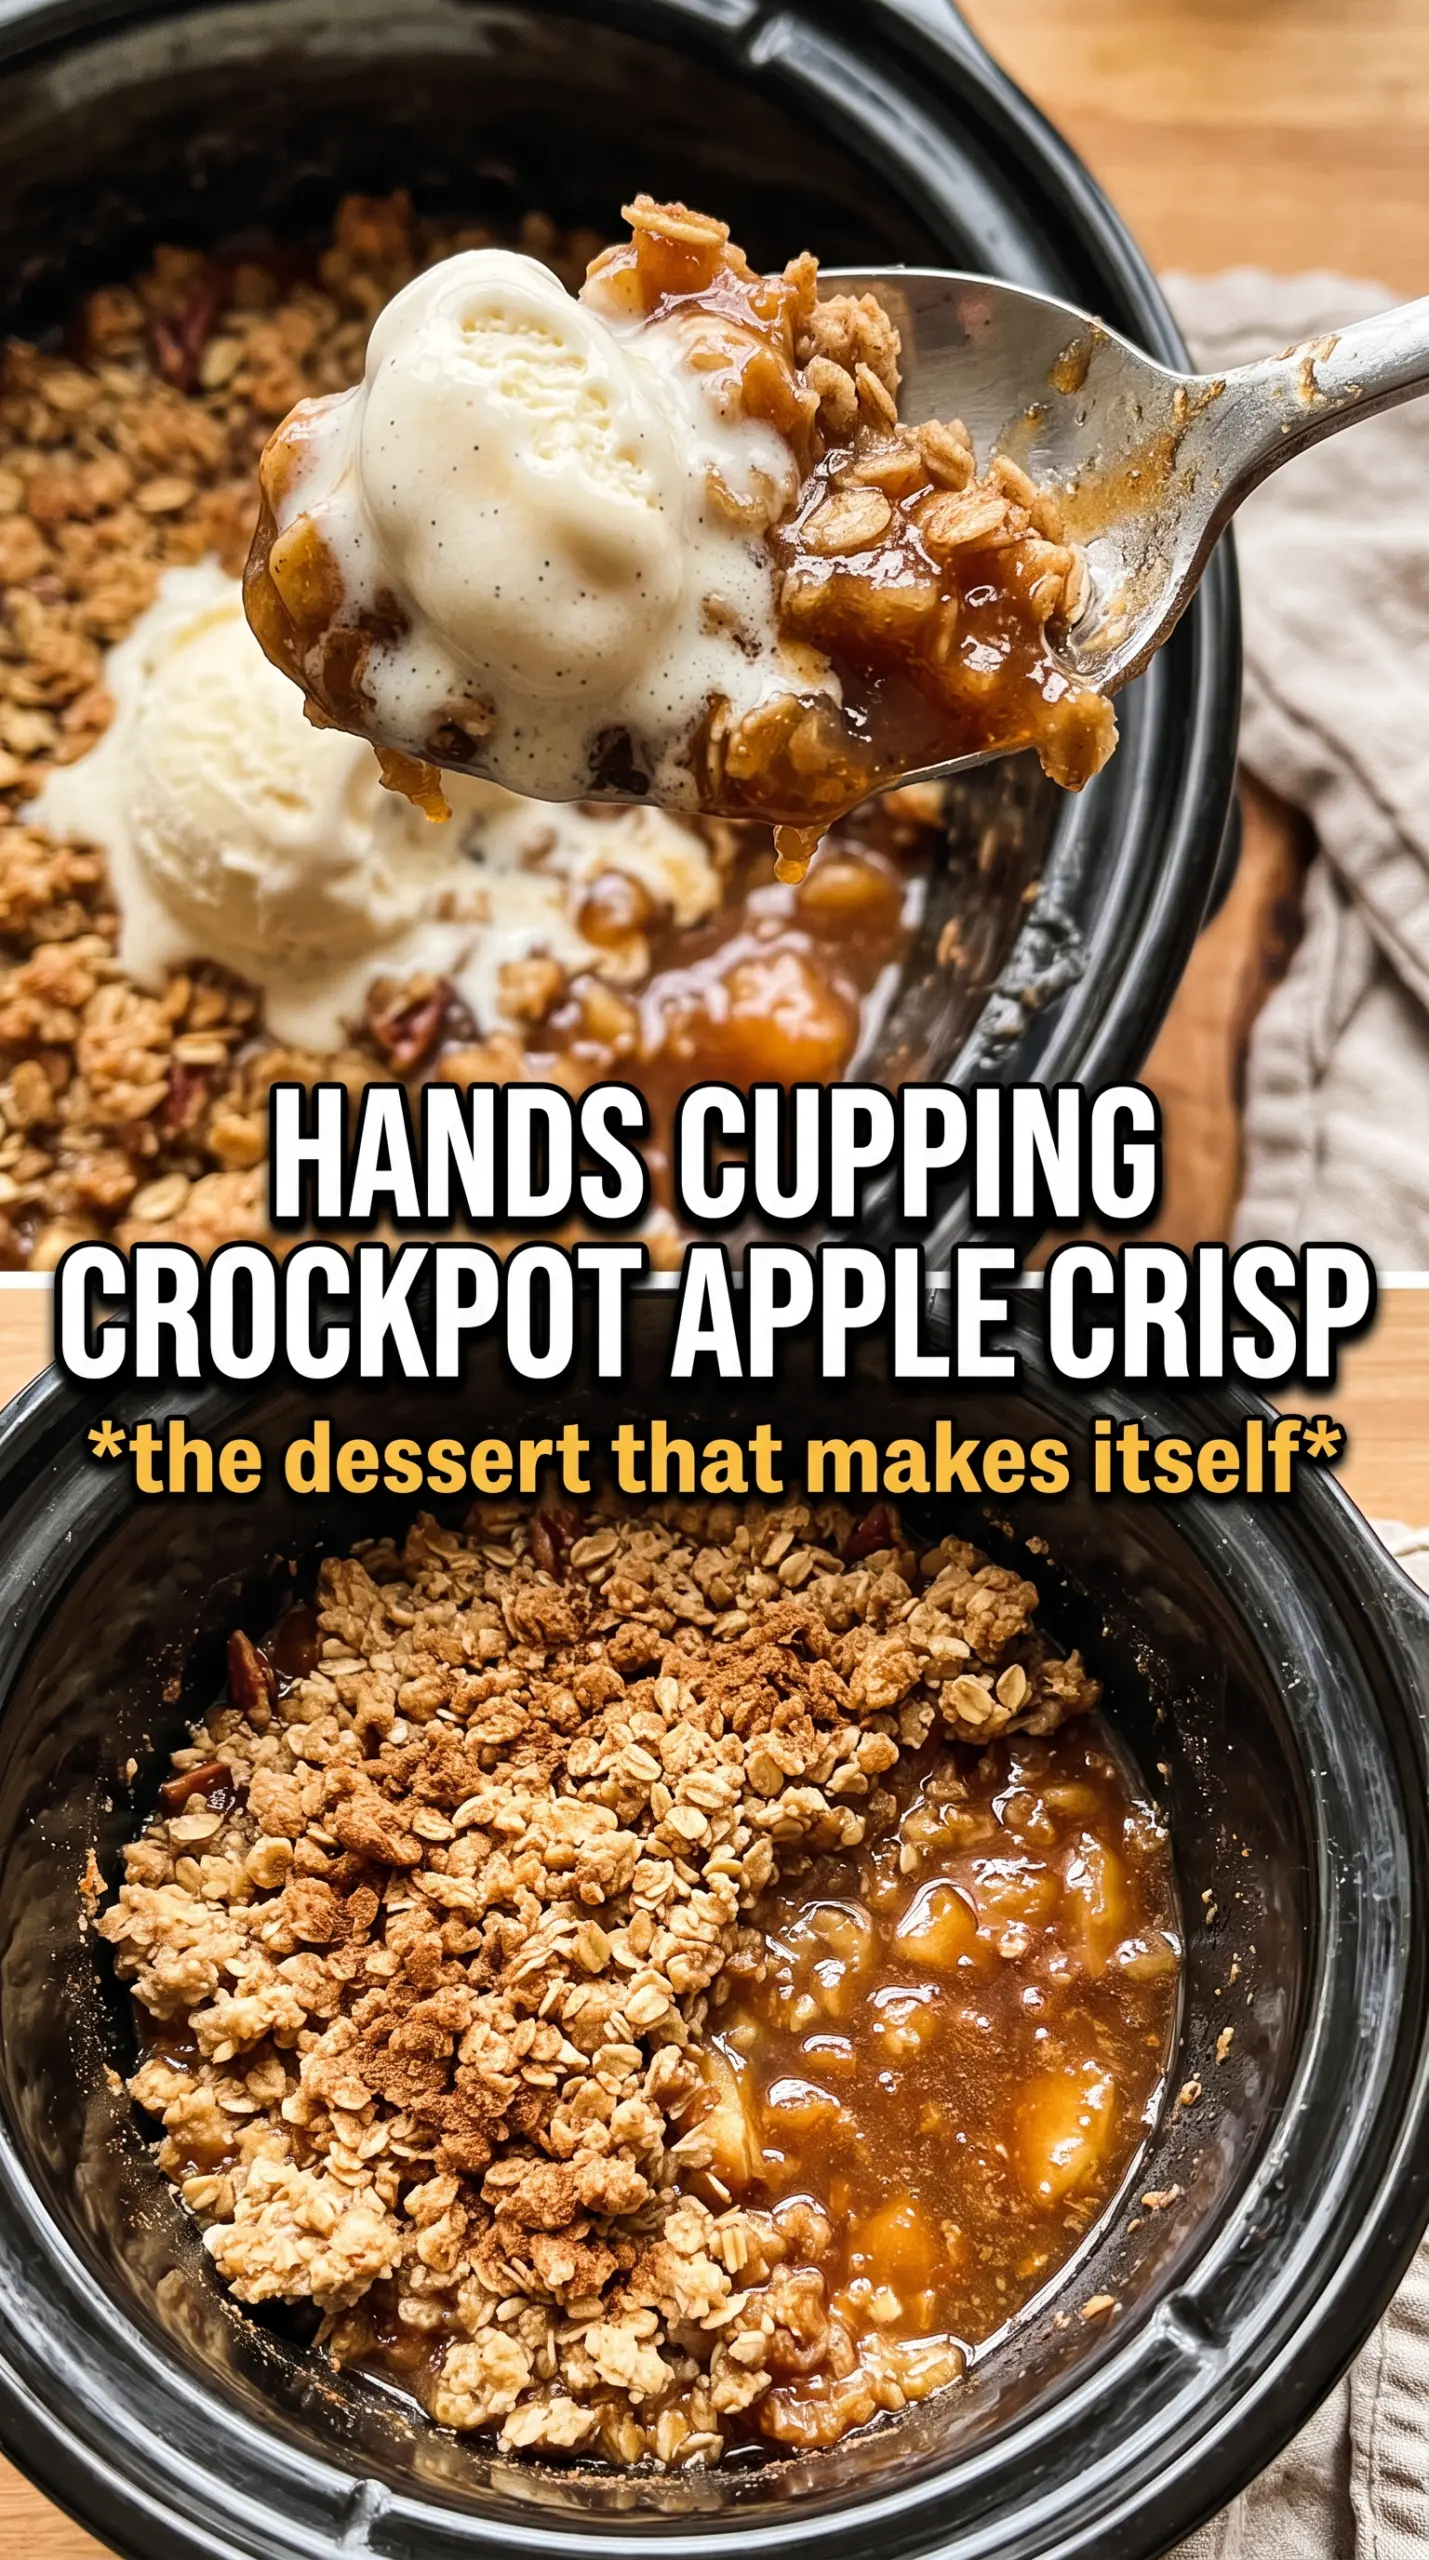
If you want a firmer top, transfer the crisp to an oven-safe dish and broil it for 3 to 4 minutes. Stay right there while it broils. Oat toppings can go from toasted to burnt in a blink, and the edges are usually the first place to catch. Serve it warm with vanilla ice cream so the cold cream melts into the hot apples.
How to Adapt This for Different Eaters and Different Kitchens
Dairy-Free Crisp
Swap the butter for melted coconut oil or a plant-based butter that melts cleanly. Coconut oil gives the topping a slight coconut note and a drier crunch, while plant-based butter keeps the flavor closer to the original. Either way, the topping still needs to be clumpy before it goes on the apples.
Gluten-Free Version
Use a 1:1 gluten-free flour blend in place of the all-purpose flour, and check that your oats are certified gluten-free. The texture stays close to the original, though the topping may bake up a little more delicate and crumbly.
Mixing Up the Apples
Use two varieties of apples if you can. A firm tart apple plus a sweeter baking apple gives you better flavor and a filling with more depth. If all your apples are very sweet, the crisp can taste one-note, so keep the lemon juice in place.
Storage and Reheating
- Refrigerator: Store leftovers covered for up to 4 days. The topping softens as it sits, but the flavor stays good.
- Freezer: It freezes best after baking, though the topping will lose some crunch. Cool completely, wrap well, and freeze for up to 2 months.
- Reheating: Warm individual portions in the microwave for speed, or reheat larger amounts in a 325°F oven until hot. The oven is the better choice if you want the topping to firm back up a little.
Questions I Get Asked About This Recipe
Crock Pot Apple Crisp
Ingredients
Equipment
Method
- Toss the sliced large apples with granulated sugar, brown sugar, cinnamon, nutmeg, and lemon juice, then place them in the slow cooker.
- Lay a double layer of paper towels under the lid to absorb excess moisture.
- Combine rolled oats, all-purpose flour, packed brown sugar, cinnamon, and salt, then drizzle in melted unsalted butter and stir until the mixture forms clumps.
- Scatter the oat topping over the apples in the slow cooker, and do not stir.
- Cook on Low for 2.5-3 hours until the apples are tender and the topping is set.
- For a crispier topping, transfer to an oven-safe dish and broil for 3-4 minutes.
- Serve the crock pot apple crisp warm with vanilla ice cream.