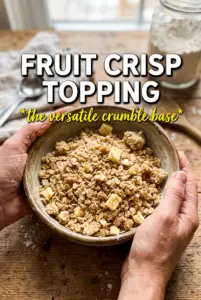
Golden, buttery fruit crisp topping is one of those back-pocket recipes that makes any pan of fruit feel finished. The best version bakes up with a mix of sandy crumbs and bigger oat-heavy clumps, so you get crunch, chew, and those toasty edges that turn deeply fragrant in the oven. It’s the kind of topping that doesn’t disappear into the filling — it holds its shape, browns evenly, and gives every spoonful a real contrast of textures.
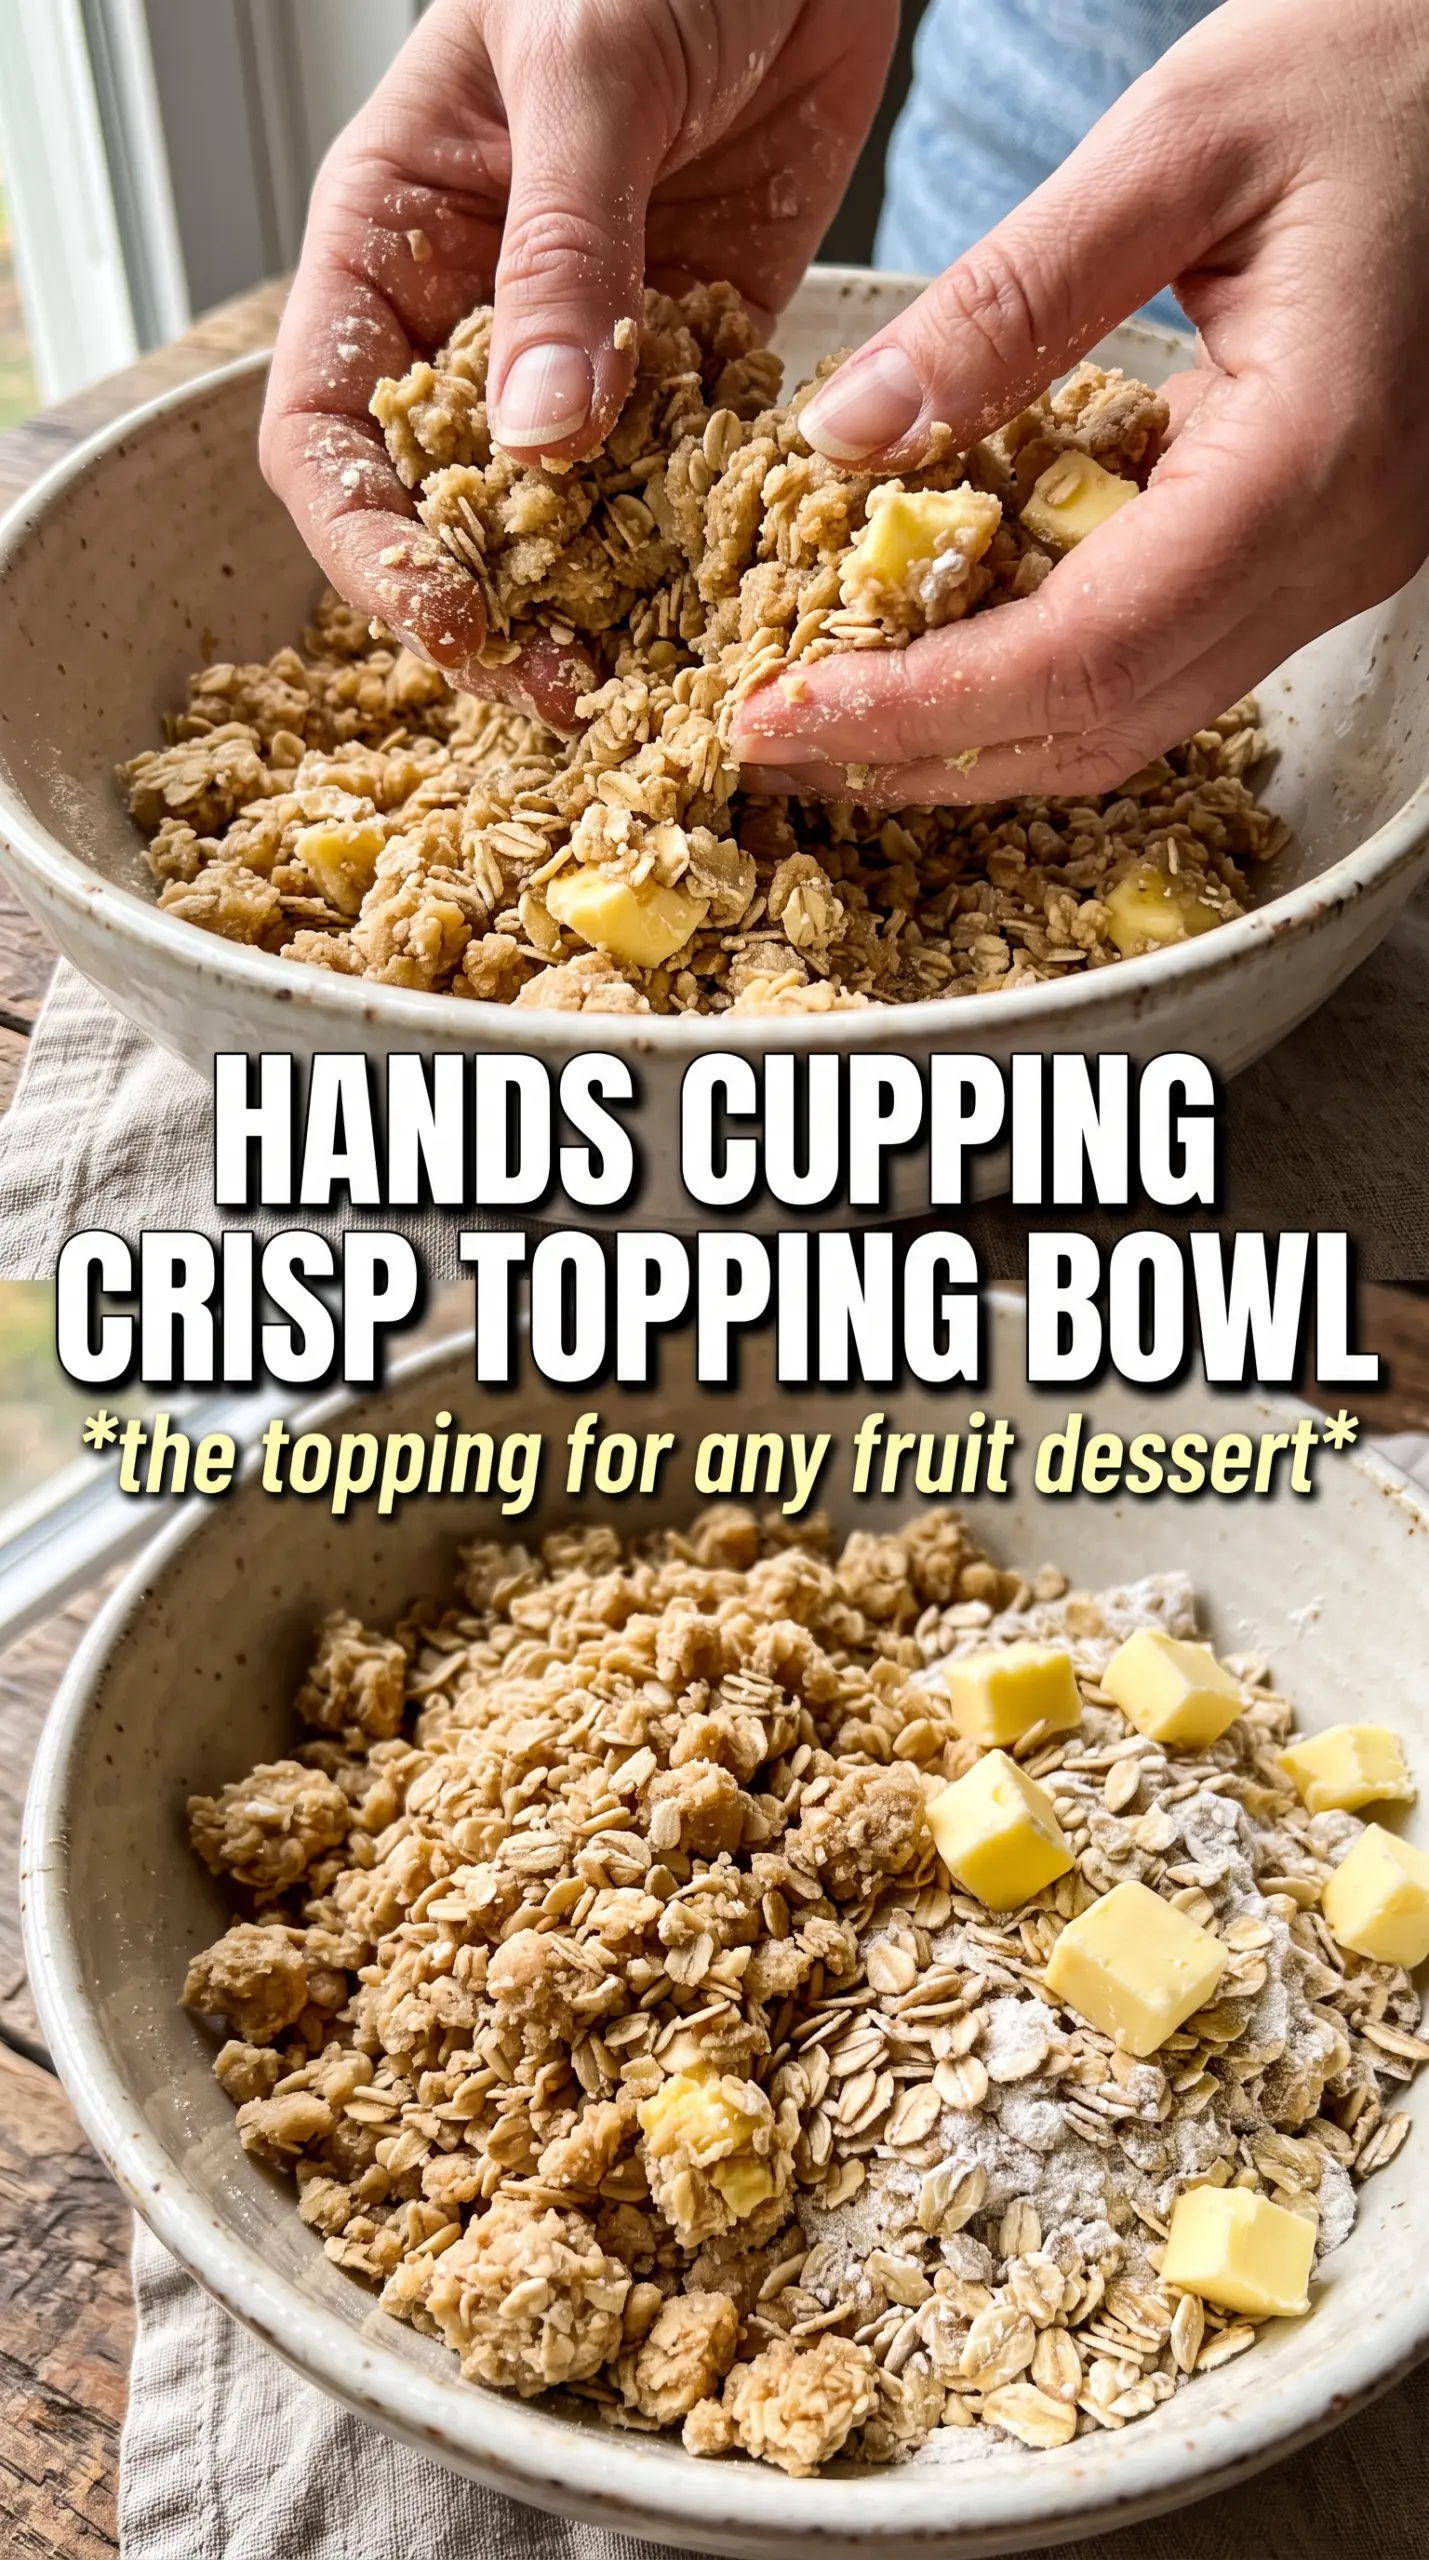
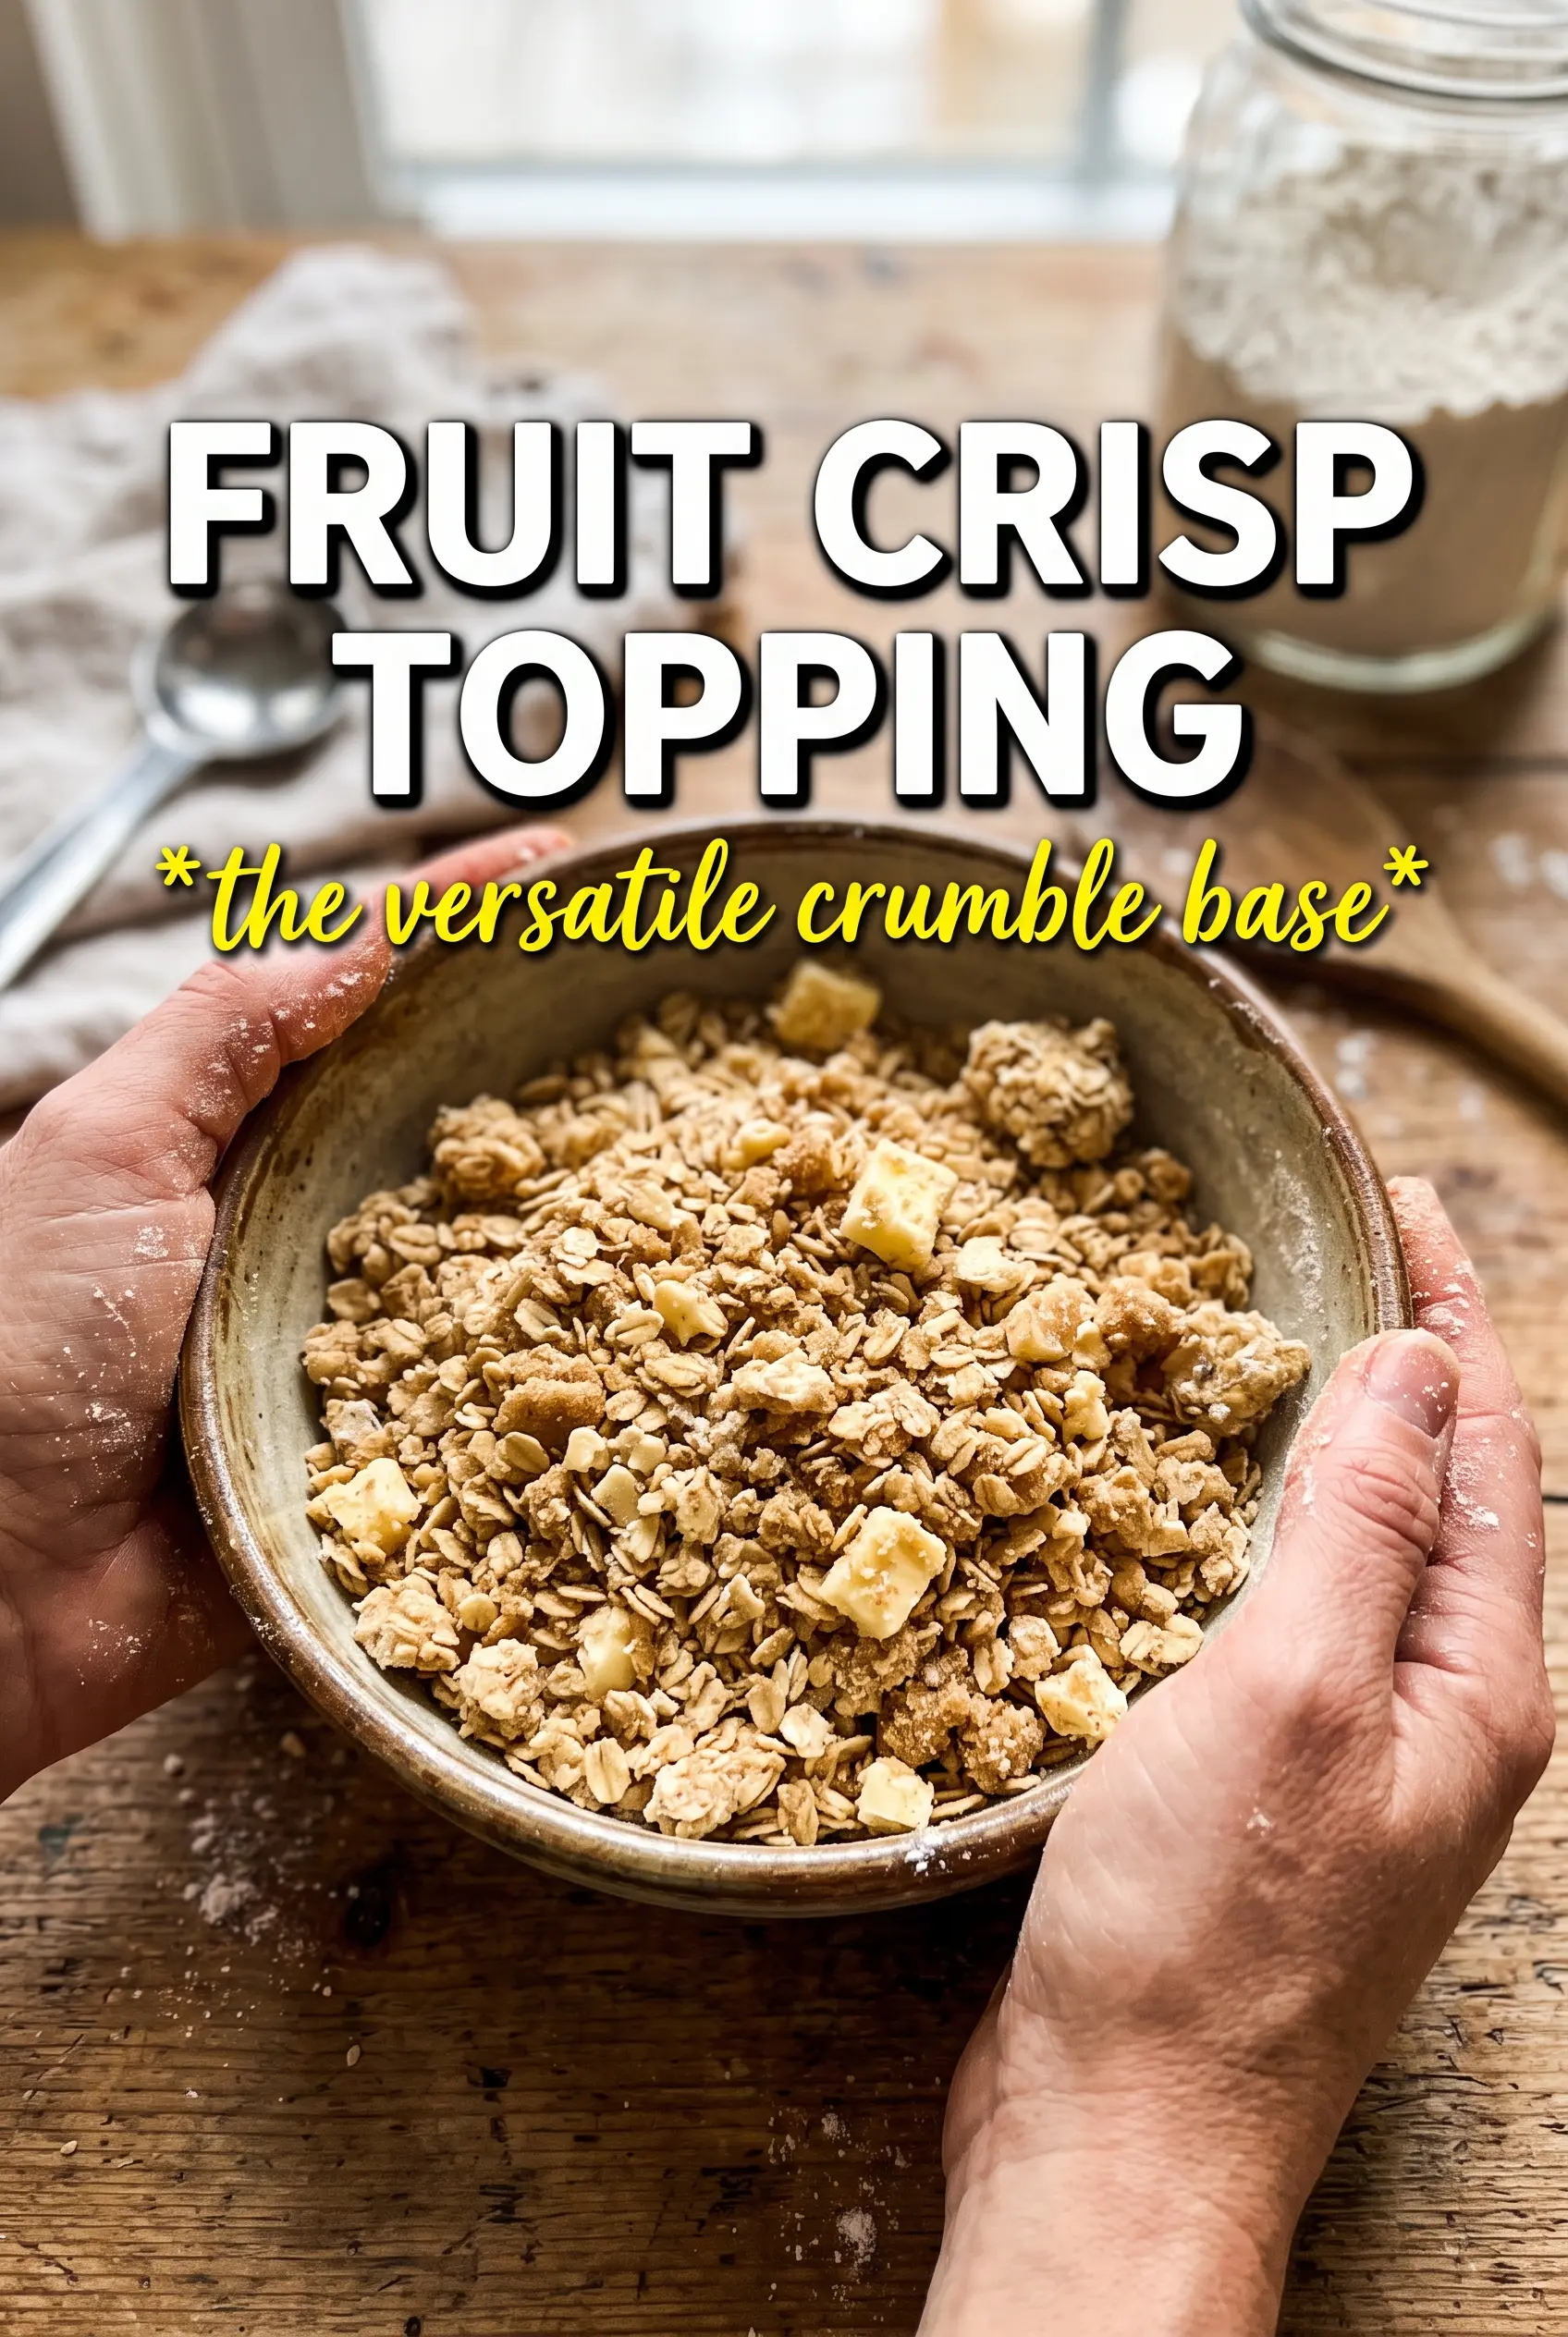
The trick is keeping the butter cold and stopping before the mixture turns uniform. You want some floury bits, some larger clumps, and a few pea-sized butter pieces still visible; that’s what creates the crisp, craggy texture instead of a dry blanket of crumbs. Brown sugar brings depth, while a little granulated sugar helps the topping bake into lighter, sharper-edged clusters. Cinnamon and nutmeg add warmth without making it taste like dessert spice cake.
Below, I’ve included the small details that matter most: how to get the right crumb size, when to use the optional nuts or coconut, and how to store the topping so it’s ready whenever you’ve got fruit waiting.
The topping baked into the perfect mix of crunchy and crumbly, and the little oat clumps stayed together instead of turning sandy. I used it on peach filling and the whole pan was gone the same night.
Save this buttery fruit crisp topping for the next time you need a crumbly, golden lid for peaches, apples, or berries.
The Butter Needs to Stay Cold, Not Blended Smooth
Fruit crisp topping fails in two common ways: it turns dusty and dry, or it melts into a flat sheet. Both happen when the butter gets worked in too far. The goal is a mixture that clumps when squeezed but still looks uneven, with visible oats and little pockets of floury sugar. That uneven texture is what gives you the nubby, crisp top that browns in all the right places.
- If the butter disappears completely, the topping bakes up more like sweet sand than a crisp.
- If you stop while there are still pea-sized butter pieces, those bits melt and leave little pockets of tenderness.
- Cold butter also helps the topping hold in chunky clumps instead of sinking into the fruit.
- If your kitchen is warm, chill the bowl for 10 minutes before baking so the crumbs don’t soften before they hit the oven.
What Each Ingredient Is Actually Doing in This Topping
Rolled oats bring the structure and the classic crisp texture. Quick oats will work in a pinch, but they give a finer, softer crumble and lose some of that rugged bite.
All-purpose flour helps bind the topping so it bakes into clusters instead of loose crumbs. If you need a gluten-free version, use a 1:1 gluten-free baking blend that includes xanthan gum; oat-only swaps usually fall apart.
Brown sugar adds moisture, caramel notes, and the deeper color you want in a baked crisp. The granulated sugar sharpens the edges and helps the topping crisp more cleanly, so I wouldn’t skip it.
Cold unsalted butter is the key ingredient here. Salted butter can work, but unsalted gives you more control, and the cold temperature is what keeps the mixture chunky instead of pasty.
Chopped nuts or shredded coconut are optional, but they’re worth adding if you want more texture. Nuts add a toasted, savory crunch; coconut makes the topping a little richer and more fragrant. If you use either one, toss them in with the dry ingredients so they distribute evenly.
Building the Crumbs Without Melting the Butter
Mix the Dry Ingredients First
Combine the oats, flour, brown sugar, granulated sugar, cinnamon, nutmeg, and salt in a large bowl. Stir until the sugar and spices are evenly distributed, because pockets of cinnamon can turn one bite bitter and another bland. If you’re using nuts or coconut, add them now so they’re coated before the butter goes in.
Work in the Butter Just Until Clumpy
Add the cold cubed butter and cut it in with your fingertips, two forks, or a pastry cutter. Stop when the mixture looks like rough crumbs with some larger clusters and visible butter bits. If you keep going until it looks uniform, you’ve gone too far and the topping will bake up dense instead of crisp.
Use It Over Fruit While the Fruit Is Ready
Scatter the topping over your prepared fruit filling and bake at 375F until it turns deeply golden. The surface should look bronzed and crisp, and you should see bubbling fruit peeking around the edges. If the top browns too quickly before the filling is hot, tent it loosely with foil for the last part of baking.
How to Adapt This for Bigger Pans, Different Diets, or a Little More Crunch
Gluten-Free Topping
Swap the all-purpose flour for a 1:1 gluten-free baking flour blend. The oats still give great texture, but the blend helps the topping hold together the way regular flour would. If you use only oat flour or almond flour, the crumble tends to spread and bake up more fragile.
Nuttier, Toastier Crisp
Add the chopped nuts listed in the ingredient notes, and use pecans or walnuts if you want a deeper, toastier finish. They brown along with the oats and add a firmer bite that stands up well to soft fruit fillings like peaches or berries.
Dairy-Free Version
Use a plant-based butter stick with a firm texture, not a tub spread. You still want it cold and cubed, because the method matters as much as the ingredient. The flavor will be slightly less rich, but the topping will still bake into proper clumps.
Storage and Reheating
- Refrigerator: Store in an airtight container for up to 5 days. It may firm up a little, but that’s normal.
- Freezer: Freezes well for up to 3 months. Freeze it in a flat bag or container, then break it up with your hands before using.
- Reheating: Use it straight from the fridge or freezer over fruit, then bake as directed. Don’t thaw it on the counter first, or the butter softens and the topping loses those chunky clumps.
Answers to the Questions Worth Asking
Fruit Crisp Topping
Ingredients
Equipment
Method
- Combine rolled oats, flour, brown sugar, granulated sugar, cinnamon, nutmeg, and salt in a large bowl.
- Toss everything until the color and spices look evenly distributed.
- Add chopped nuts and shredded coconut, then toss to combine if using.
- Add cold cubed butter to the bowl and work it into the mixture with your fingertips, two forks, or a pastry cutter until large chunky clumps form.
- Stop when some pea-sized butter pieces remain for extra crisp, buttery pockets.
- Use immediately over your prepared fruit filling, or refrigerate in an airtight container up to 5 days, or freeze up to 3 months.
- Bake over any fruit filling at 375F for 35-45 minutes until deeply golden.