Golden oat crumble, a smooth pumpkin filling, and a finish of cinnamon icing make these pumpkin crumble bars the kind of dessert that disappears fast from a pan. The base bakes up sturdy enough to hold the filling, while the topping stays crisp at the edges and tender in the middle, so every square gives you a clean layer of crunch and custard-like pumpkin.
The part that matters most here is the first bake on the crust. Pressing two-thirds of the crumble firmly into the pan and baking it for ten minutes gives the bars a solid foundation, which keeps the filling from soaking the base before it sets. Cold butter is doing a lot of work too — it melts in the oven and leaves little pockets that turn the topping sandy and crisp instead of dense.
Below you’ll find the exact cue for when the filling is done, plus a couple of practical swaps and storage notes so the bars cut neatly and keep their texture.
The pumpkin layer set up beautifully and the crumble stayed crisp even after chilling overnight. I drizzled the icing right before serving and everyone kept going back for another square.
Save these pumpkin crumble bars for a make-ahead dessert with a buttery oat topping and a smooth pumpkin center.
The Crumble Needs to Start Like a Crust, Not a Topping
Most crumb bars go wrong because the base is treated like loose streusel. If you only scatter it into the pan, the filling sinks through and the bottom stays sandy instead of baking into a sturdy layer. Pressing most of the mixture firmly into the parchment-lined pan changes the whole result. You want a packed base that bakes into a thin, crisp foundation, then a looser handful of crumble on top for texture.
The ten-minute head start matters too. It gives the crust enough structure to support the pumpkin layer before the rest of the bake, which is what keeps these bars from turning soggy at the bottom. If the crust still looks pale after the first bake, it needs more time in the oven, not more filling or extra butter.
What Each Ingredient Is Doing in This Dish
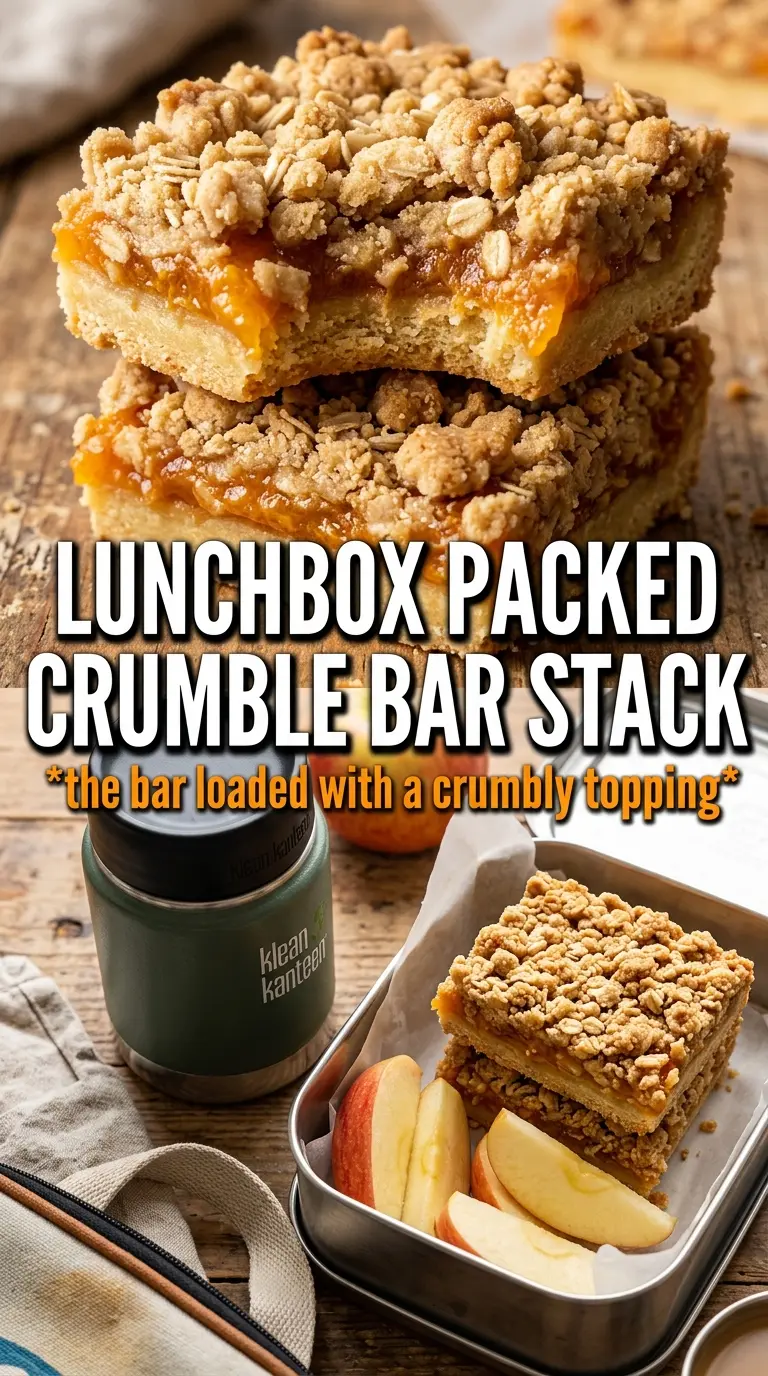
- Rolled oats — These give the crumble its nubby texture and keep the topping from baking into a flat cookie layer. Quick oats soften more and lose some of that defined chew, so old-fashioned oats are the better pick here.
- All-purpose flour — This is what binds the oats and butter into bars that slice cleanly. A gluten-free 1:1 blend works if you need it, but the texture will be a touch more delicate.
- Cold butter — Cold butter is nonnegotiable for the crumble. Cubes of butter melt in the oven and leave little pockets of steam, which is what gives the topping and base that crisp, sandy bite.
- Sweetened condensed milk — This is what makes the pumpkin layer set into a silky filling without needing extra starch. Regular milk won’t do the same job; the thickness and sugar content are part of the structure.
- Pumpkin puree — Use plain pumpkin puree, not pumpkin pie filling. Pie filling already contains sugar and spice, which throws off the balance and can make the bars overly sweet and soft.
- Pumpkin pie spice plus cinnamon, ginger, and vanilla — The spice blend gives the filling warmth, while the extra cinnamon and ginger keep it from tasting flat. Vanilla rounds out the pumpkin and makes the filling taste fuller, not sharper.
The 40 Minutes That Build the Bars
Mix the crumble until it looks like damp sand
Combine the oats, flour, brown sugar, cinnamon, and salt first, then cut in the butter until the mixture forms clumps when you squeeze it. You don’t want a paste, and you don’t want dry flour patches either. The texture should look like uneven gravel with some larger buttery pieces throughout. Those pieces help the top bake into crisp craggy bits instead of a uniform sheet.
Pack the base before the filling goes on
Press about two-thirds of the crumble into the pan in an even layer, using the bottom of a measuring cup or your fingertips to compact it. Bake it until the edges just start to deepen in color. If you skip this step or leave it too loose, the filling will seep down and the bars will cut in layers instead of staying distinct.
Whisk the filling until it is completely smooth
Stir the pumpkin puree, condensed milk, eggs, spices, salt, and vanilla until the mixture looks glossy and even. Any streaks of egg or pockets of spice will bake into little curds or uneven bites. Pour it over the hot crust while it is still warm; that helps the layers settle together.
Watch for the center to set with a slight wobble
Scatter the remaining crumble over the filling, then bake until the top is golden and the center no longer sloshes when you nudge the pan. The filling should look set at the edges and have a faint jiggle in the middle, not a wet ripple. If the top browns before the center is done, tent it loosely with foil for the last few minutes.
Cool all the way before drizzling and cutting
The bars need to cool completely so the filling firms up enough to slice. If you drizzle the icing too early, it melts into the surface instead of sitting in clean white lines. A full chill gives you the neatest squares and the best contrast between the crumb and the pumpkin layer.
Three Ways to Make These Bars Fit the Moment
Dairy-Free Pumpkin Crumble Bars
Use a plant-based butter that bakes well and swap the condensed milk for a dairy-free sweetened condensed coconut milk. The crust and topping will still crisp up, but the filling will carry a faint coconut note, which works nicely with the pumpkin and cinnamon.
Gluten-Free Version
Swap the flour for a good 1:1 gluten-free baking blend and use certified gluten-free oats. The bars will still hold together, though the crumble may be a little more delicate when warm, so let them cool fully before cutting.
Extra-Spiced Filling
If you like a stronger spice line, add another 1/4 teaspoon ginger or a pinch of cloves. That pushes the bars closer to classic pumpkin pie territory without changing the texture, but cloves can take over fast, so use them lightly.
Storage and Reheating
- Refrigerator: Store covered for up to 5 days. The bars firm up as they chill, which makes the slices neater and the crumble a little less fragile.
- Freezer: They freeze well. Wrap individual bars tightly and freeze for up to 2 months, then thaw in the refrigerator so the filling doesn’t weep.
- Reheating: These are best served cool or room temperature, not hot. If you want the topping to taste fresher, let a chilled bar sit out for 15 to 20 minutes instead of microwaving it, which softens the crumble and makes the filling lose its clean slice.
Answers to the Questions Worth Asking
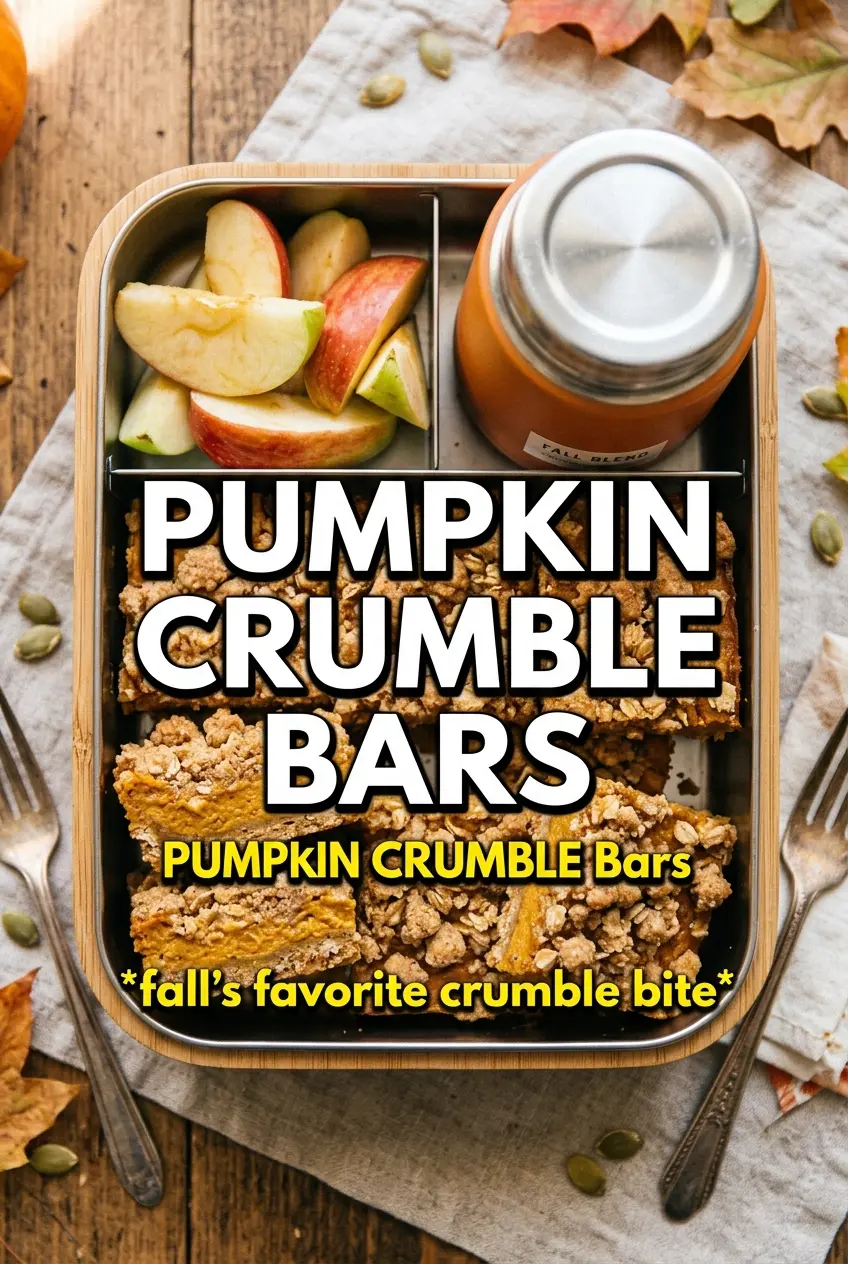
Pumpkin Crumble Bars
Ingredients
Equipment
Method
- Preheat oven to 350F and line a 9x13 pan with parchment paper, leaving overhang for easy lifting later.
- Make crumble by combining rolled oats, all-purpose flour, brown sugar, cinnamon, and salt, then cut in cold butter until crumbly.
- Press 2/3 of the crumble mixture firmly into the prepared pan, creating an even crust.
- Bake the crust for 10 minutes at 350F until it looks set and slightly dry on the surface.
- Whisk pumpkin puree, sweetened condensed milk, eggs, pumpkin pie spice, cinnamon, ginger, salt, and vanilla until smooth.
- Pour the filling over the hot crust in an even layer.
- Scatter the remaining crumble over the filling so the top is fully covered.
- Bake 28-30 minutes at 350F until the top is golden and the center filling is just set (a slight jiggle is okay).
- Cool the bars completely in the pan so the filling firms up and the slices hold their shape.
- Drizzle icing made from powdered sugar, milk, and cinnamon across the top before cutting.