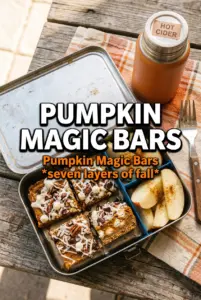
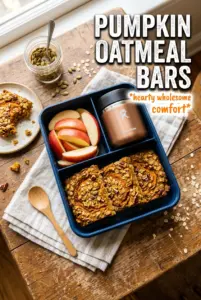
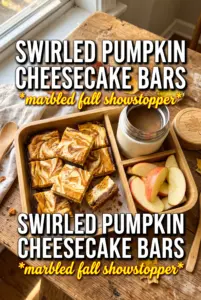
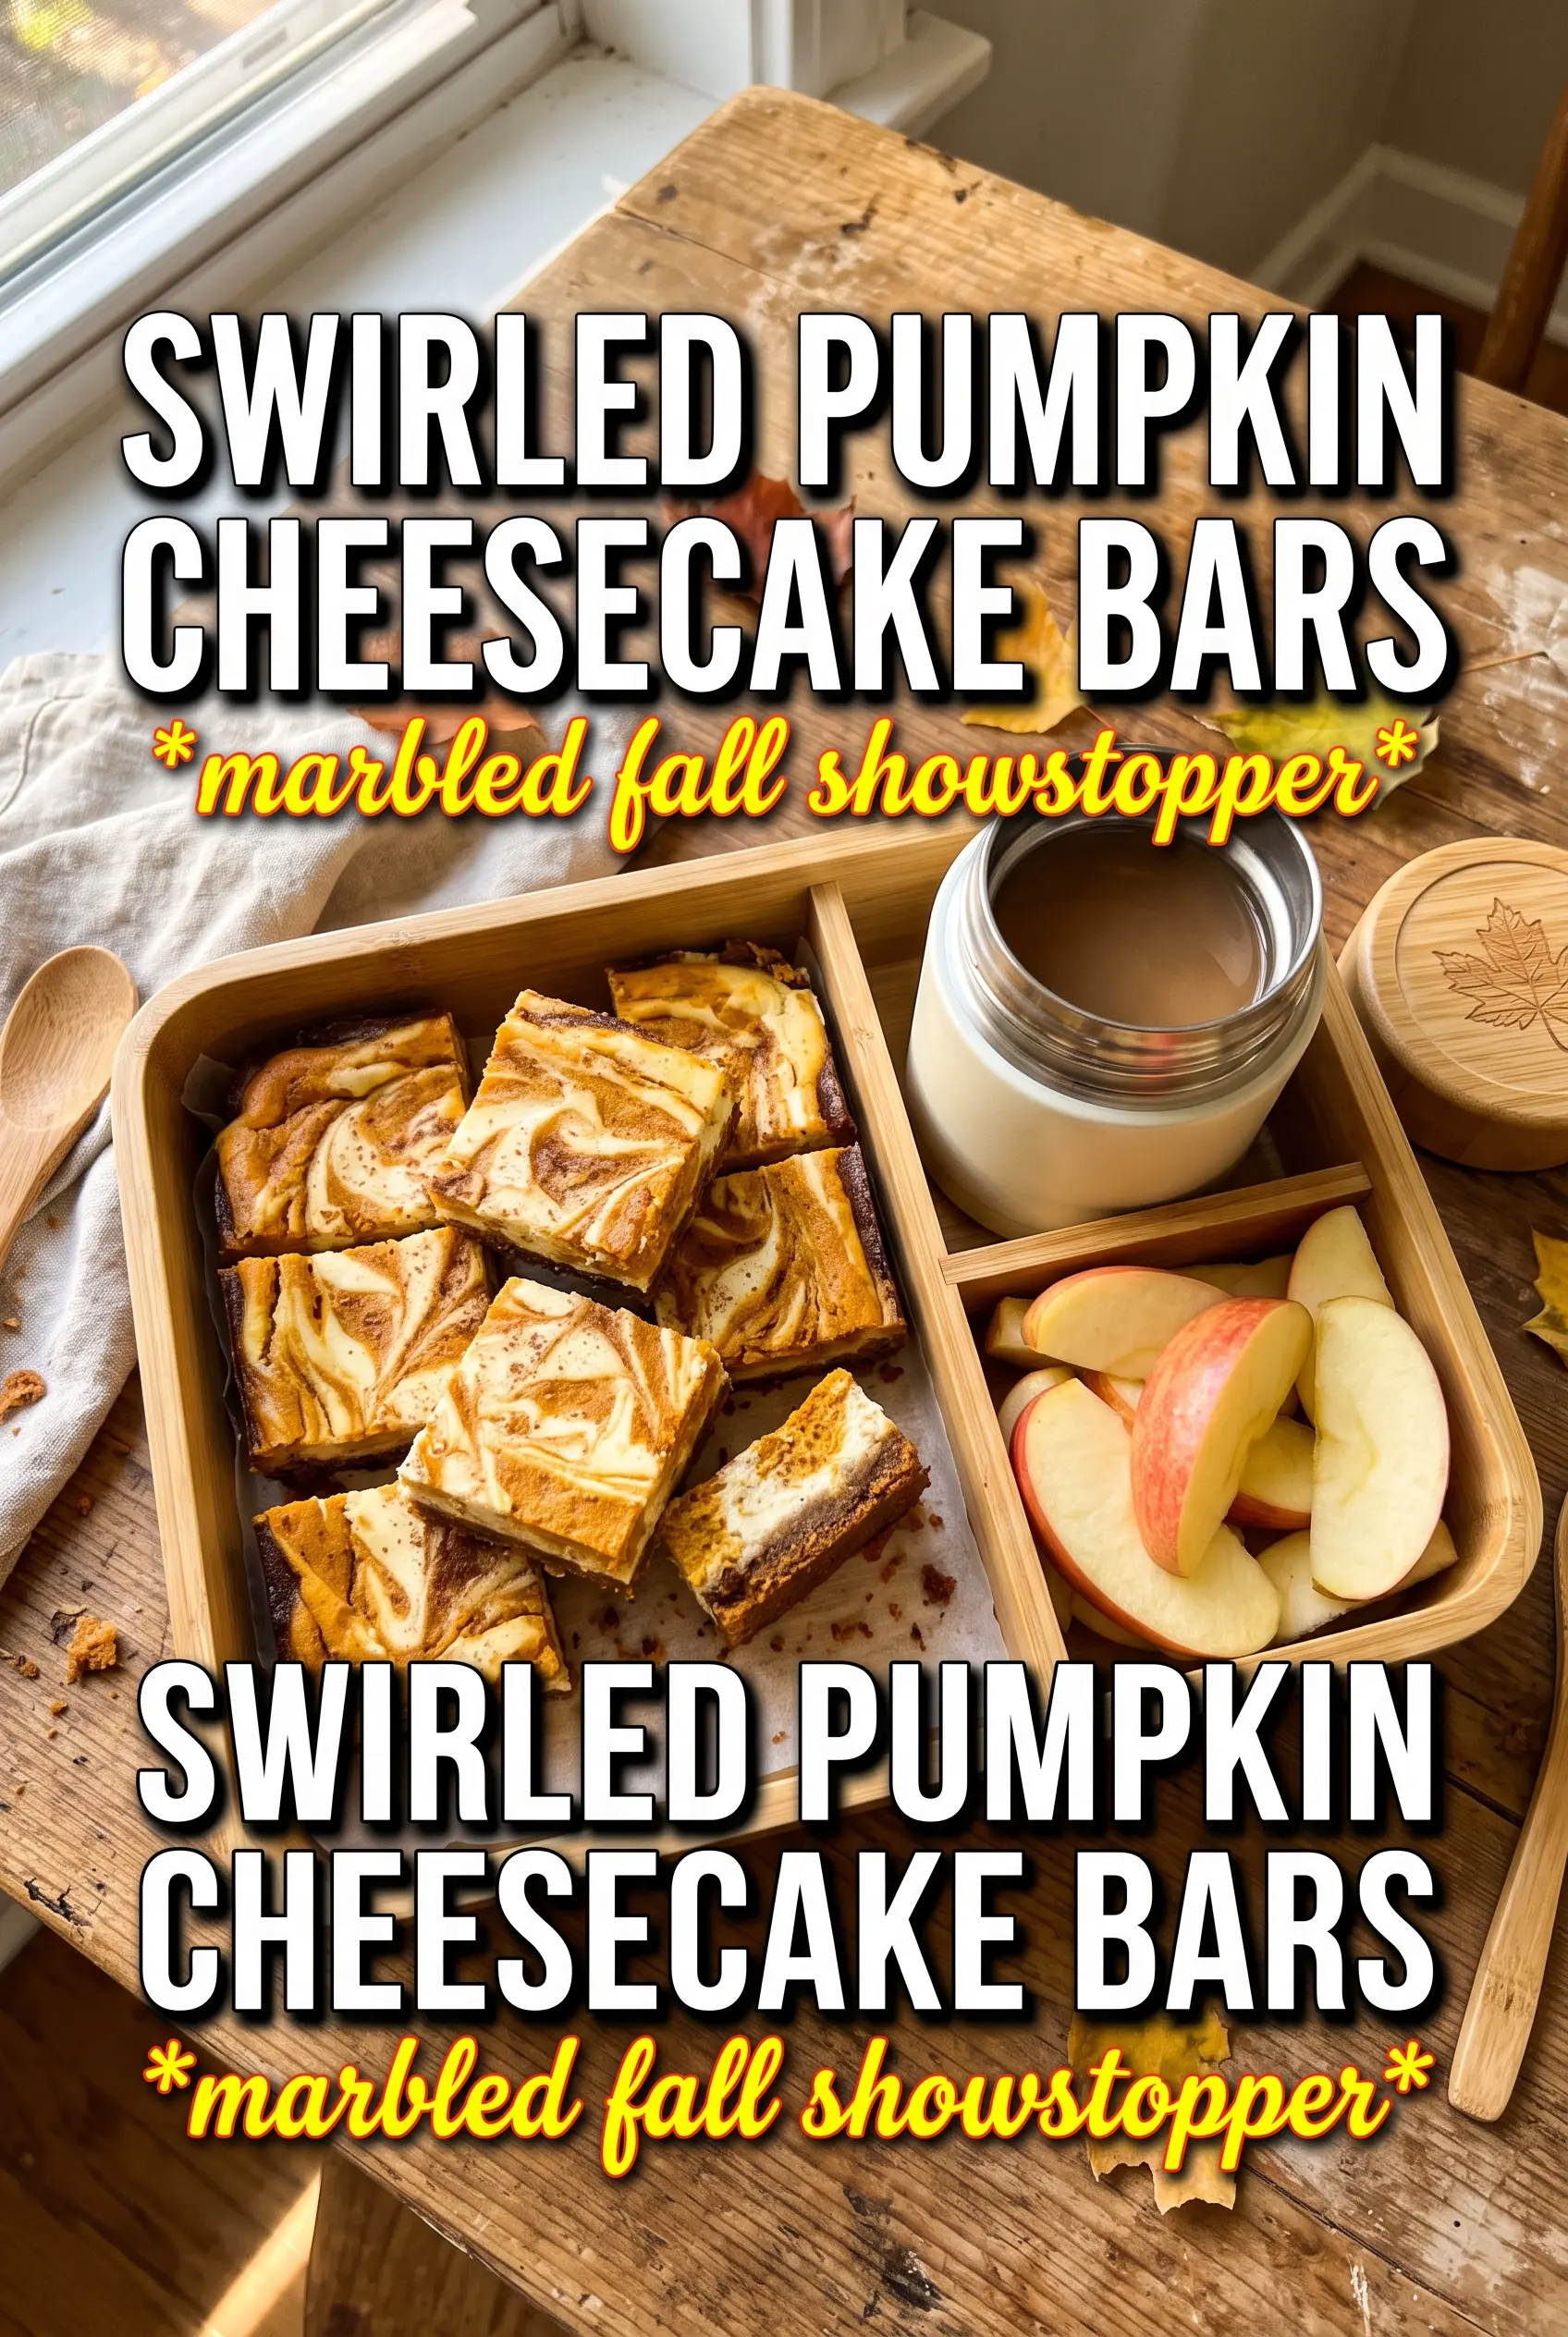
Swirled pumpkin cheesecake bars land right in that sweet spot between a classic pumpkin dessert and a creamy cheesecake bar: rich, neat to slice, and striking on the plate. The filling bakes up smooth with a gentle tang from the cream cheese, while the pumpkin layer brings warm spice and a little color drama in every square. What makes them worth keeping around is the contrast — buttery crust, silky cheesecake, and those caramel-colored swirls that look bakery-made without any fancy steps.
The trick is treating both fillings like cheesecake, not like batter. Once the cream cheese is smooth, the rest comes together quickly, and the swirl stays distinct because the pumpkin mixture is spooned on top instead of mixed through. Bake until the center still has a slight wobble; if you wait for it to look fully firm in the oven, the bars usually end up dry after chilling. The crust gets a short blind bake so it stays crisp under all that creamy filling.
Below, I’ve included the swirl method that keeps the layers clean, plus the one chilling step that makes slicing these bars much easier.
The swirl stayed beautiful after baking and the bars set up perfectly after chilling. I used gingersnap crumbs and the crust had just enough spice to match the pumpkin layer without overpowering the cheesecake.
Love the creamy pumpkin swirl and crisp gingersnap crust? Save these Swirled Pumpkin Cheesecake Bars for your next make-ahead dessert.
The Reason the Swirl Stays Sharp Instead of Blending Into One Layer
These bars work because both batters stay thick. That means the pumpkin mixture sits on top in spoonfuls instead of sinking, and the knife can drag through in clean ribbons instead of muddying the whole pan. If the cheesecake base is too loose, the swirl disappears and the bars bake up more like pie filling than cheesecake bars.
The other thing that matters is the pan. A lined 9×13 gives you enough surface area for a thin, even layer, which is what helps the bars set at the same rate from edge to center. If you use a smaller pan, the middle stays soft too long and the swirl can overbake before the center is done.
- Cream cheese — Softened cream cheese is what gives both layers that dense, sliceable texture. Cold cream cheese leaves little lumps behind, and overbeating it after the eggs go in adds too much air, which can cause cracks.
- Sour cream — This loosens the vanilla layer just enough to keep it creamy after chilling. Full-fat sour cream gives the best texture, but plain Greek yogurt works in a pinch; the bars will taste a little tangier and set slightly firmer.
- Pumpkin puree — Use pure pumpkin, not pumpkin pie filling. Pie filling already has sugar and spices mixed in, which throws off the balance and makes the swirl too loose and too sweet.
- Gingersnap crumbs — Graham crumbs work if that’s what you have, but gingersnaps give the crust a warmer, spicier edge that matches the pumpkin layer. If you use graham crackers, add a pinch more cinnamon to the crust so it doesn’t taste flat.
What Each Ingredient Is Actually Doing in This Recipe
- Primary ingredient (the star) — Quality matters most. Choose the best you can find.
- Cooking medium (oil, butter, or broth) — This carries flavors and prevents dryness.
- Seasonings (salt, pepper, spices, herbs) — Layer flavors so nothing overpowers. Build depth gradually.
- Aromatics (garlic, onion, herbs) — Cook with fat to bloom flavors. Become the foundation.
- Supporting ingredients — Complement the main ingredient without overpowering it.
- Sauce or liquid (if applicable) — Brings flavors together. Balance richness with acid.
- Acid (lemon, vinegar, wine, or other) — Brightens and prevents flat-tasting results.
- Final finish (garnish, glaze, or sauce) — Prevents one-dimensional taste and adds visual appeal.
Building the Layers Without Overmixing the Cheesecake
Press and Prebake the Crust
Mix the crumbs, sugar, and melted butter until every crumb looks damp, then press it firmly into the lined pan. A flat-bottomed measuring cup helps you pack it into the corners so the crust doesn’t crumble when you slice the bars. Bake it for 8 minutes just to set the butter; if you skip that step, the crust can turn sandy under the filling.
Whip Each Filling Until Smooth
Beat the vanilla cheesecake layer first, then the pumpkin layer, and stop as soon as each one looks smooth and glossy. Once the eggs go in, keep the mixer on low to medium and don’t chase every last bubble out of the bowl. Too much whipping adds air, and that air expands in the oven and can leave the top puffy and cracked instead of silky.
Swirl, Don’t Stir
Pour the vanilla layer over the crust, then drop the pumpkin mixture in large spoonfuls across the surface. Run a knife through in broad S-shapes, lifting and dragging just enough to marble the top without combining the layers. If you over-swirl, the bars turn a muted beige instead of showing those defined pumpkin ribbons.
Watch for the Gentle Set
Bake until the edges look set and the center still has a slight jiggle when you nudge the pan. That wobble is what you want; it finishes setting as the bars cool. If the center looks firm in the oven, the cheesecake usually bakes past its best texture and ends up dry after chilling.
Use Gingersnaps for a Spicier Crust
Swap the graham crumbs for gingersnap crumbs and the bars pick up a deeper molasses note that plays nicely with the pumpkin filling. The crust comes out a little firmer and more aromatic, which is great if you want the spice to show up in every bite.
Make Them Gluten-Free
Use certified gluten-free graham-style crumbs or gluten-free gingersnaps for the crust. The filling doesn’t need any changes, so the texture stays the same and nobody misses the wheat.
Cut the Sugar a Bit
You can reduce the sugar in each filling by a couple of tablespoons without breaking the recipe. Go further than that and the cheesecake tastes flat and the pumpkin layer loses the contrast that keeps it from reading heavy.
Storage and Reheating
- Refrigerator: Store covered for up to 5 days. The crust stays best in the first 2 days, then softens a little under the filling.
- Freezer: These freeze well. Chill first, cut into bars, then wrap individually and freeze for up to 2 months; thaw in the refrigerator so the cheesecake doesn’t sweat.
- Reheating: Serve them chilled or just slightly cool. Don’t microwave these bars; heat turns the cheesecake layer soft and the swirl loses its clean edges.
Answers to the Questions Worth Asking
Swirled Pumpkin Cheesecake Bars
Ingredients
Equipment
Method
- Preheat the oven to 325°F, then line a 9x13 pan and press the crumbs mixture into the bottom for an even layer. Bake for 8 minutes until it looks set and lightly fragrant.
- Press the crust firmly in the pan after baking, so it holds together when sliced, then set it aside while you make the fillings.
- Beat the cream cheese, sugar, eggs, sour cream, and vanilla for the vanilla layer until smooth and glossy, with no visible lumps. Set aside when fully combined.
- Beat the cream cheese, pumpkin puree, brown sugar, egg, pumpkin pie spice, cinnamon, and vanilla for the pumpkin swirl layer until smooth and thick. Set aside when smooth.
- Pour the vanilla cheesecake mixture over the baked crust and spread to the edges so the surface is level. Dollop the pumpkin mixture in large spoonfuls across the top.
- Use a knife to swirl dramatically through the dollops to create bold caramel-and-cream streaks on the surface. Make large passes for a visible marbled pattern.
- Bake at 325°F for 32 to 35 minutes until the center is just set and the edges look slightly puffed. The middle should still have a gentle jiggle.
- Cool the bars to room temperature, then refrigerate for 3 hours to fully firm up. The top should look set and the swirl should hold its shape.
- Cut into 16 bars after chilling, wiping the knife clean between cuts for sharp edges. Serve chilled for clean slices.