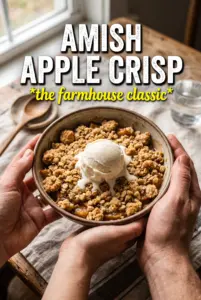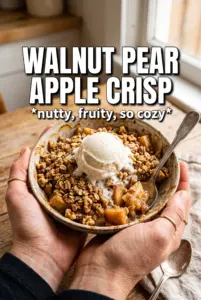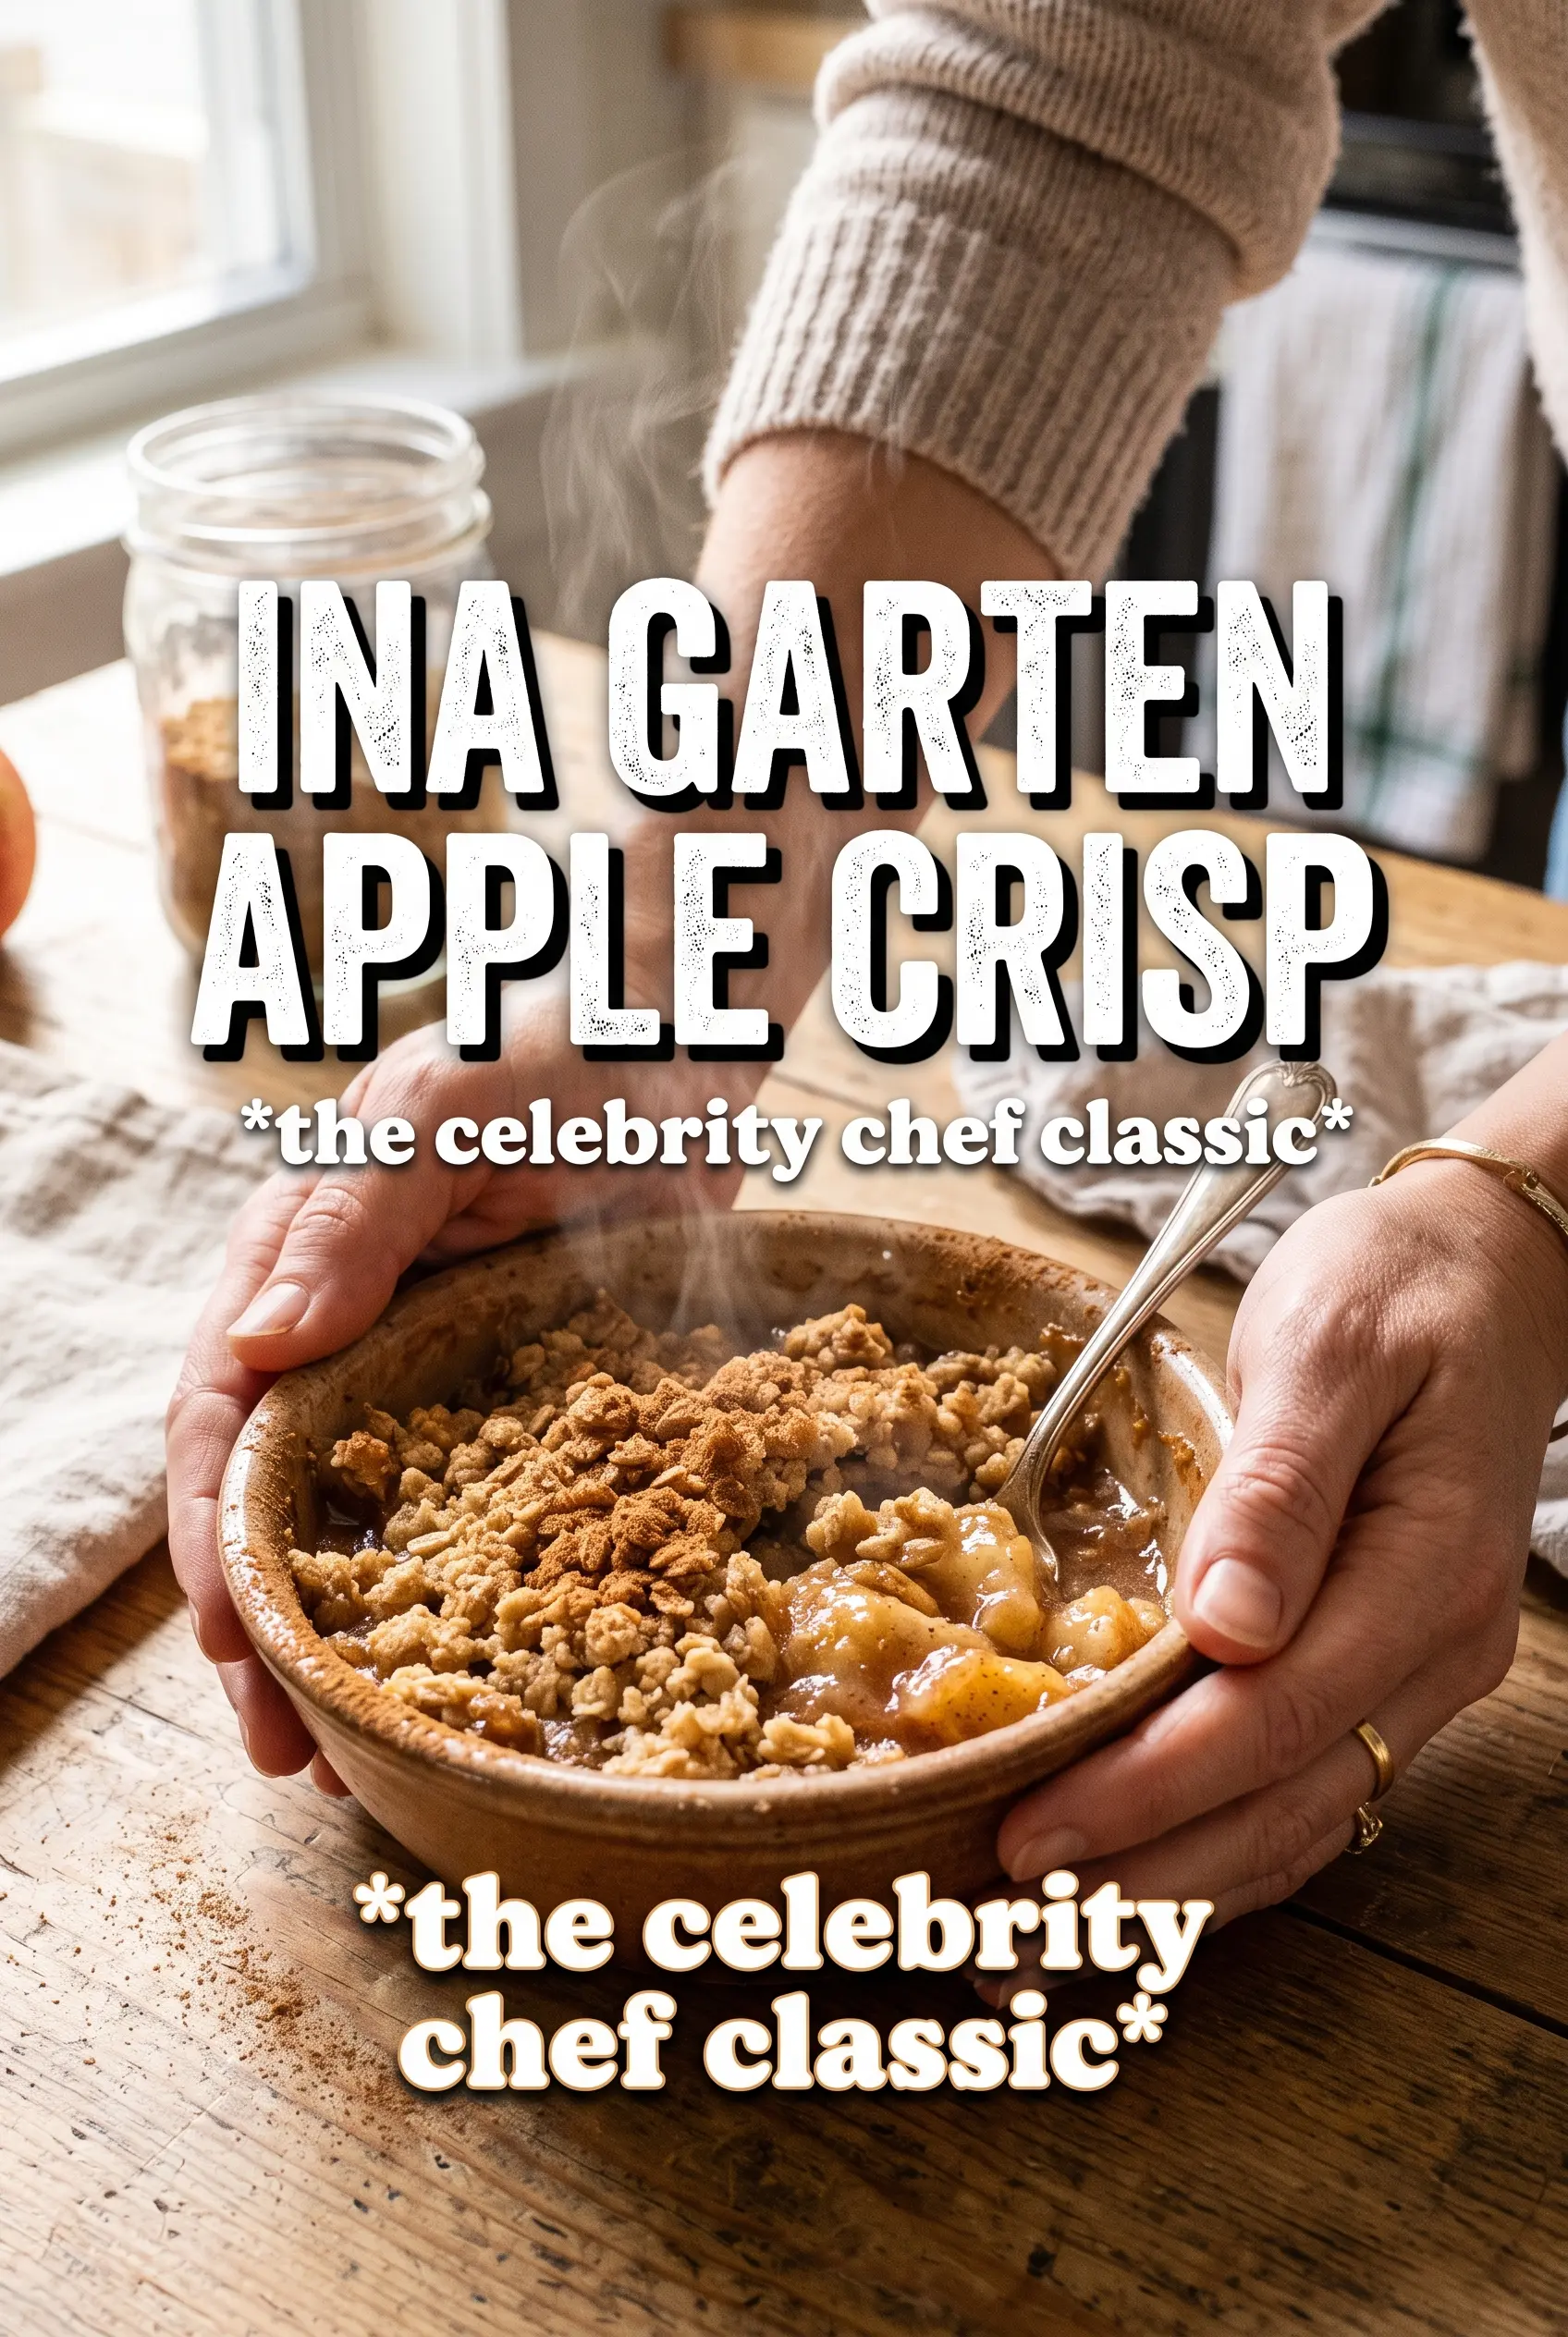
Apple crisp earns its place when the topping turns sandy, buttery, and deeply bronzed while the fruit underneath softens into a bubbling layer that still tastes like apples, not applesauce. This Ina Garten version does that balance well. The crumble is generous enough to stay crisp at the edges, and the filling gets enough citrus and spice to taste bright instead of heavy.
What makes it work is the way the apples are treated before they go into the oven. Orange and lemon zest wake up the fruit, and the juices help everything melt together without making the filling watery. The topping is built with cold butter and worked until it forms pea-sized clumps, which is the difference between a crisp, nubby crust and a pasty layer that bakes up flat.
Below, I’ll walk through the part that matters most: choosing apples that hold their shape, building the crumble so it bakes up chunky, and knowing exactly when to pull the dish from the oven. There’s also a few useful ways to adapt it if you want a dairy-free version or need to work with the apples you already have.
The topping stayed crisp all the way to the edges, and the apples baked into that perfect soft-but-not-mushy texture. I loved the orange zest in the filling — it kept the whole dish from tasting too sweet.
Ina Garten apple crisp brings a buttery oat crumble and bright spiced apples together — save it for the dessert nights when you want a warm, reliable crowd-pleaser.
The Apple Choice That Keeps This Crisp From Turning Mushy
The filling only works if the apples hold some structure after 55 to 60 minutes in the oven. Macintosh softens fast and gives you a more spoonable filling, while Braeburn stays a little firmer and keeps the texture a touch more distinct. Either one works here, but mixing them gives you a better middle ground: some apples collapse into the juices, some keep their shape, and the dish ends up with a thick, jammy base instead of a loose pool under the topping.
The other thing people miss is how much the citrus does. It’s not there to make the crisp taste lemony or orangey. It sharpens the fruit and keeps the sugar from flattening everything out. If your apple crisp tastes one-note, it usually needs acid, not more cinnamon.
- Macintosh or Braeburn apples — These are sturdy enough to bake through without disappearing. If you want to use Granny Smith, expect a sharper, firmer crisp and a little less sweetness in the filling.
- Orange and lemon zest — The zest gives you the aromatic part of the citrus without adding extra liquid. Skip bottled juice here; it won’t give the same lift.
- Cold butter — This is what keeps the topping crumbly. If the butter softens before it goes into the oven, the topping turns dense instead of sandy and crisp.
What Each Ingredient Is Actually Doing in the Crumble
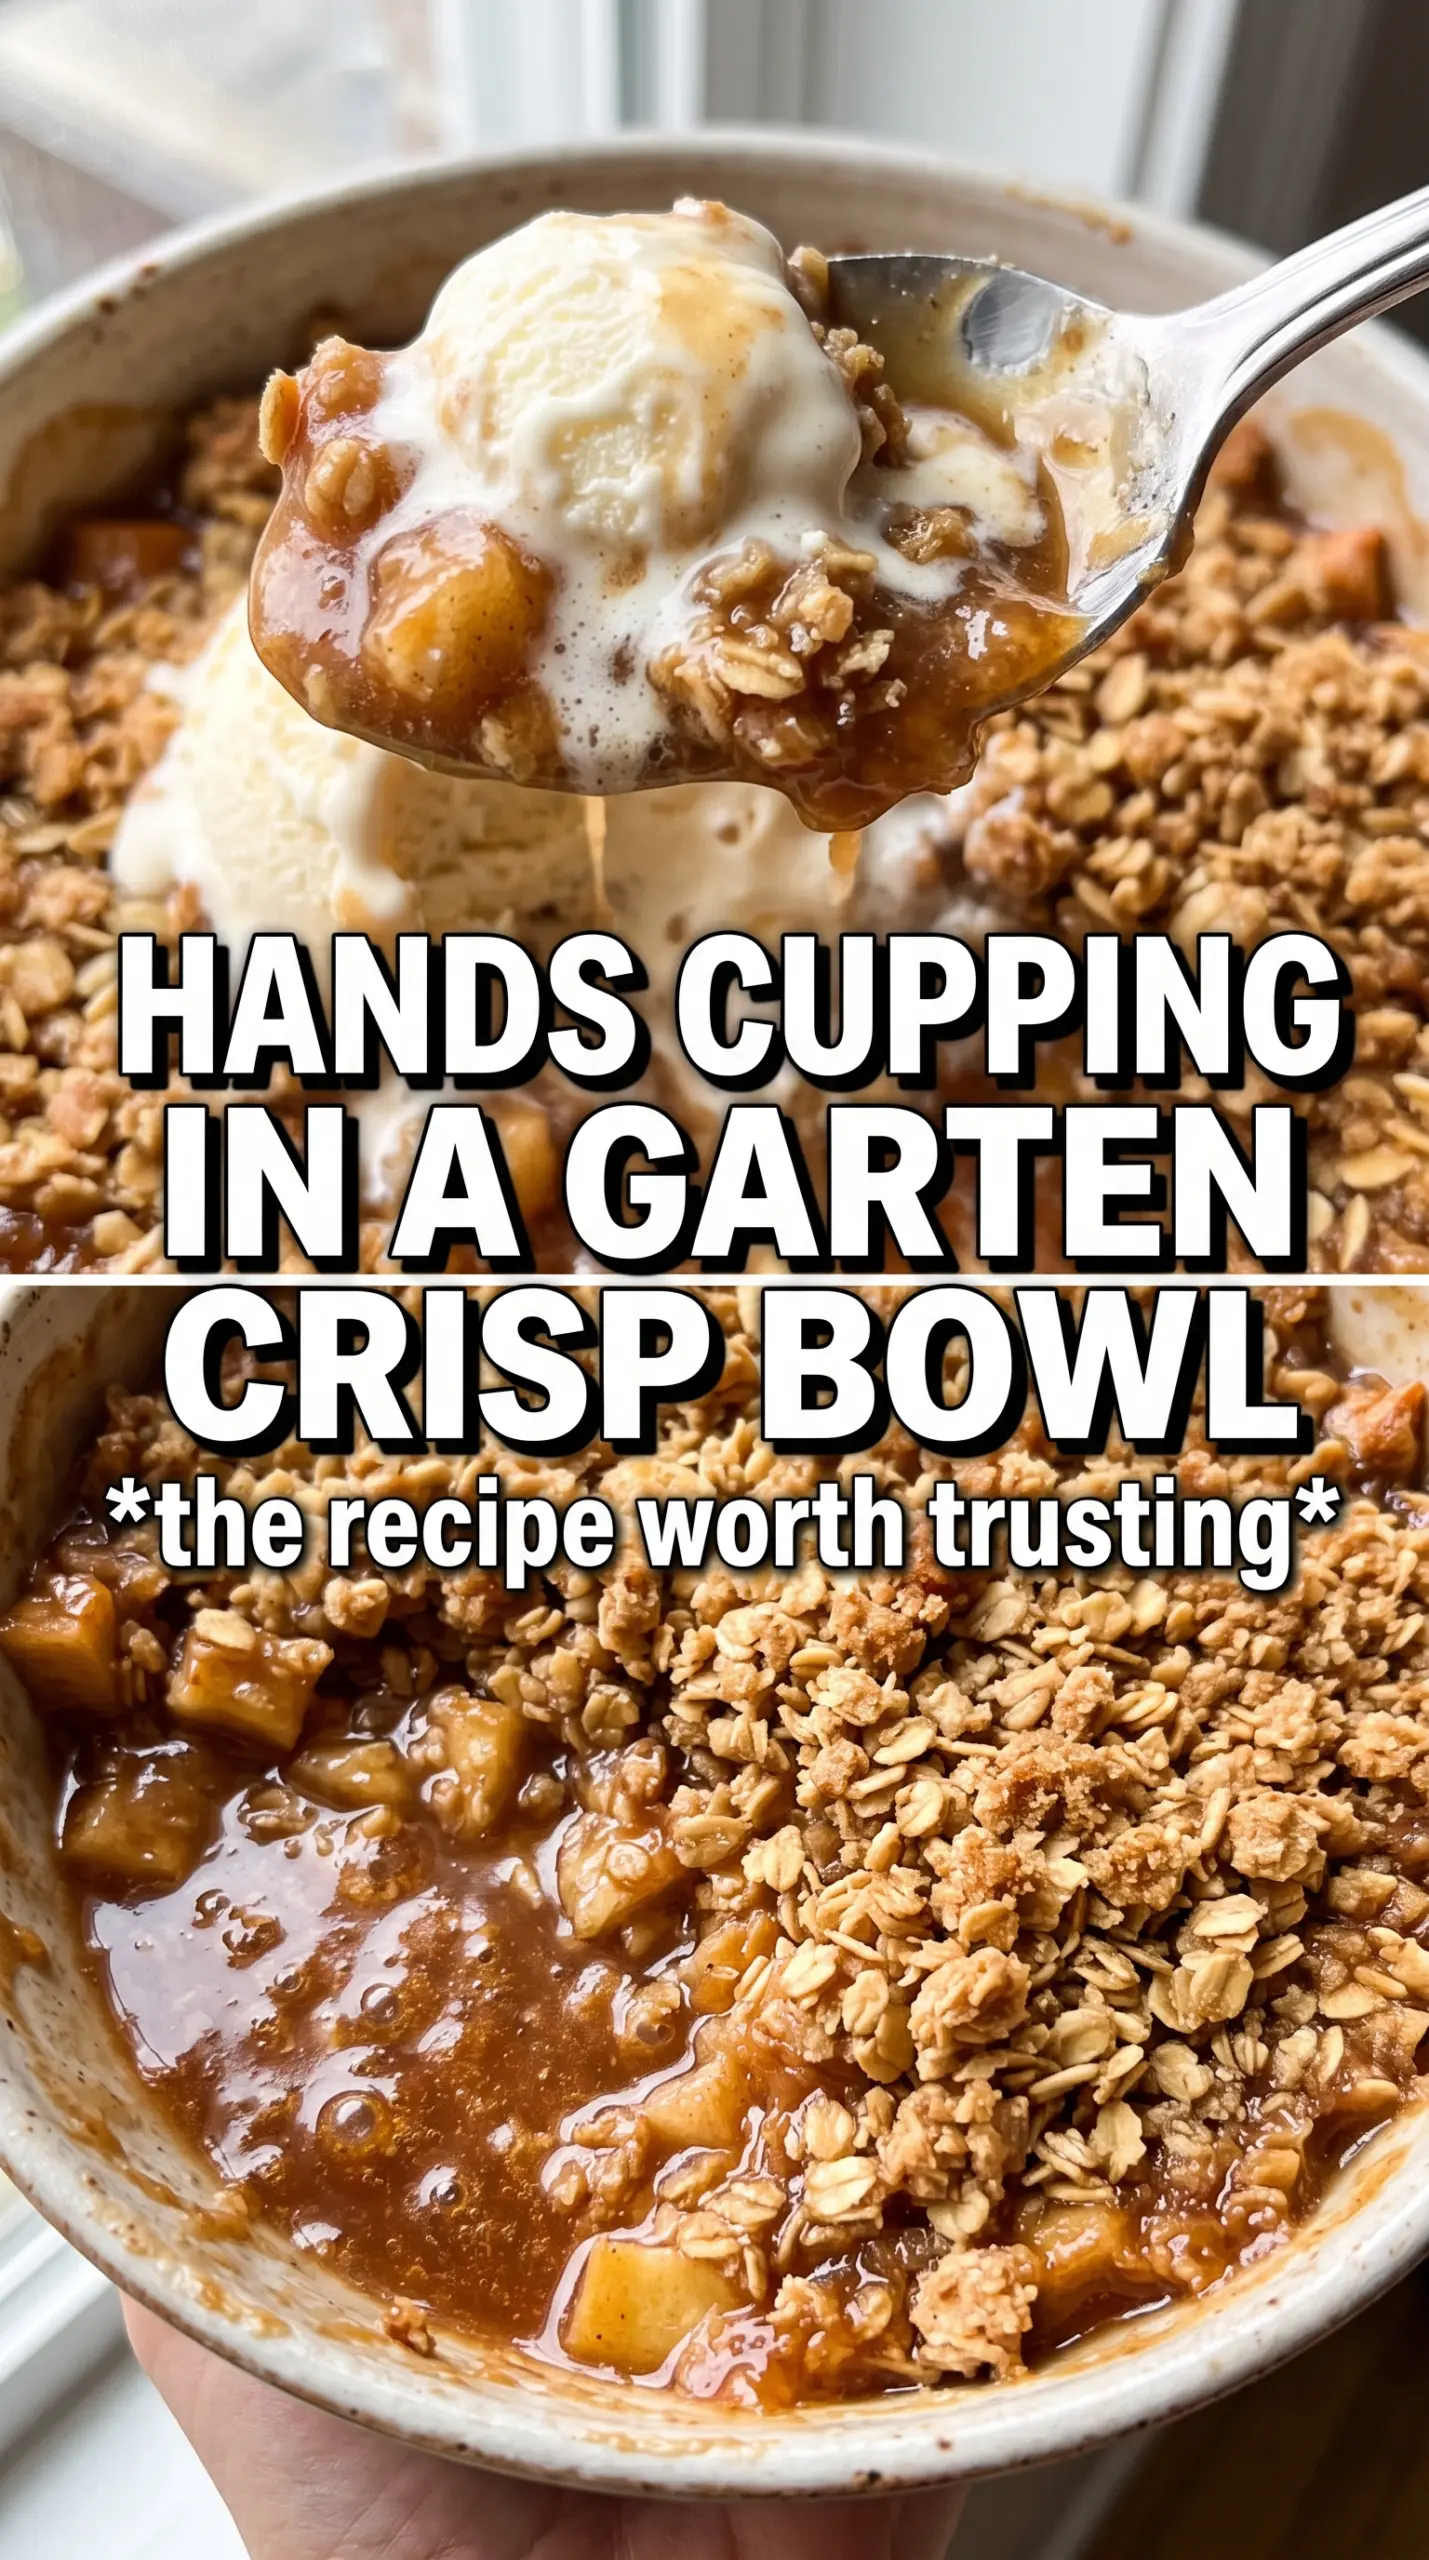
- All-purpose flour — Gives the crumble its structure. It’s the base that holds the butter and sugars together so the topping bakes into clumps instead of disappearing into the fruit.
- Granulated sugar and light brown sugar — The granulated sugar helps the topping bake up crisp, while the brown sugar adds a little molasses depth and a darker finish. If you only use white sugar, the topping tastes flatter.
- Old-fashioned oats — These bring the nubby texture that makes an apple crisp feel like an apple crisp. Quick oats can work in a pinch, but the topping won’t have the same chew.
- Cold unsalted butter — The butter is the moisture and the richness. Dice it small, then work it in with your fingers until you see pea-sized clumps; that size bakes into the best crumb.
- Kosher salt — A small amount is enough to keep the topping from tasting one-dimensional. It doesn’t make the crisp salty; it just keeps the sweet parts honest.
Getting the Topping Chunky Before It Hits the Oven
Mix the dry ingredients first
Stir the flour, sugars, salt, and oats together before the butter goes in. That spreads the sweetness and salt evenly, so you don’t end up with pockets of sugar or bland flour in the finished topping. The mixture should look dry and even before you add anything rich.
Work in the butter by hand
Add the diced cold butter and rub it into the dry ingredients with your fingertips until the mixture looks like damp gravel with a few larger clumps. Stop before it turns into a paste. If the butter melts into the flour, the topping bakes up compact instead of crisp and crumbly.
Cover the apples generously
Scatter the topping over the fruit and cover every exposed spot. A sparse layer leaves apples drying out on top, and a heavy layer gives you those caramelized edges that make the dish worth serving warm. Bake until the top is deep golden and you can see the juices bubbling through around the sides.
Use pears for part of the apples
Swap up to one-third of the apples for firm pears if you want a softer, more floral filling. The crisp still holds together, but the fruit layer will be juicier and a little less tart, so the citrus zest matters even more.
Make it dairy-free
Use a high-quality plant-based butter stick in place of the unsalted butter. The texture stays close, especially if the butter alternative is firm and cold, though the flavor will be a little less rich and a little more neutral.
Swap the oats for a gluten-free topping
Use certified gluten-free oats and a 1:1 gluten-free flour blend if you need the crisp to be gluten-free. The topping will still brown and crunch, though it may be a little more delicate when you scoop it.
Storage and Reheating
- Refrigerator: Store covered for up to 4 days. The topping softens a bit in the fridge, but the flavor stays good.
- Freezer: Apple crisp freezes well after baking. Cool it completely, wrap tightly, and freeze for up to 2 months. Thaw overnight in the refrigerator before reheating.
- Reheating: Warm in a 325F oven until the filling is hot and the topping crisps back up, about 15 to 20 minutes for a full dish. The microwave works in a pinch, but it turns the crumble soft.